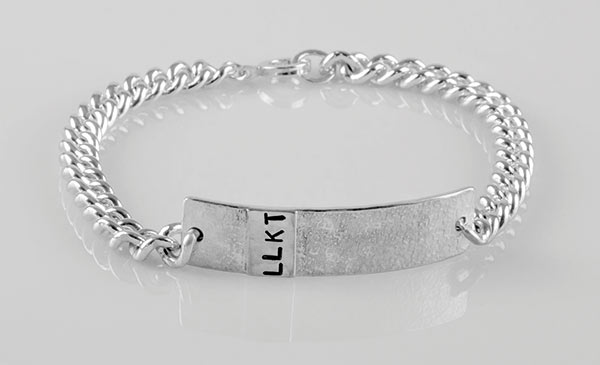
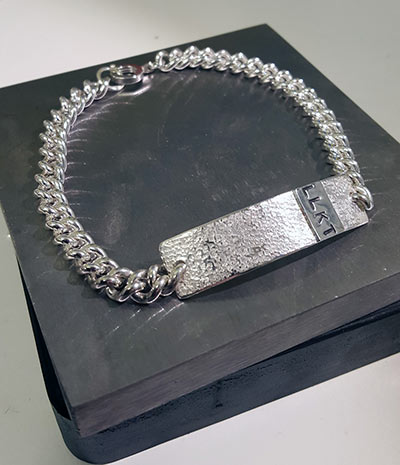
Follow this simple step by step guide to make this simply stunning personalised chunky ID bracelet.
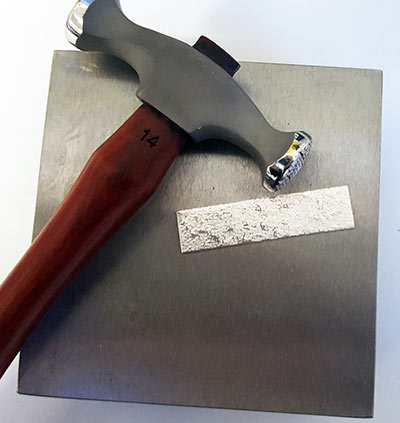
Step 1: Add texture
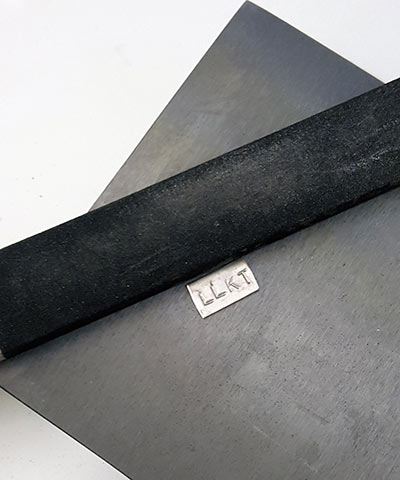
Place the 50mm x 12mm piece of silver on your stainless steel block, and use the texturing hammer to texture one side of it.
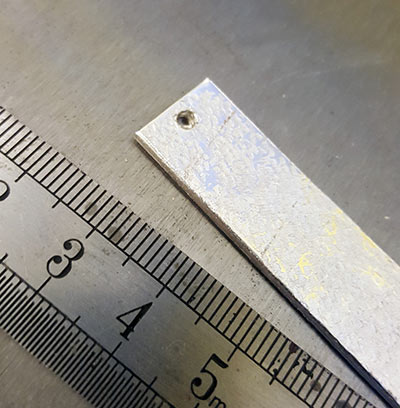
Step 2: Add holes
Measure 2.5mm in from each end of the silver, making sure the mark is halfway up on each side and mark with permanent pen. Use these as guides to drill a hole in each end.
Top Tip: You can lightly use a round 3mm burr on either side of your drill holes to slightly recess them.
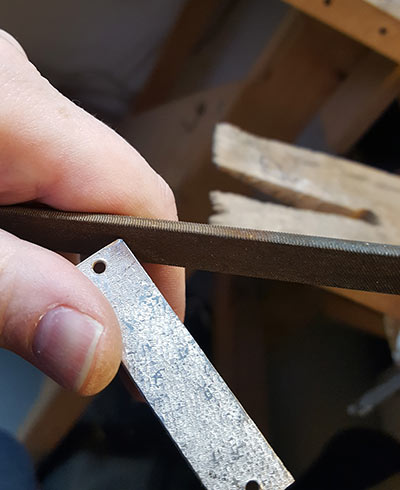
Step 3: File the edges
Use a metal file to file a 45° angle on each upper edge of the silver. Gently round the corners off the rectangle with the file too. Finish all edges with emery paper in increasing fineness until smooth.
You should now have a textured rectangle, with smooth edges and two drill holes.
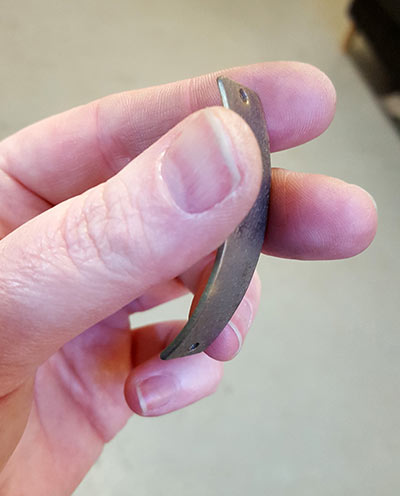
Step 4: Anneal and curve
Anneal the silver, then use half round pliers to gently curve each end of the metal.
You want to end up with a shape that will sit comfortably on the wrist. You could also shape it using a bracelet mandrel.
Step 5: Personalise
You can either use the thinner piece of silver as is, or if you want to personalise it, use a steel block, heavy hammer and letter/number punches to do so.
Remember to leave at least 1mm border around the edge to allow for finishing.
Once you have stamped your silver, use coarse sandpaper to file the top long edges at 45°, then use a finer grade paper to smooth.
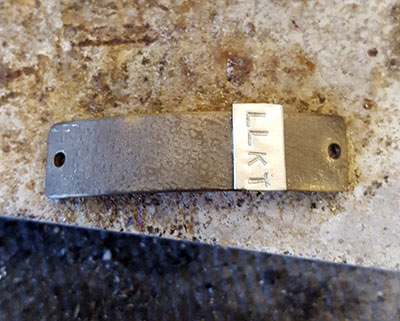
Step 6: Solder together
Use silver solder paste sparingly on the reverse of the small silver piece, and place to the right of the larger silver rectangle. Solder them together, being careful to avoid melting the smaller piece of silver. You can place the larger piece on a wire mesh platform and heat from below if worried!
Pickle and rinse the rectangle, then use files and sandpaper to file away any excess silver from the smaller piece, until you end up with a uniformly smooth shape.
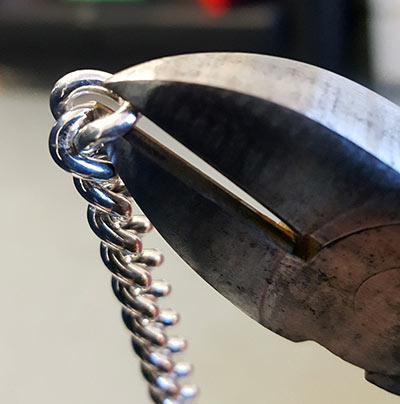
Step 7: Prepare the chain
Now take your length of chain, measure it, and mark the link at the half way point. Use flush or wire cutters to cut through one side of the link.
Gently open the link, and separate the chain into two lengths.
Top Tip: To help open the link, inserting chain or round nose pliers into the link and spreading them open works well.
Step 8: Attach the chain
Carefully feed one open link of the chain through one of the holes on your silver rectangle and use pliers to close the link tightly.
Hold the link at the bottom with your soldering pliers, so the cut is raised above the silver rectangle. This is fiddly, but worth it as you will not end up soldering the chain to the rest of the silver!
Apply a small amount of solder paste to the cut, and solder closed.
Repeat to solder the other length of chain to the other side.

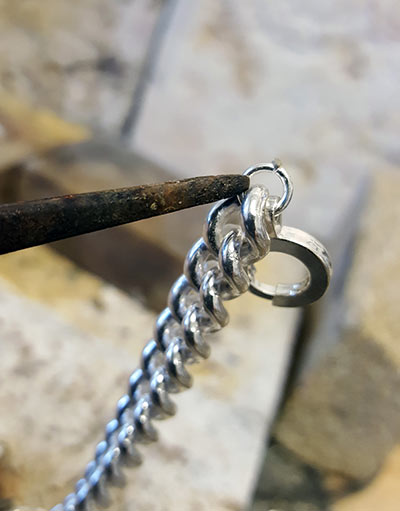
Step 9: Add the clasp
Replace the jump ring on the bolt clasp with a 5mm one, feed through one end of the bracelet’s chain, and solder close. Be careful to hold the link so you don’t solder the chain to the jump ring, and keep heat away from the clasp itself as much as you can.
Use a hammer and block to flatten the 8mm jump ring. Attach to the other end of the bracelet chain, and solder shut. The bolt clasp will fasten onto this when the bracelet is shut.
Step 10: Pickle
Pickle the whole piece and rinse. Use a product such as liver of sulphur or Impress enamel marker pen to pick out the personalisation, and polish off any residue.
Tumble polish the bracelet to finish.
Optional: Alternatively cover the personalised raised section with tape and scrub the whole piece with a brass brush, finally remove the tape and highly polish the raised section.
See the downloadable version of this project to print and keep!
We want to see what you have been making! Share your creations with us on social media, tagging in Cooksongold on Facebook, Twitter and Instagram.
Lydia Niziblian
I'm an independent jewellery designer/maker, working from my studio in the heart of Whitchurch Village in Cardiff, my hometown. My jewellery designs feature a range of textures, patinas and finishes, exploring the concepts of weathering, aging and wear. These are brought to life with colourful, carefully selected gemstones, and contrasting textures and materials.