Try using a different material like gold filled metal to make this heart pendant, which you can gift to a loved one or to yourself. Perfect for special occasions like Valentine’s Day or even Mother’s Day
Step One: Sketch your design
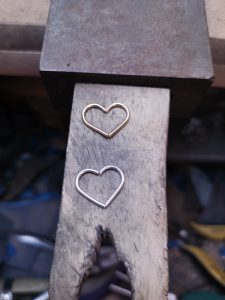
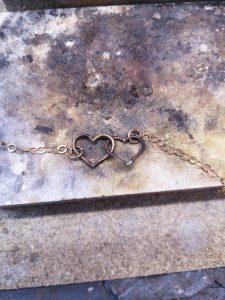
Sketch how you’d like your hearts to look- they can be curvy hearts, straight sided hearts, any style you like. We decided to use curvy hearts for this design.
Step Two: Forming your hearts
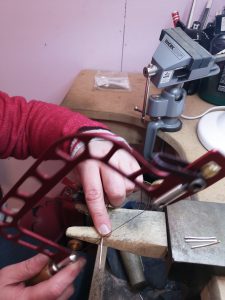
Measure both types of wire to a 3cm length, and saw 2 pieces of each to size. File the ends to get them nice and straight if needed. Then using the larger side of the Wubbers jaws (you can use anything in a similar shape- such as a marker pen, a round pencil, slim mandrel etc), shape both pieces of gold filled wire at a time by curving your wire around the jaw until you’re happy with your heart, then repeat for the silver wire.
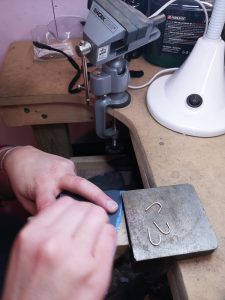
Using a fine file or side cutters, trim the ends of the wires into an angle so that both ends will lay flat when stood on a table. Lay the 800 grit sandpaper on a flat surface. Then holding each heart by the curved section, rub the cut ends over the sandpaper until the ends are perfectly smooth.
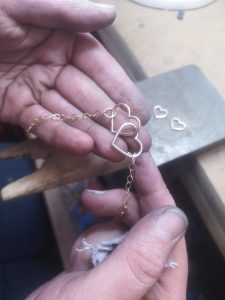
Repeat this for each piece of your 2 hearts so that you get a nice, flush finish. You may need to slightly adjust your heart halves to fit together nicely – you can do this by using your Wubbers to gently pull the hearts around, and a rawhide mallet to flatten the hearts if needed.
Step Three: Soldering
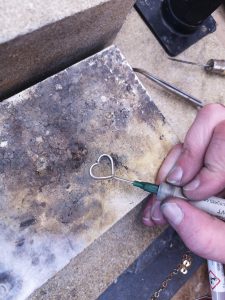
Once you have a nice flush fit, it’s time to solder! As gold fill is more delicate than the sterling silver (overheating can burn away the gold coating), it’s best to solder the silver heart first. Line up your silver heart on your soldering block – it’s best to use an extra soldering block on it’s edge behind your flat block to create an L shape, and prevent heat loss.
Use a small amount of medium silver solder paste on both joins, heat your heart gently with your blow torch. Make sure to keep the flame moving. Once your solder has run, use your reverse action pliers to pick up your heart and pop it in your quench bowl.
Step Four: Gold Filled Soldering
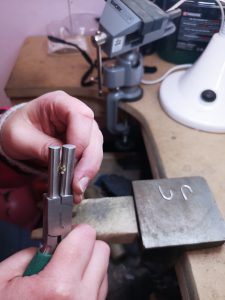
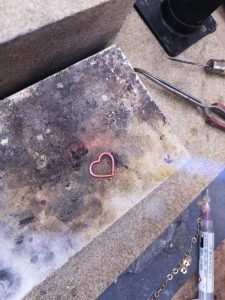
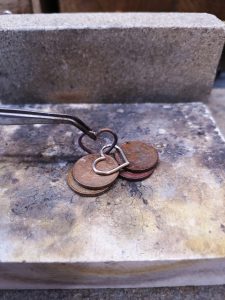
Now comes the fun bit! Remove the silver heart from your quench bowl. Once it’s cool, clamp it in your reverse action pliers standing upright. You can use a ball dog clip or a third hand to keep the pliers in place. Use pennies or 2p’s to make a stack, a couple of stacks of 2 or 3 coins deep. You’ll use this to place your gold filled heart onto, so it needs to be sturdy, and position that, so you can sit the 2 halves of the heart through the silver heart, and sit the joins on top of the coins.
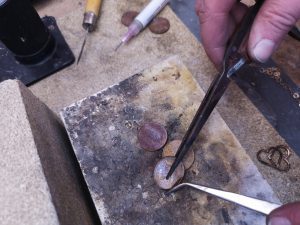
Once you’ve manage to line your gold filled heart up through the silver one, use your medium gold solder paste to solder the 2 pieces together. You don’t need a lot of solder here, and you’re best to heat the coins under the gold heart, and only lightly run the flame over the heart itself. Once the solder has run, removed the heart straight away.
Now be careful – everything is red hot! Don’t touch the coins!!
Remove the tweezers from the third hand and pop both hearts and the end of the tweezers into your quench bowl. Next, pick up each coin with your tweezers and place these in the quench bowl. They will spit, so eye shields are useful here!
Step Five: Finishing off
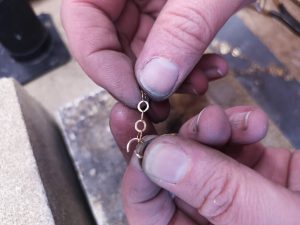
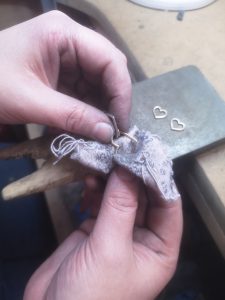
Before you place your hearts in the pickle, open a jump ring and attach to one heart, close the jump ring with the chain through it. Repeat this for the other heart, and cut the chain to length. Using a small amount of the easy gold solder paste, solder your jump rings together. Again, it’s best to hold the jump ring against the soldering block and heat the block to prevent the gold fill burning away. Quench the hot pieces.
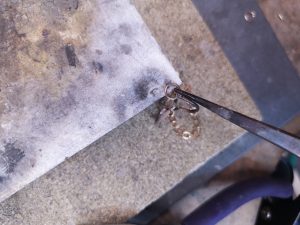
Now add your clasp and an extra jump ring to the opposite side. Repeat the soldering process with the easy gold solder paste and quench. You can now place the whole necklace into your pickle. Remember to use your plastic tweezers for this.
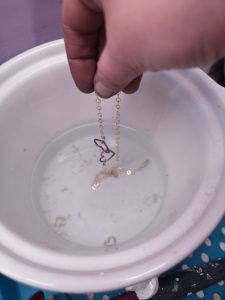
Remove your necklace from the pickle when it’s clean, and dip it back into the quench bowl to stop the pickle taking further effect. After a quick wipe over to dry the piece, you’re ready for a tidy up.
Step Six: Polishing
Gold Filled Metal doesn’t take kindly to filing and harsh sandpaper or polishing grits, so be careful here. Using a harsh abrasive can remove the outer coating of gold. I’ve chosen to hand polish and avoid my Dremel and barrel polisher to protect the gold fill. Using the 800 grit sandpaper to tidy my joins on both hearts, and to remove any excess solder on the jump rings.
Then use 1000, 1200 grit, and 0000 wire wool. You can achieve a high shine with polishing pads/papers, and then finish off with a silver cloth (this is fine to use on the gold fill too). Now wear your beautiful necklace with pride, or gift it to someone special!
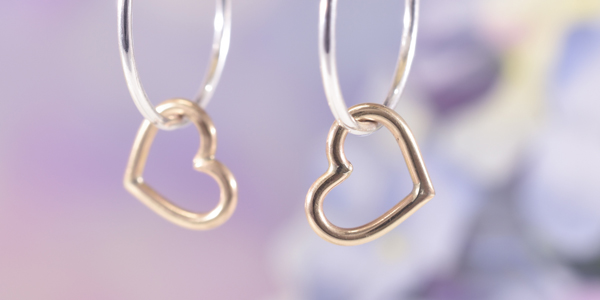
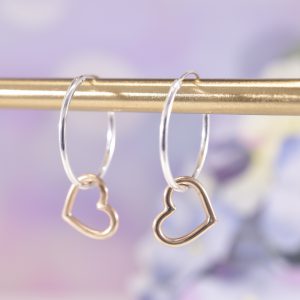
Extra Project
If you’d like to have a practice with gold fill in a smaller piece, why not try matching heart hoops? Each heart is formed with a smaller pair of Wubbers, with the same procedure as the main project. You can solder the hearts with easy gold solder paste on your block (no coins needed!). Once finished, add the hearts to a pair of silver hoop earrings, and you’re ready to go!

See our gold filled selection and create earrings, a bracelet or maybe even a necklace
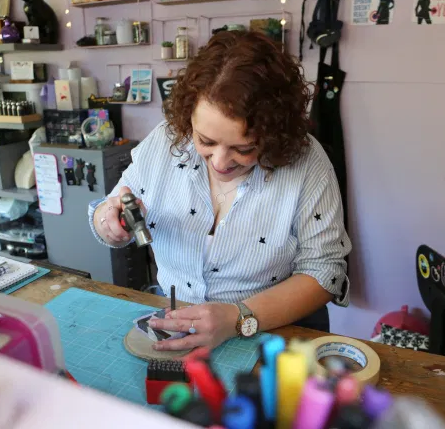
Kirsty Halsey
I am a self-taught contemporary silver smith and use tradition techniques to create my designs in Sterling Silver. Specialising in unique, meaningful and personalised jewellery and gifts, each piece is hand crafted and finished to the highest standard. I craft my designs from British sterling silver and gemstones in my garden studio on the edge of Essex, where I draw inspiration for my pieces from the surrounding countryside and world around me.