Once you have gathered all of the items you need, you can follow this step by step guide to create your own necklace.
Step 1:
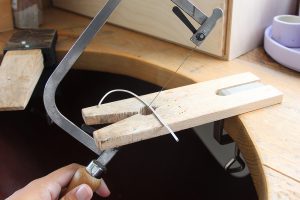
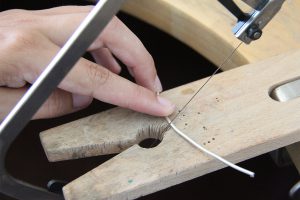
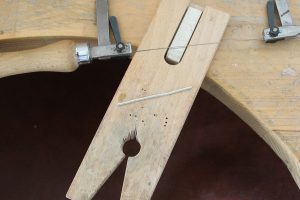
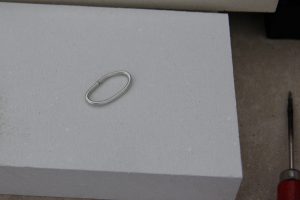
First, we are going to form the ring. You can make the ring any size you wish but for this tutorial, we have used 6cm of wire. Remember that when you hammer a finished ring, this will increase the size by 1-2 ring sizes.
Saw your wire to your desired length. Then, using pliers, bend the two ends around until they meet. Creating a ‘D” shape is best for this as it allows both ends to meet perfectly, as you need a flush join for the solder to flow perfectly.
Step 2:
Next we need to solder the join and in this tutorial, we will be using solder paste. As it is just one join on the entire piece, you can use ‘easy’ solder which will ‘melt’ and flow much more quickly.
Apply a small amount of paste over the join and heat your piece using your torch. You want to heat the entire piece evenly and not just focus on the paste.
Solder paste will ‘smoke’ when heated and bubble up into a larger form, this is normal. Always ensure your workspace is well ventilated. You will see the silver river of your solder flow and this is when you should stop heating your piece. Ensure your torch is turned off and then quench your piece in water using tweezers. Pop your piece in your pickle pot to clean the fire stain and then remove.
Remember to use brass tweezers, or else your pickle will need to be thrown away, and then rinse.

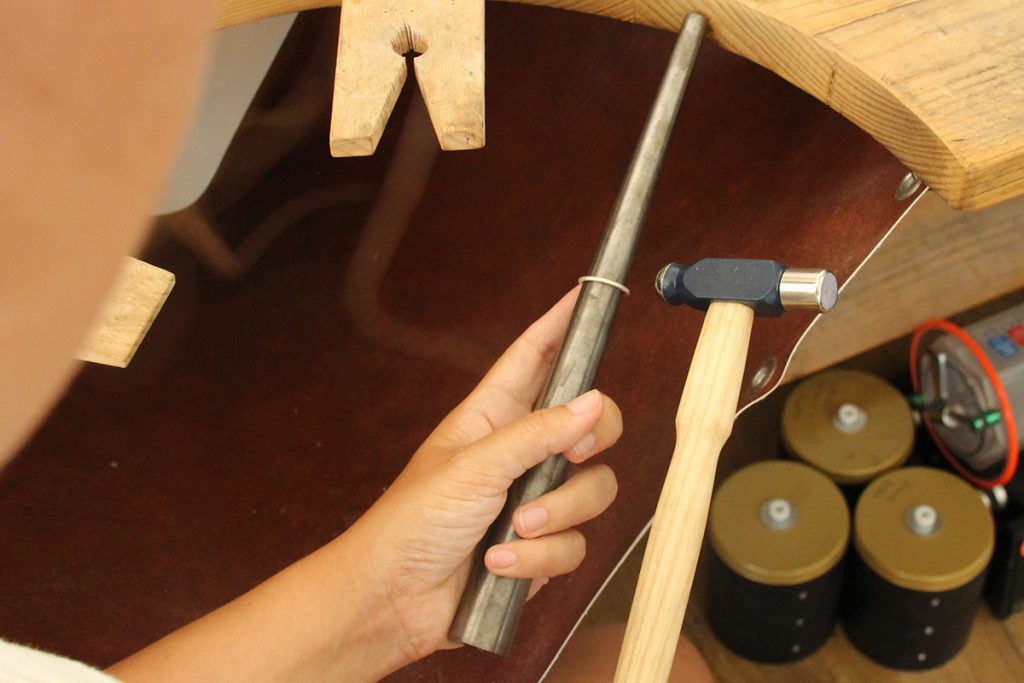
Step 3:
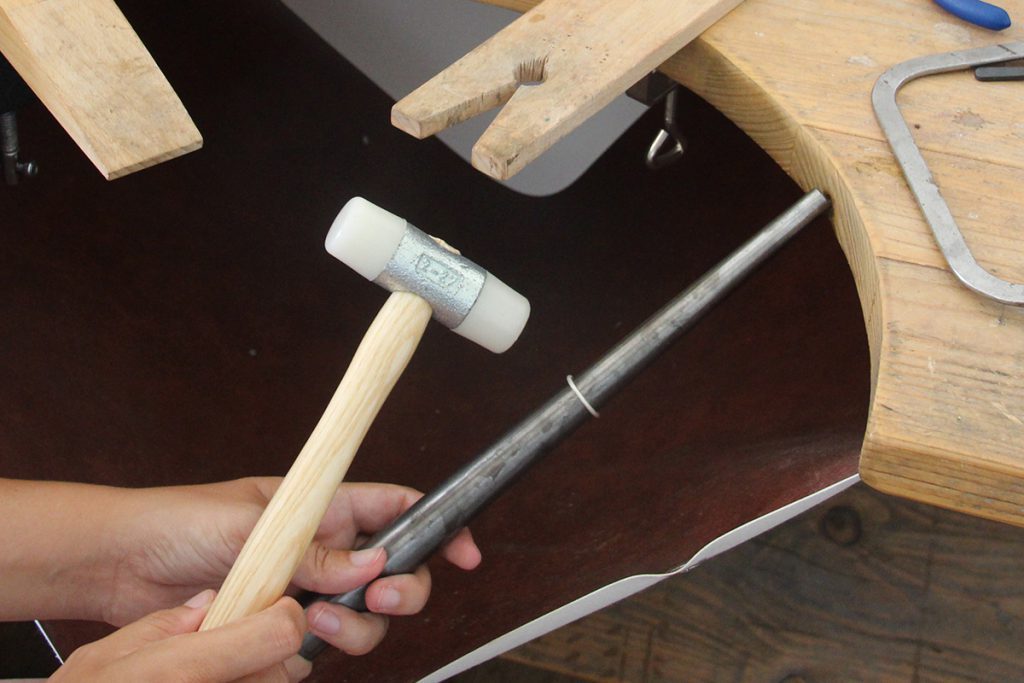
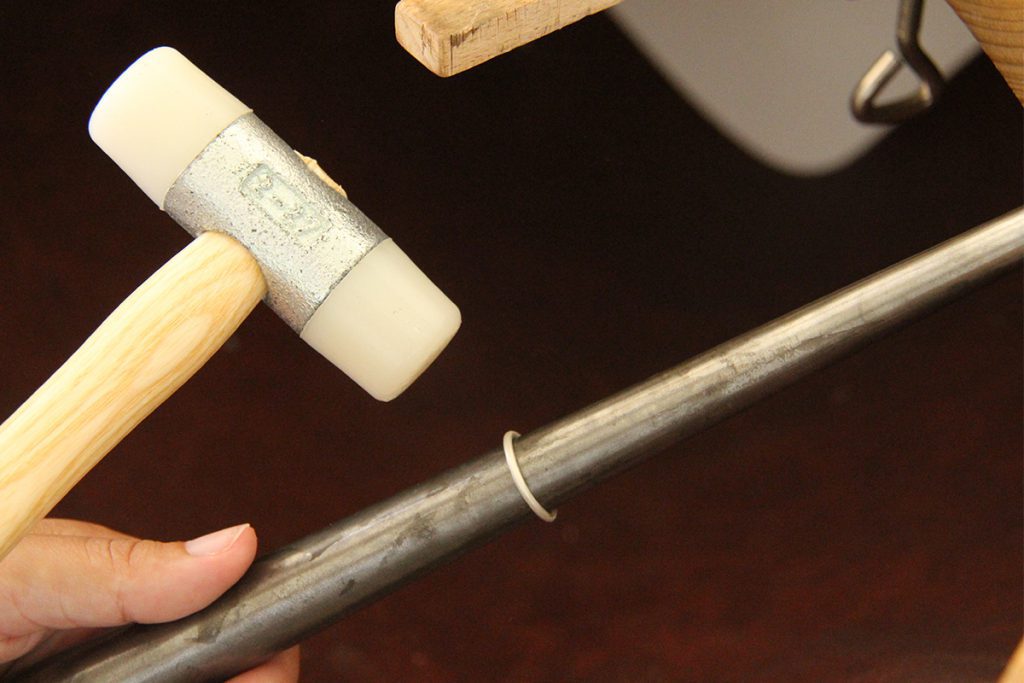
Now we need to create a ‘Ring’ shape. You can do this by using a ring mandrel. Slide your piece onto the mandrel and shape it by using a soft hammer (either nylon or a rawhide mallet). Hammer the ‘corners’ that seem to be sticking out first and you will see that it takes shape very quickly.
Keep going until you have a perfectly round ring. Congratulations, you are now ready to add the hammered texture!
If you are struggling to get a round ring, then you may want to anneal your metal so that it is softer for you to shape. You can do this by reheating it but be careful to not melt the solder.
Step 4:
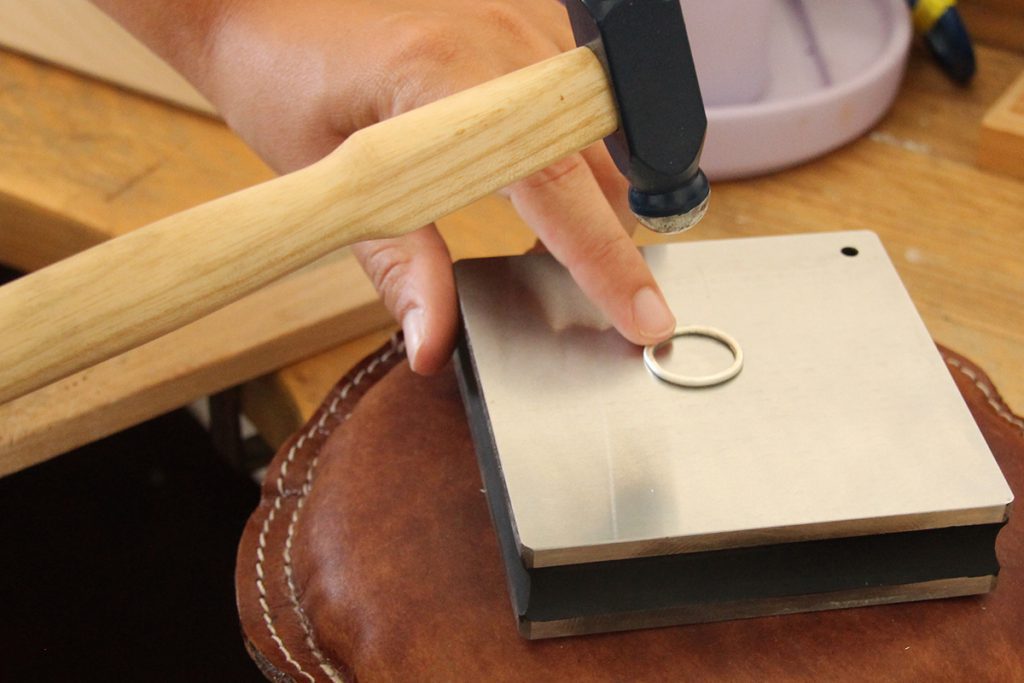
Adding the hammered texture is great fun but can be noisy and you must hold the hammer loosely and towards the end handle to ensure you don’t hurt your wrist. A great way to ensure you don’t grip the handle too tightly is to hammer with your little finger in the air. It may look silly but your wrists will thank you later!
Place your piece on your clean steel block. You need to ensure it is clean as you will hammer any ‘dirt’ into your piece. You then want to secure the piece with one finger and start hammering with short, hard hits on the opposite side to where you have it secured. Move the piece around clockwise as you go until you arrive back to where you started. You can then flip the ring over and do the same on the other side.
Once you are happy with your texture (you can keep hammering until you reach your desired look) you need to then slide the ring back onto your mandrel and add the texture to the outer edge of the piece. Ring mandrels can be heavy and the force of the hits can cause you to drop mandrel so it is best to sit comfortably in your chair or stool, close to the edge of your desk and wedge the mandrel in-between your lap and the desk. This will offer some resistance for you and soften the impact.
Step 5:
You now need to pop your finished piece in your tumbler so that it can get a nice shine to it. If you don’t have a tumbler, you can use polishing papers, or use your flex shaft with polishing compound.

Step 6:
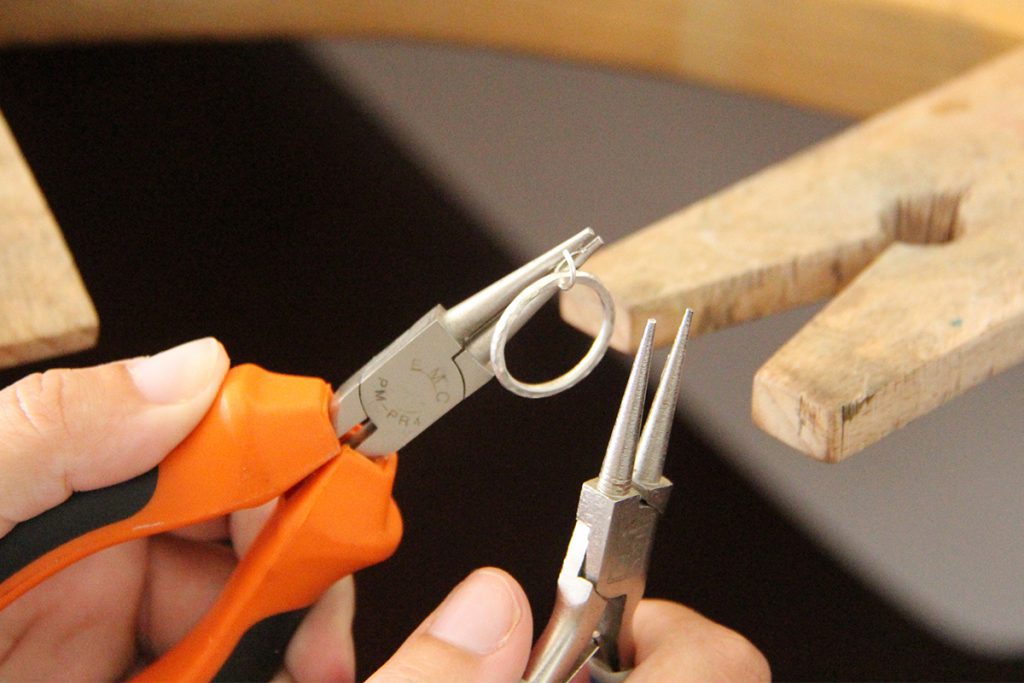
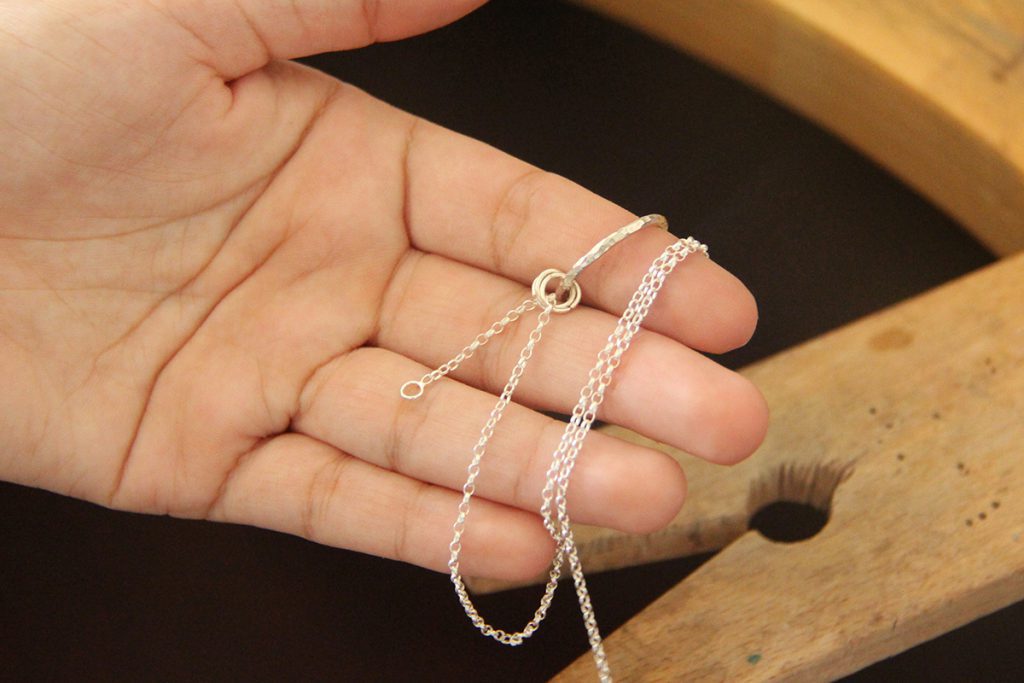
You now need to attach your ring to your desired chain. You can either hang the ring on the chain as is or add some jump rings. For the jump rings, open them evenly each side with two sets of pliers, slip in the ring and then close the jump ring around it. Repeat with as many jump rings as you like. Maybe one to represent each member of the family?
Once you have all of your jump rings secured, you can then thread your chain through them and you’re done!
Additional Steps:
You now have a wonderful new necklace, so why not protect it with some wax? The Renaissance wax is wonderful and can be applied using a clean cloth and rubbing a small amount over the silver – a little goes a long way and protects your metal from elements that could tarnish the silver more quickly.
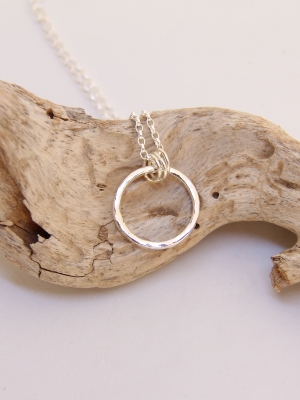
Now go ahead and wear that necklace with pride!


Fox & Blue
Fox & Blue creates unique future heirlooms that are designed to be worn and well-loved. Our designs are made from sterling silver with fine silver accents and natural stones. Each stone is hand-selected and chosen for it’s natural beauty and positive attributes. All of our collections draw inspiration from nature and a love of travel.