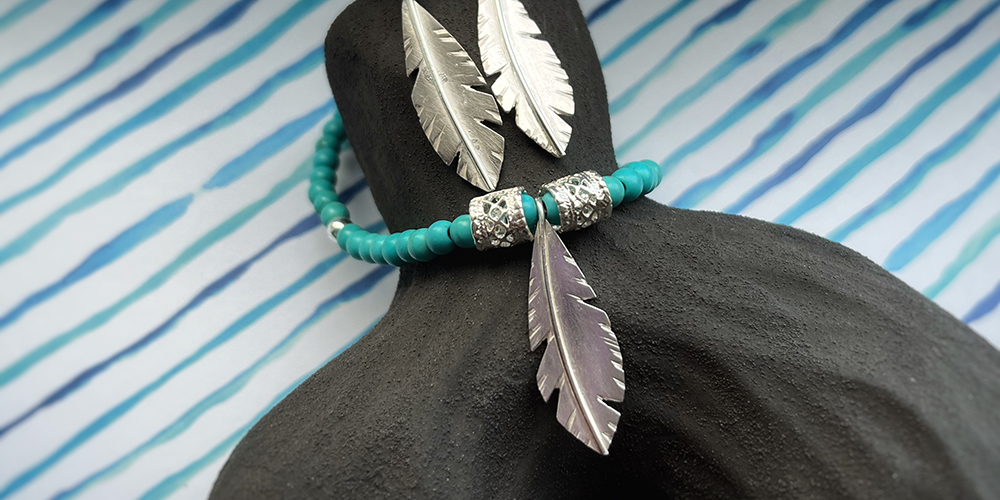
You’ll love making these fantastic feather earrings and pendant from 925 sterling silver. Paired with some simple yet stylish beading work, this a great starter project for a budding jewellery maker
Jewellery Making Video
How to Make Jewellery Step by Step
Step 1
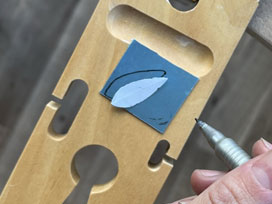
Take the 0.5mm piece of silver sheet and draw out three simple feather shapes.
Top Tip “You could draw and cut the shape out of paper first and draw around this.”
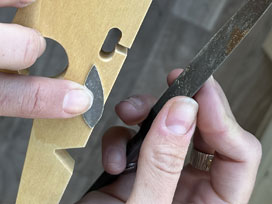
Step 2
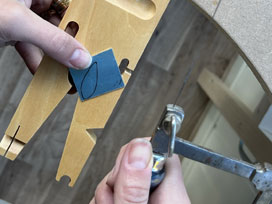
Rest the silver on a benchpeg and use a piercing saw to cut the feather shapes out.
Top Tip“You could use 3/0 or 4/0 saw blades and run the blade through a block of bees wax to help you saw smoothly.”
Step 3
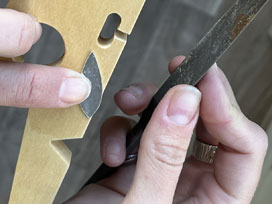
Use a flat needle file and smooth the sides of each feather shape using the benchpeg to support the silver.
Step 4
Draw small ‘V’ shapes on the edges of the silver feathers and cut these shapes out using the piercing saw, supporting the silver feathers on the benchpeg.
Using a triangle shaped needle file file ‘V’ shape notches into the sides of the silver feathers.
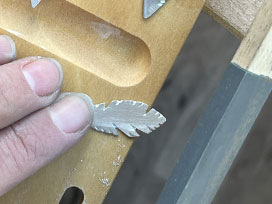
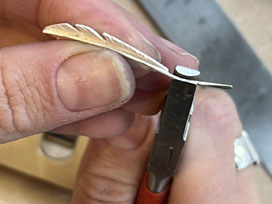
Step 5

Angle the triangular needle file and add grooves and lines to represent the patterns and lines of a feather.
Top Tip “You may want to make a mirror image pattern for your earrings, or choose a different pattern for each feather.“
Step 6
Use emery sticks or micromesh to smooth all the notches and edges of each silver feather shape.
Step 7
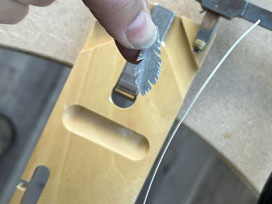
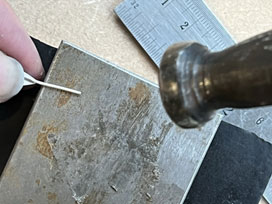
Cut 2 lengths of approx. 90mm of 0.8mm wire. Use emery sticks or micromesh to gently rub around each end to smooth them. These will be the earring hooks.
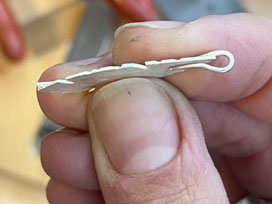
Step 8
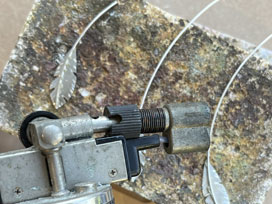
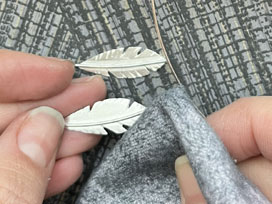
Place a silver feather shape on a heat proof block and place the 0.8mm wire down the centre. Ensuring the end of wire is at the end of the feather shape and sits flat on top of the feather shape. Add a small amount of solder paste along the seam of wire.
Using a blow torch heat the feather and wire evenly until the solder melts and flows.
Leave to cool a little and then use tweezers to pick up each feather and quench (cool) in water and then add to a warm safety pickle solution.
Repeat to create two feathers.
Step 9
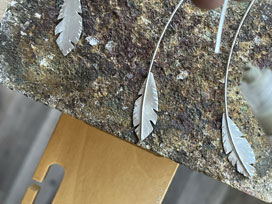
When clean and dry clean up any excess solder with a fine emery stick or micromesh. Use a silver polish cloth to add shine or add to a barrel/tumble polisher with water and barrelbrite according to the instructions.
Step 10
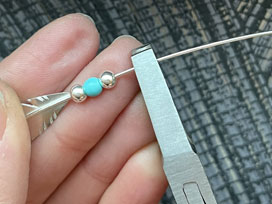
Thread on 1 silver ball, 1 turquoise bead and then another silver ball to the wires and then use round pliers to bend the wire over to create the earring hook. Add earring scrolls onto the wire. Repeat to make the 2nd earring. Add the silver scrolls on to ensure the beads won’t come off when not worn.
Step 11
For the feather bracelet charm cut 45mm of 0.8mm silver wire.
Use emery sticks or micromesh to gently rub around each wire end to smooth them.
Place a silver feather shape on a heat proof block and place the 0.8mm wire down the centre. Ensuring the end of wire is at the end of the feather shape and sits flat on top of the feather shape. Add a small amount of solder paste along the seam of wire.
Using a hand blow torch heat the feather and wire evenly until the solder melts and flows. Leave to cool a little and then use tweezers to pick up each feather and quench (cool) in water and then add to a warm safety pickle solution.
Step 12
When clean and dry, place each hoop on the steel block and gently hit the hoops all the way around using a ball pein or craft hammer.
You will need to move each hoop around the steel block to accommodate the disc or semi-circle disc that is attached.
Step 13
Use round pliers to bend the wire over to create a loop. Bend the wire until it sits flush on the back of the feather shape.
Step 14
Place the feather face down on the soldering block. Add a small amount of solder paste along the seam of wire. Ensure that the wire is touching the silver feather shape.
Using a hand blow torch heat the feather and wire evenly until the solder melts and flows.
Step 15
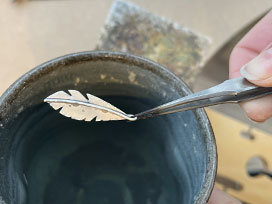
Leave to cool a little and then use tweezers to pick up each feather and quench (cool) in water and then add to a warm safety pickle solution.
When clean and dry clean up any excess solder with a fine emery stick or micromesh. Use a silver polish cloth to add shine or add to a barrel/tumble polisher with water and barrelbrite according to the instructions.
Step 16
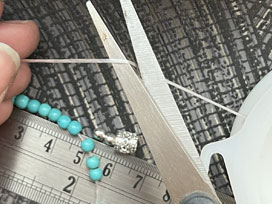
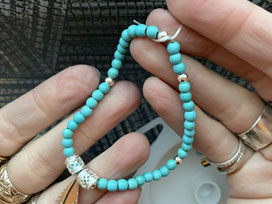
Take the piece of elasticated thread and thread on the turquoise beads and silver beads. Halfway through add the silver feather charm.
Add as many beads as needed to make the correct size. When the beads have been added thread on the silver bead spacers either side of the feather charm.
Step 17
Tie the 2 ends of elastic together several times and ensure it is tight.
Want to share your jewellery making creations?
Why not visit us on facebook and share your creations?

Sian Brown
Sian has been hand making her award winning jewellery in the West Midlands for over 12 years. Sian spent 10 years in Birmingham’s historic Jewellery Quarter before relocating to a quiet Worcestershire village.