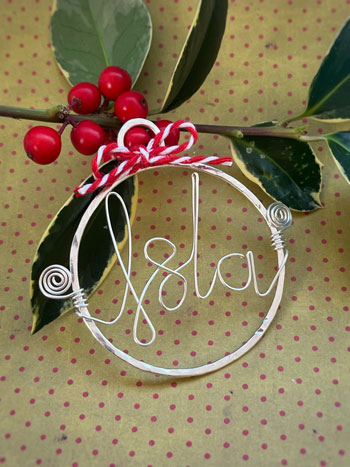
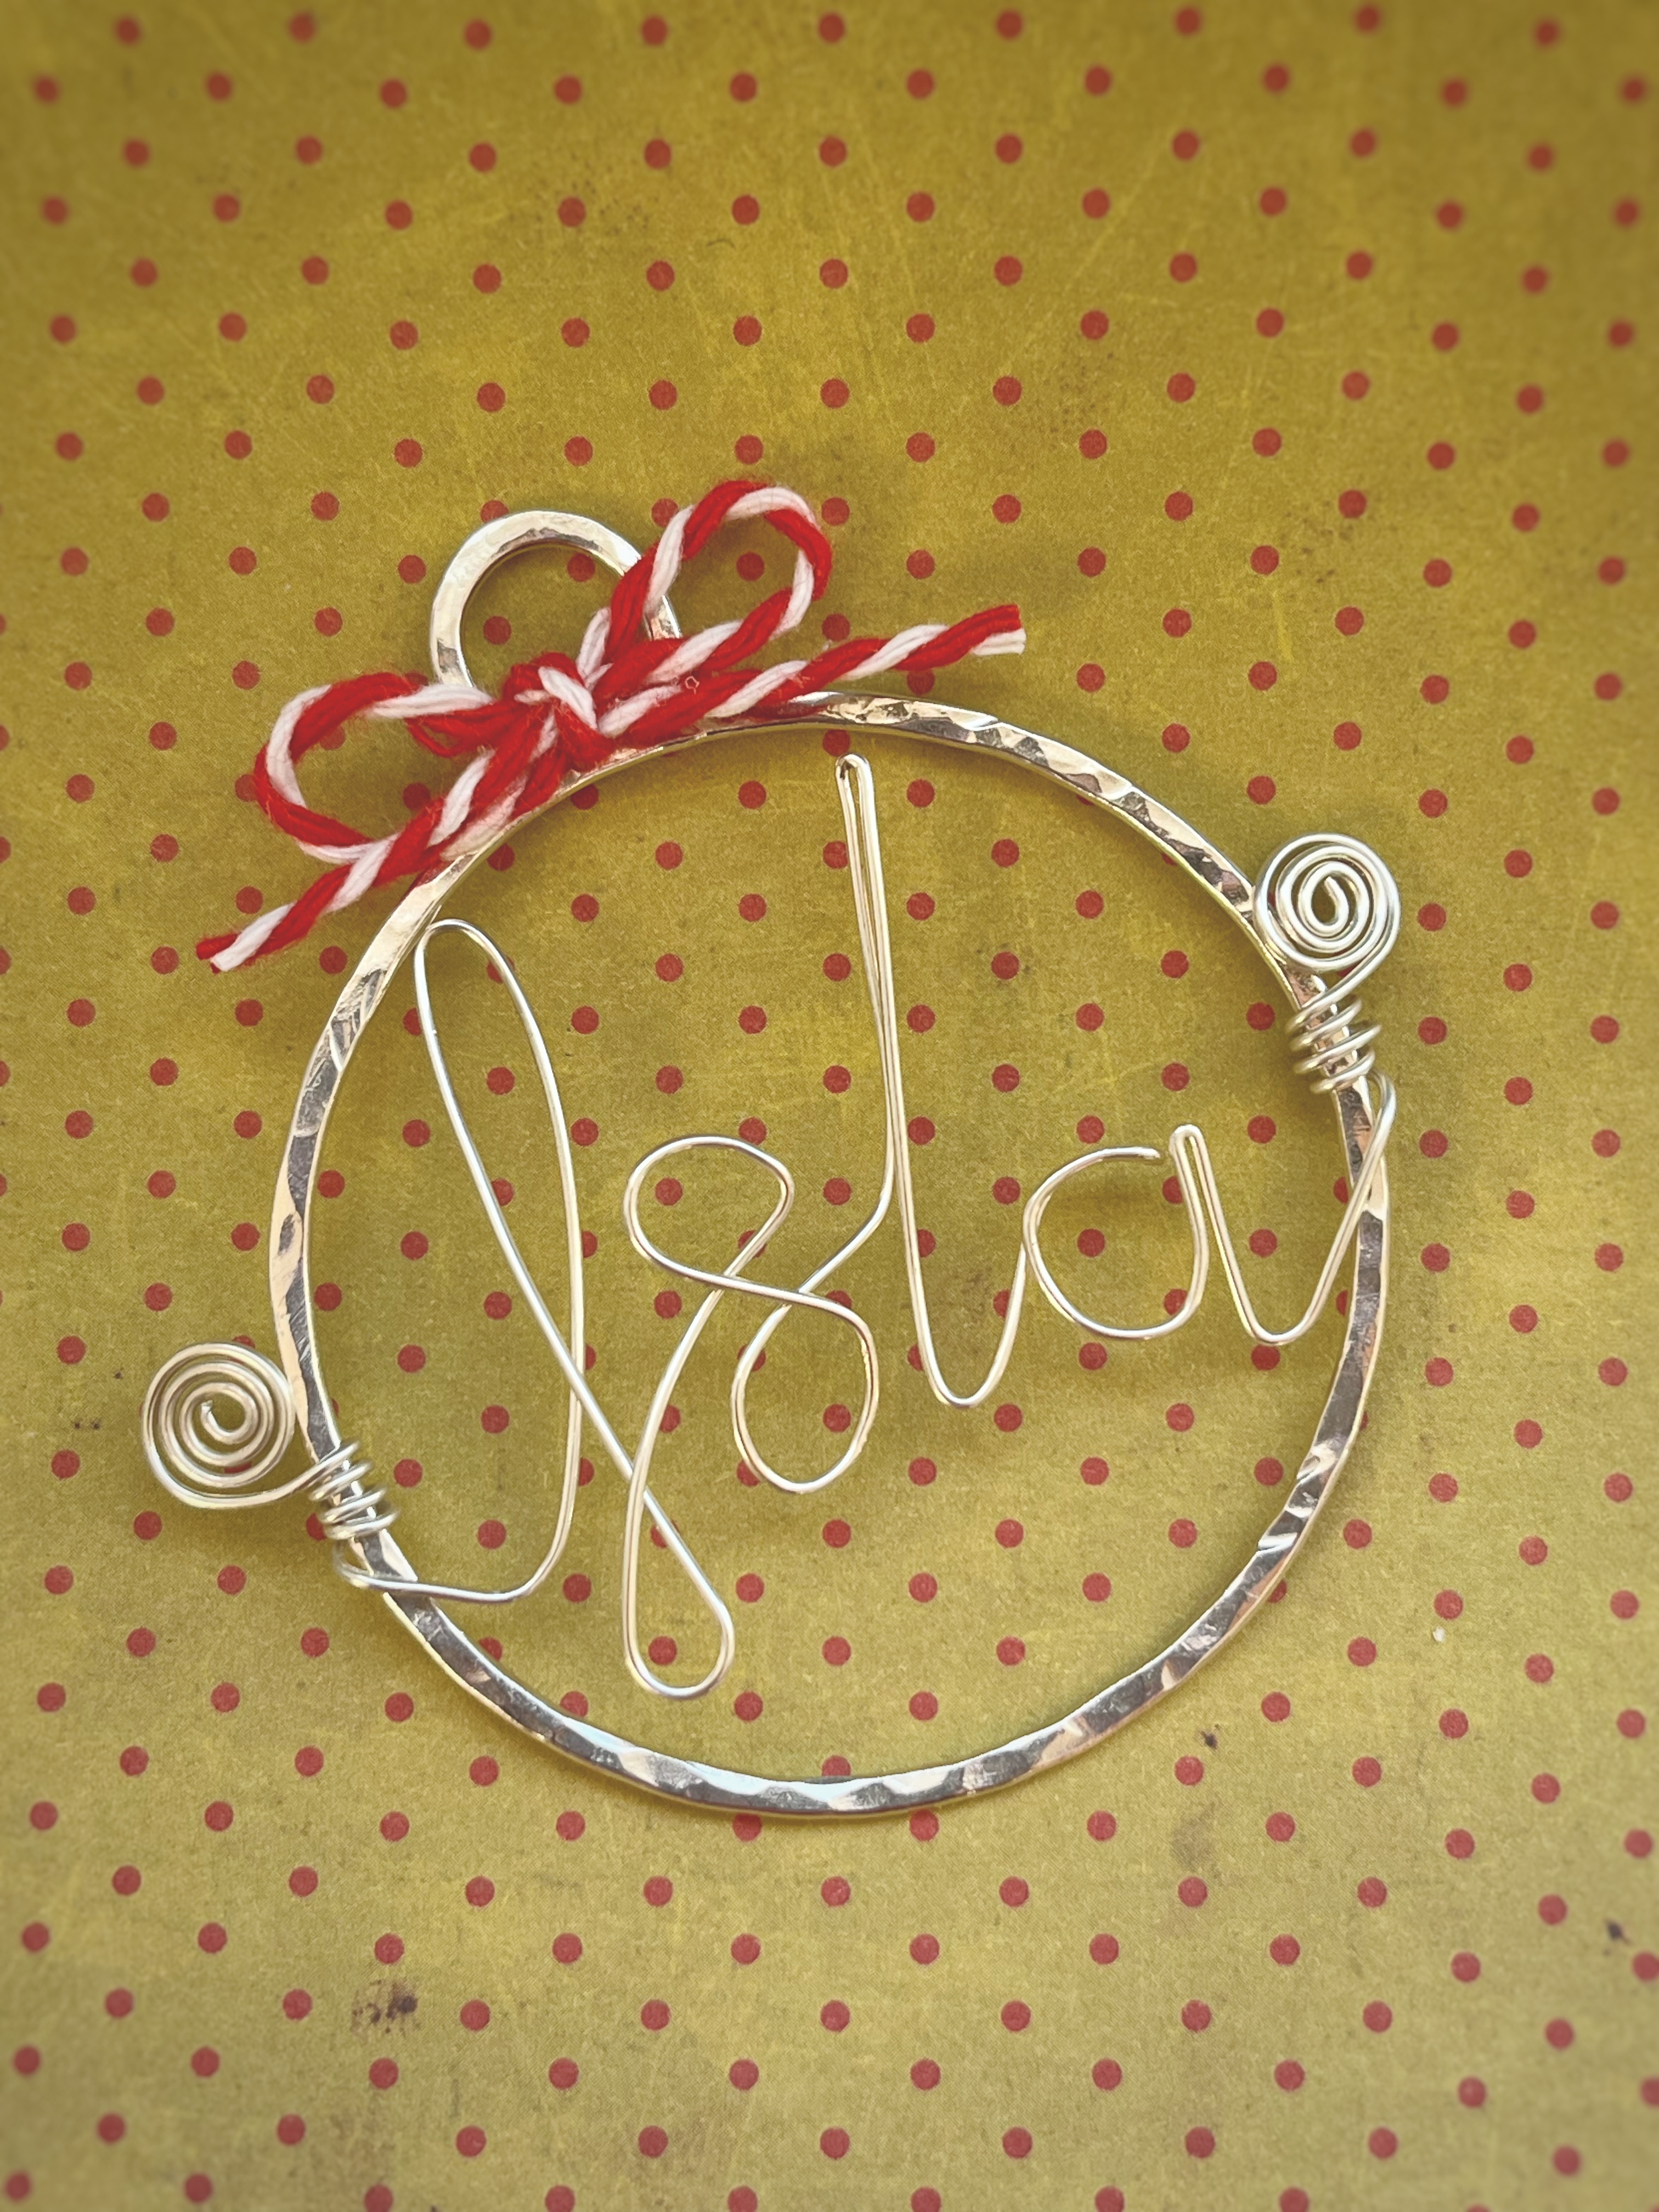
This simple sterling silver Christmas decoration can be customised with any name, number, place or festive word!

Step 1
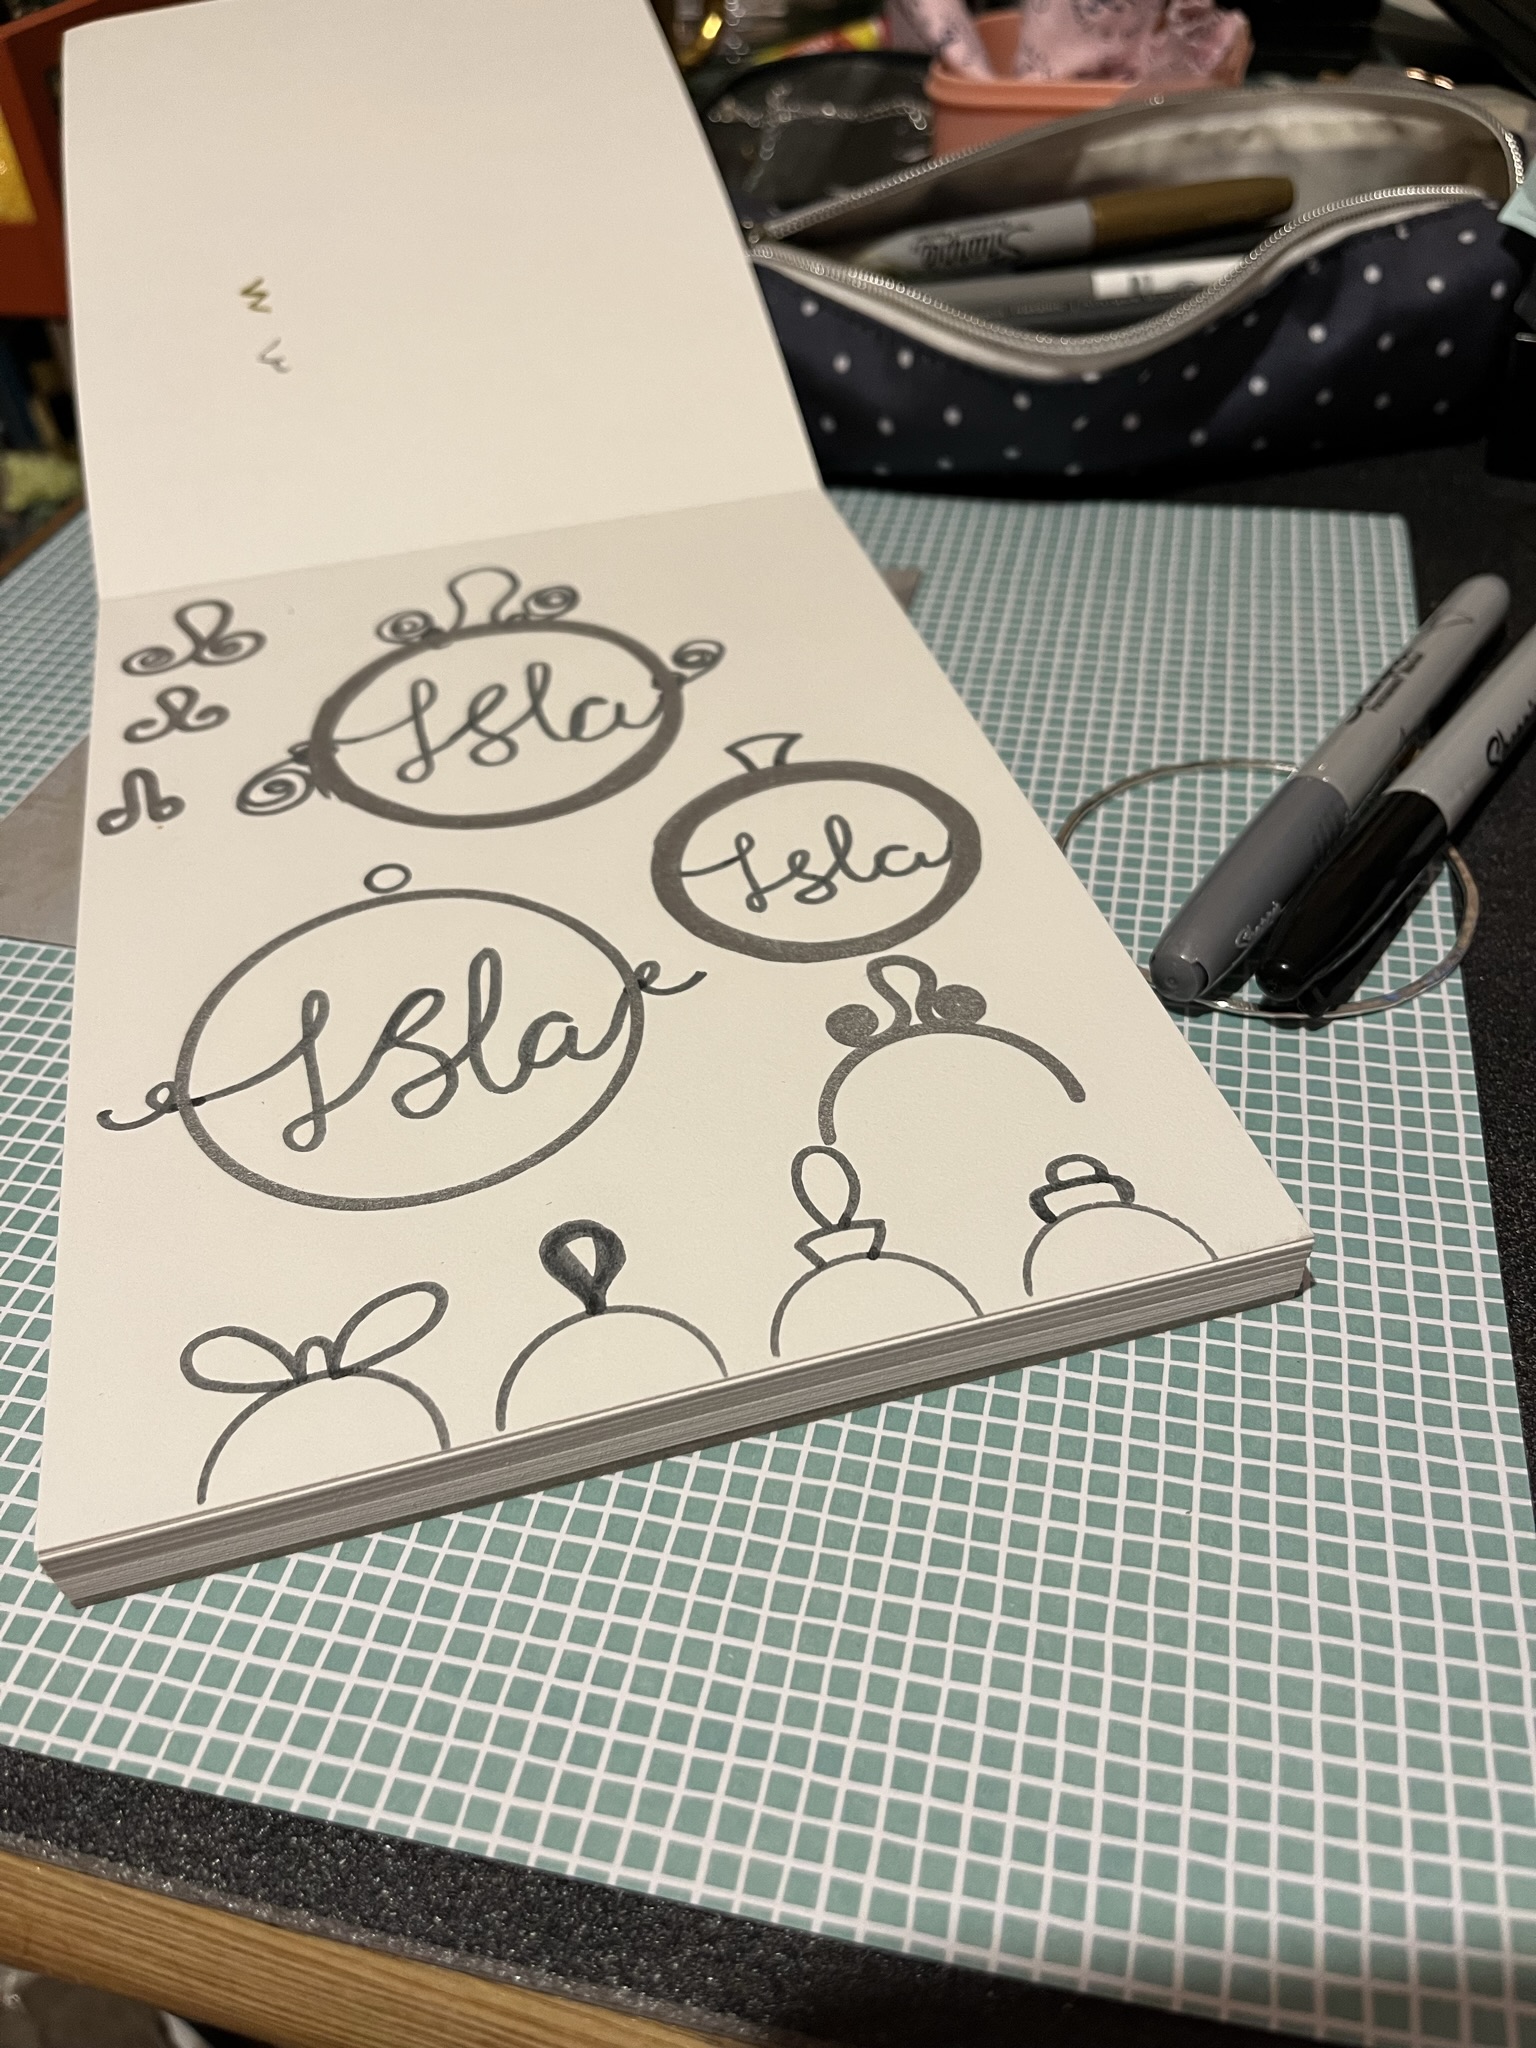
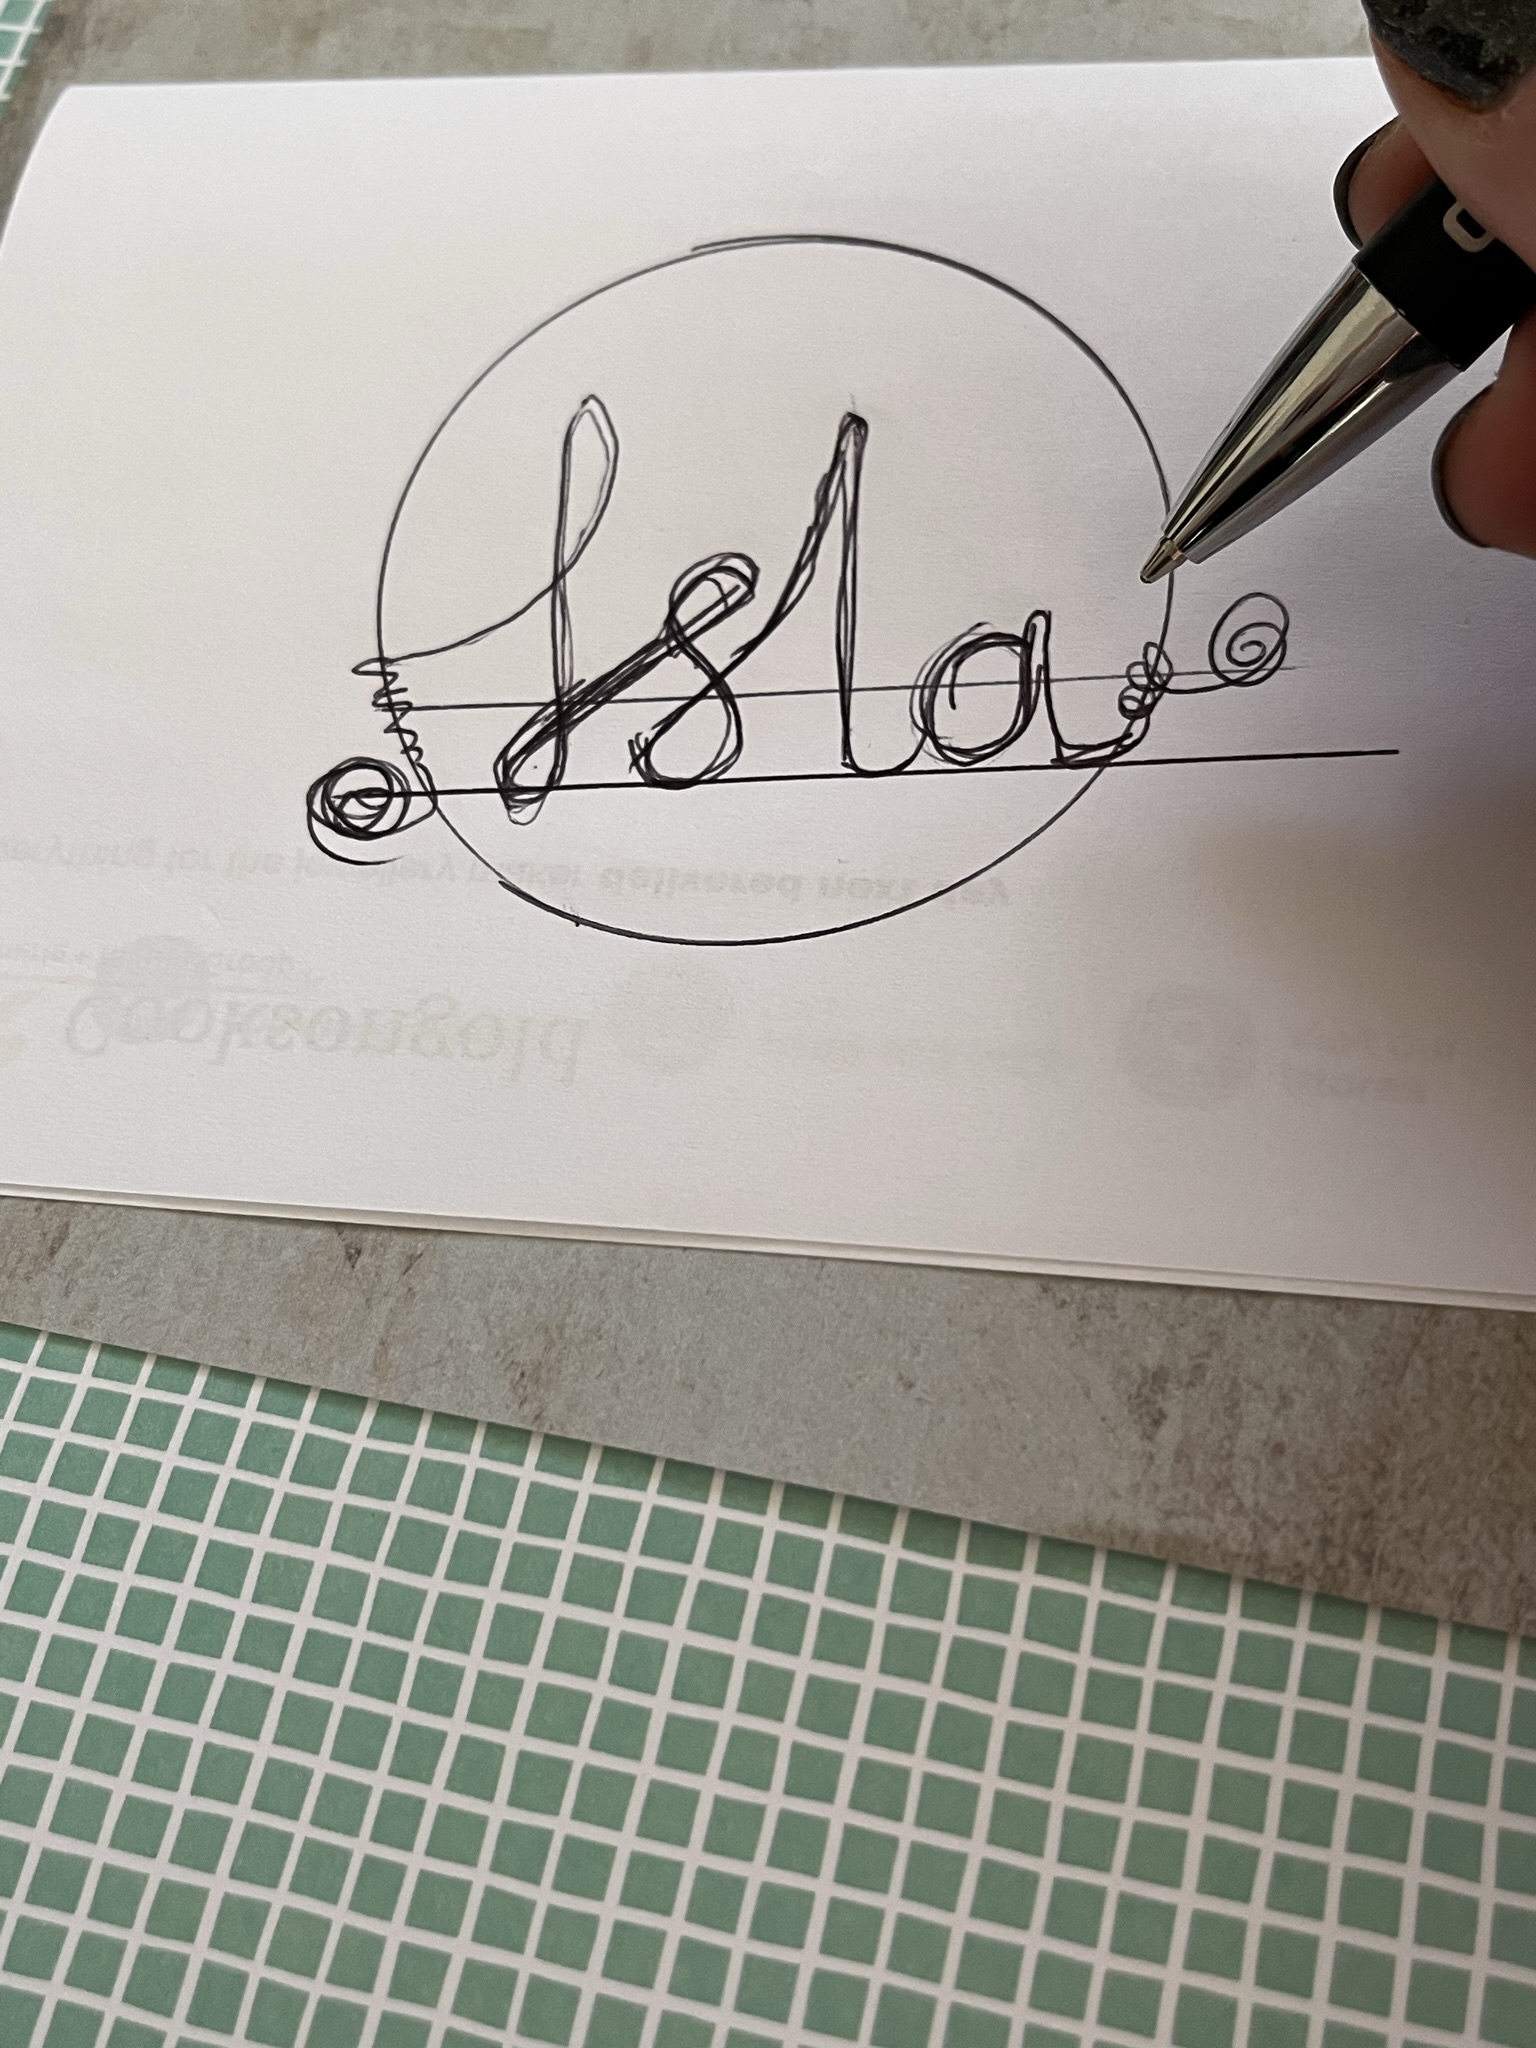
First draw out a circle and compose the writing you’d like inside. The letters will need to join up as they are created using 1 long piece of thin silver wire.
Tip: The bauble featured is 60mm in diameter.
Step 2
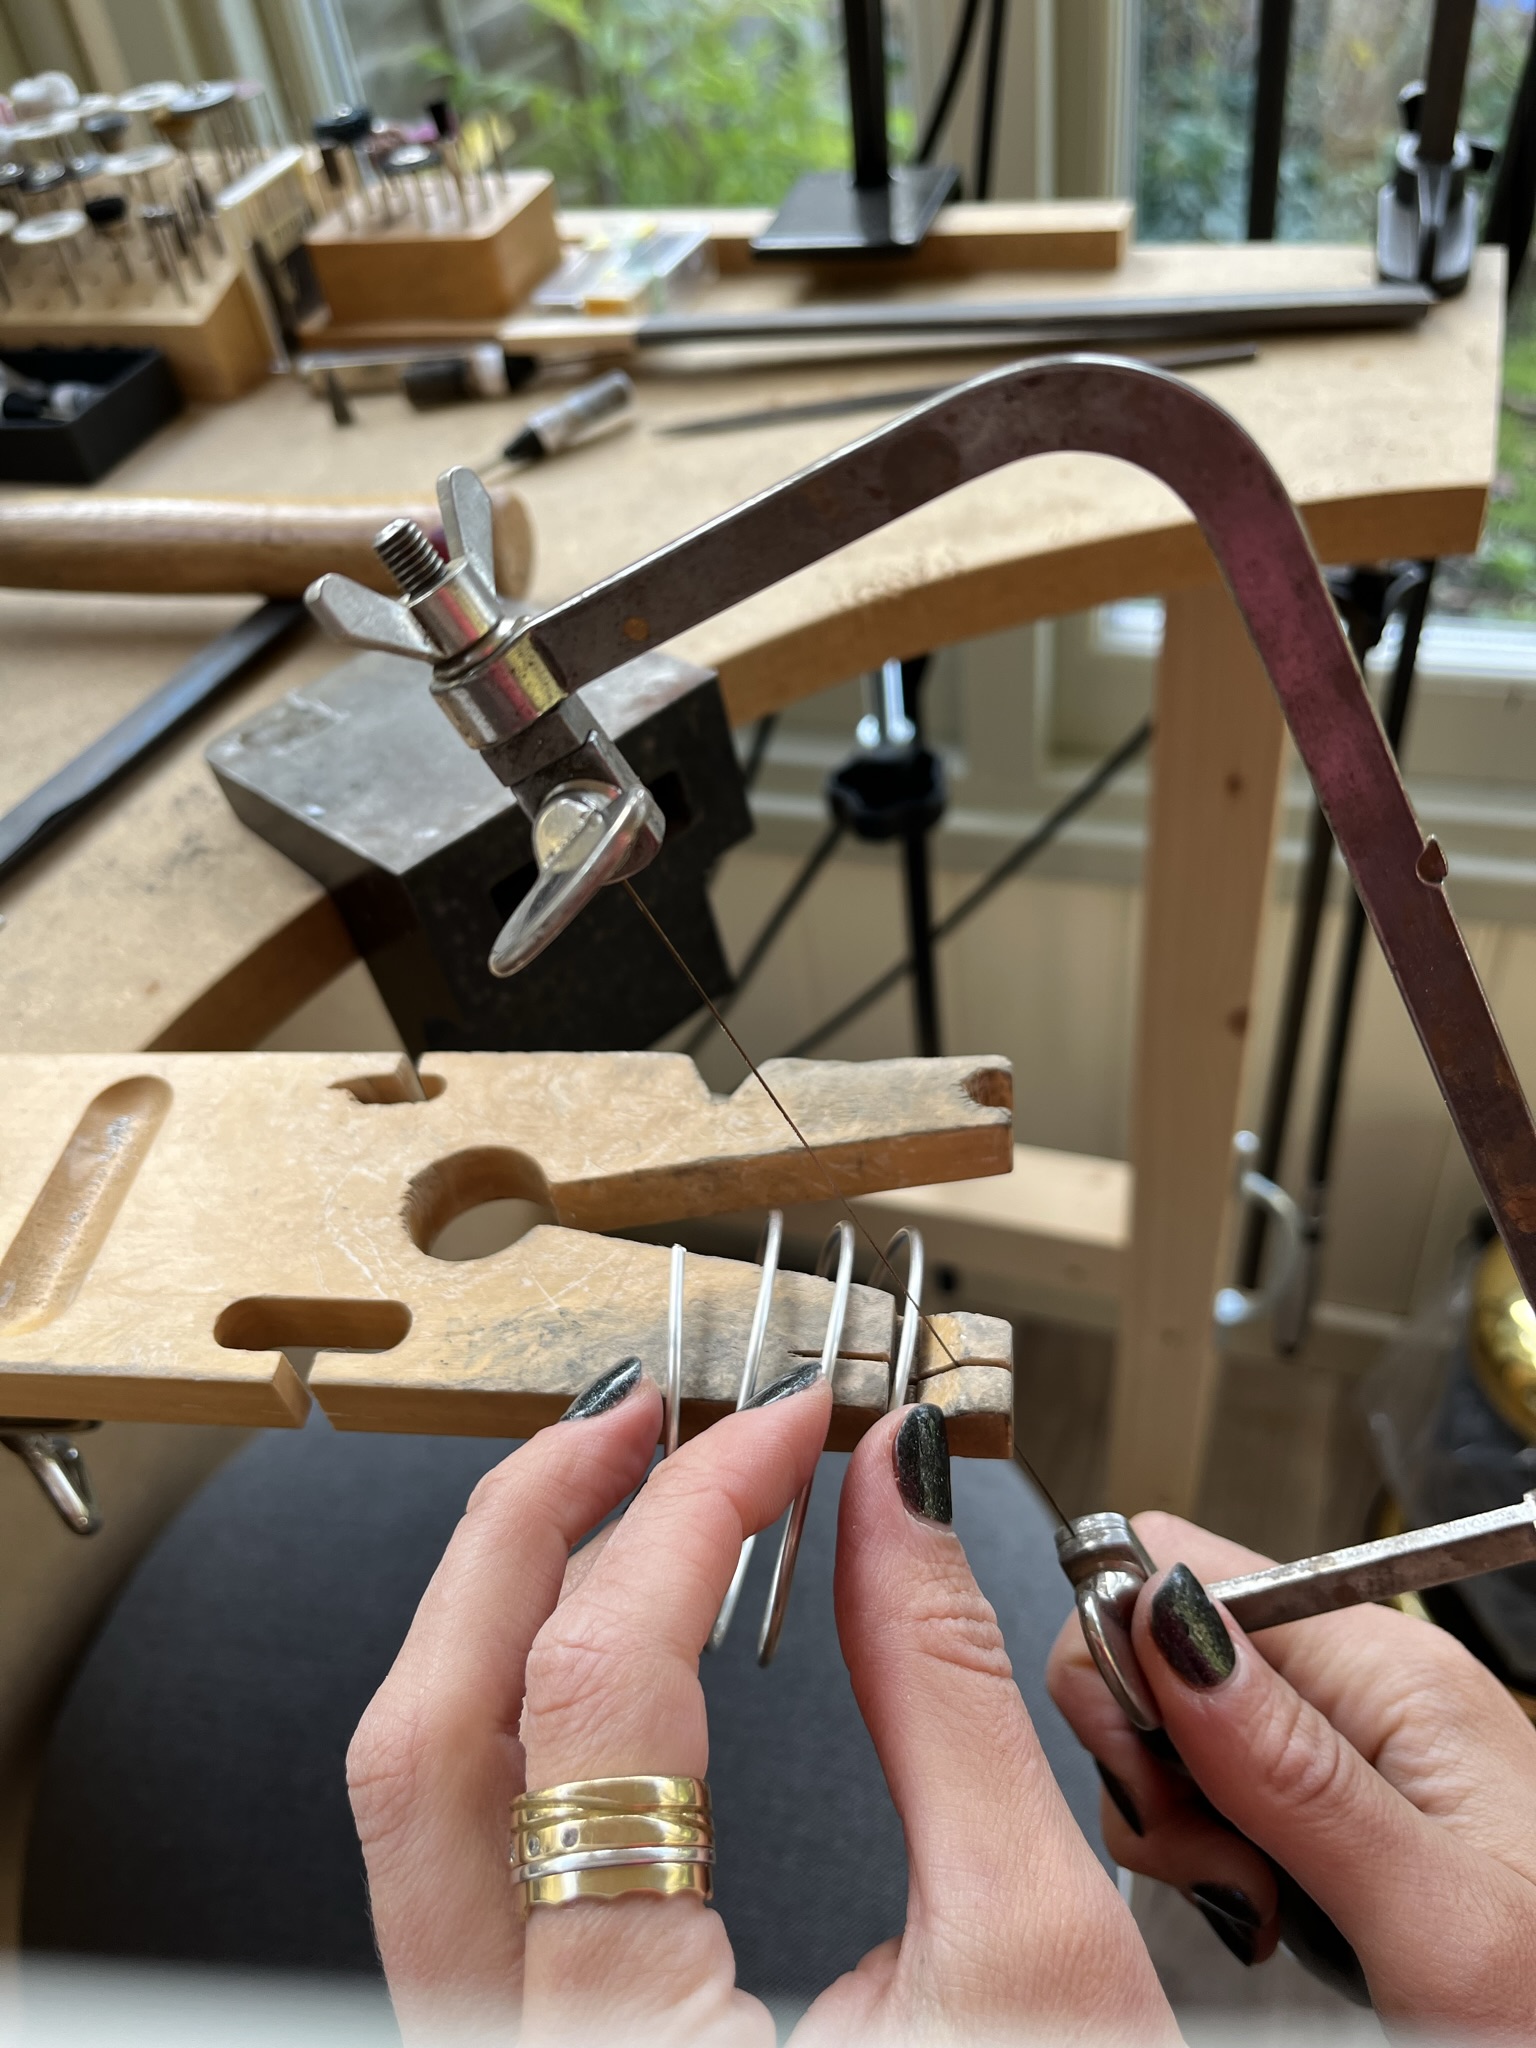
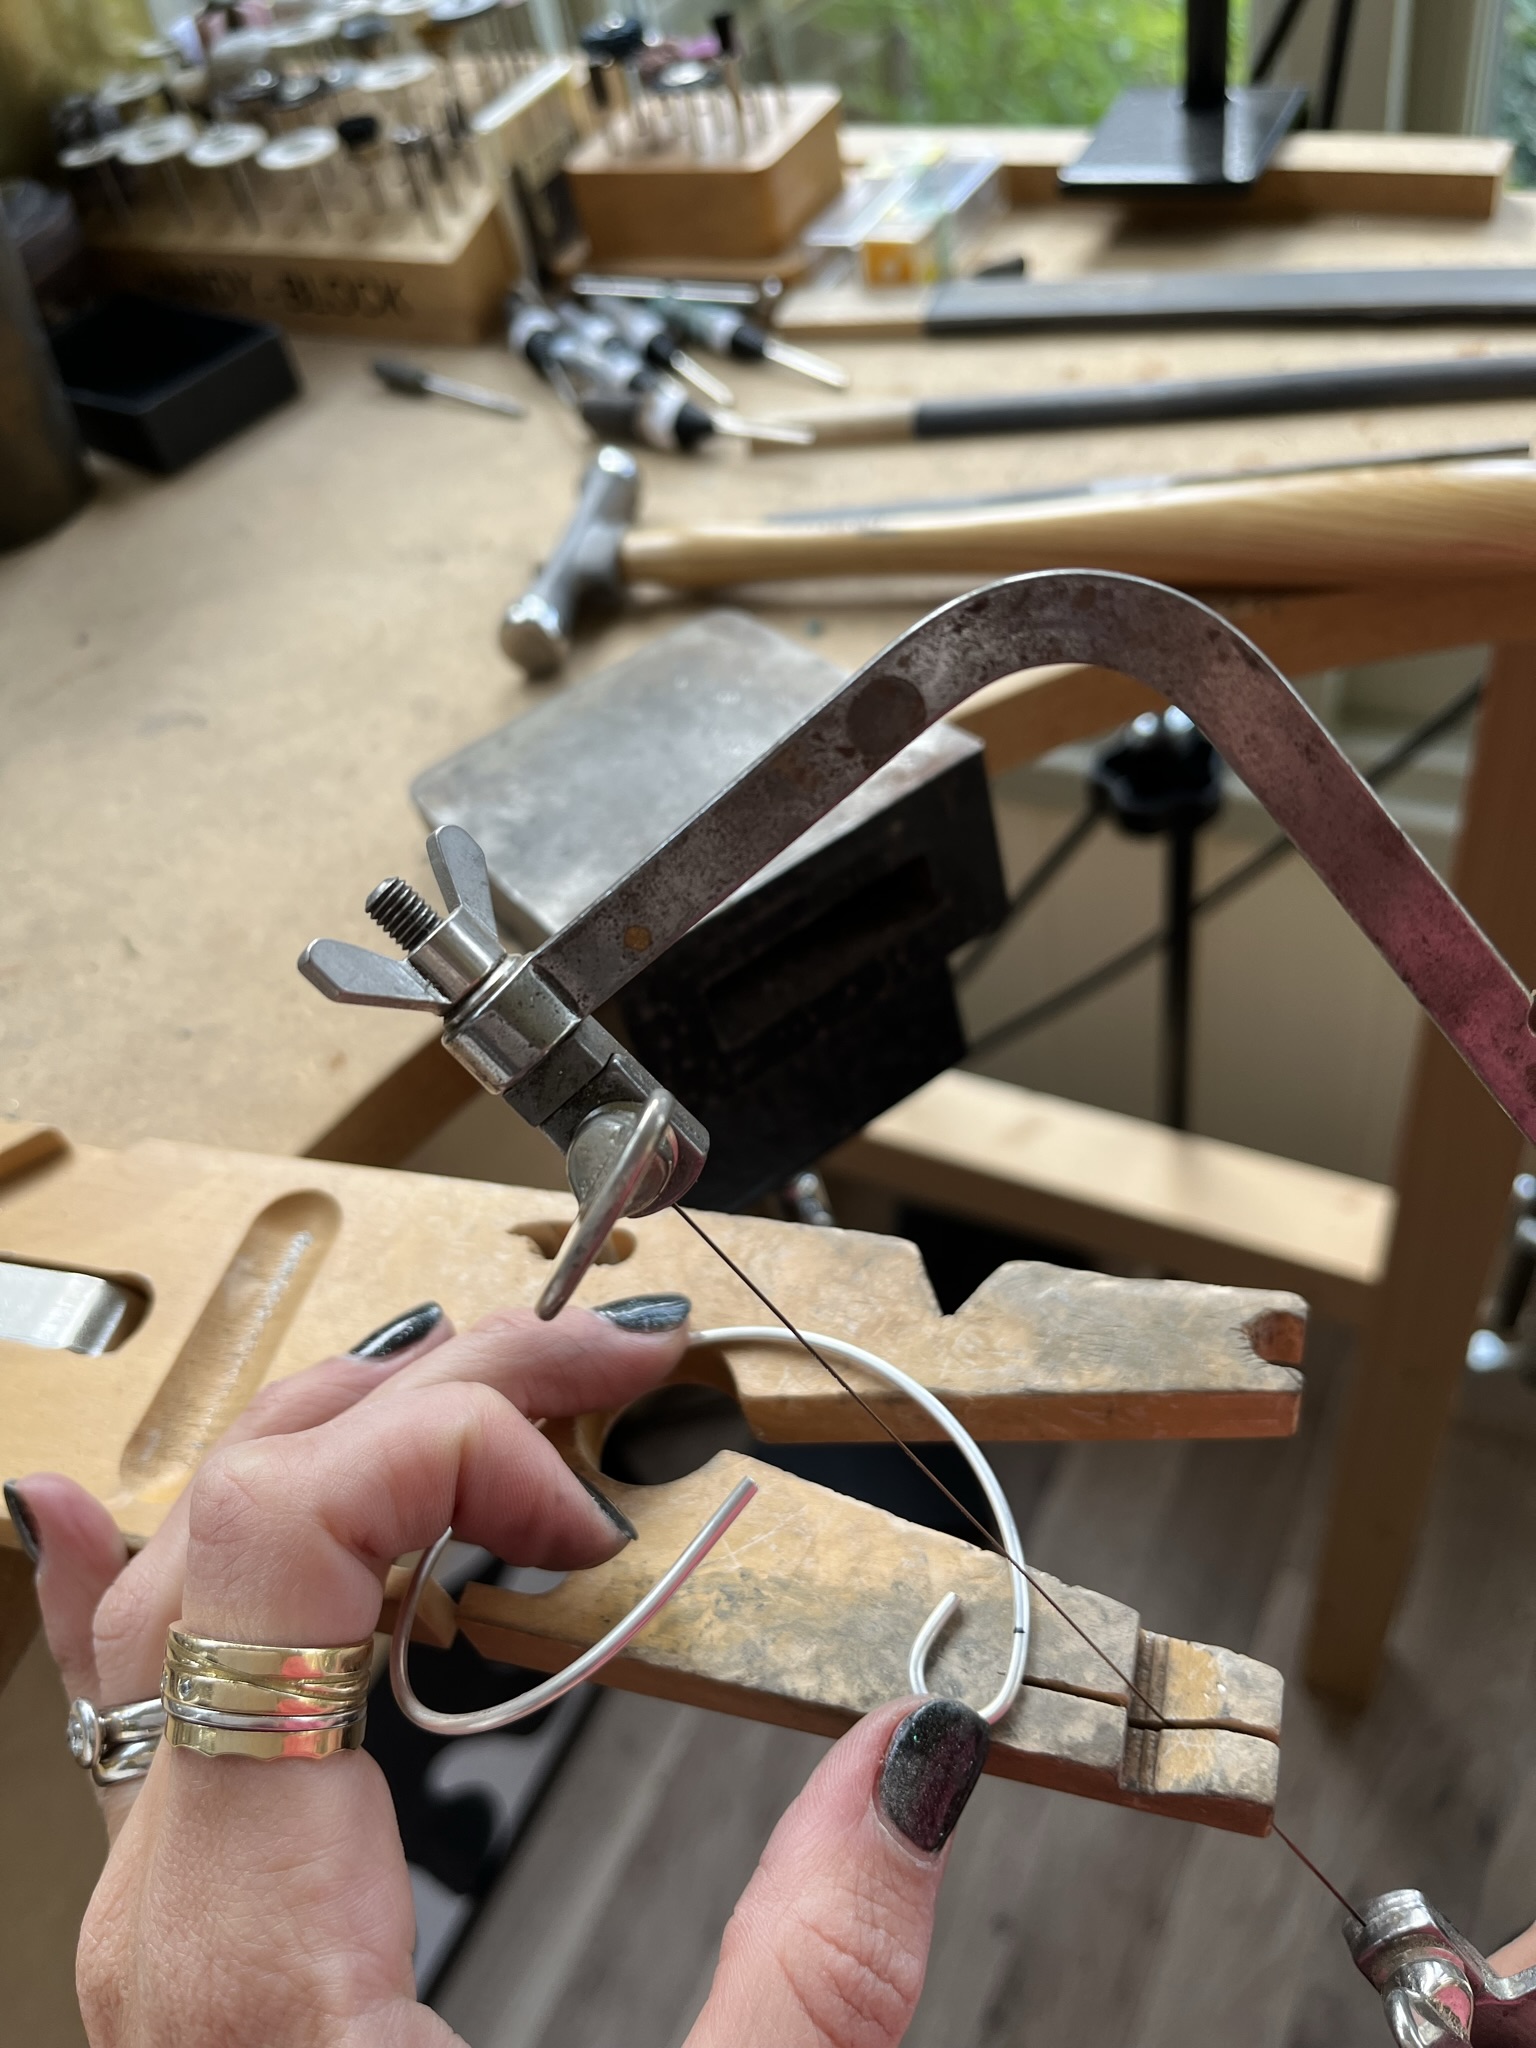
Cut a length of silver wire by resting it against a benchpeg and using a piercing saw.
Step 3
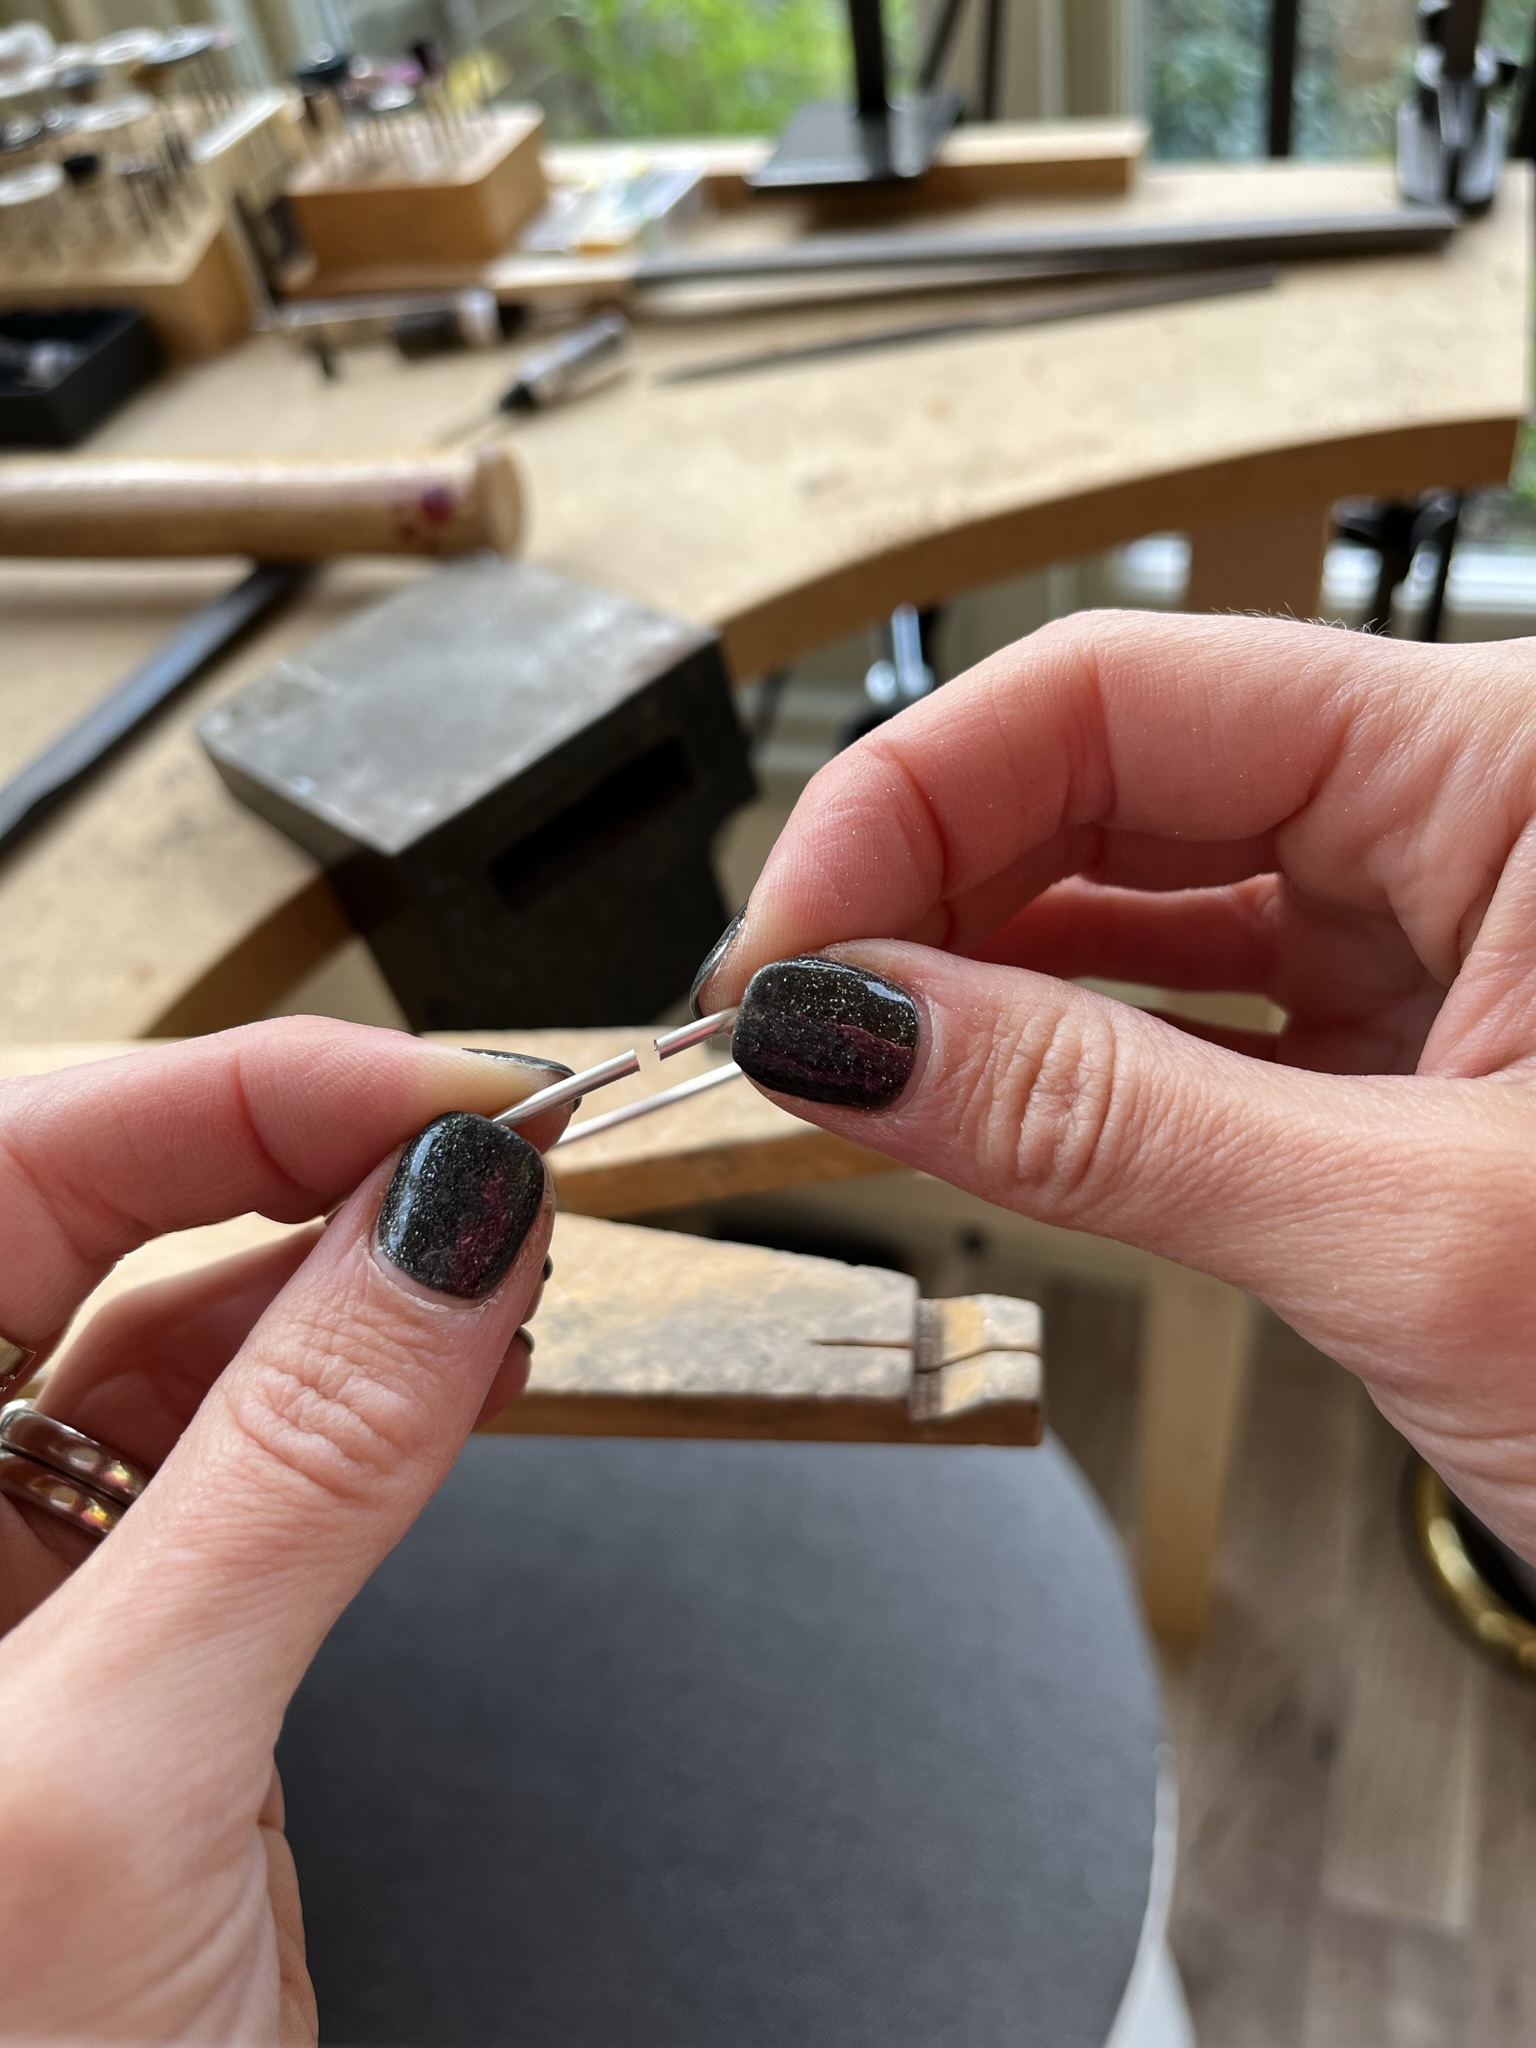
Line up the 2 wire ends so they meet flush. If you can add some tension in the wire so they hold together. You could do this by overlapping the wire and bringing them back together. The wire ends need to meet flush, flat and aligned. Use a flat needle file to file the ends of the wire if they are rough or uneven.
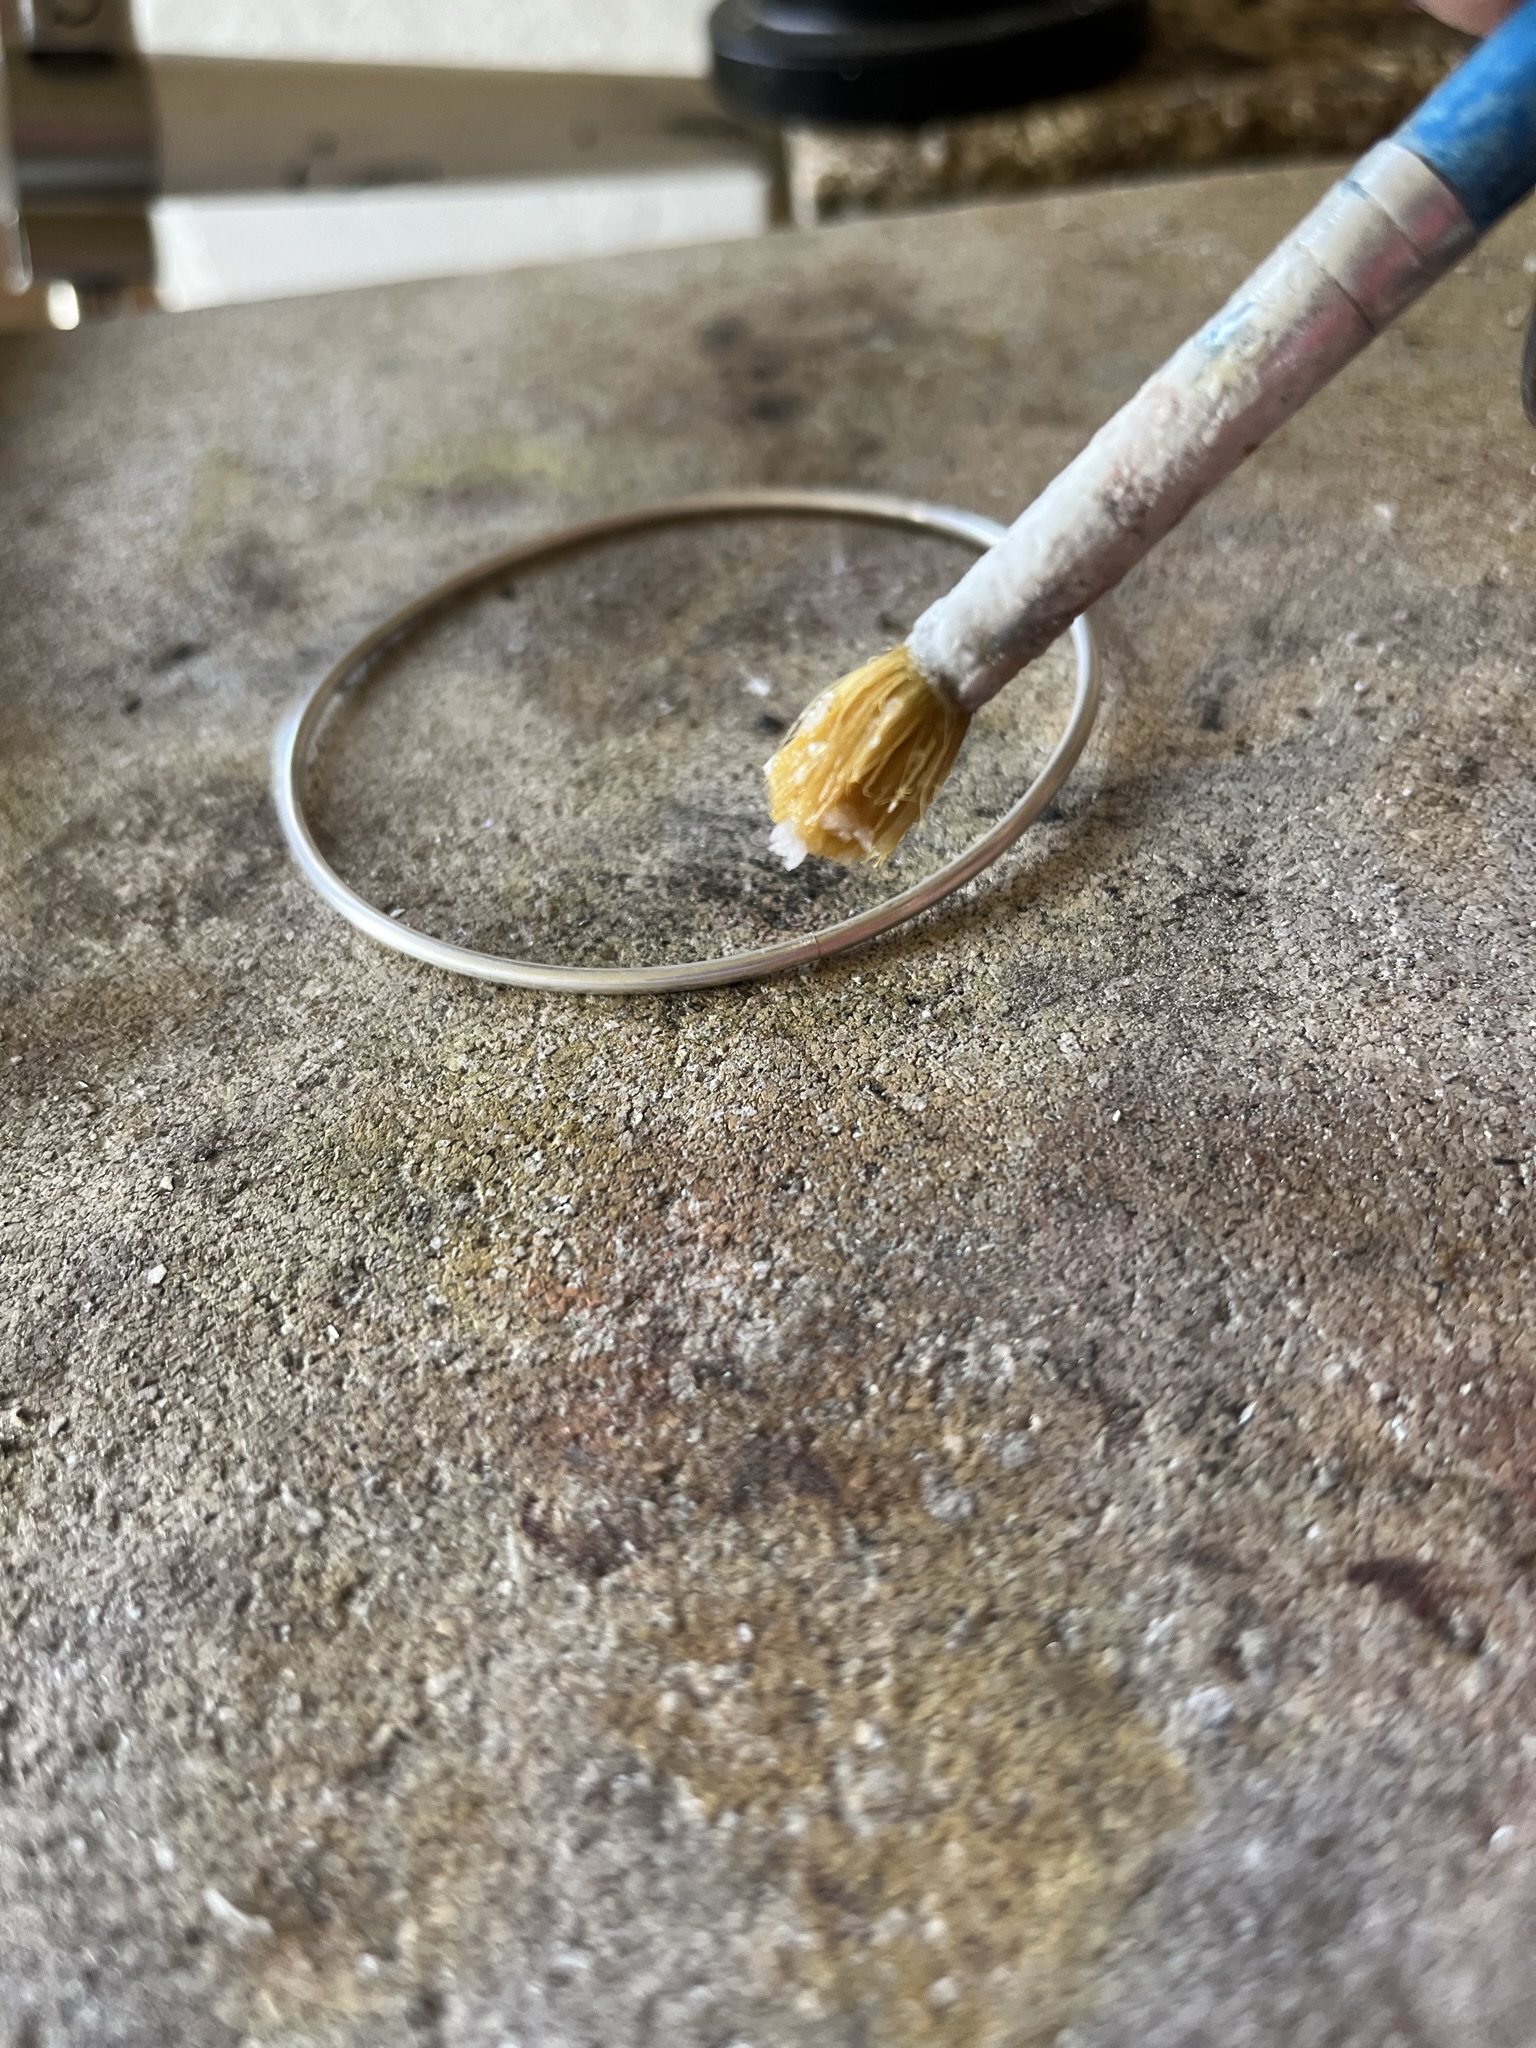
Step 4
Place the circle of wire on a heat proof block and add a small amount of flux to the join. Cut a small piece of hard solder (approximately 1mm x 2mm) and place this on the join.
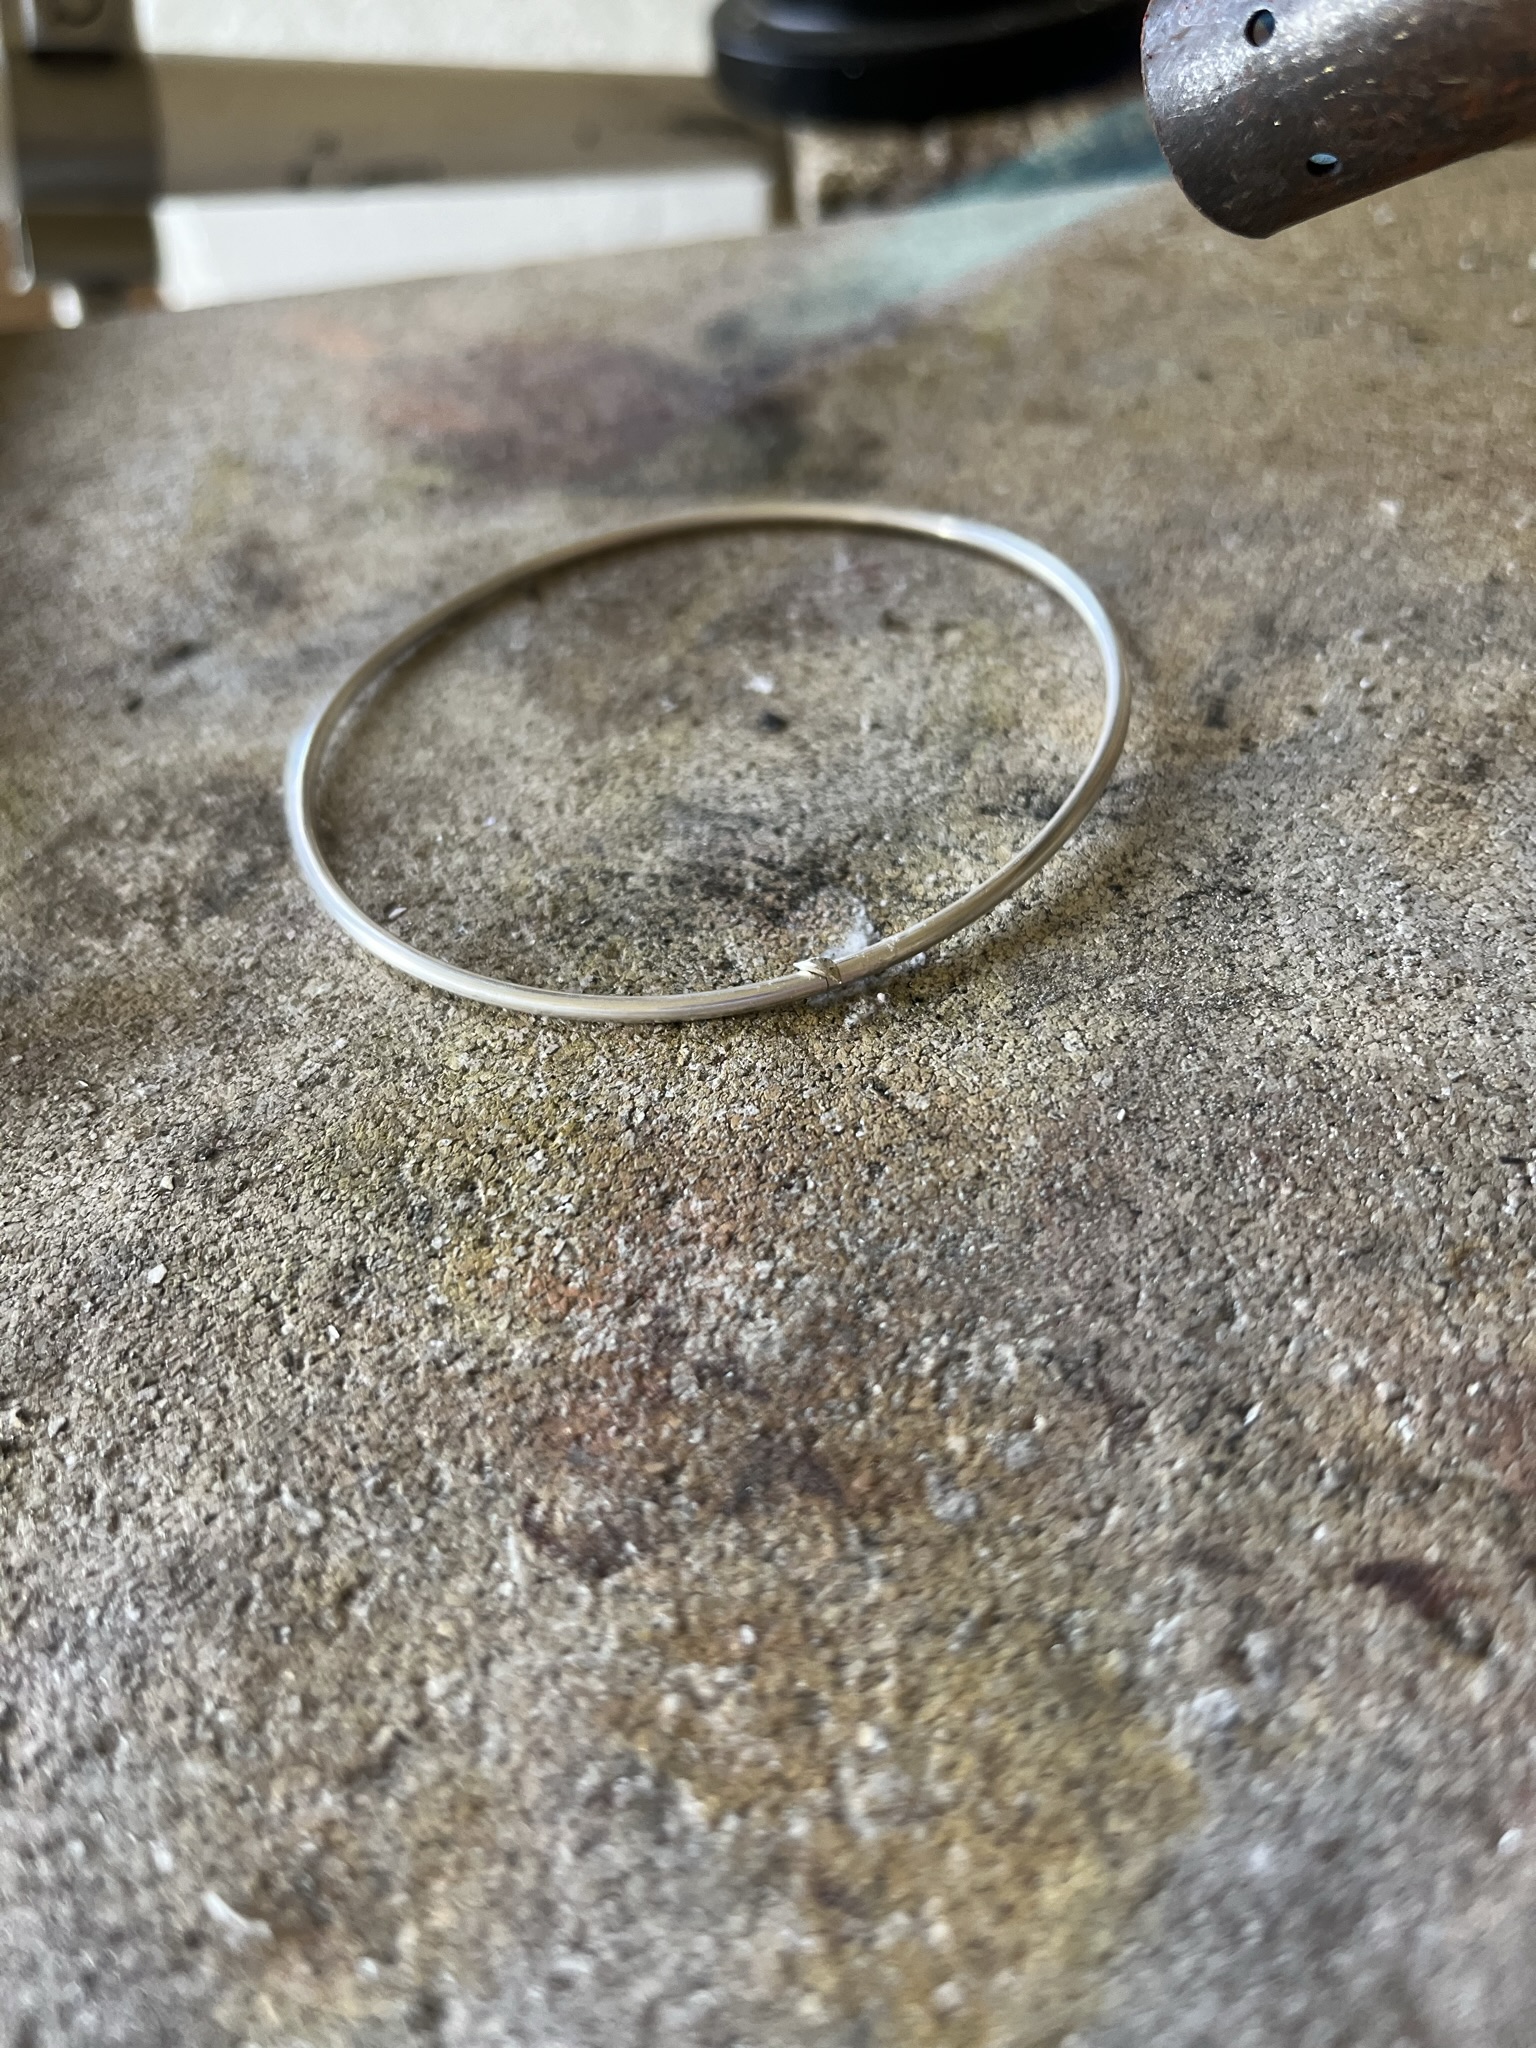
Step 5
Heat the silver wire evenly using a hand blow torch until the solder melts and flows.
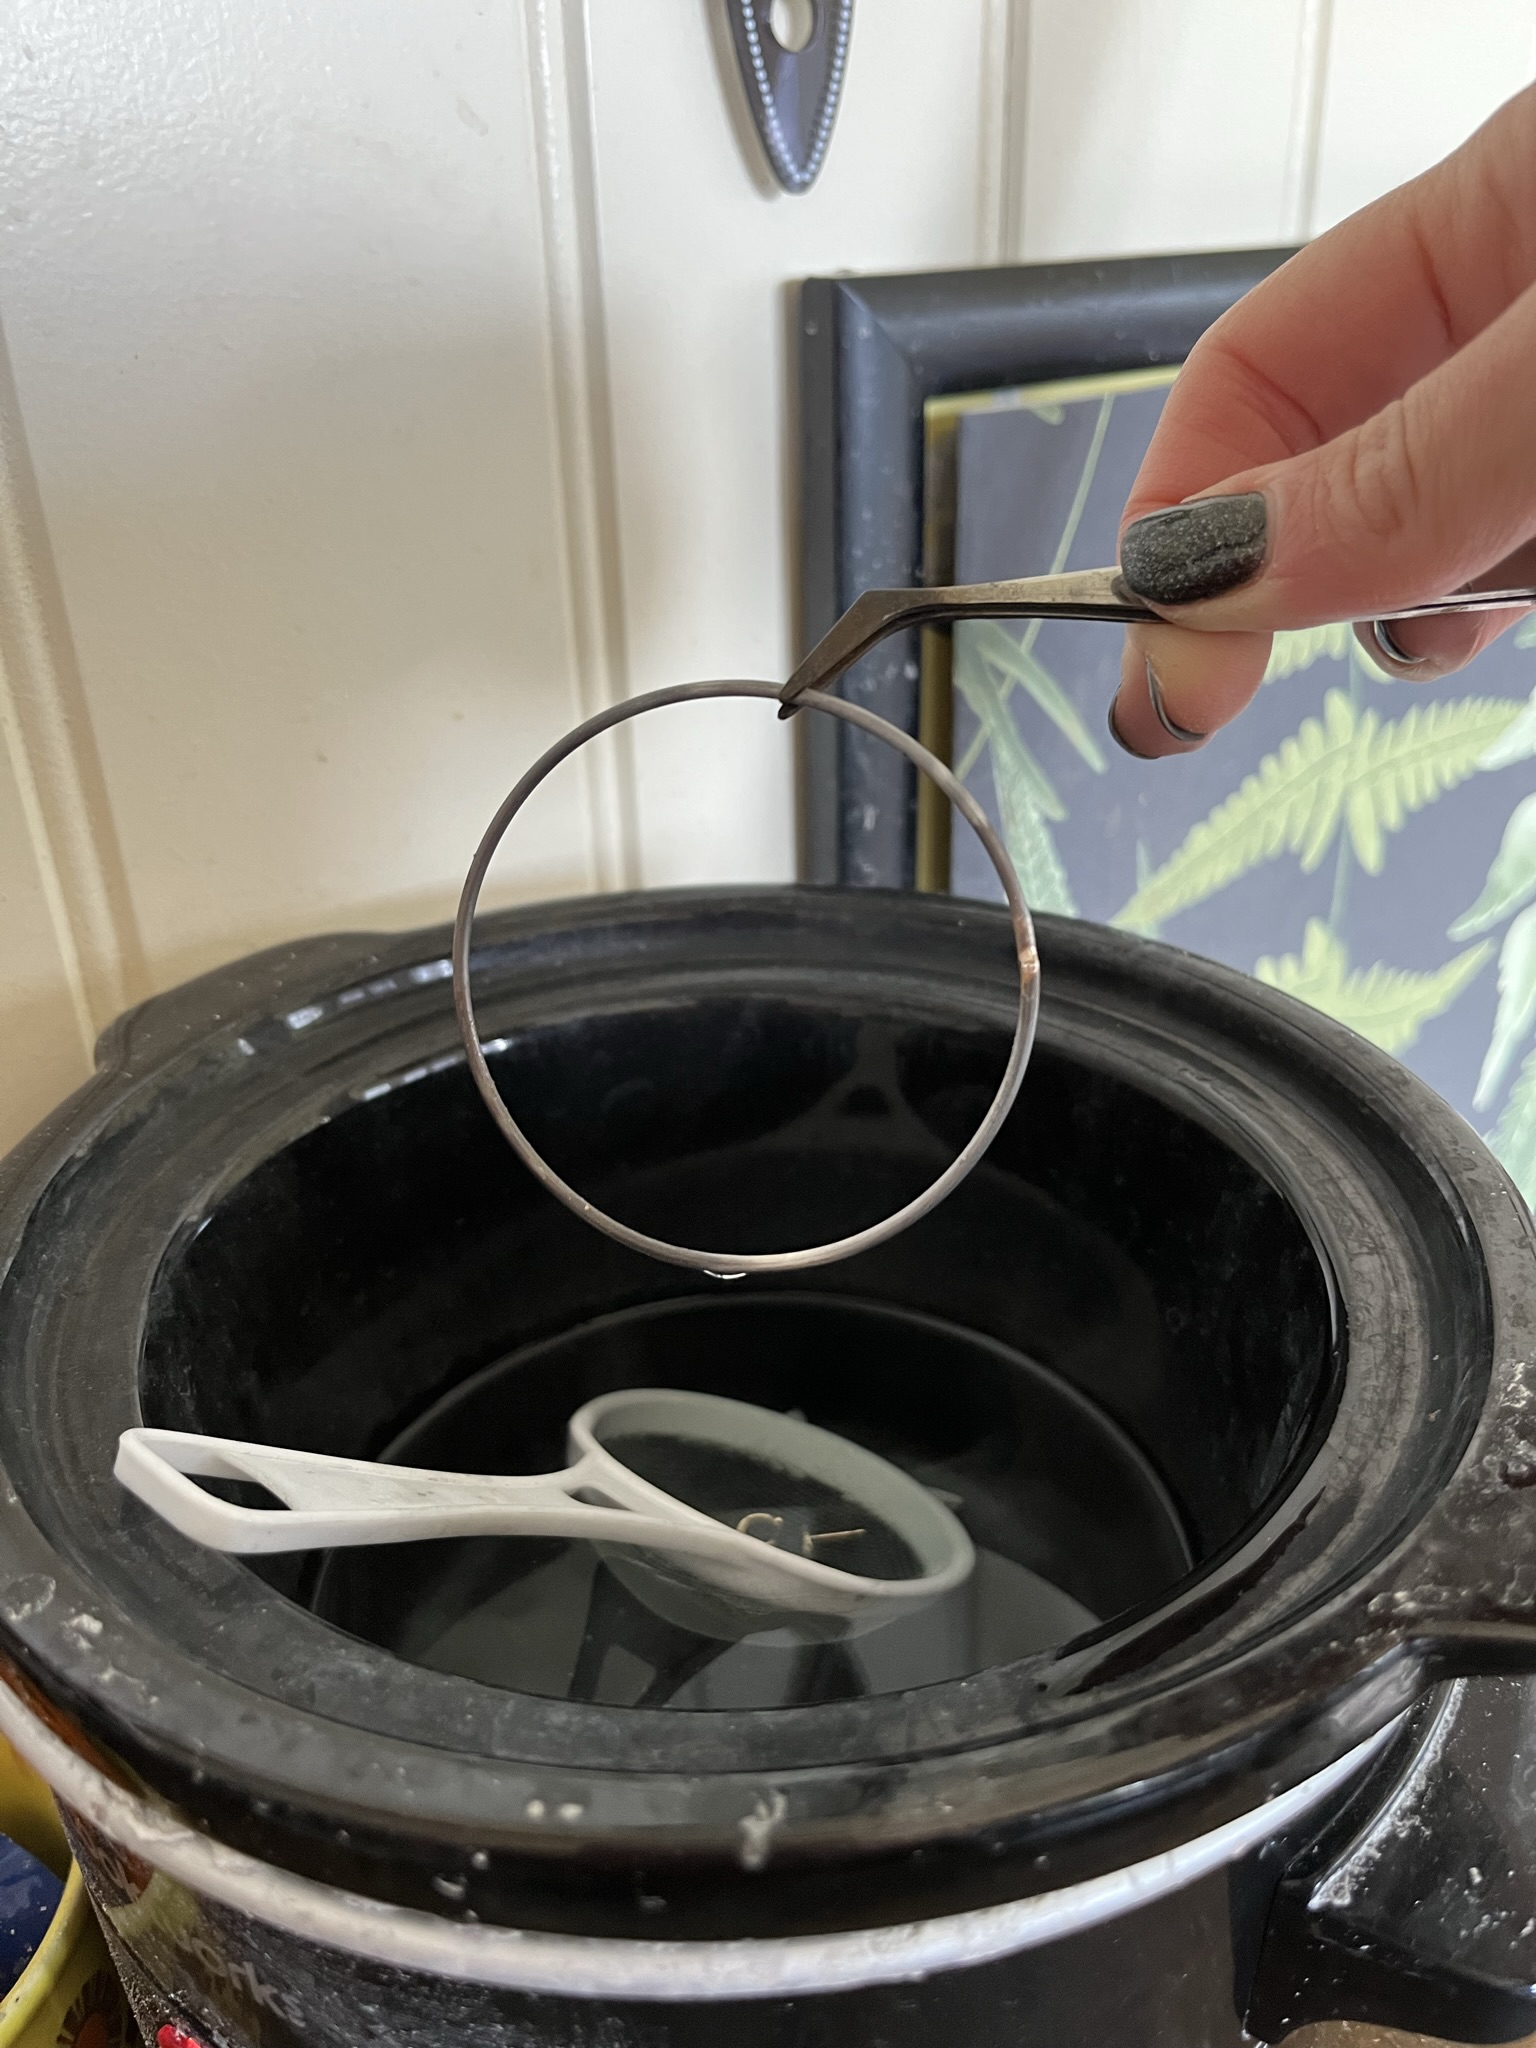
Step 6
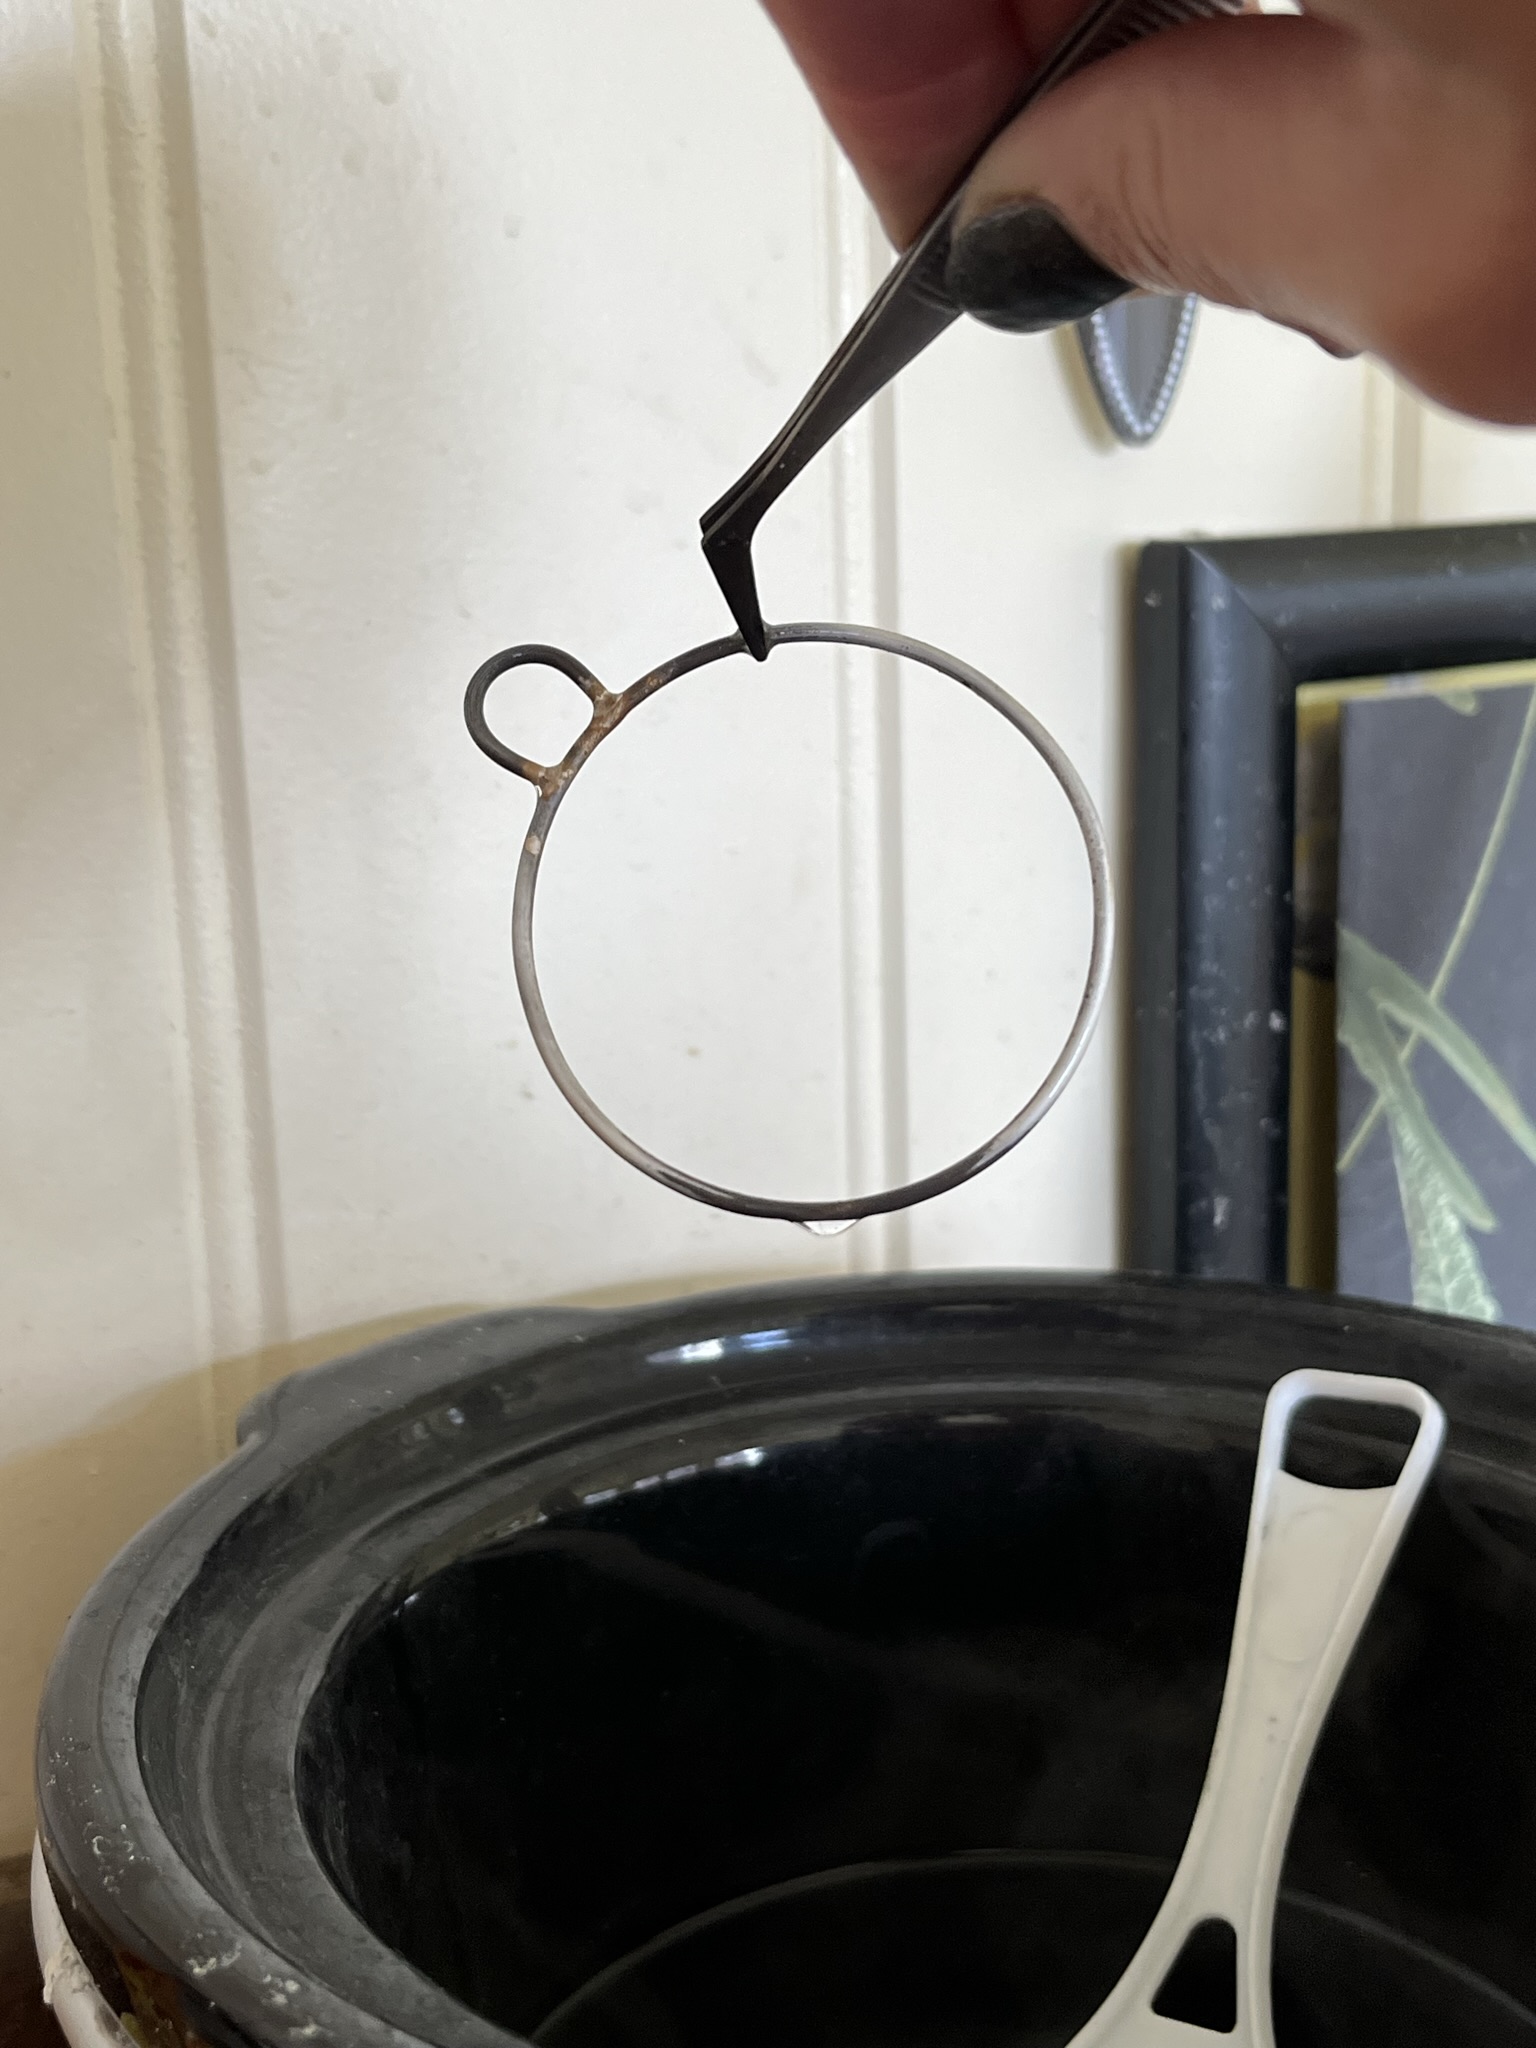
Leave the silver wire to cool for 2 minutes before quenching (cooling) in water using tweezers and placing in a warm safety pickle solution. Leave for 5 minutes or until and clean and remove with plastic tweezers.
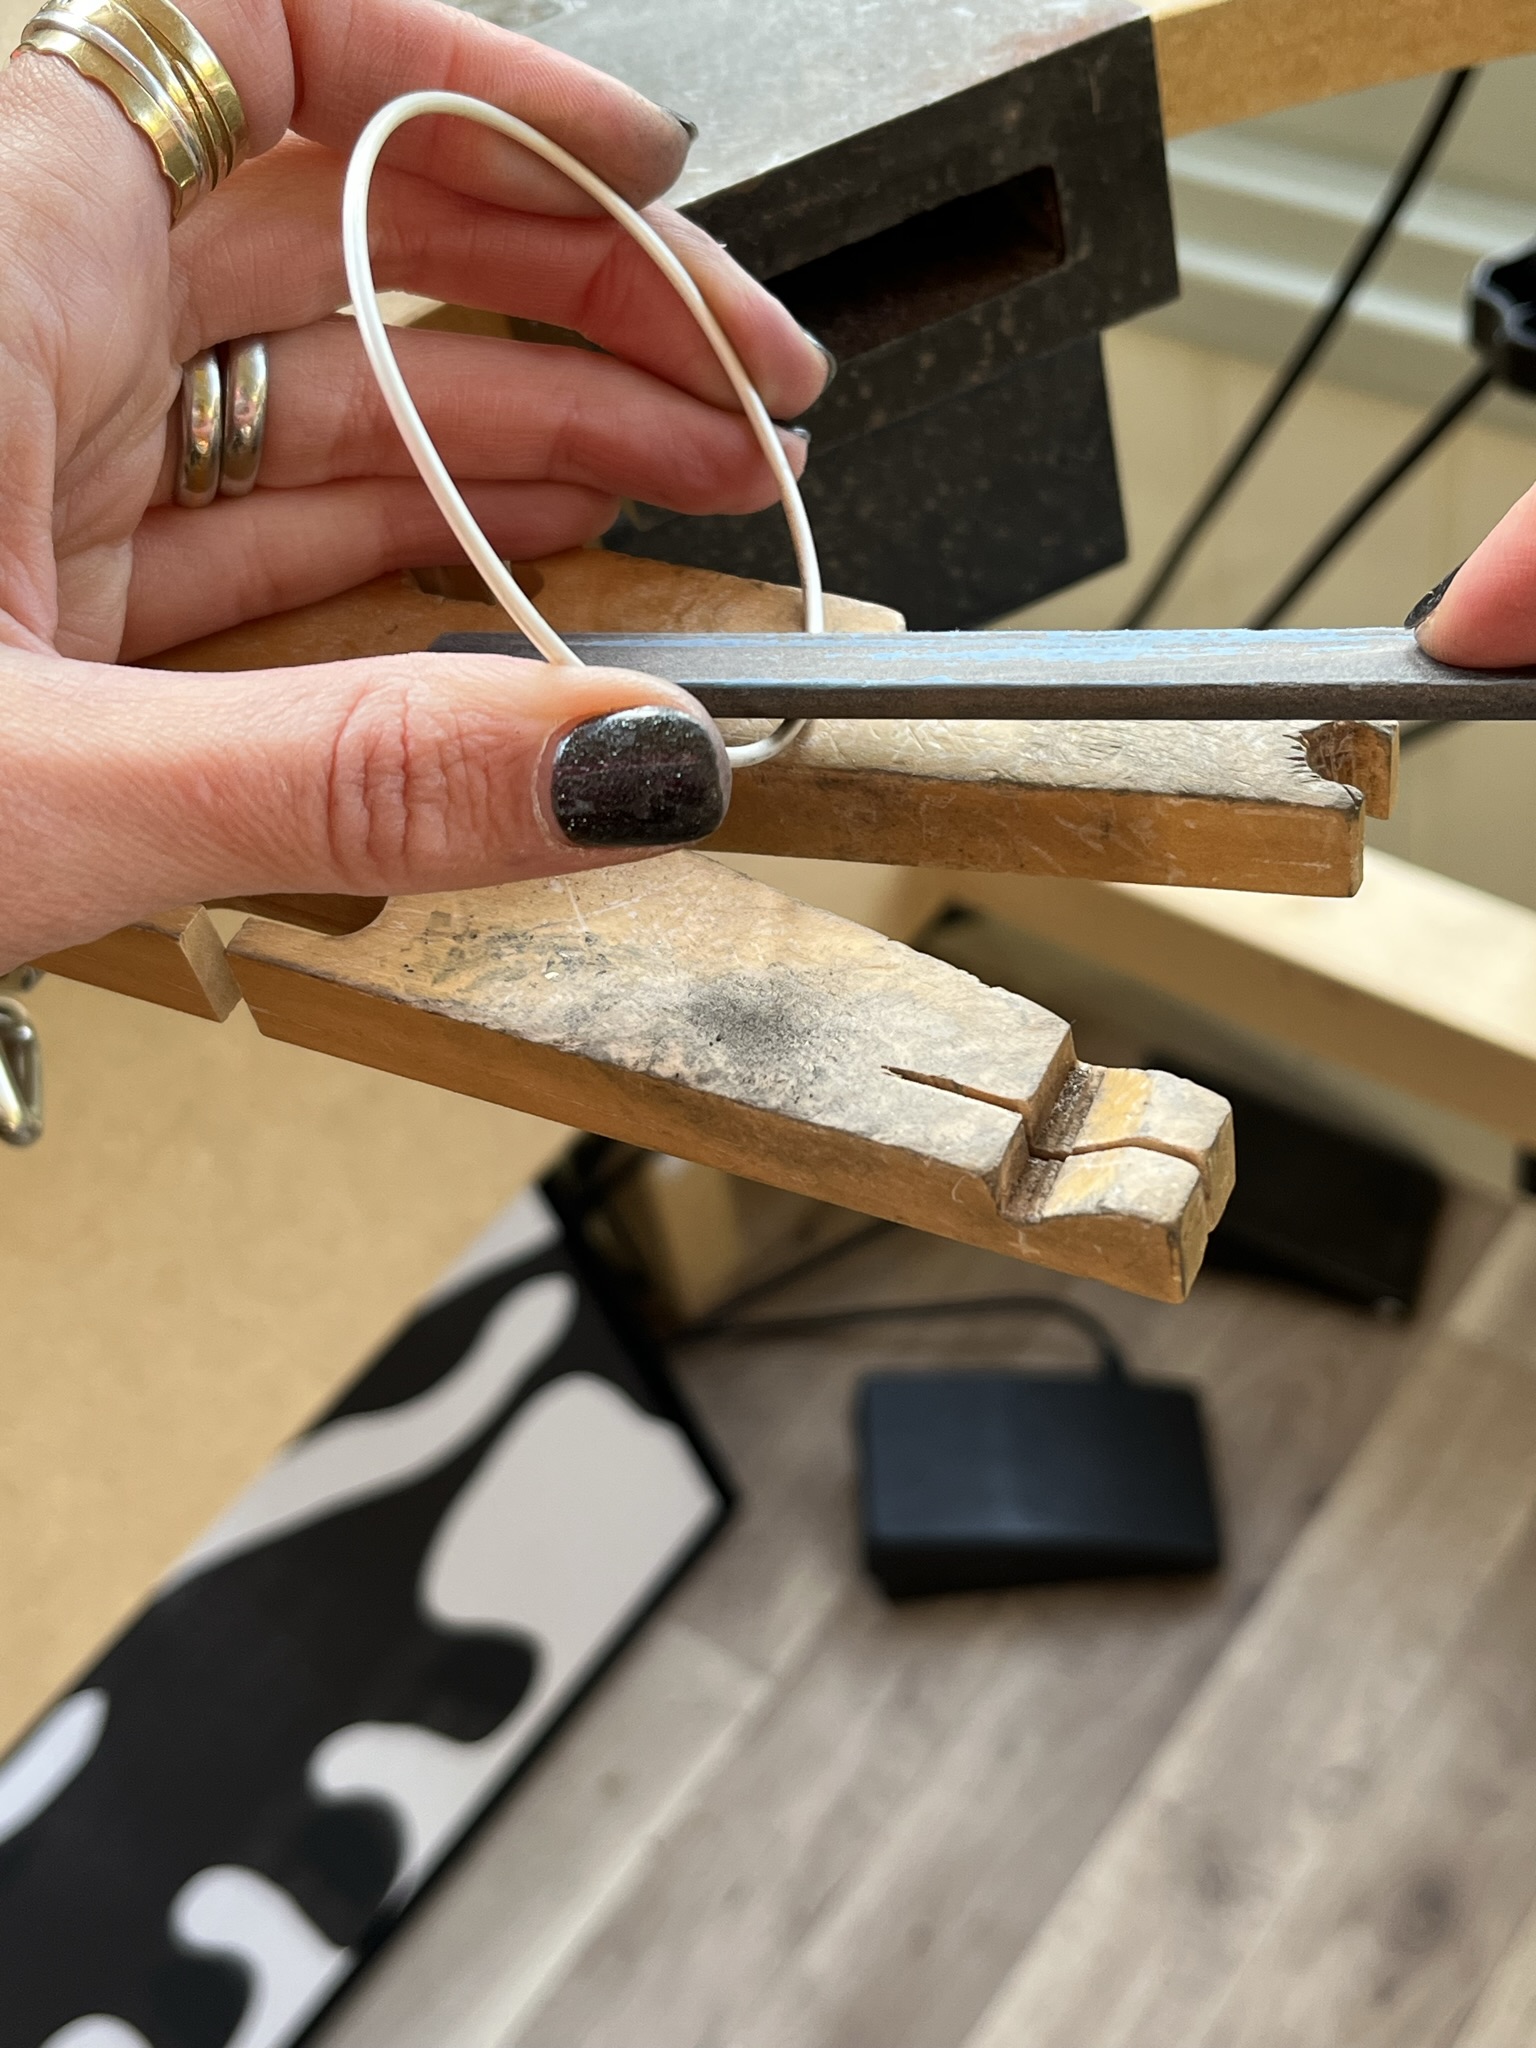
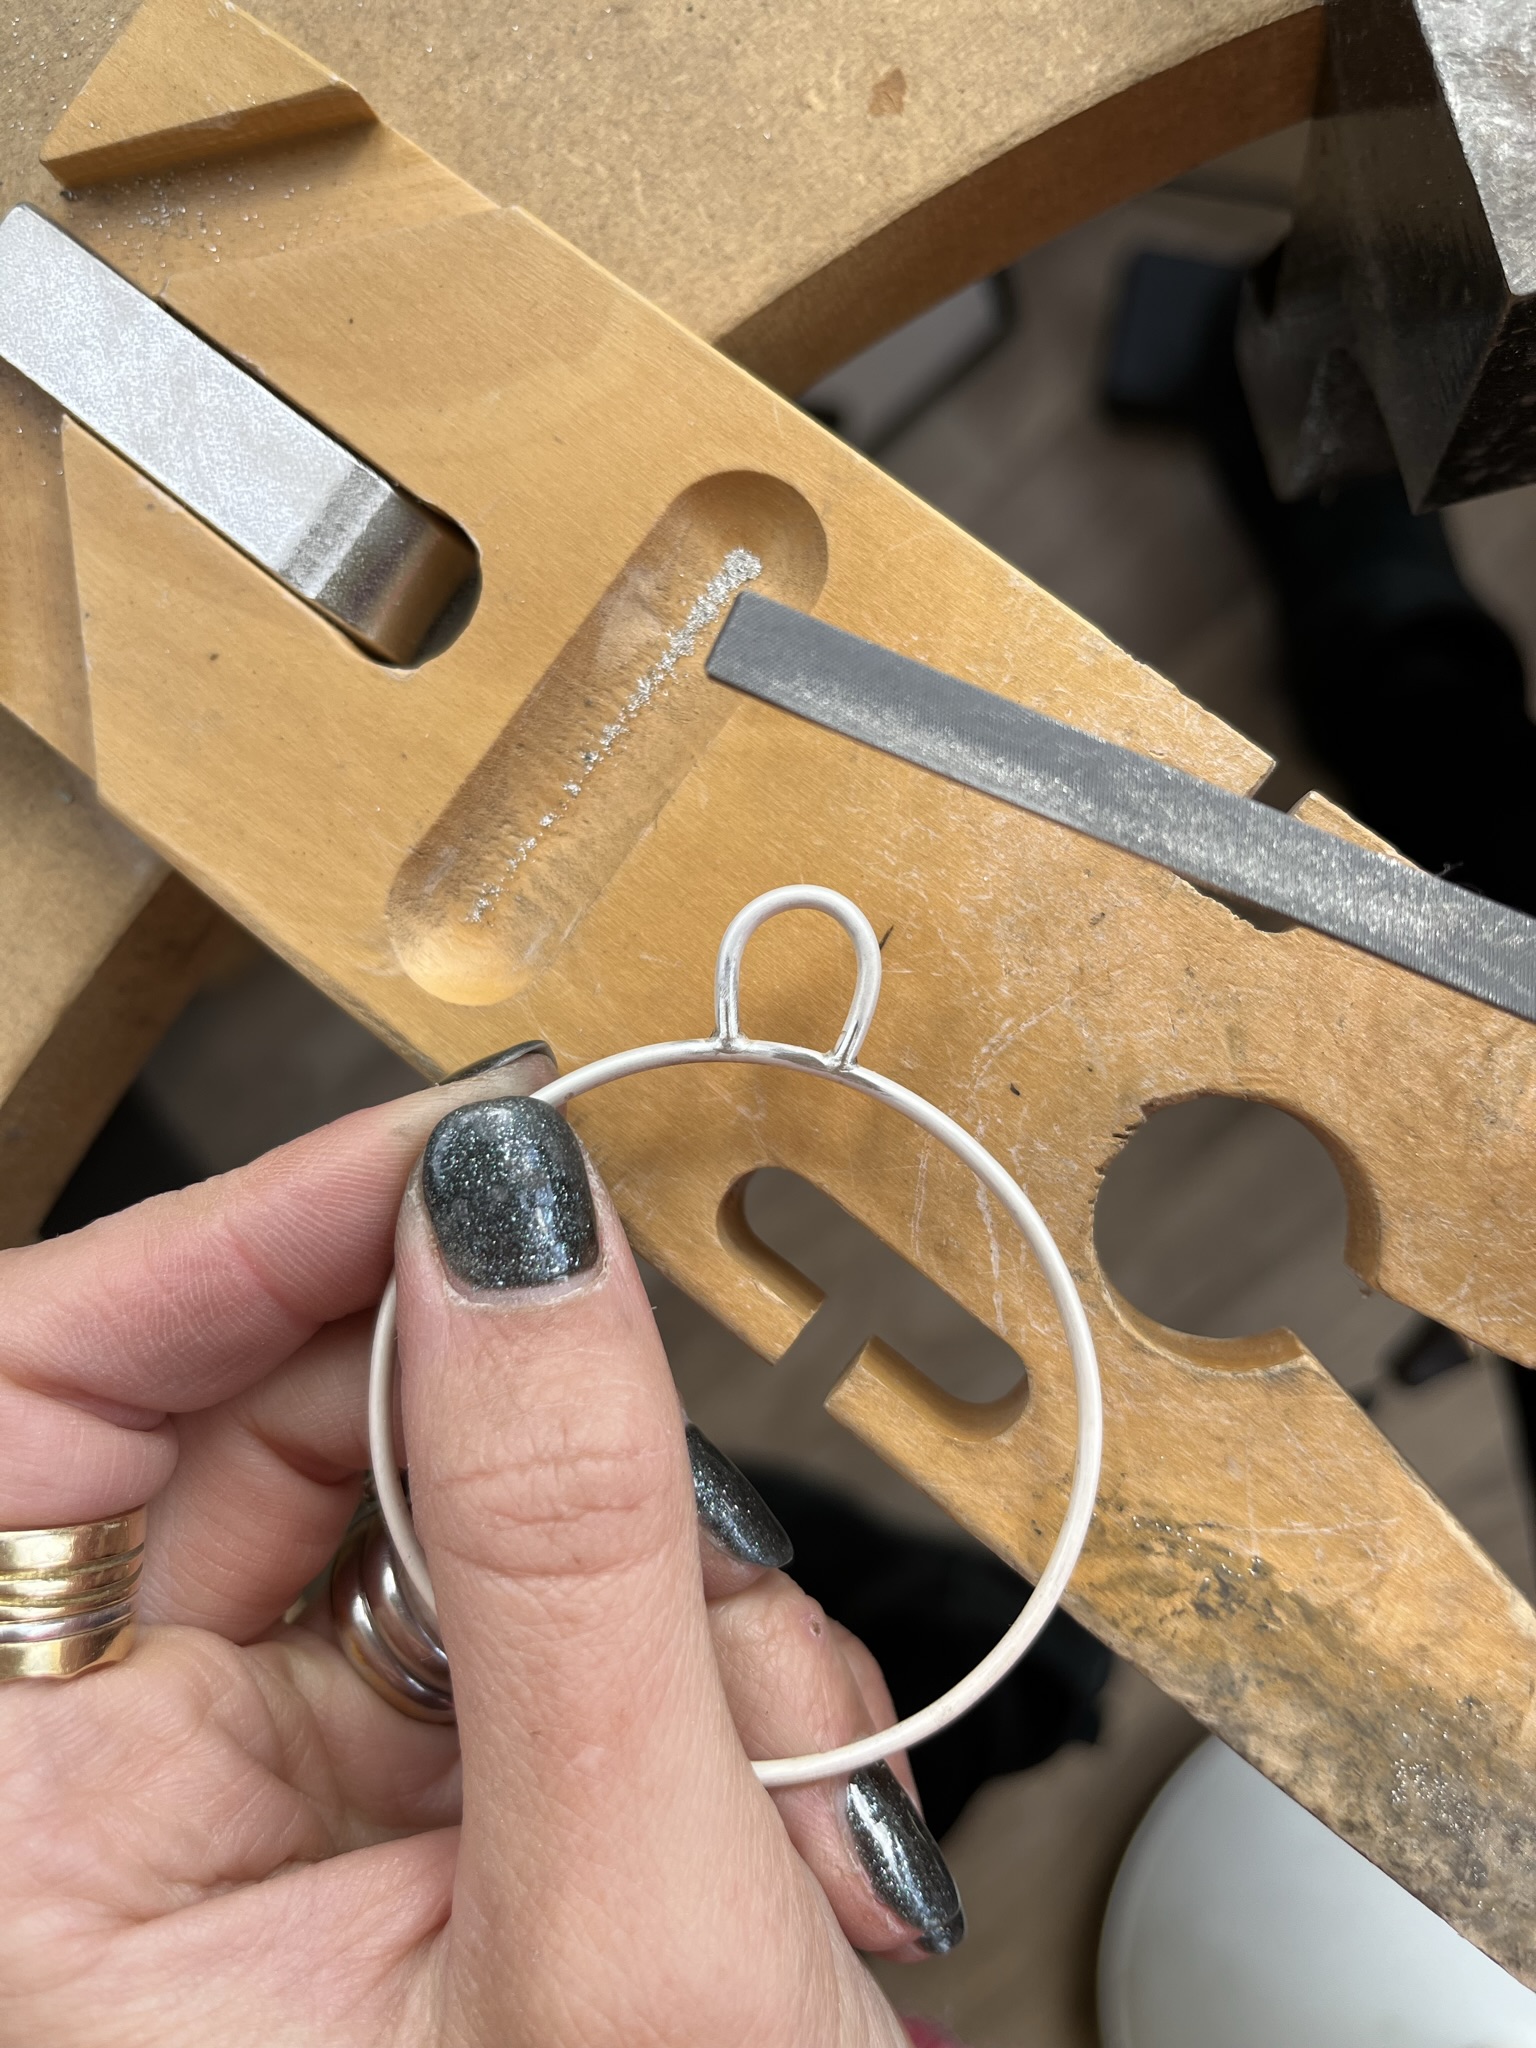
Step 7
When clean and dry remove any excess solder using needle files and then emery sticks, working from coarsest to smoothest. Rest the silver wire circle on a benchpeg for support and use long smooth strokes following the form of the round wire.
Step 8
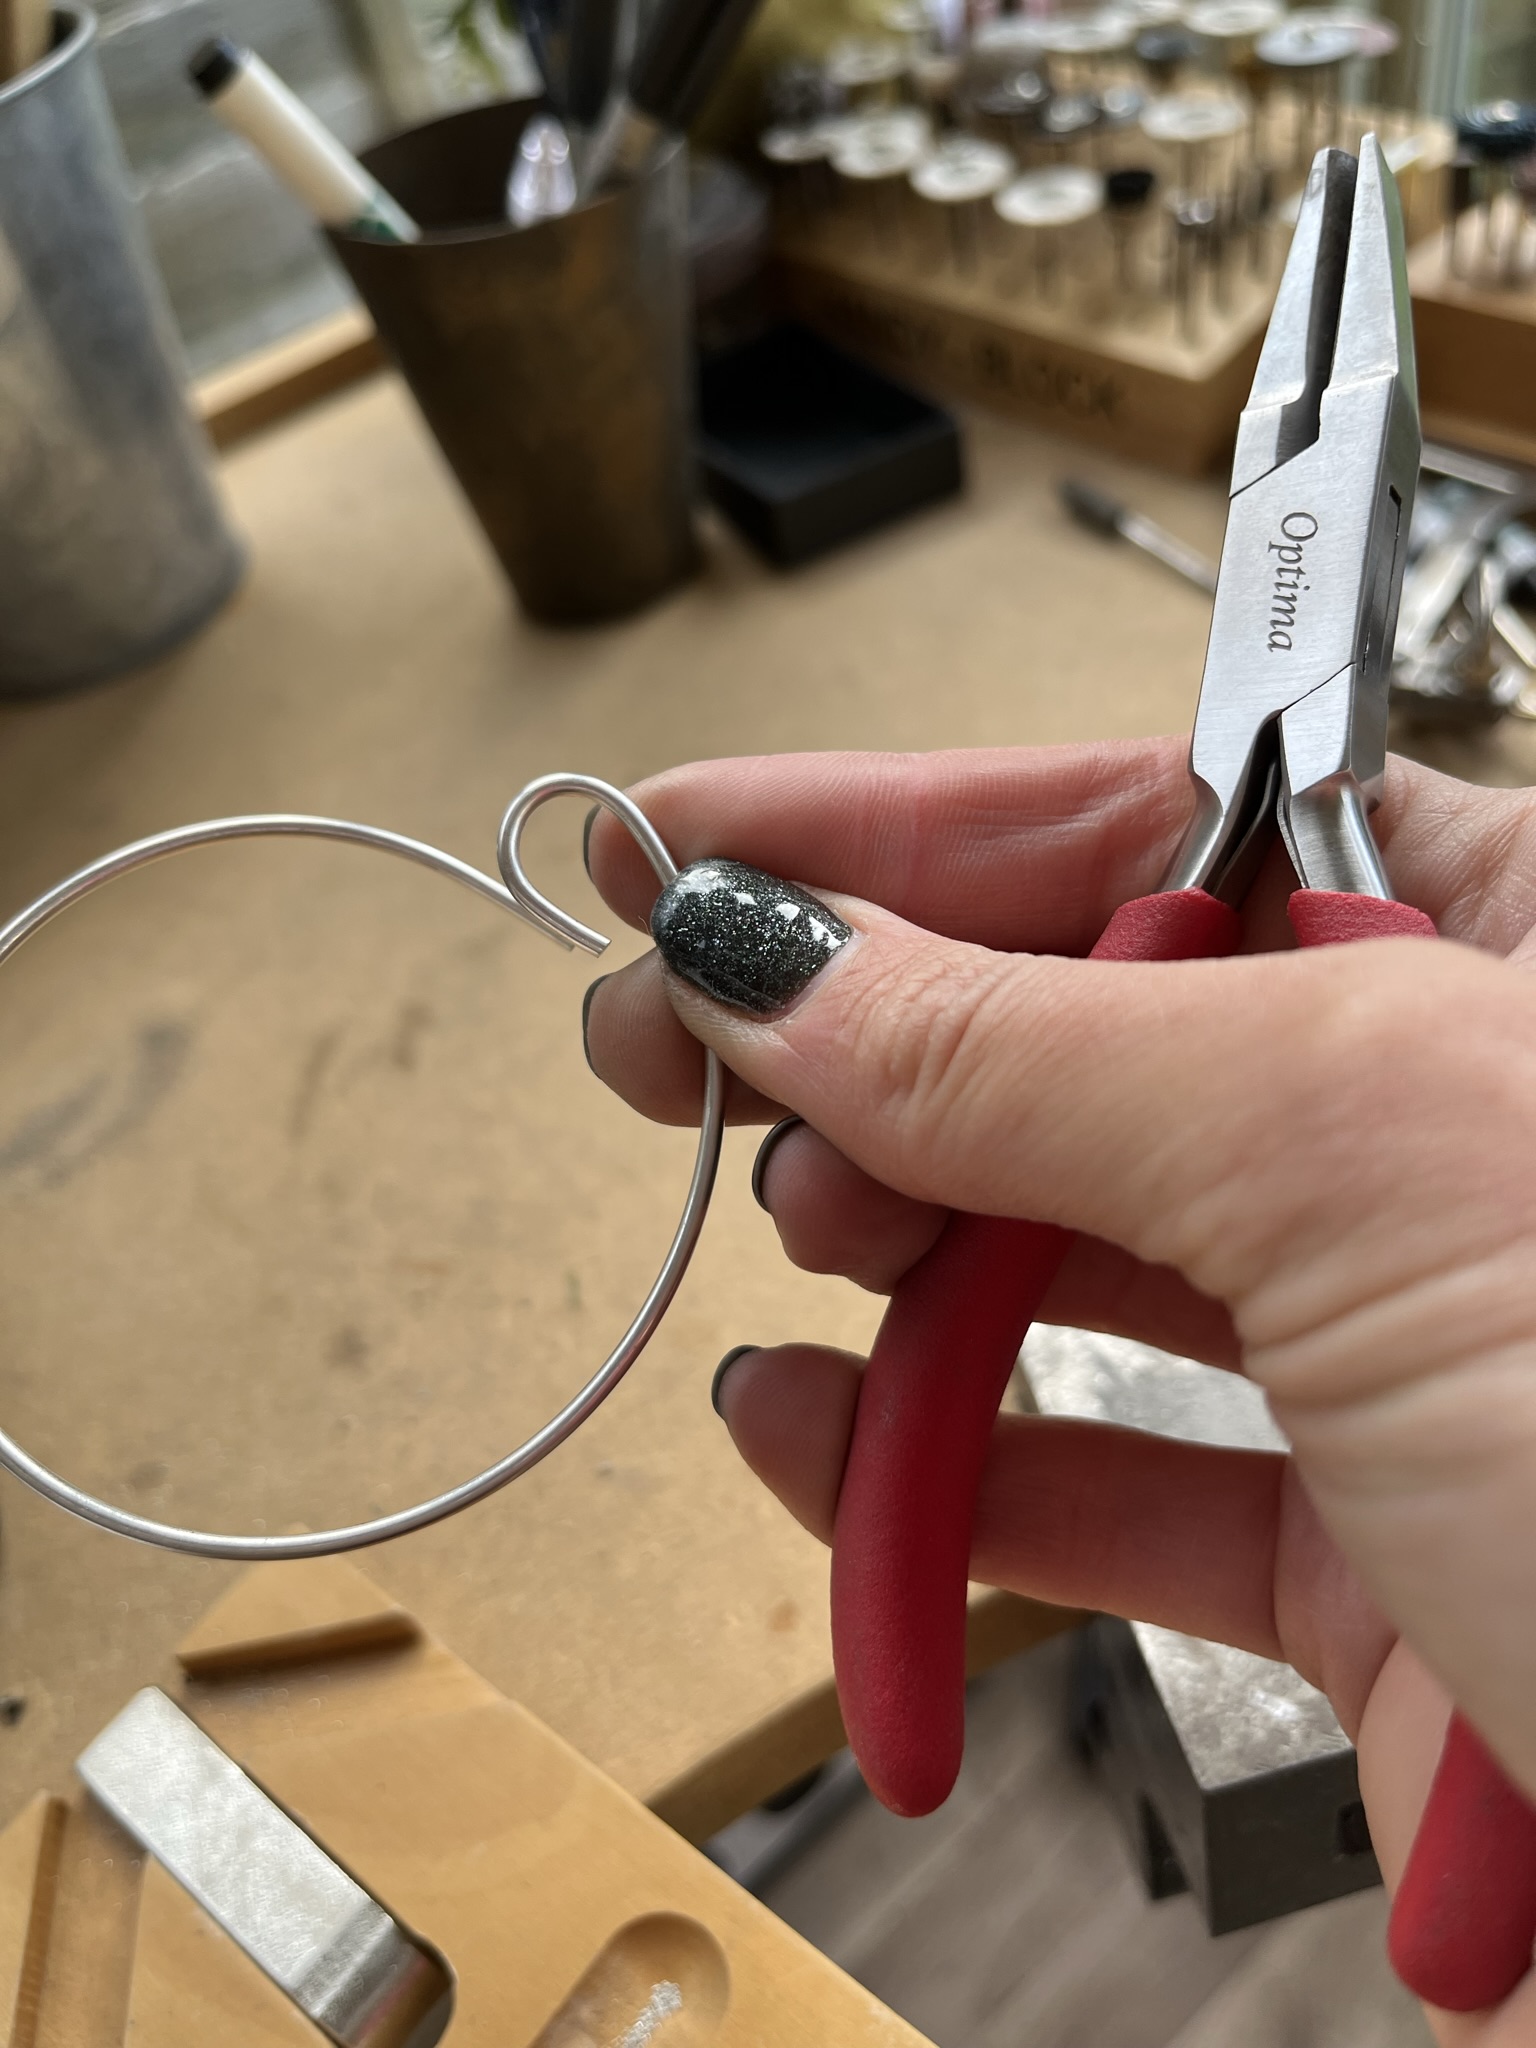
Bend a piece of 1.8mm round sterling silver wire using half round pliers to make a ‘U’ shape.
Step 9
Cut off any excess wire using a piercing saw whilst supporting the wire on a benchpeg. File or use emery stick on the ends of the wire ensure they are smooth and straight.
Step 10
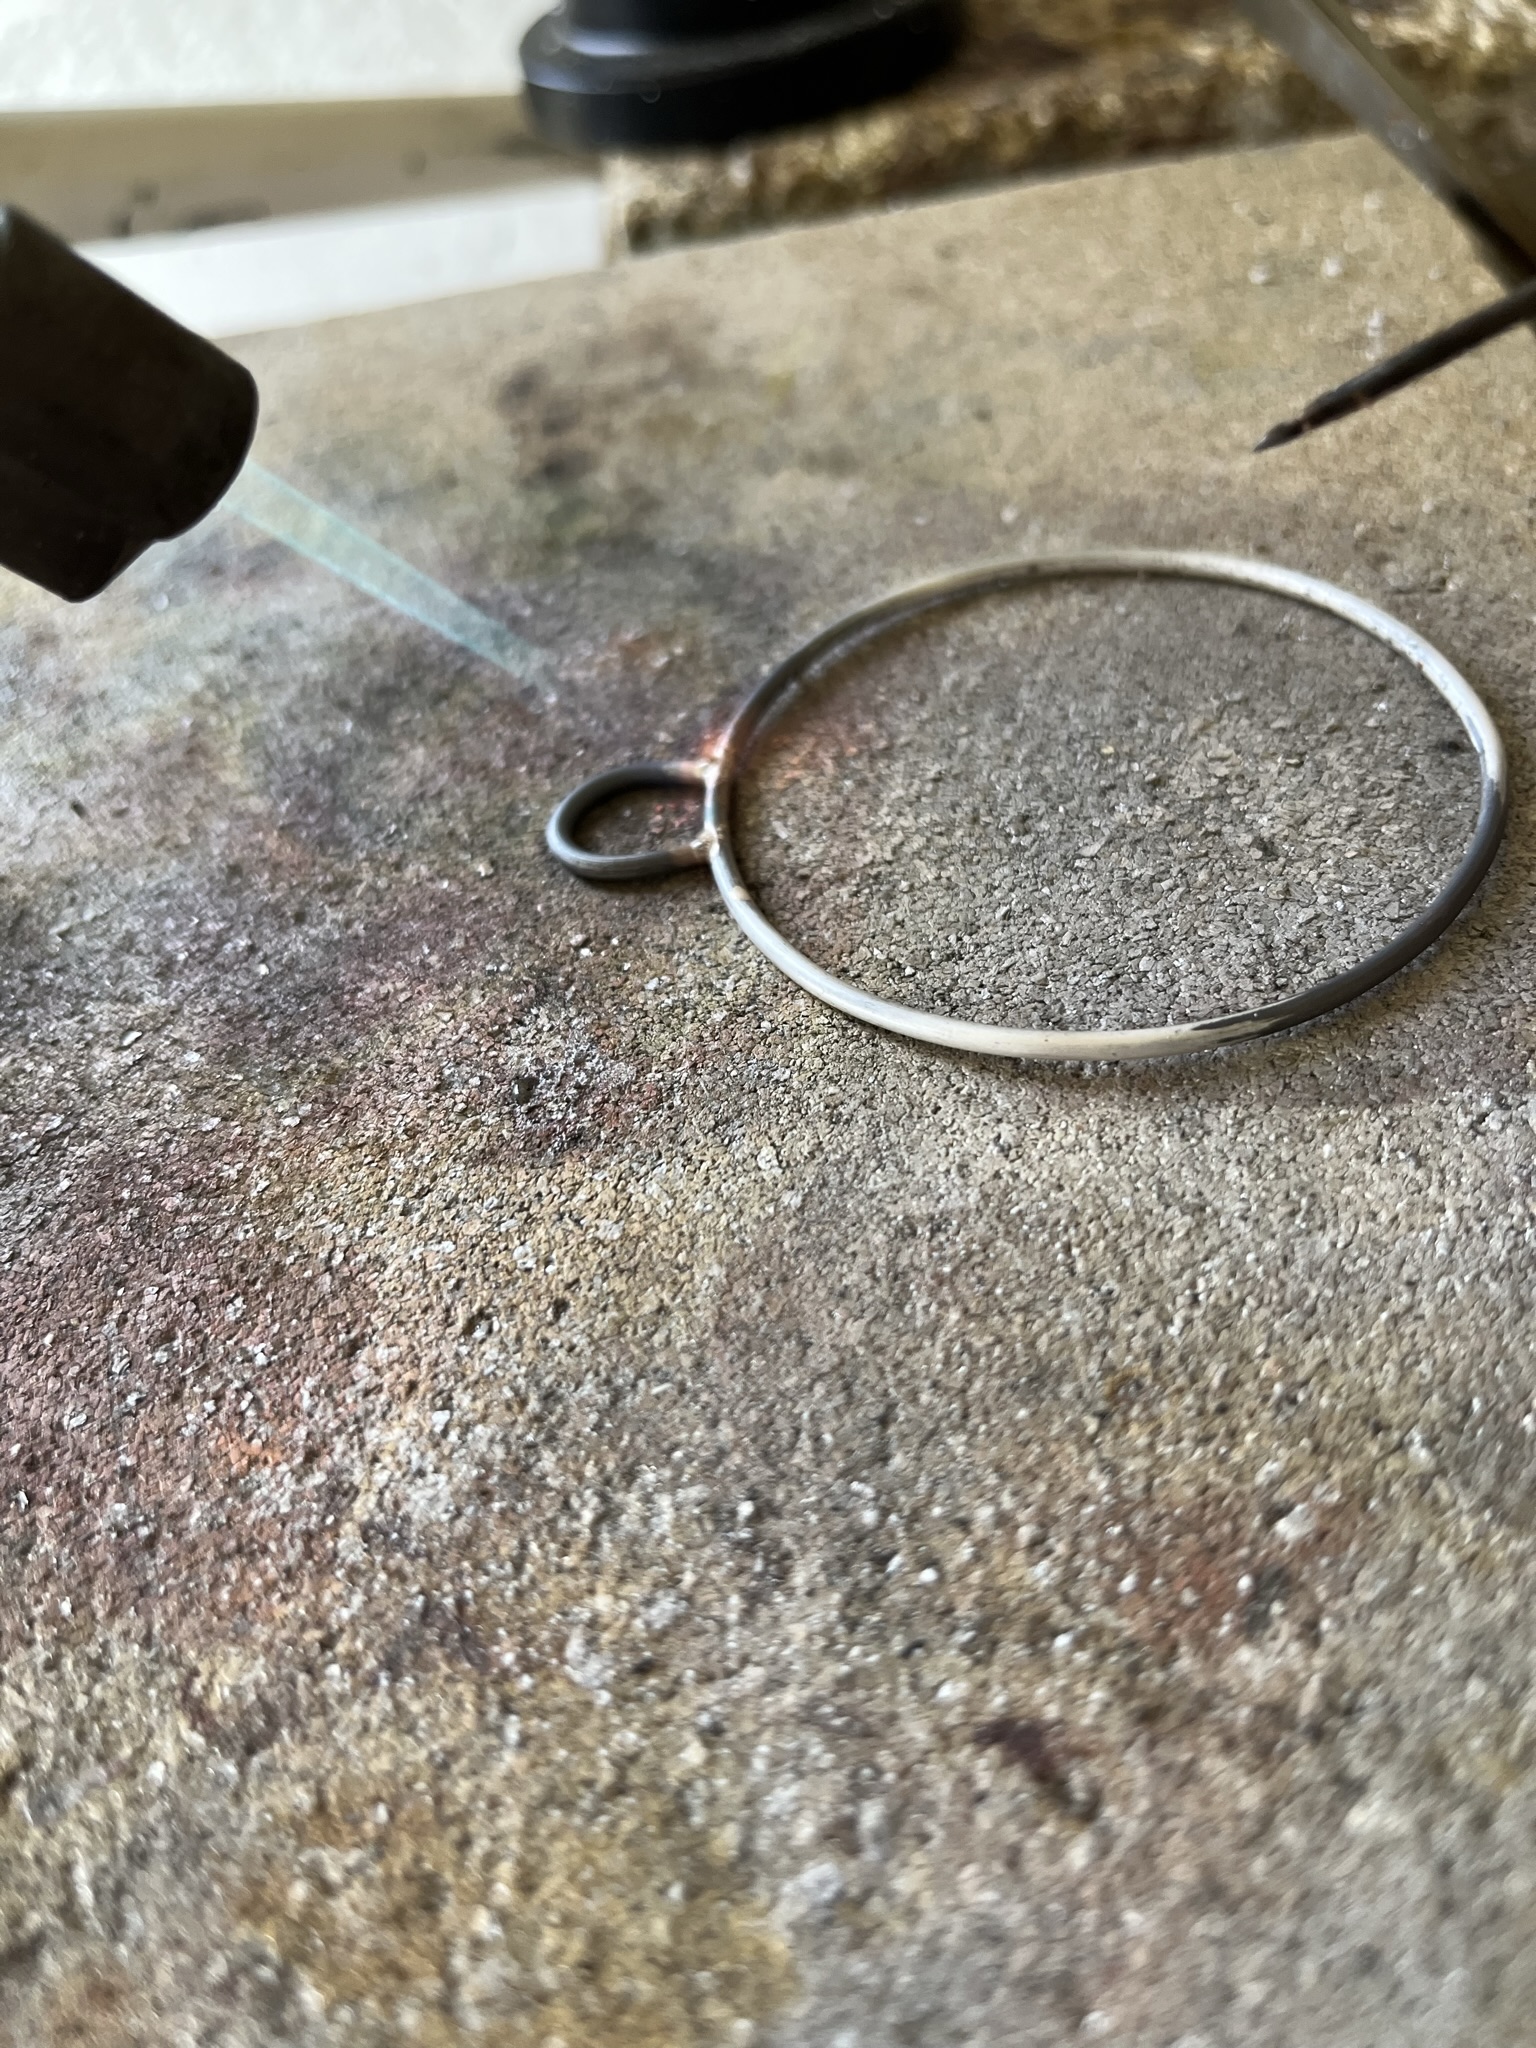
Place the silver circle on a heat proof brick and add the ‘U’ shaped silver wire on the outside of the circle so each wire end touches and is flush with the circle. Add a small amount of flux to each join.
Cut 2 pieces of Easy or medium solder. You can place each piece on the solder join or you may choose to melt the solder pieces individually and use a solder pick to place them on the join during the heating process.
Heat the silver circle using a blow torch until the solder melts and flows.
Step 11
Leave the silver circle to cool for 2 minutes before quenching (cooling) in water using tweezers and placing in a warm safety pickle solution. Leave for 5 minutes or until and clean and remove with plastic tweezers.
Step 12
When clean and dry remove any excess solder with a needle file and emery sticks. Support the silver on a benchpeg.
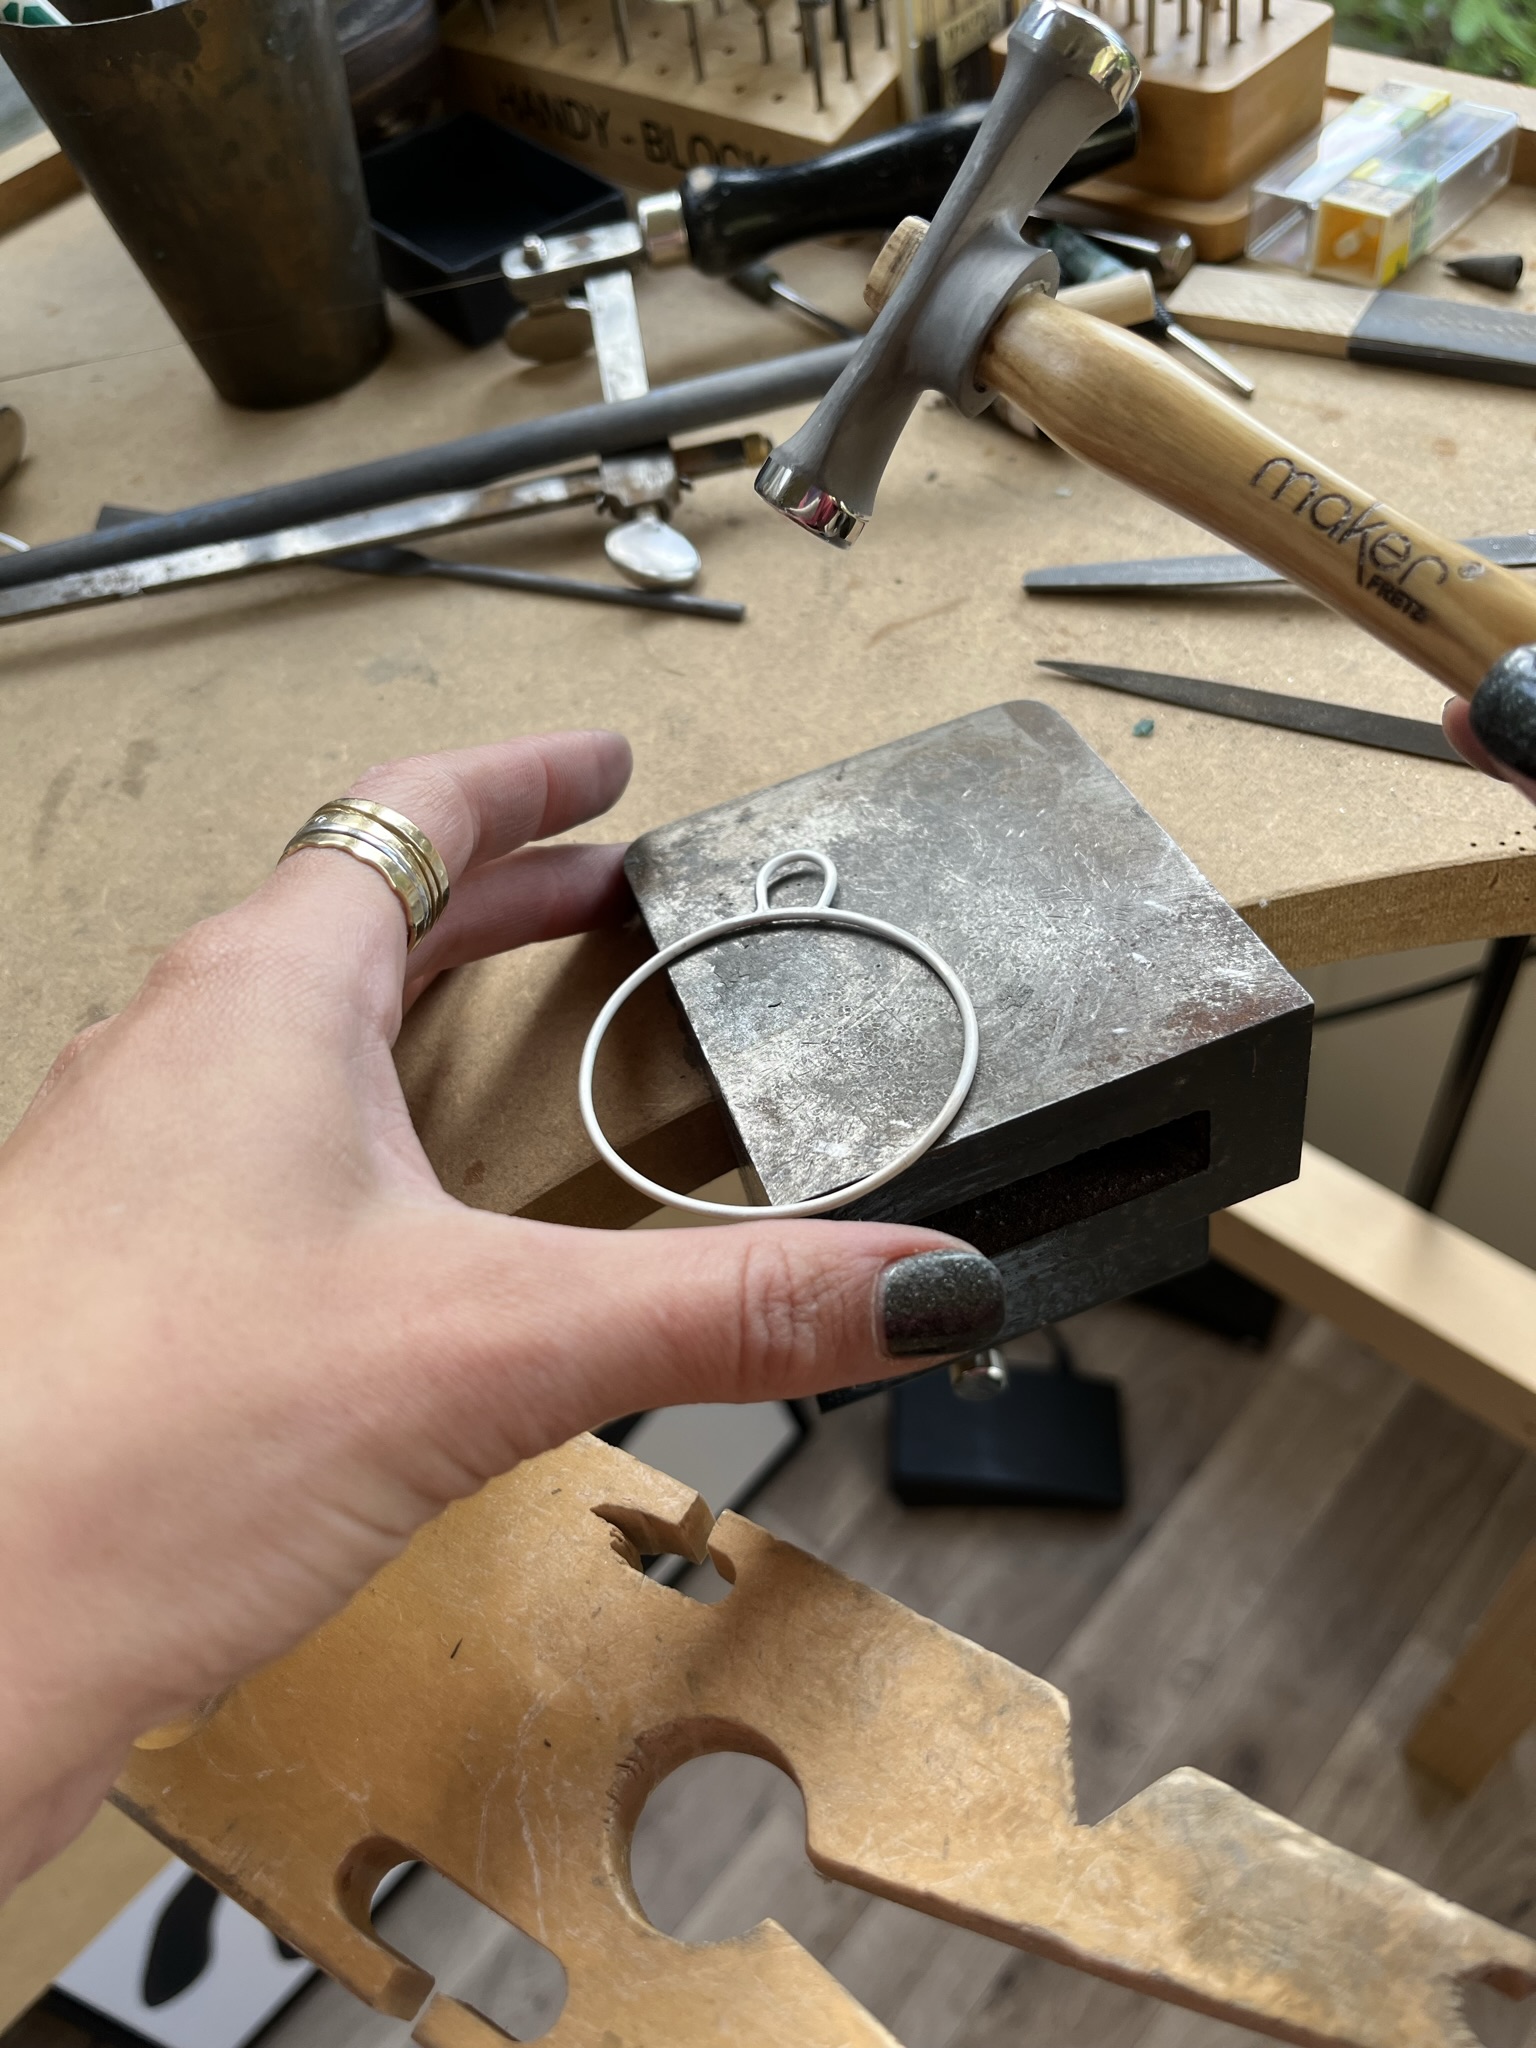
Step 13
Place the silver bauble shape on a steel block and use a planishing hammer to hit the shape evenly working around the whole shape to add texture.
To polish the bauble use a silver polishing cloth or put in a barrel tumbling machine with barrelbrite, water and stainless shot for 15-20 minutes.
Tip: If the bauble shape distorts during this process put the circle back on the bangle mandrel and lightly tap it with a mallet.
Step 14
When the bauble is shiny draw out the writing for your wire and ensure it will fit inside the bauble shape.
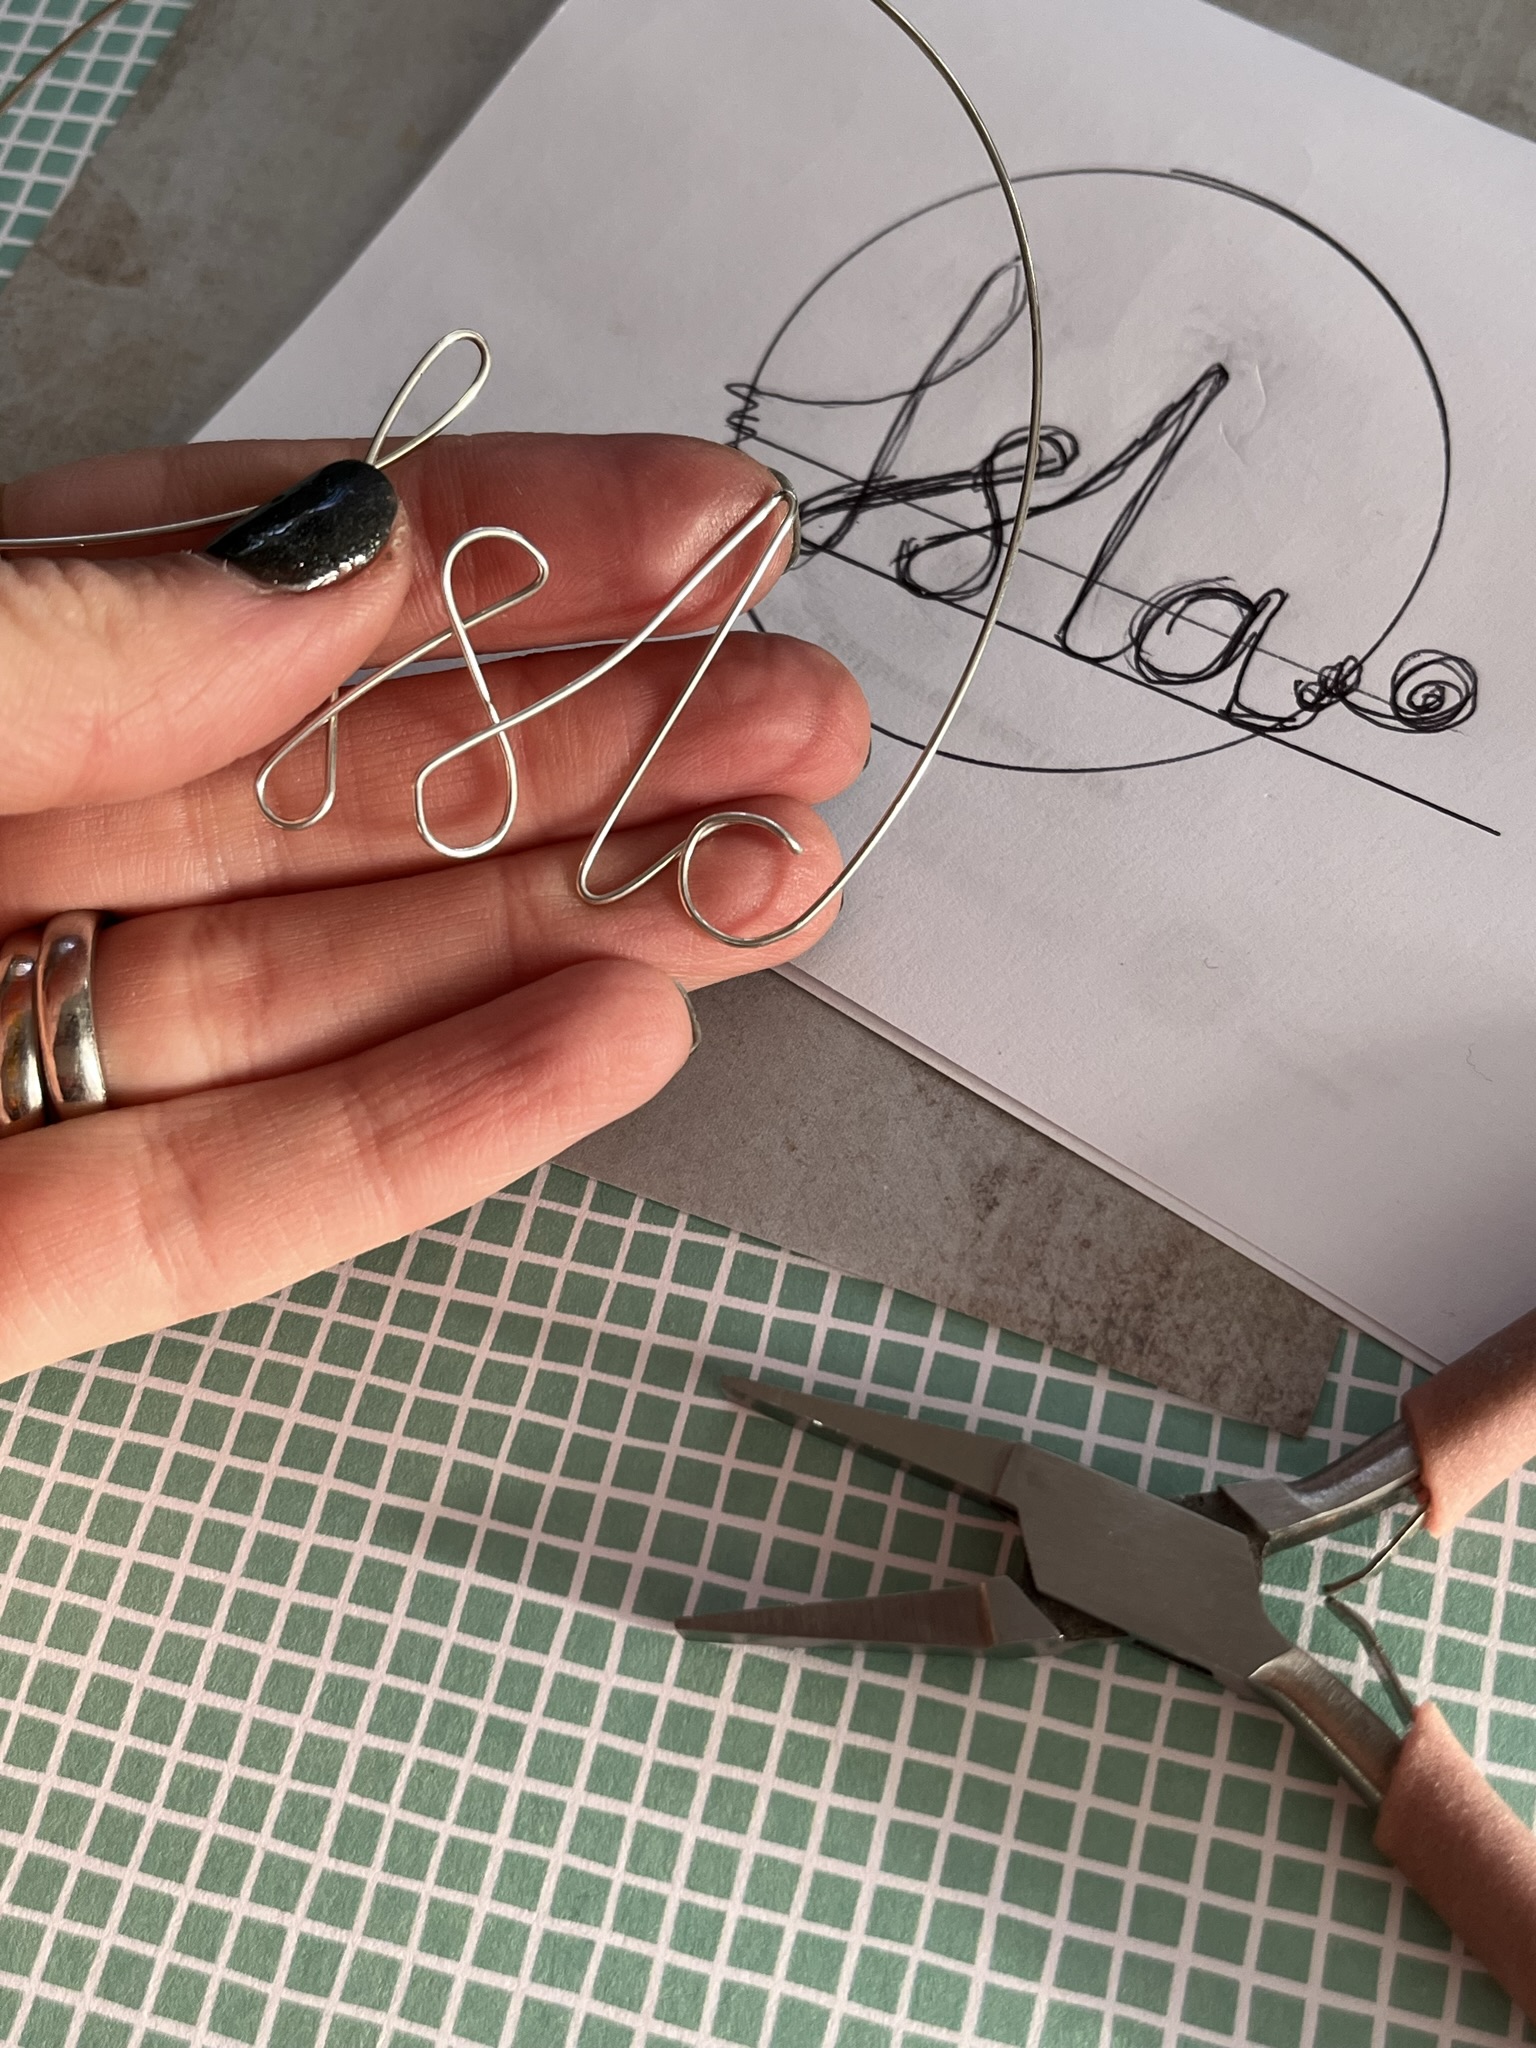
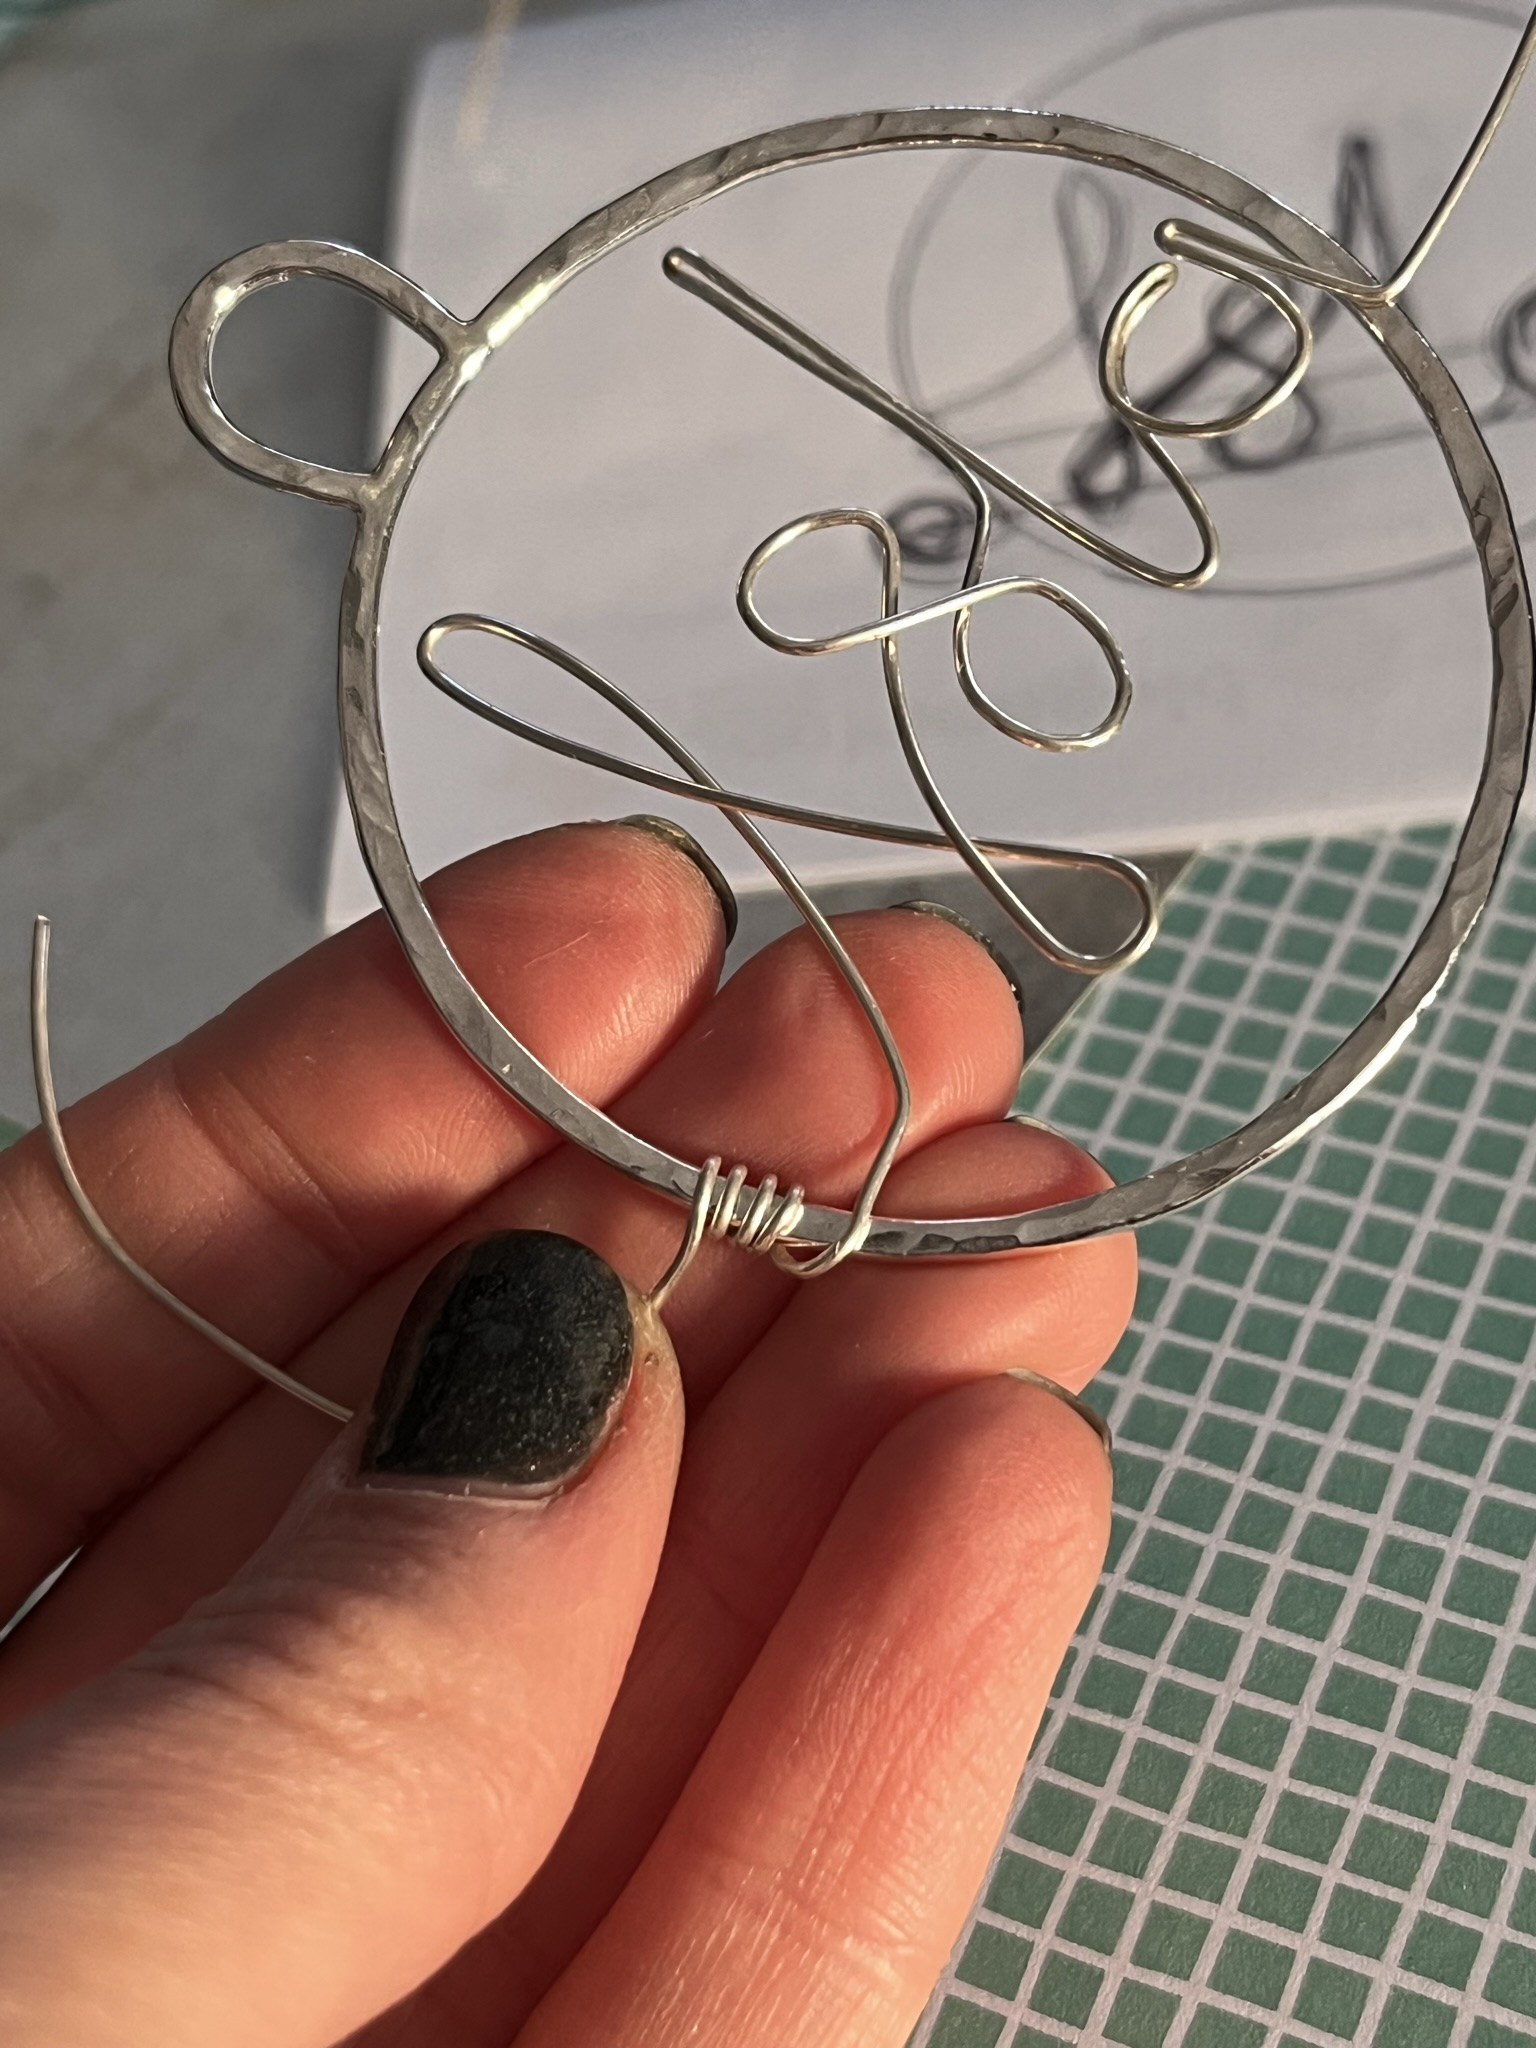
Step 15
Use pliers to manipulate the wire around the shapes leaving enough wire at the beginning and end to be able to wrap and secure the wire lettering in the middle of the bauble.
Step 16
To secure the wire writing wrap one end of the wire several times around the bauble circle edge and repeat on the other side.
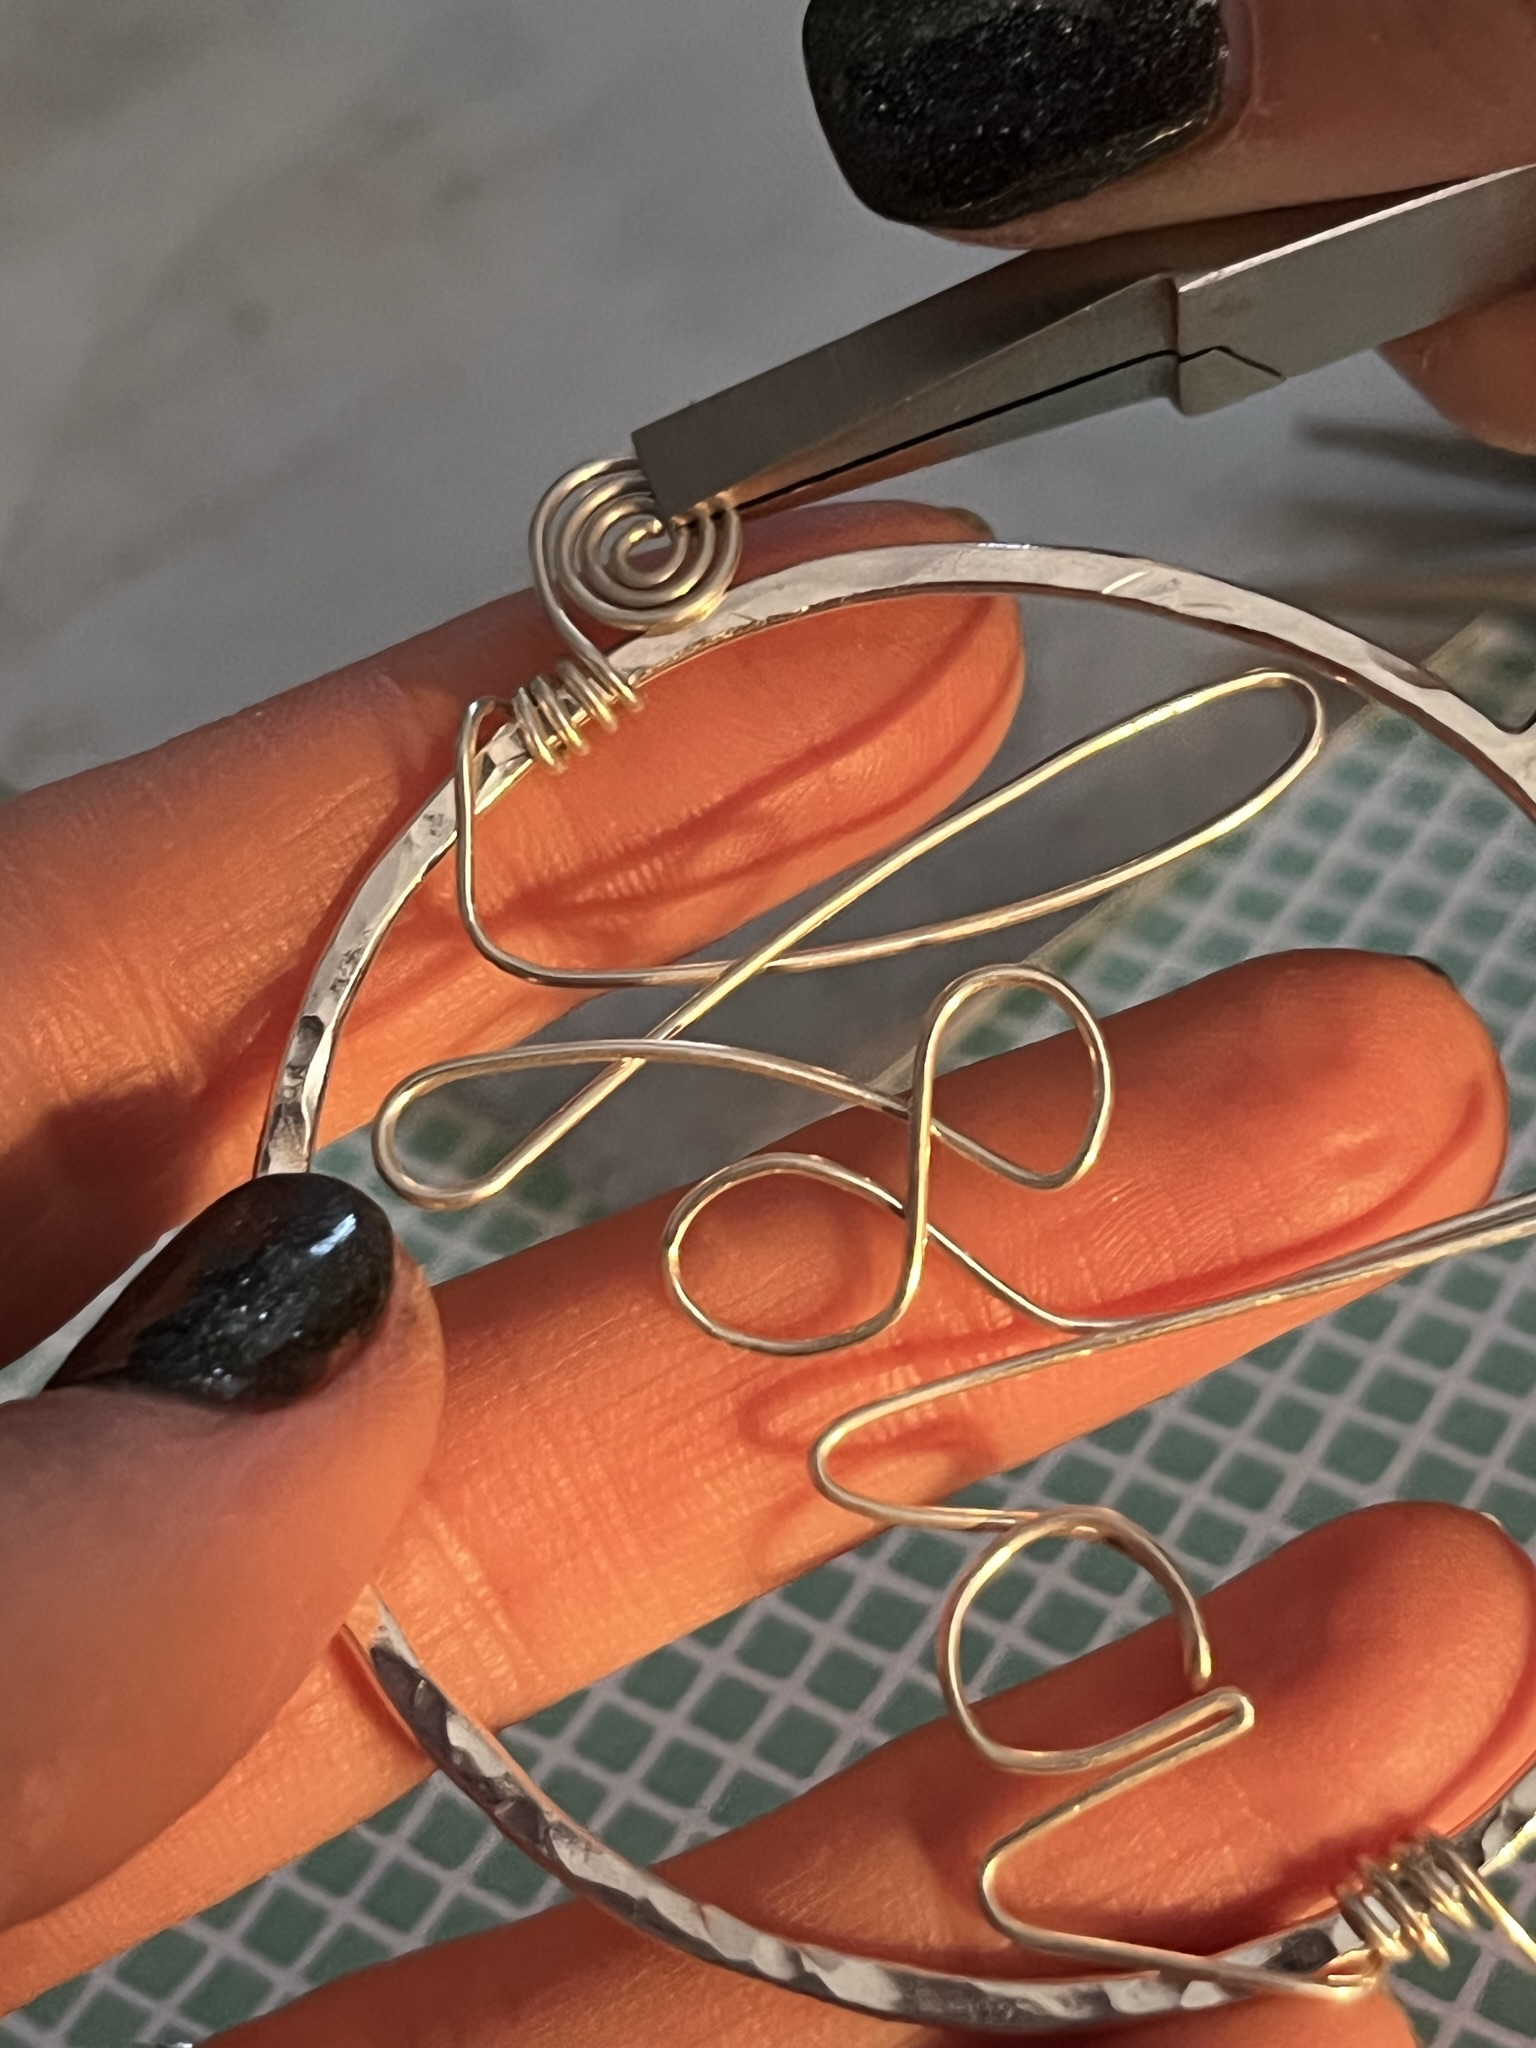
Step 17
Curl the wire ends to create a spiral and create a neat finish. Start the spiral using round nose pliers and use flat nose pliers or your fingers to continue the spiral. Repeat the spiral on the other side.
Step 18
Add a ribbon or festive string on the top of the bauble in a bow.
We want to see what you have been making! Share your creations with us on social media, tagging in Cooksongold on Facebook and Instagram.

Sian Brown
Sian has been hand making her award winning jewellery in the West Midlands for over 12 years. Sian spent 10 years in Birmingham’s historic Jewellery Quarter before relocating to a quiet Worcestershire village.