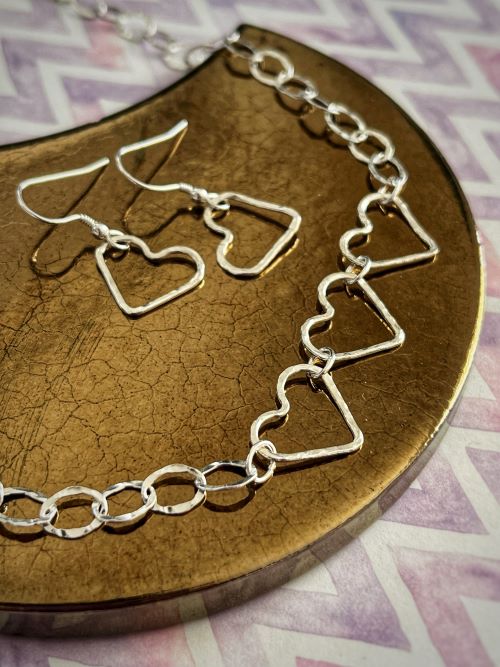
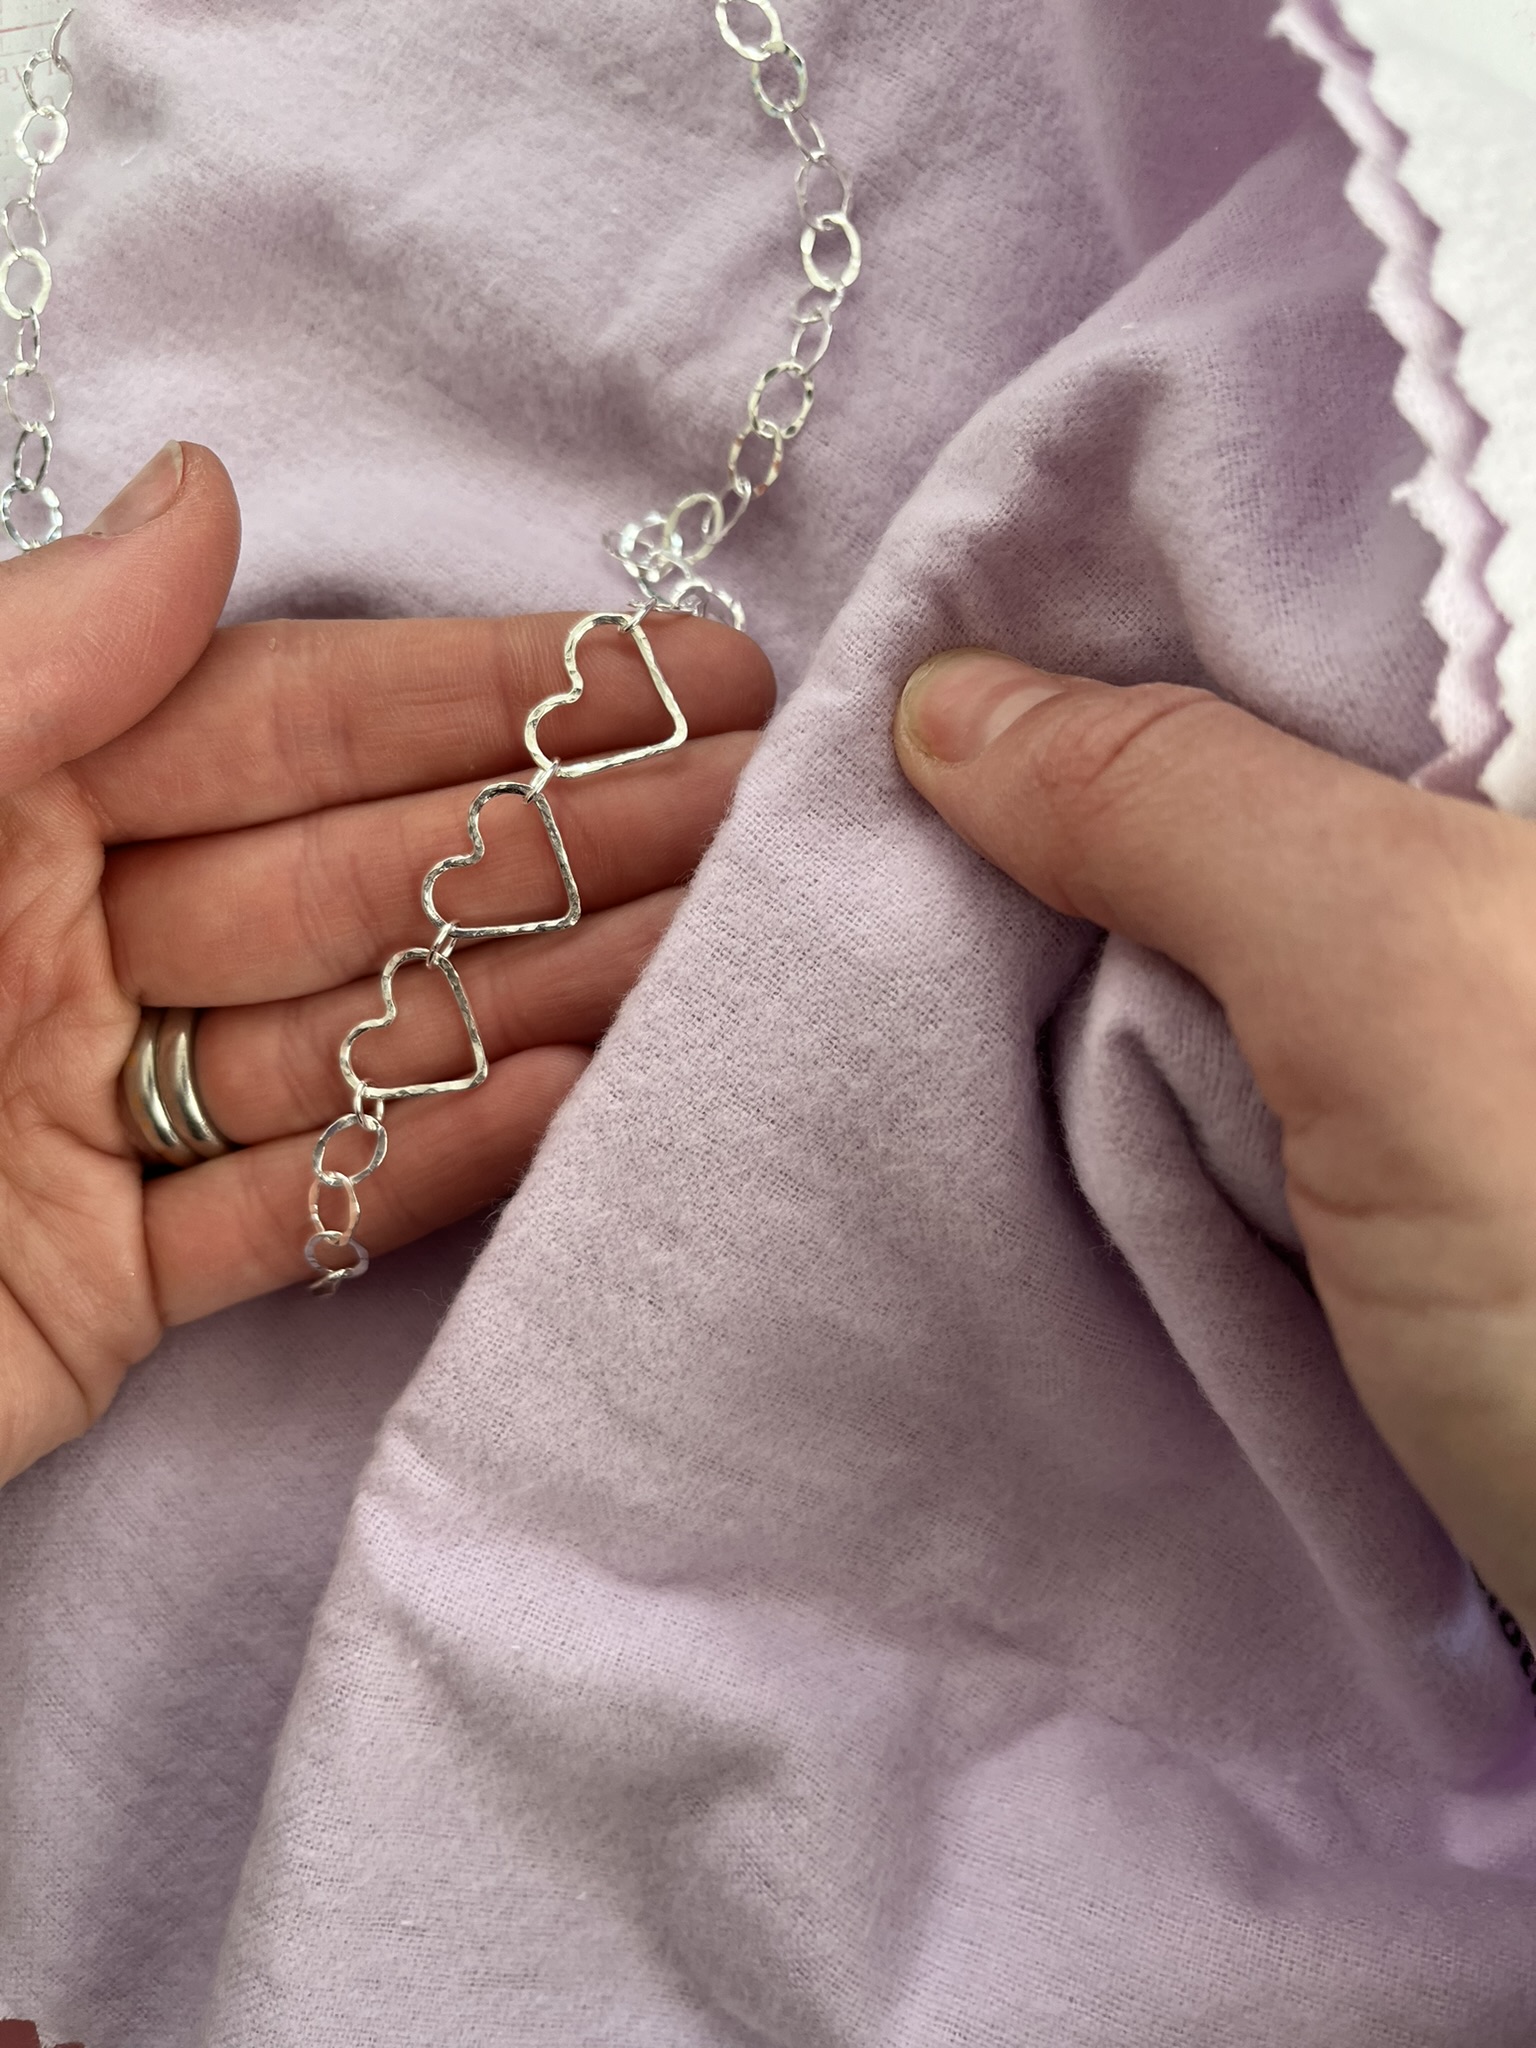
This simple yet modern sterling silver jewellery set is a great beginners project and the perfect way to practice soldering jump rings.
Step 1
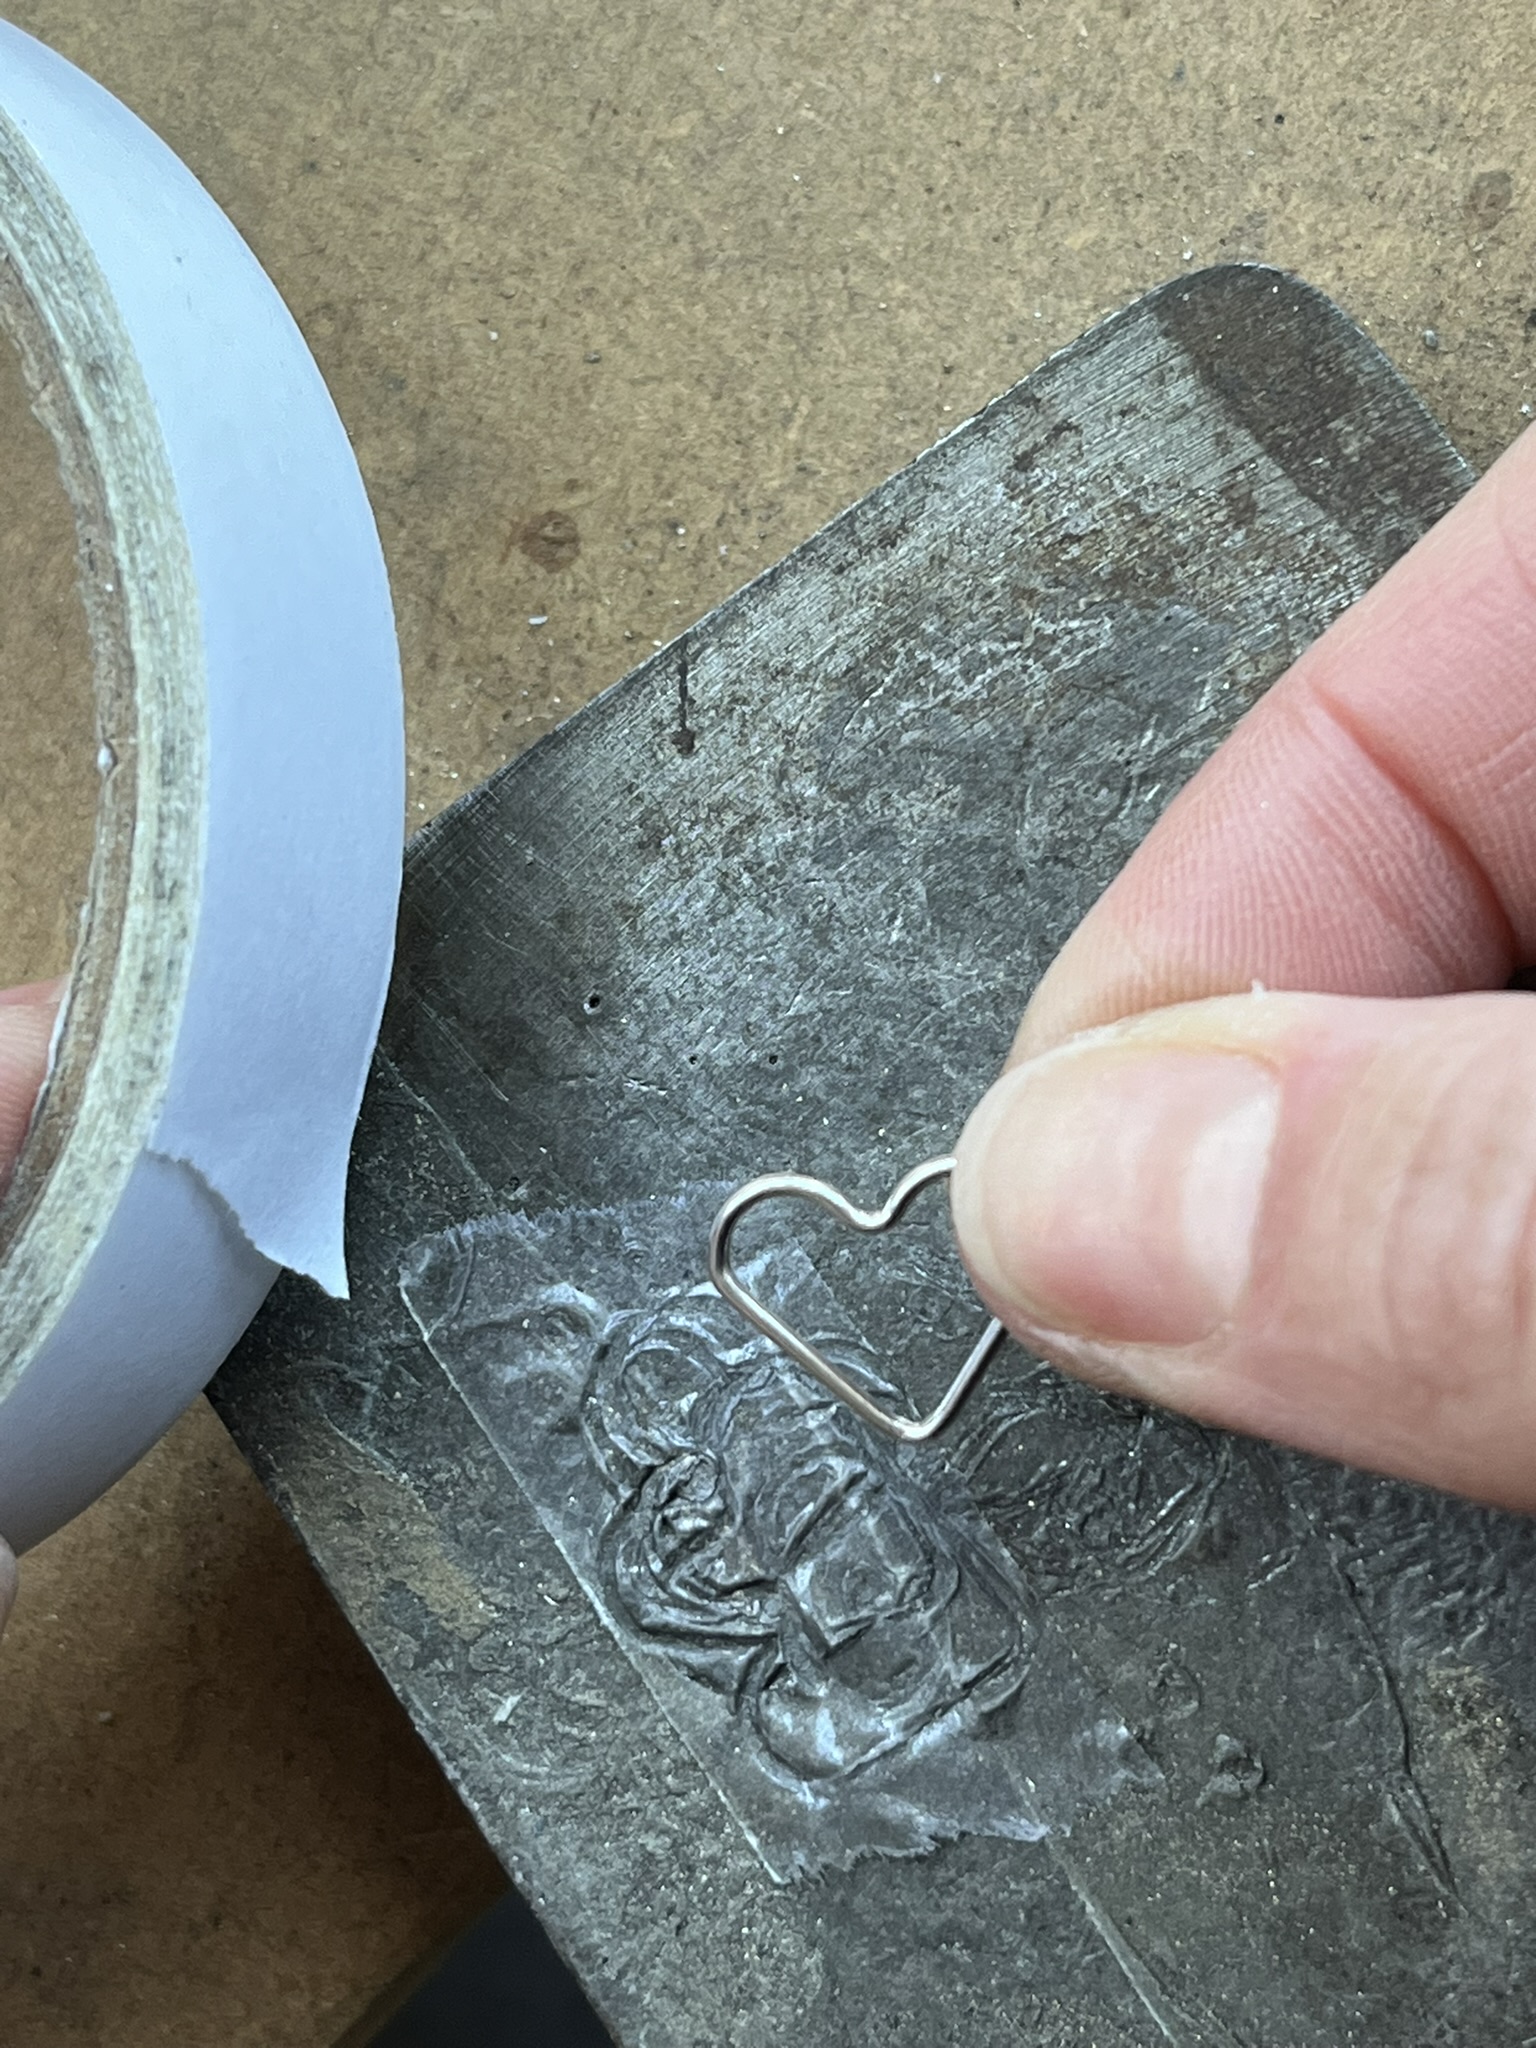
Place a silver heart on a steel block, you may want to put a piece of double sided tape on the steel block first so the heart is more secure.
Step 2
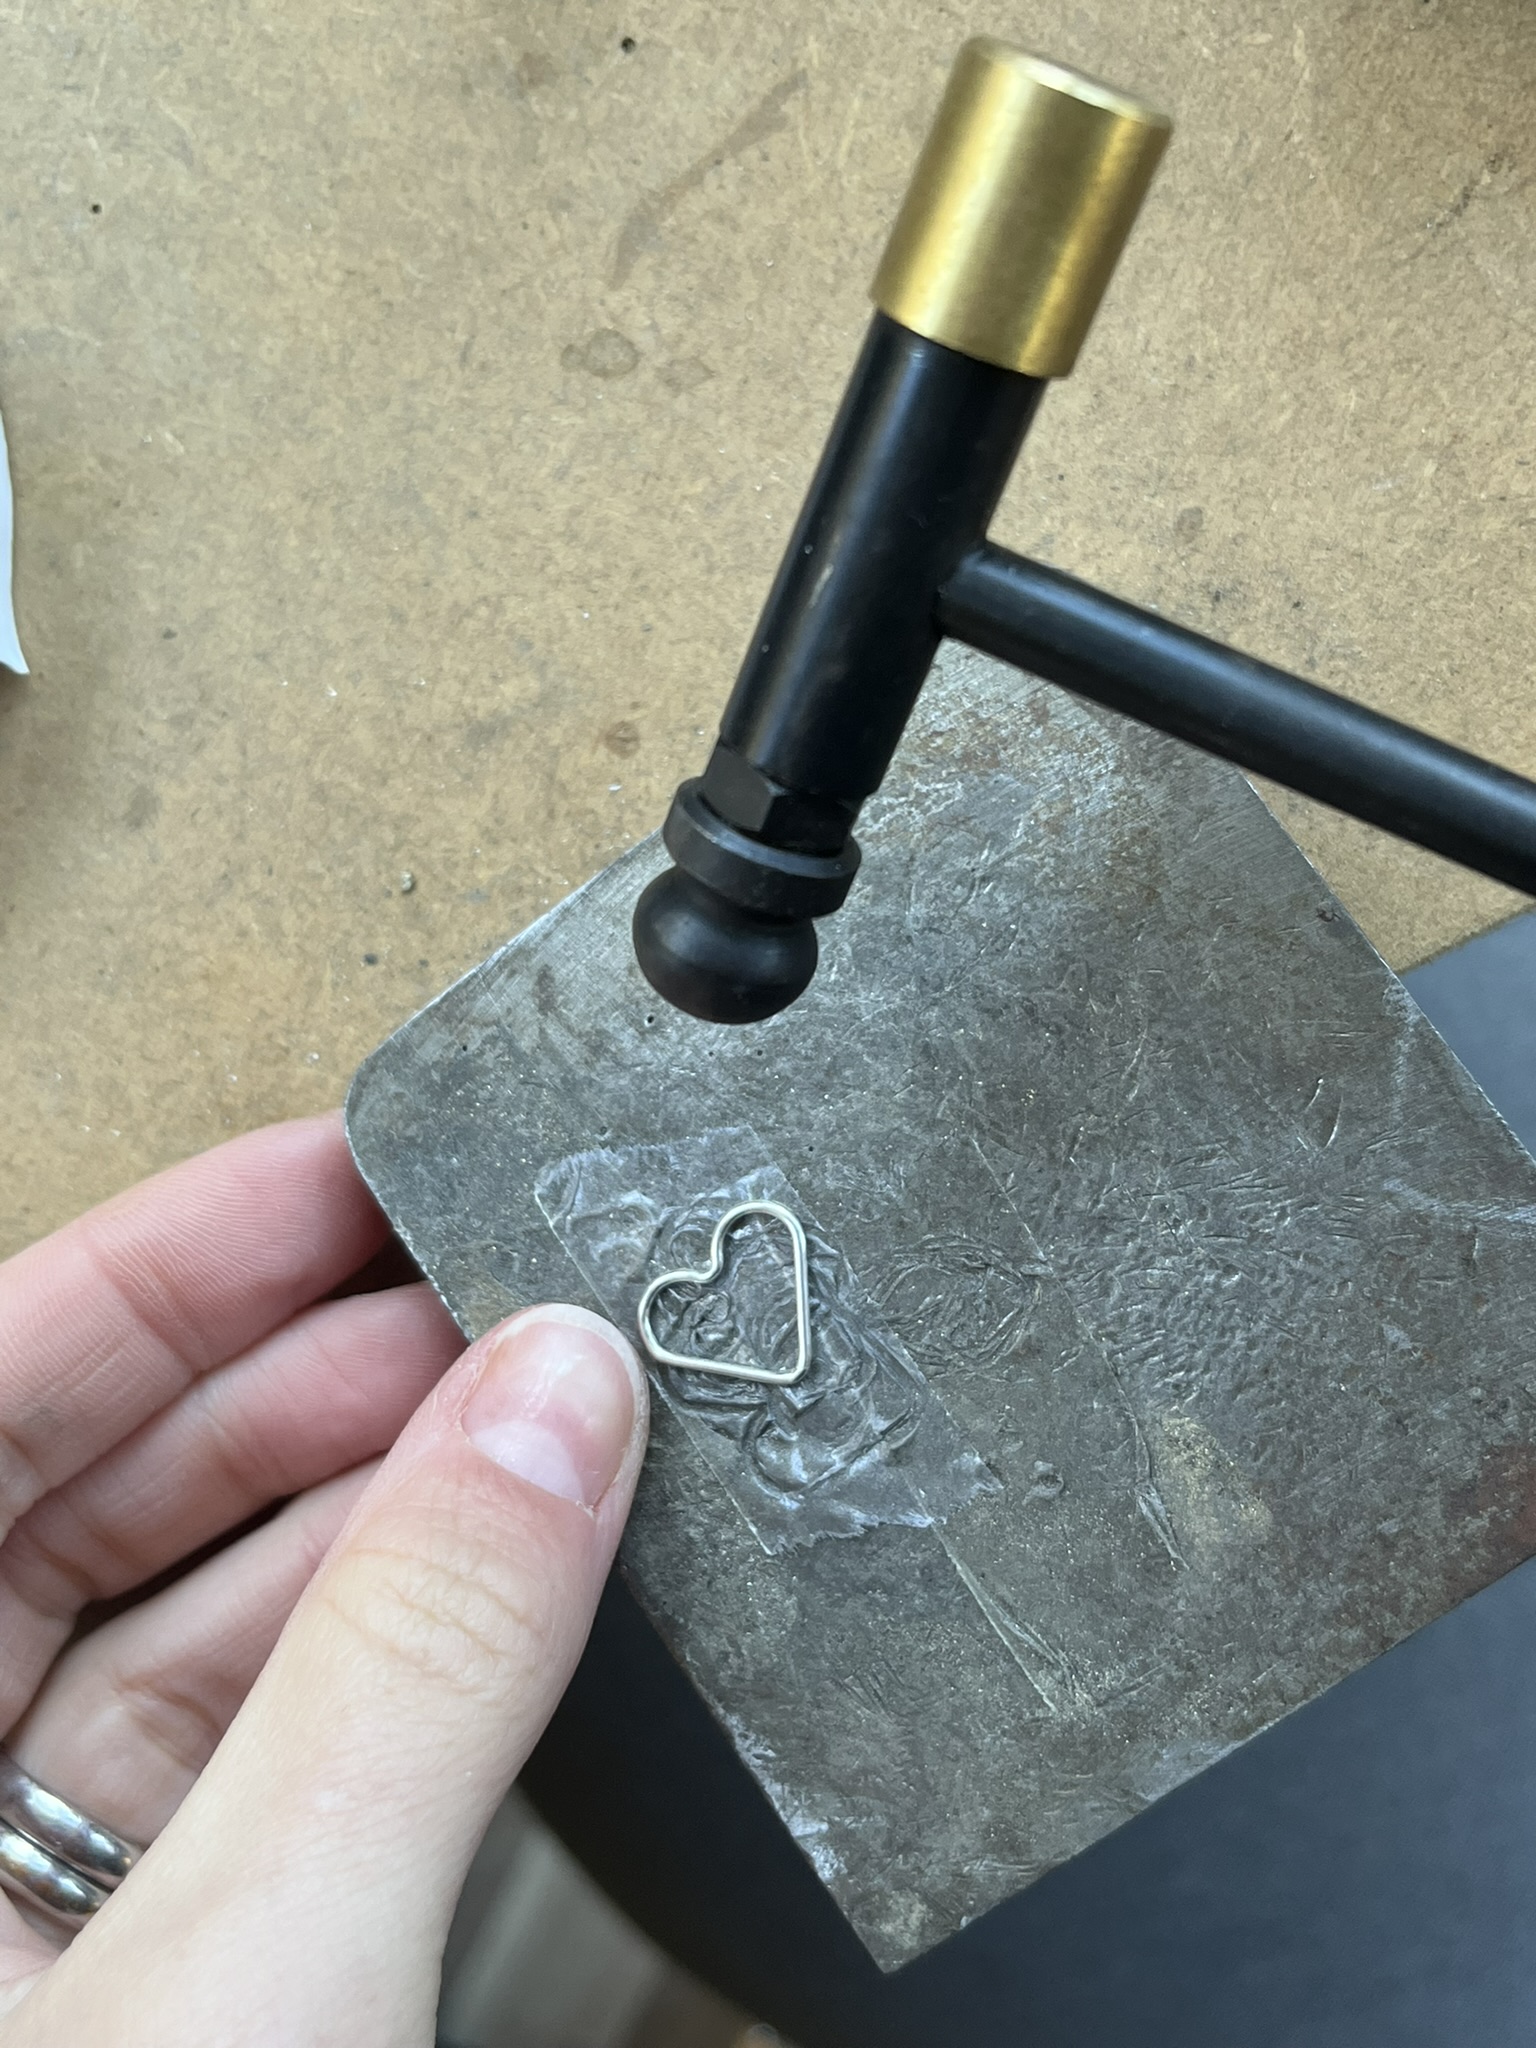
Use the rounded end of the craft hammer and hit the silver heart to add dents and texture to the heart. Add texture to both sides of the heart. Repeat this on all 5 hearts.
Note: You can add as much or as little texture as you like by hitting the silver heart a lot or a little varying the force.
Step 3
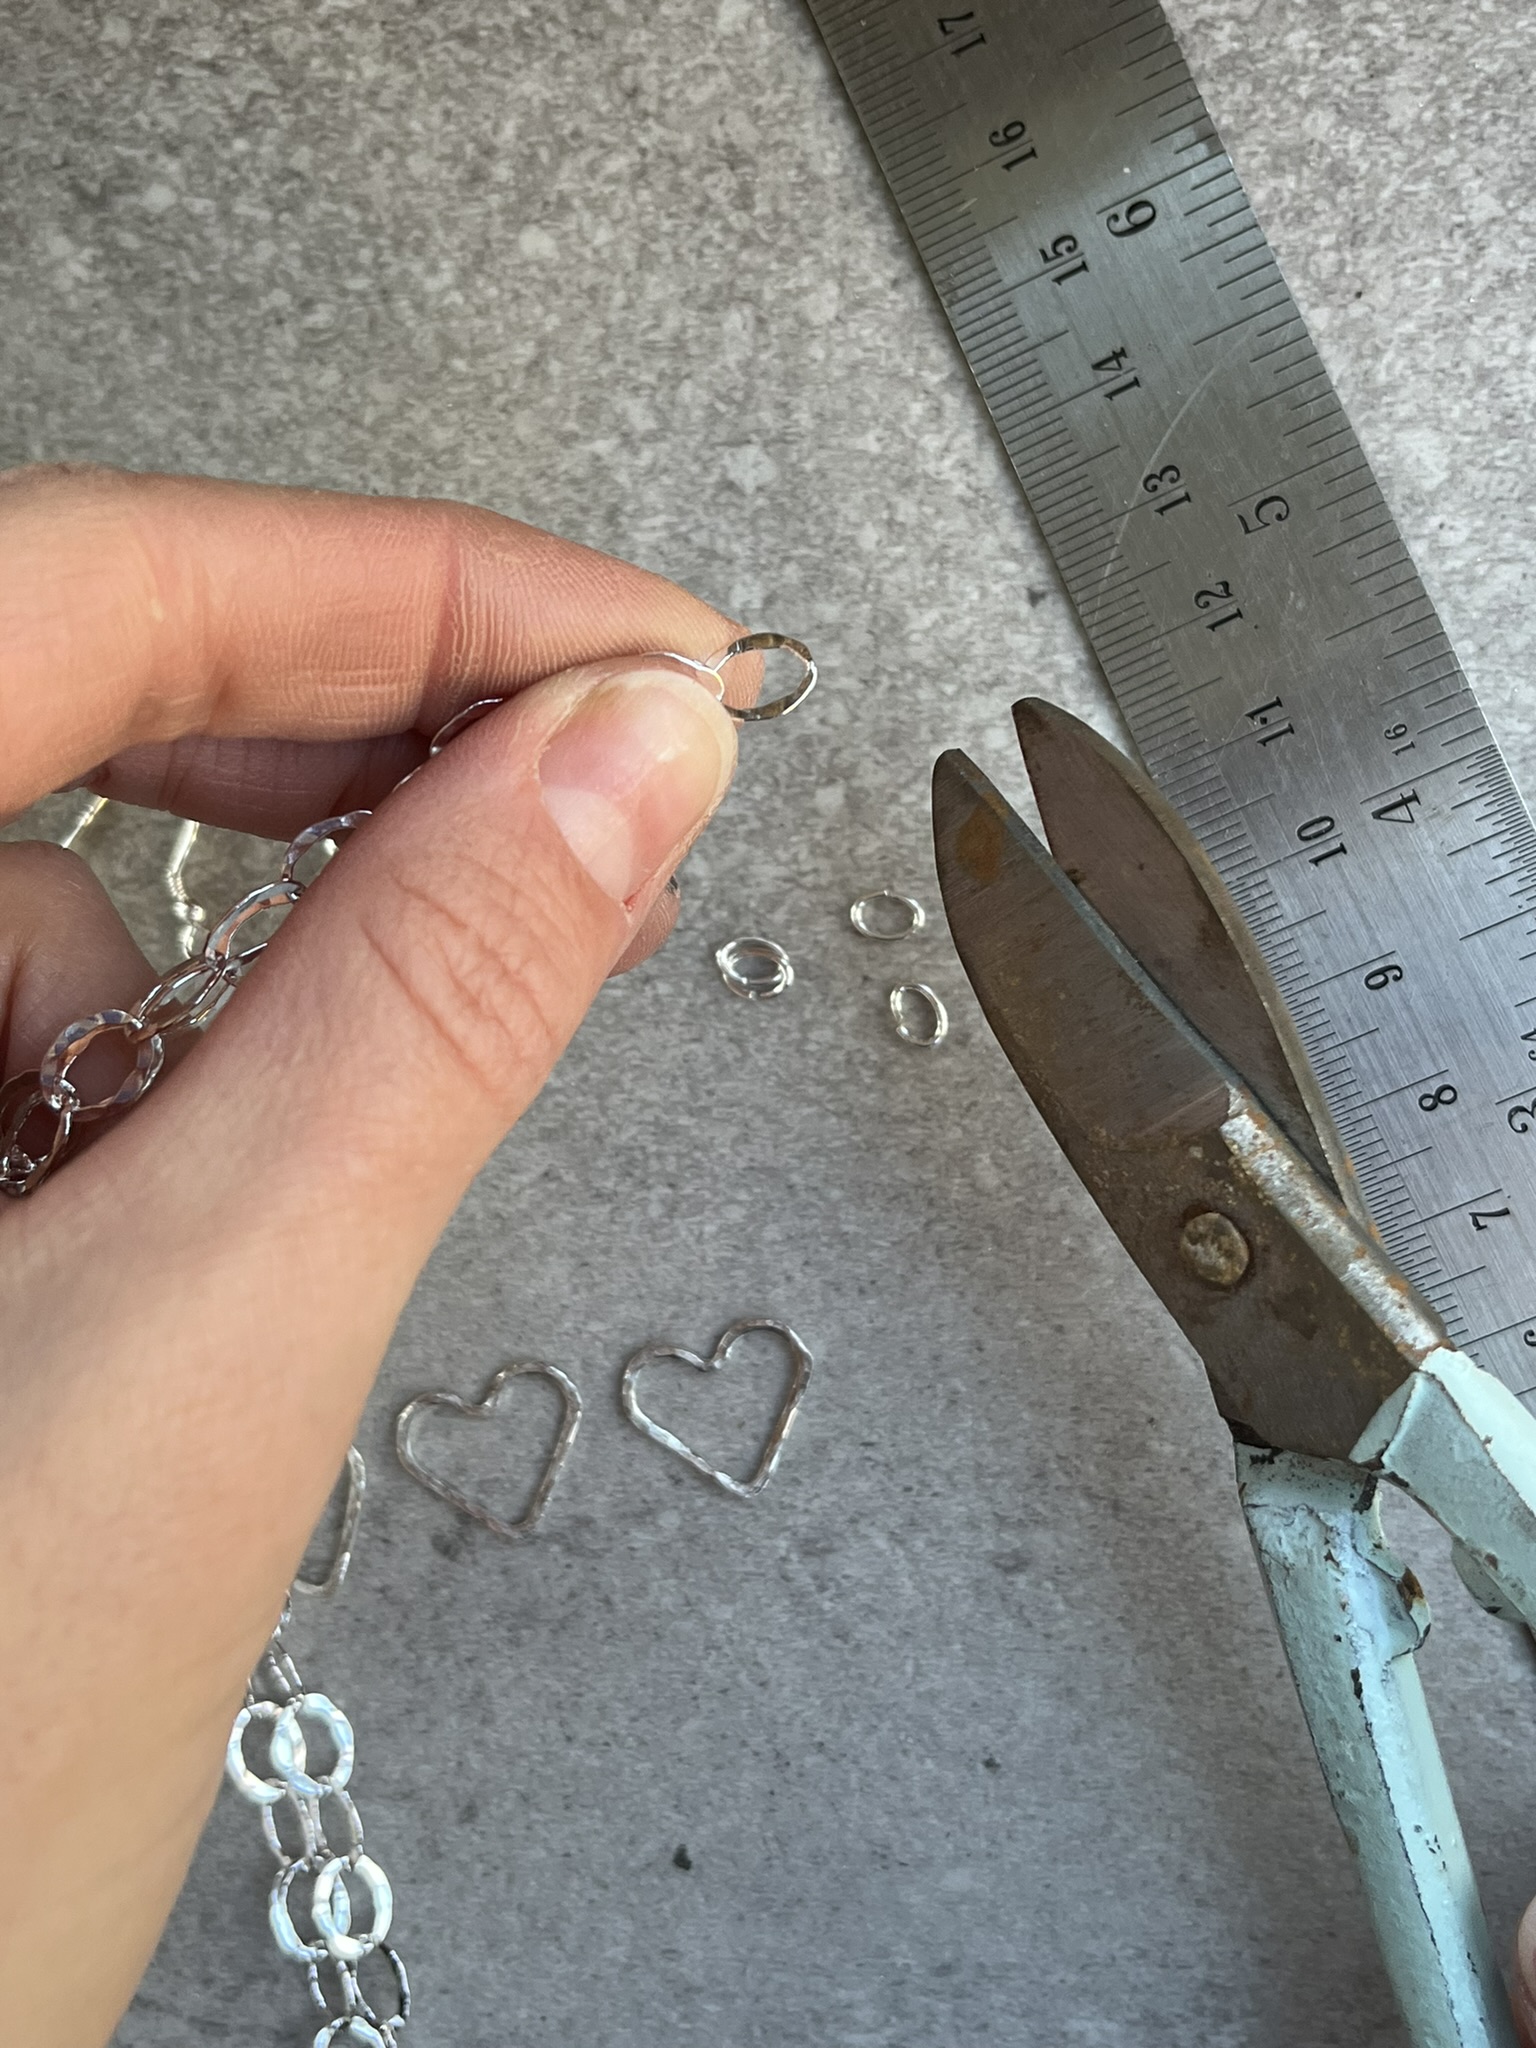
Take the sterling silver hammered chain, find the middle link and cut and remove this link using side cutters or snips.
Note: If you would like a shorter necklace, you can remove more links.
Step 4
Take a sterling silver oval jump ring and use 2 pairs of pliers to grip either side of the ends. You can use snipe nose, chain nose or flat nose pliers. To open the jump ring twist one pair of pliers away from you and one pair of pliers towards you whilst still gripping the jump ring.
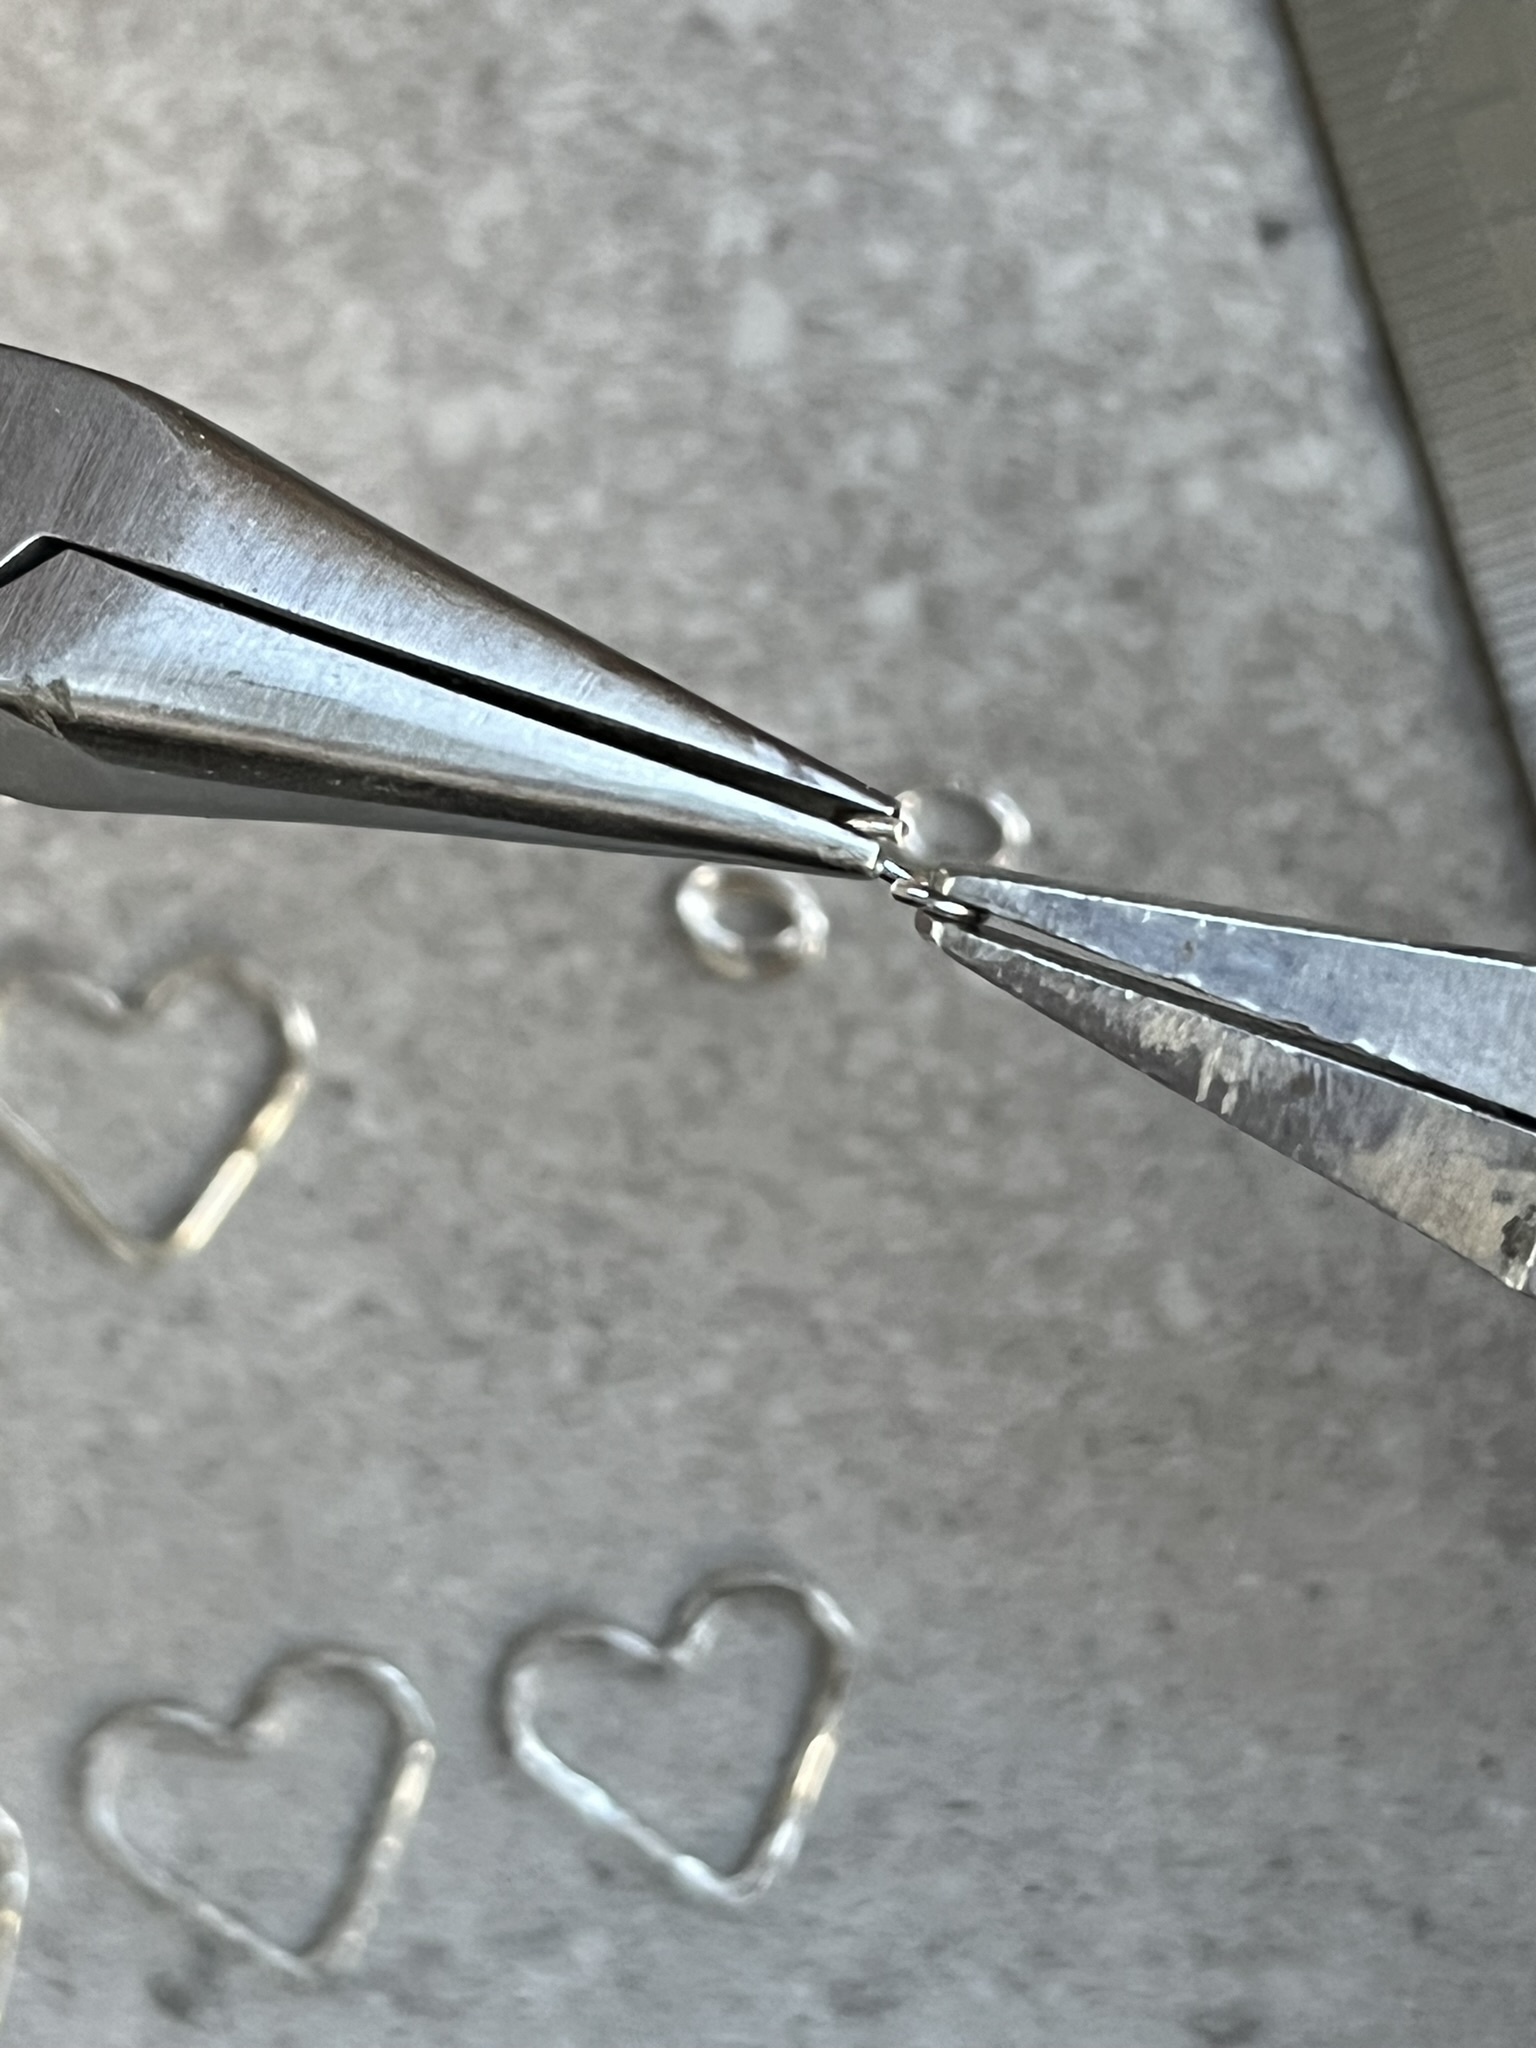
Step 5
Thread on the chain end and one of the hearts onto the jump ring. Close the jump ring by gripping either side of the jump ring ends with pliers and twisting into the centre. Make sure the jump ring ends perfectly align.
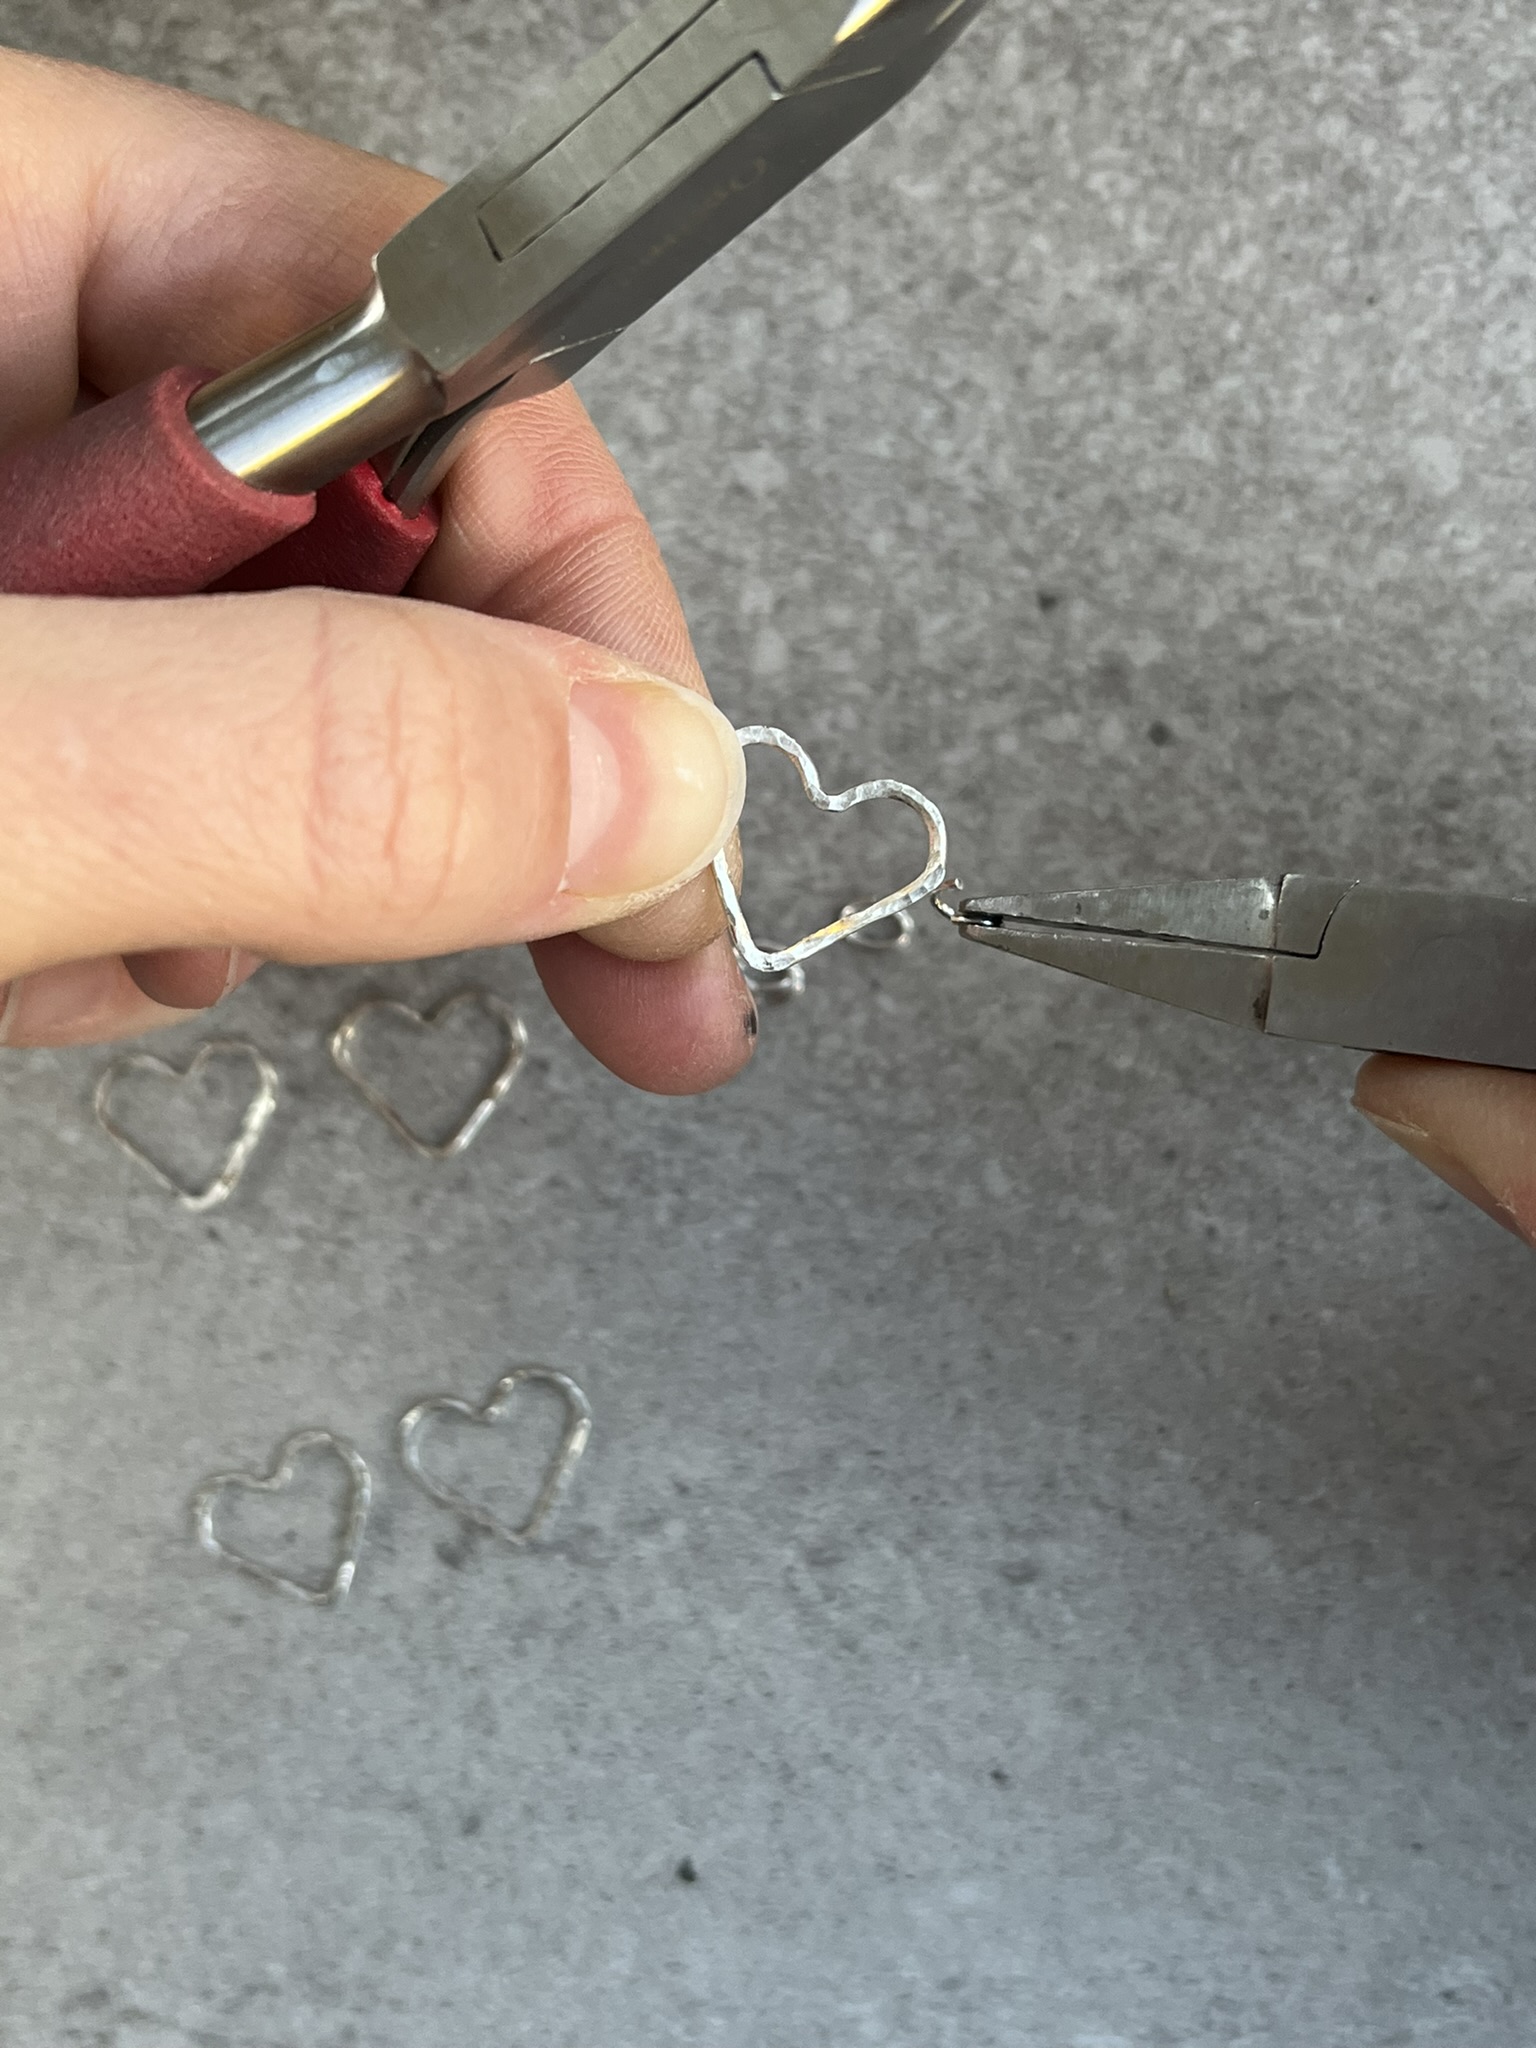
Step 6
Repeat this process by connecting the next heart in the middle and then the final heart with chain using the oval jump rings.
Step 7
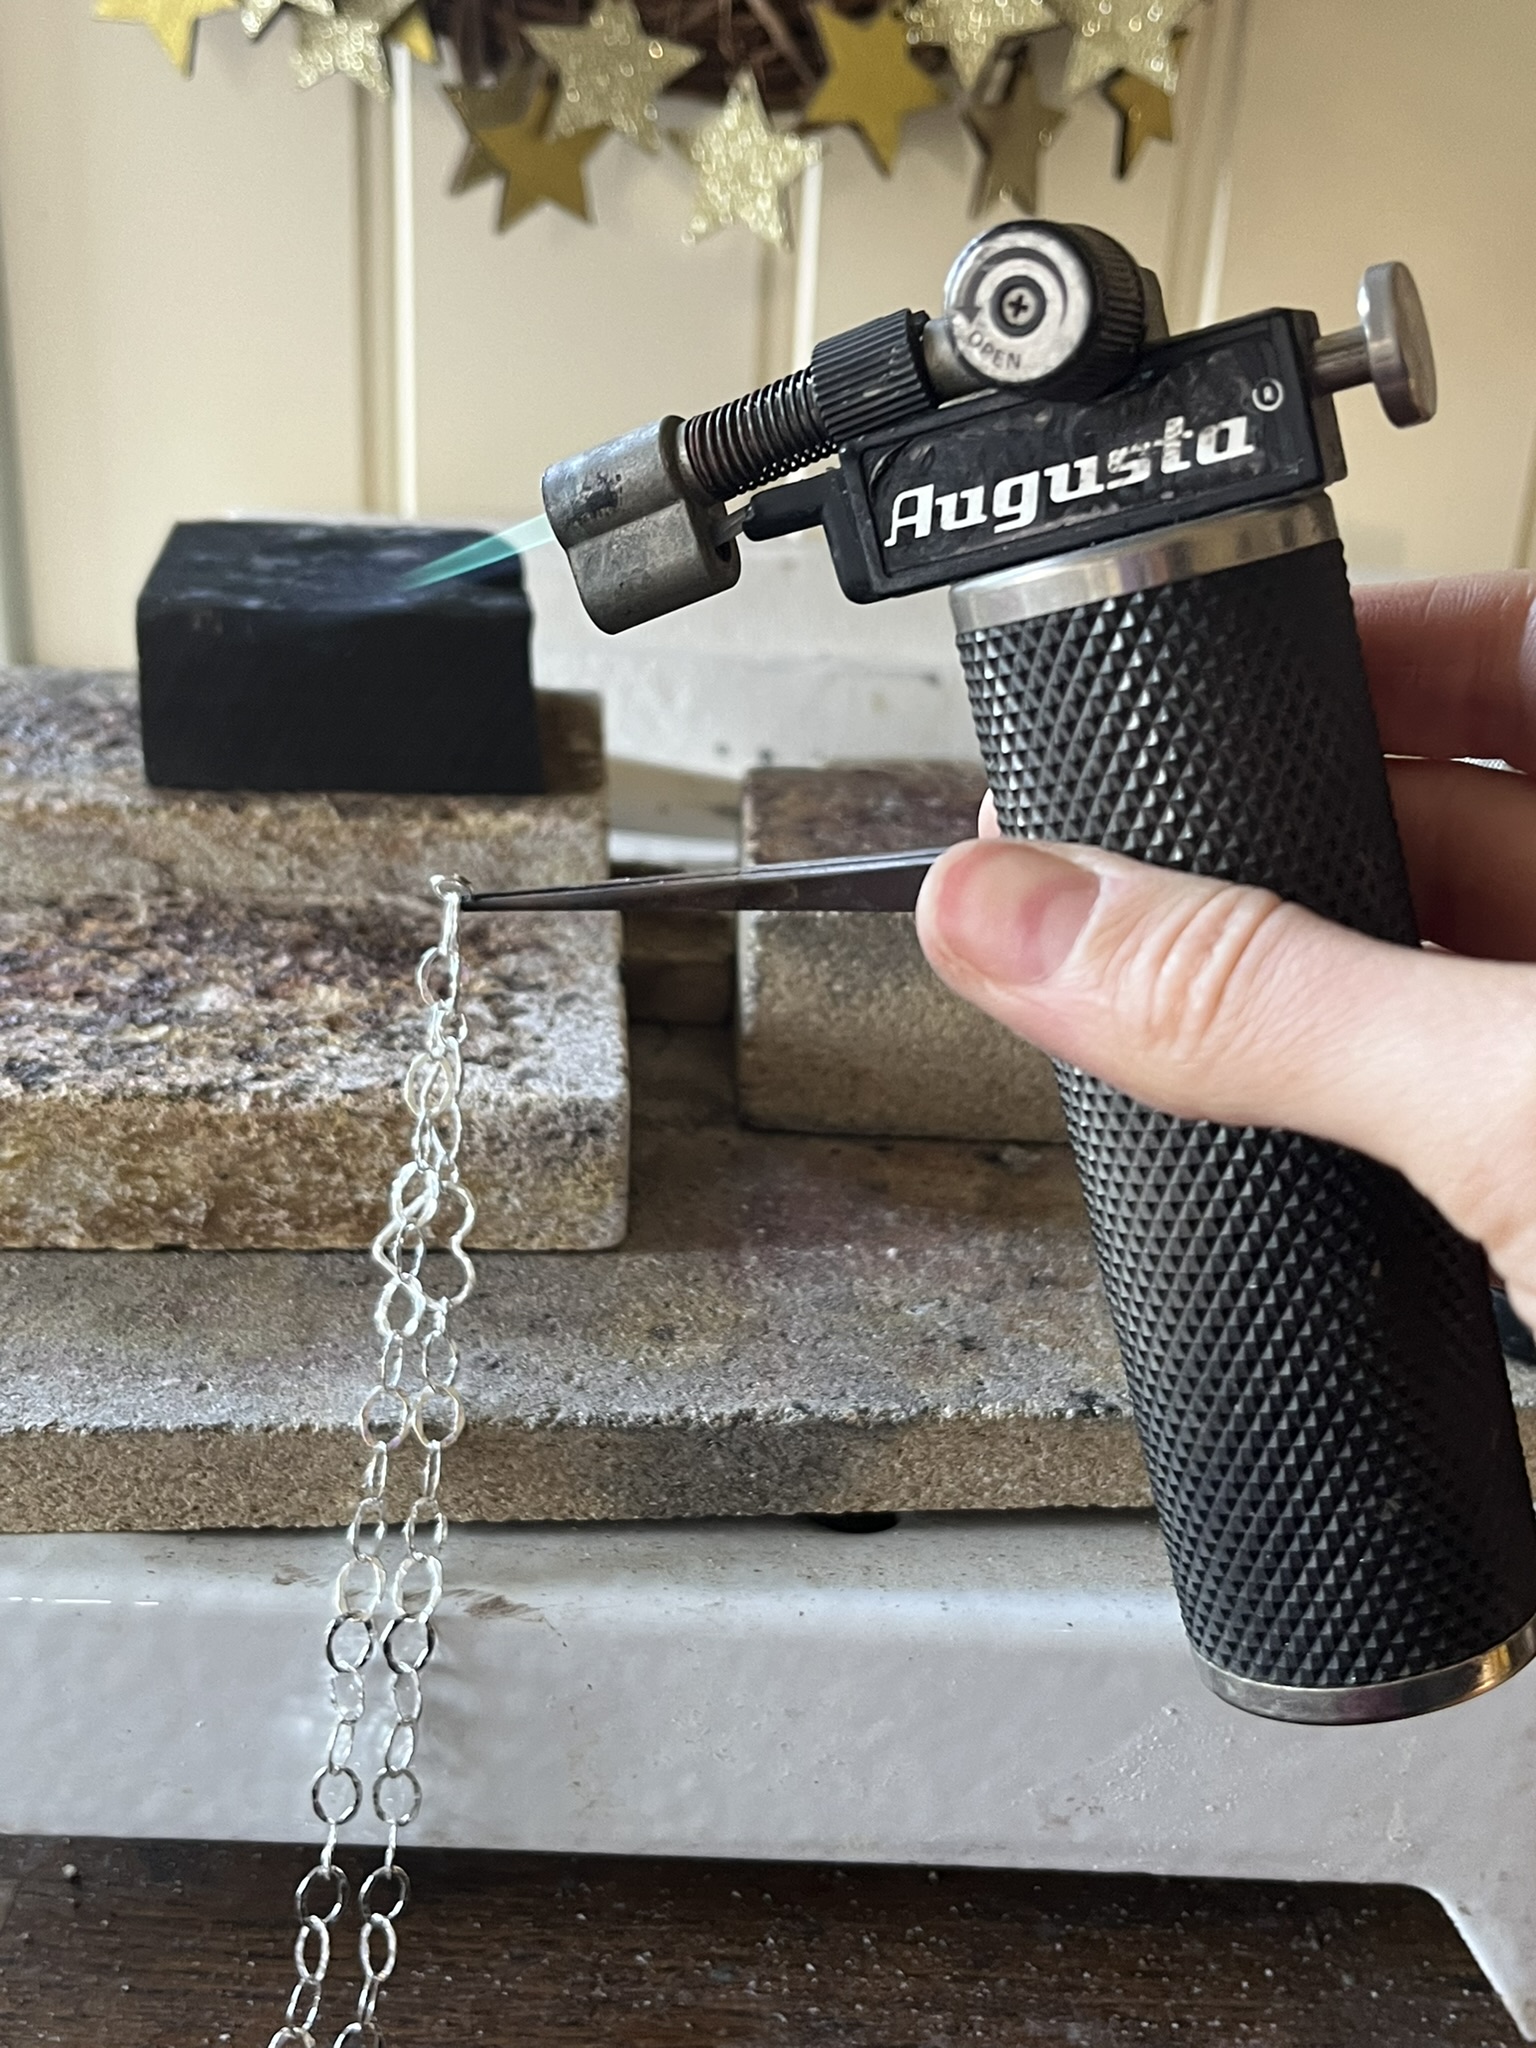
Solder each jump ring by holding the jump ring in reverse action tweezers in a third hand and adding a little solder paste to the join. Heat the jump ring and solder paste using a hand blow torch until the solder melts and flows. Quench (cool) the chain in water before soldering the next jump ring.
Note: It is best practice to use hard solder paste however, if you do not have hard solder paste, you can use medium or easy.
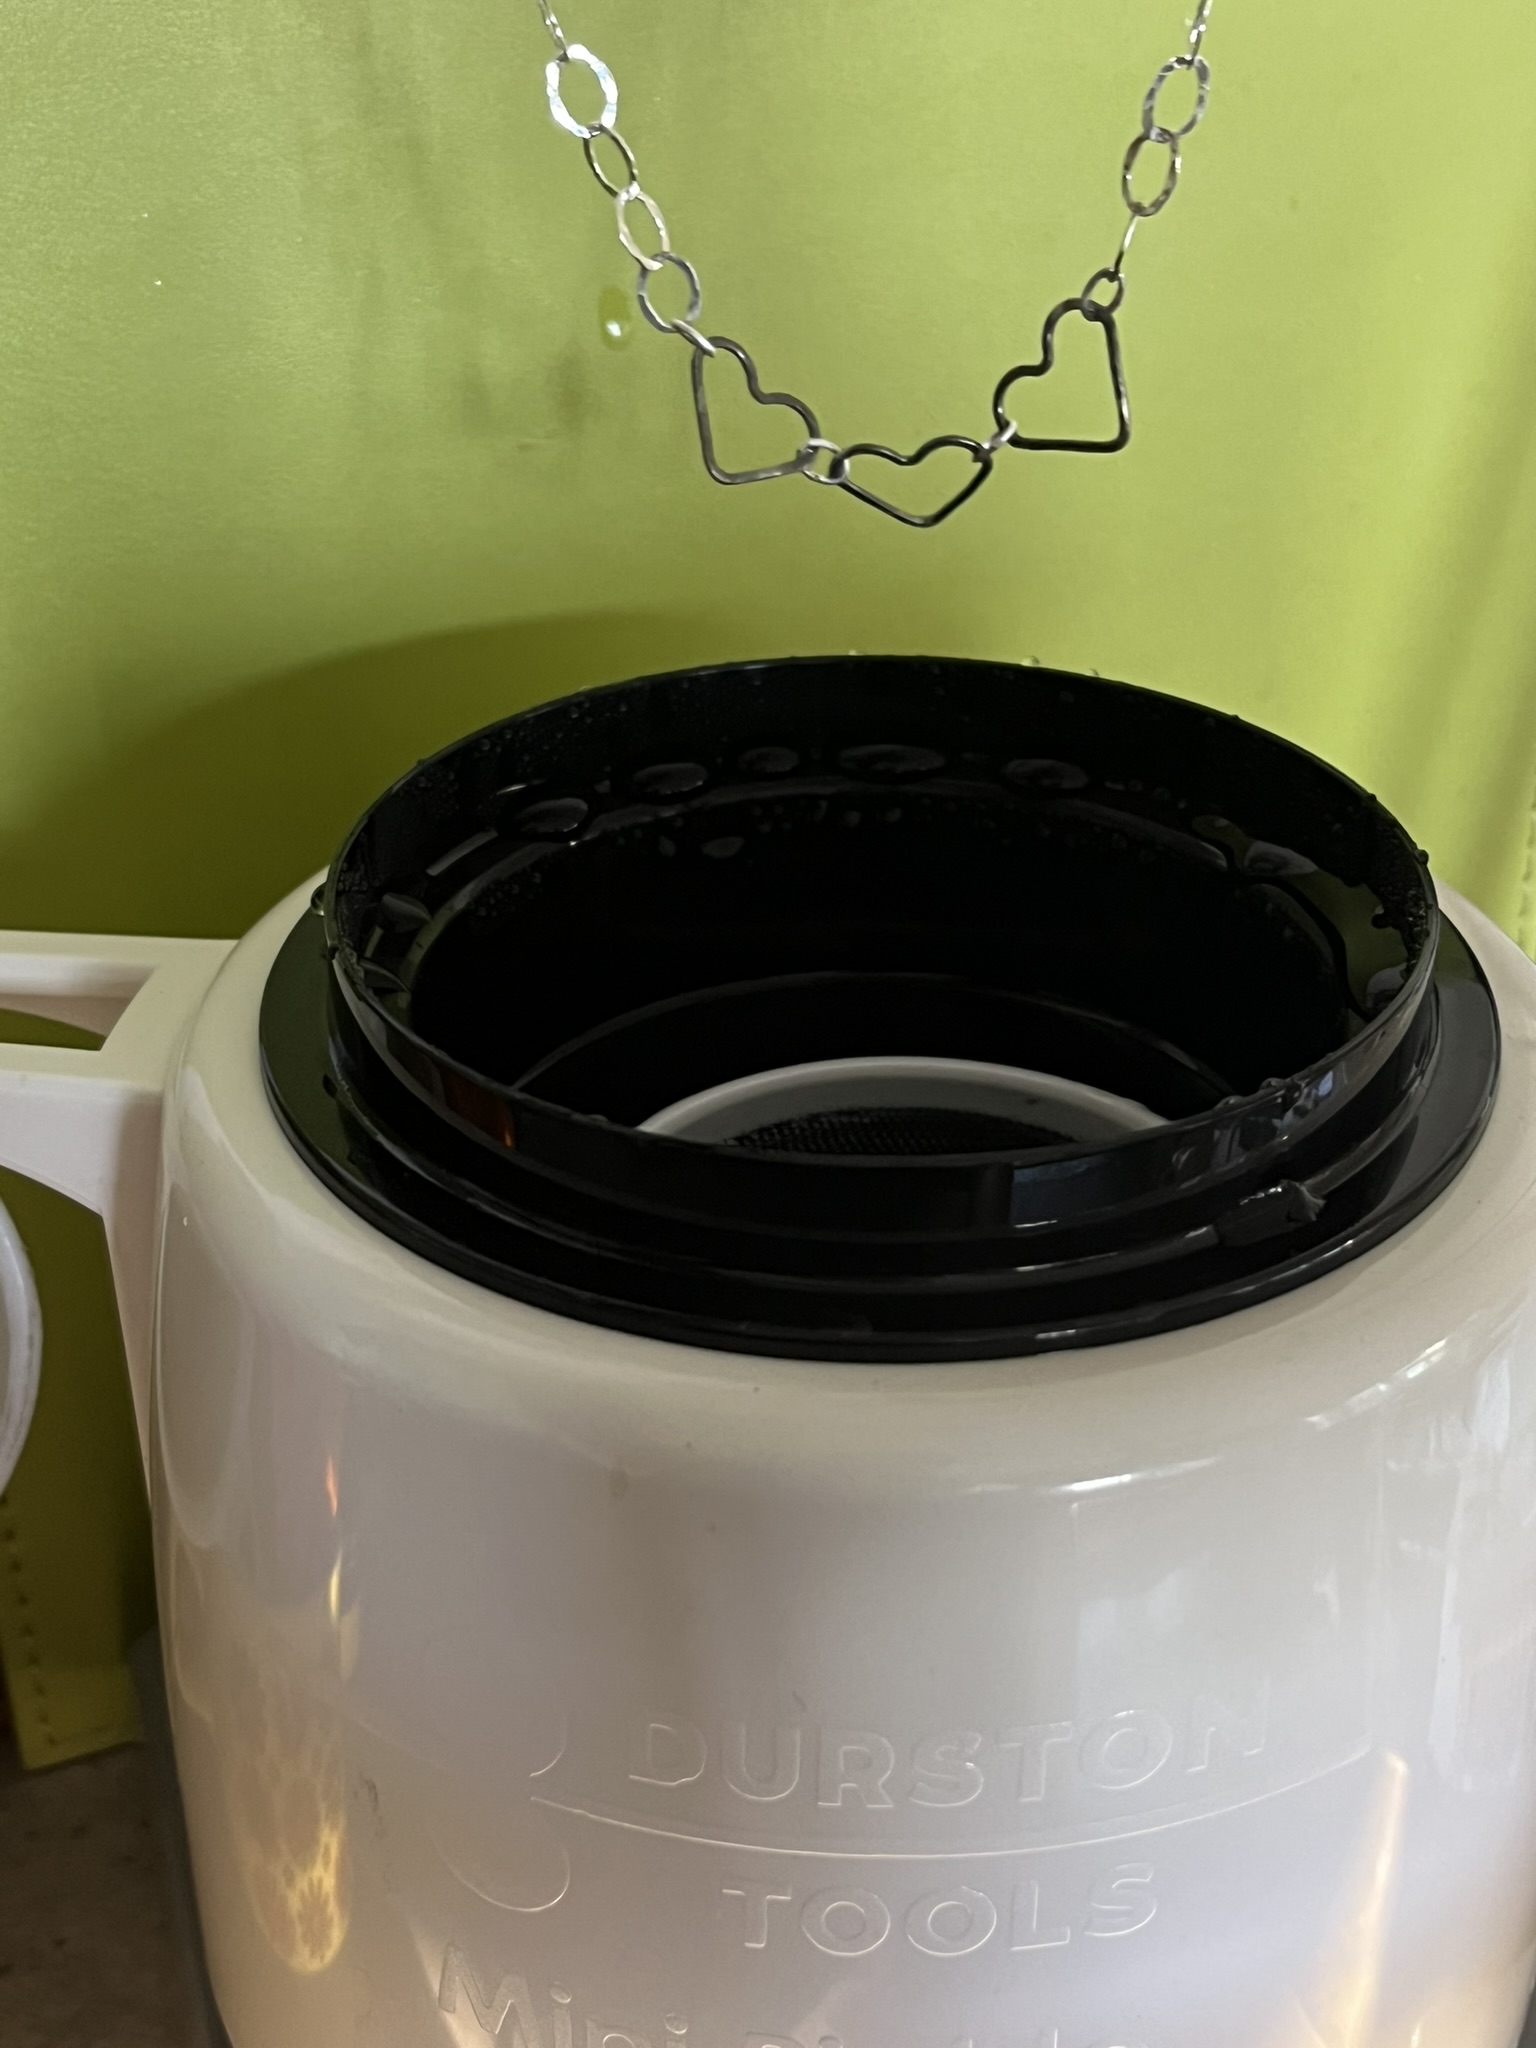
Step 8
When all four jump rings are soldered, add the chain to a warm pickle solution for 10 minutes or until clean. Remove from the safety pickle using plastic tweezers.
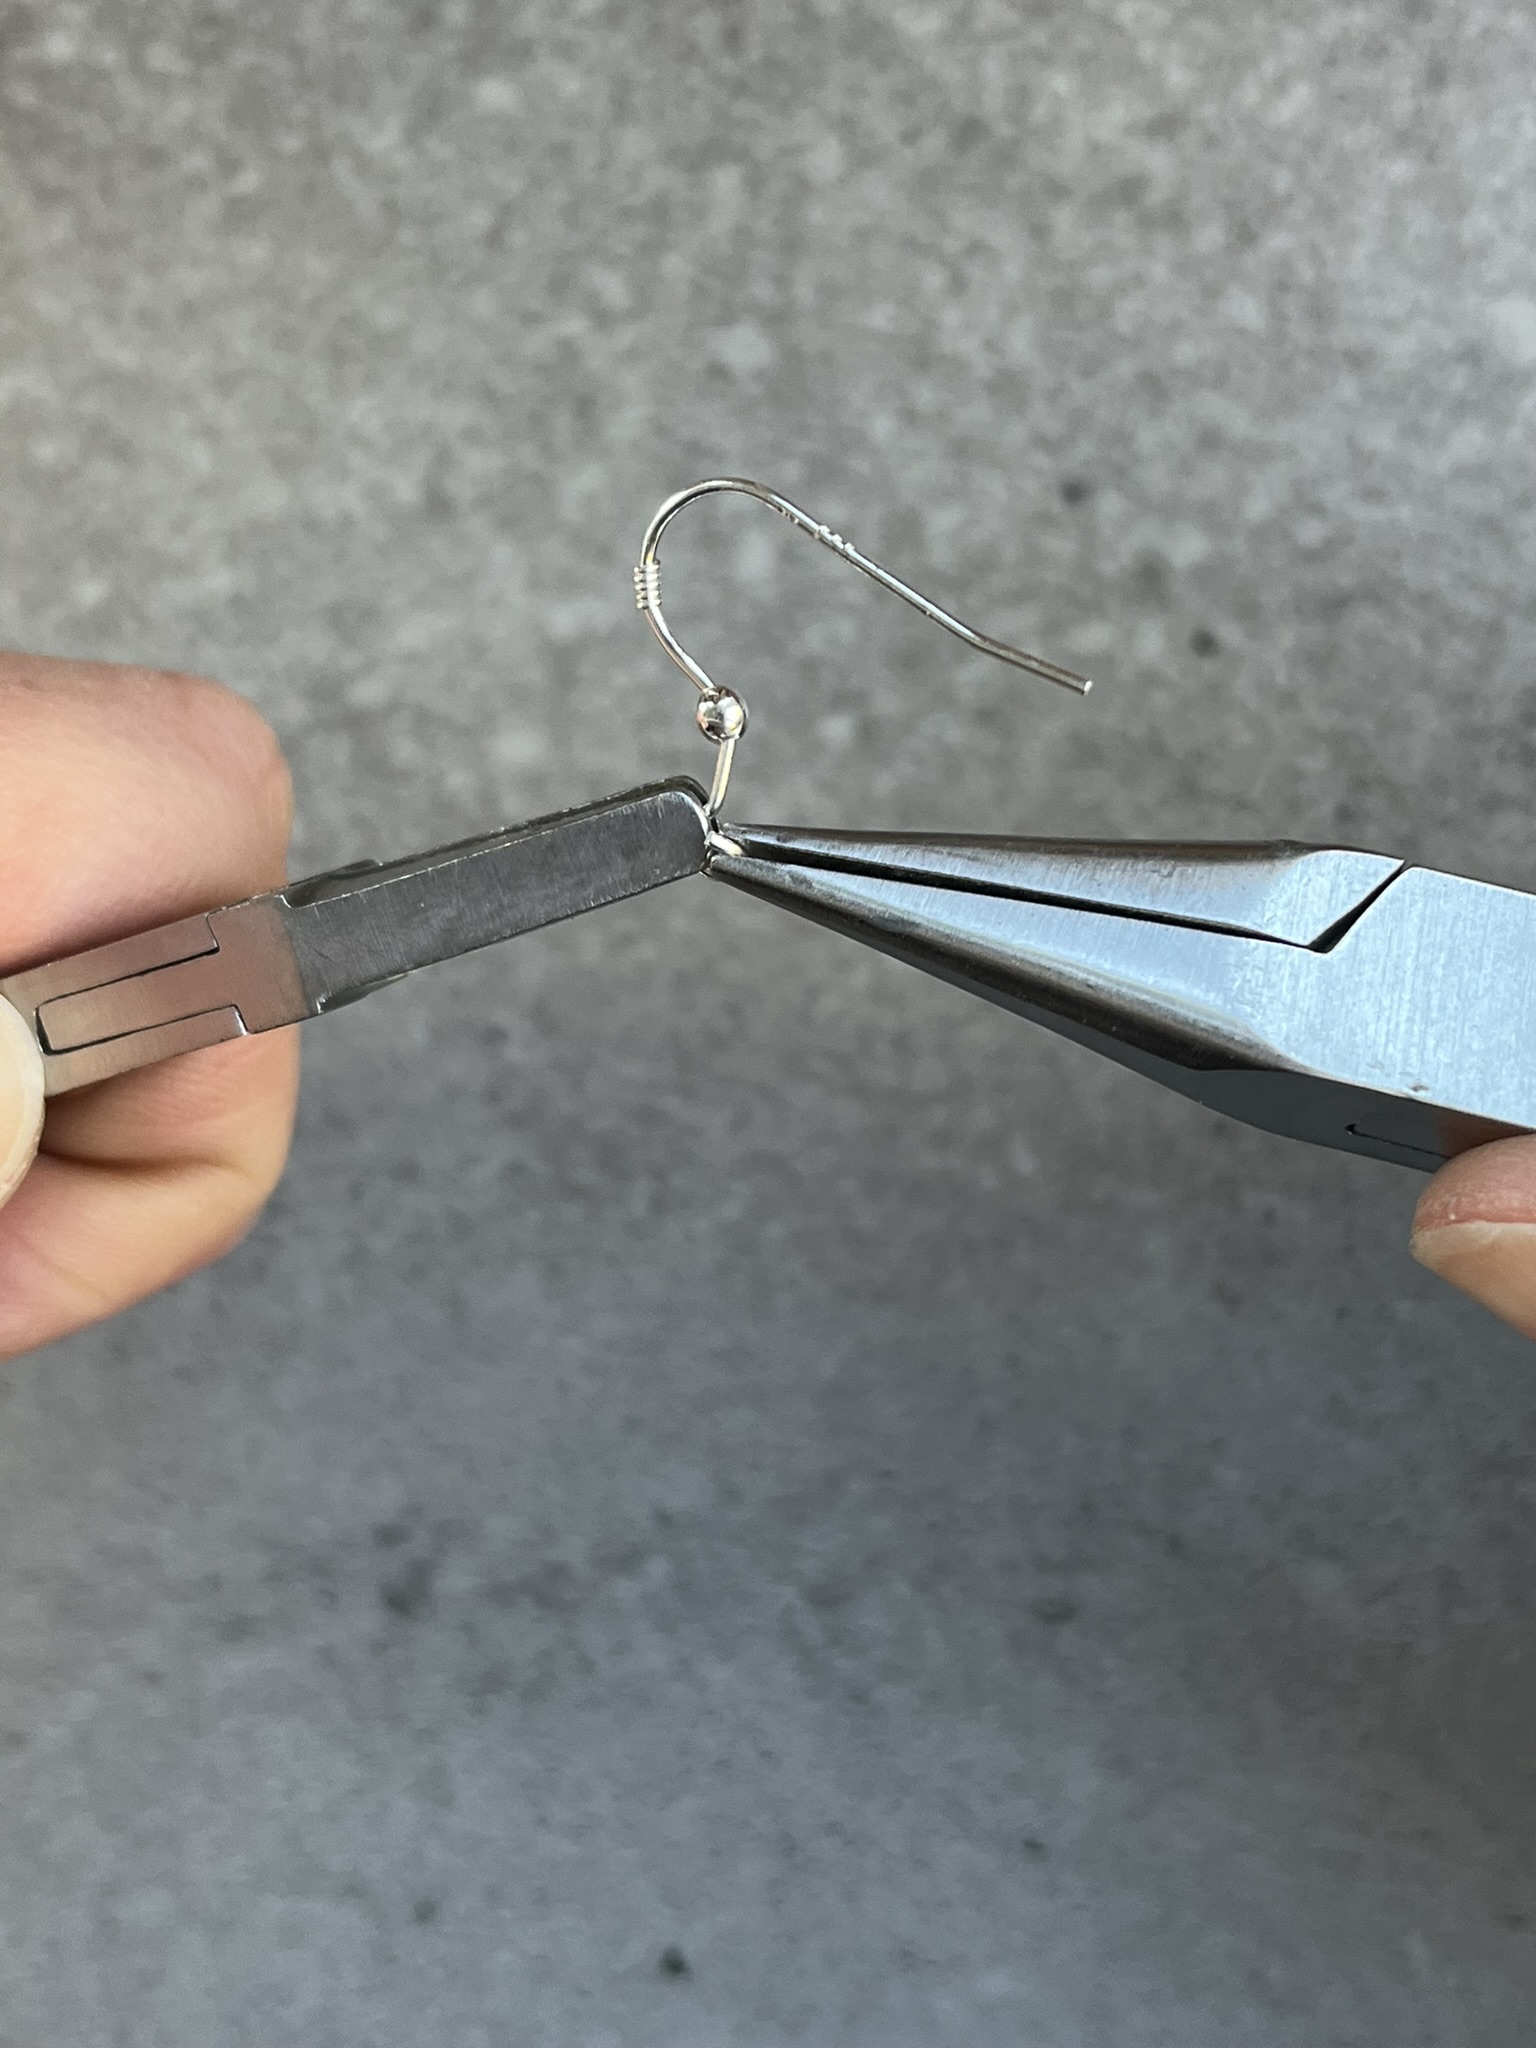
Step 9
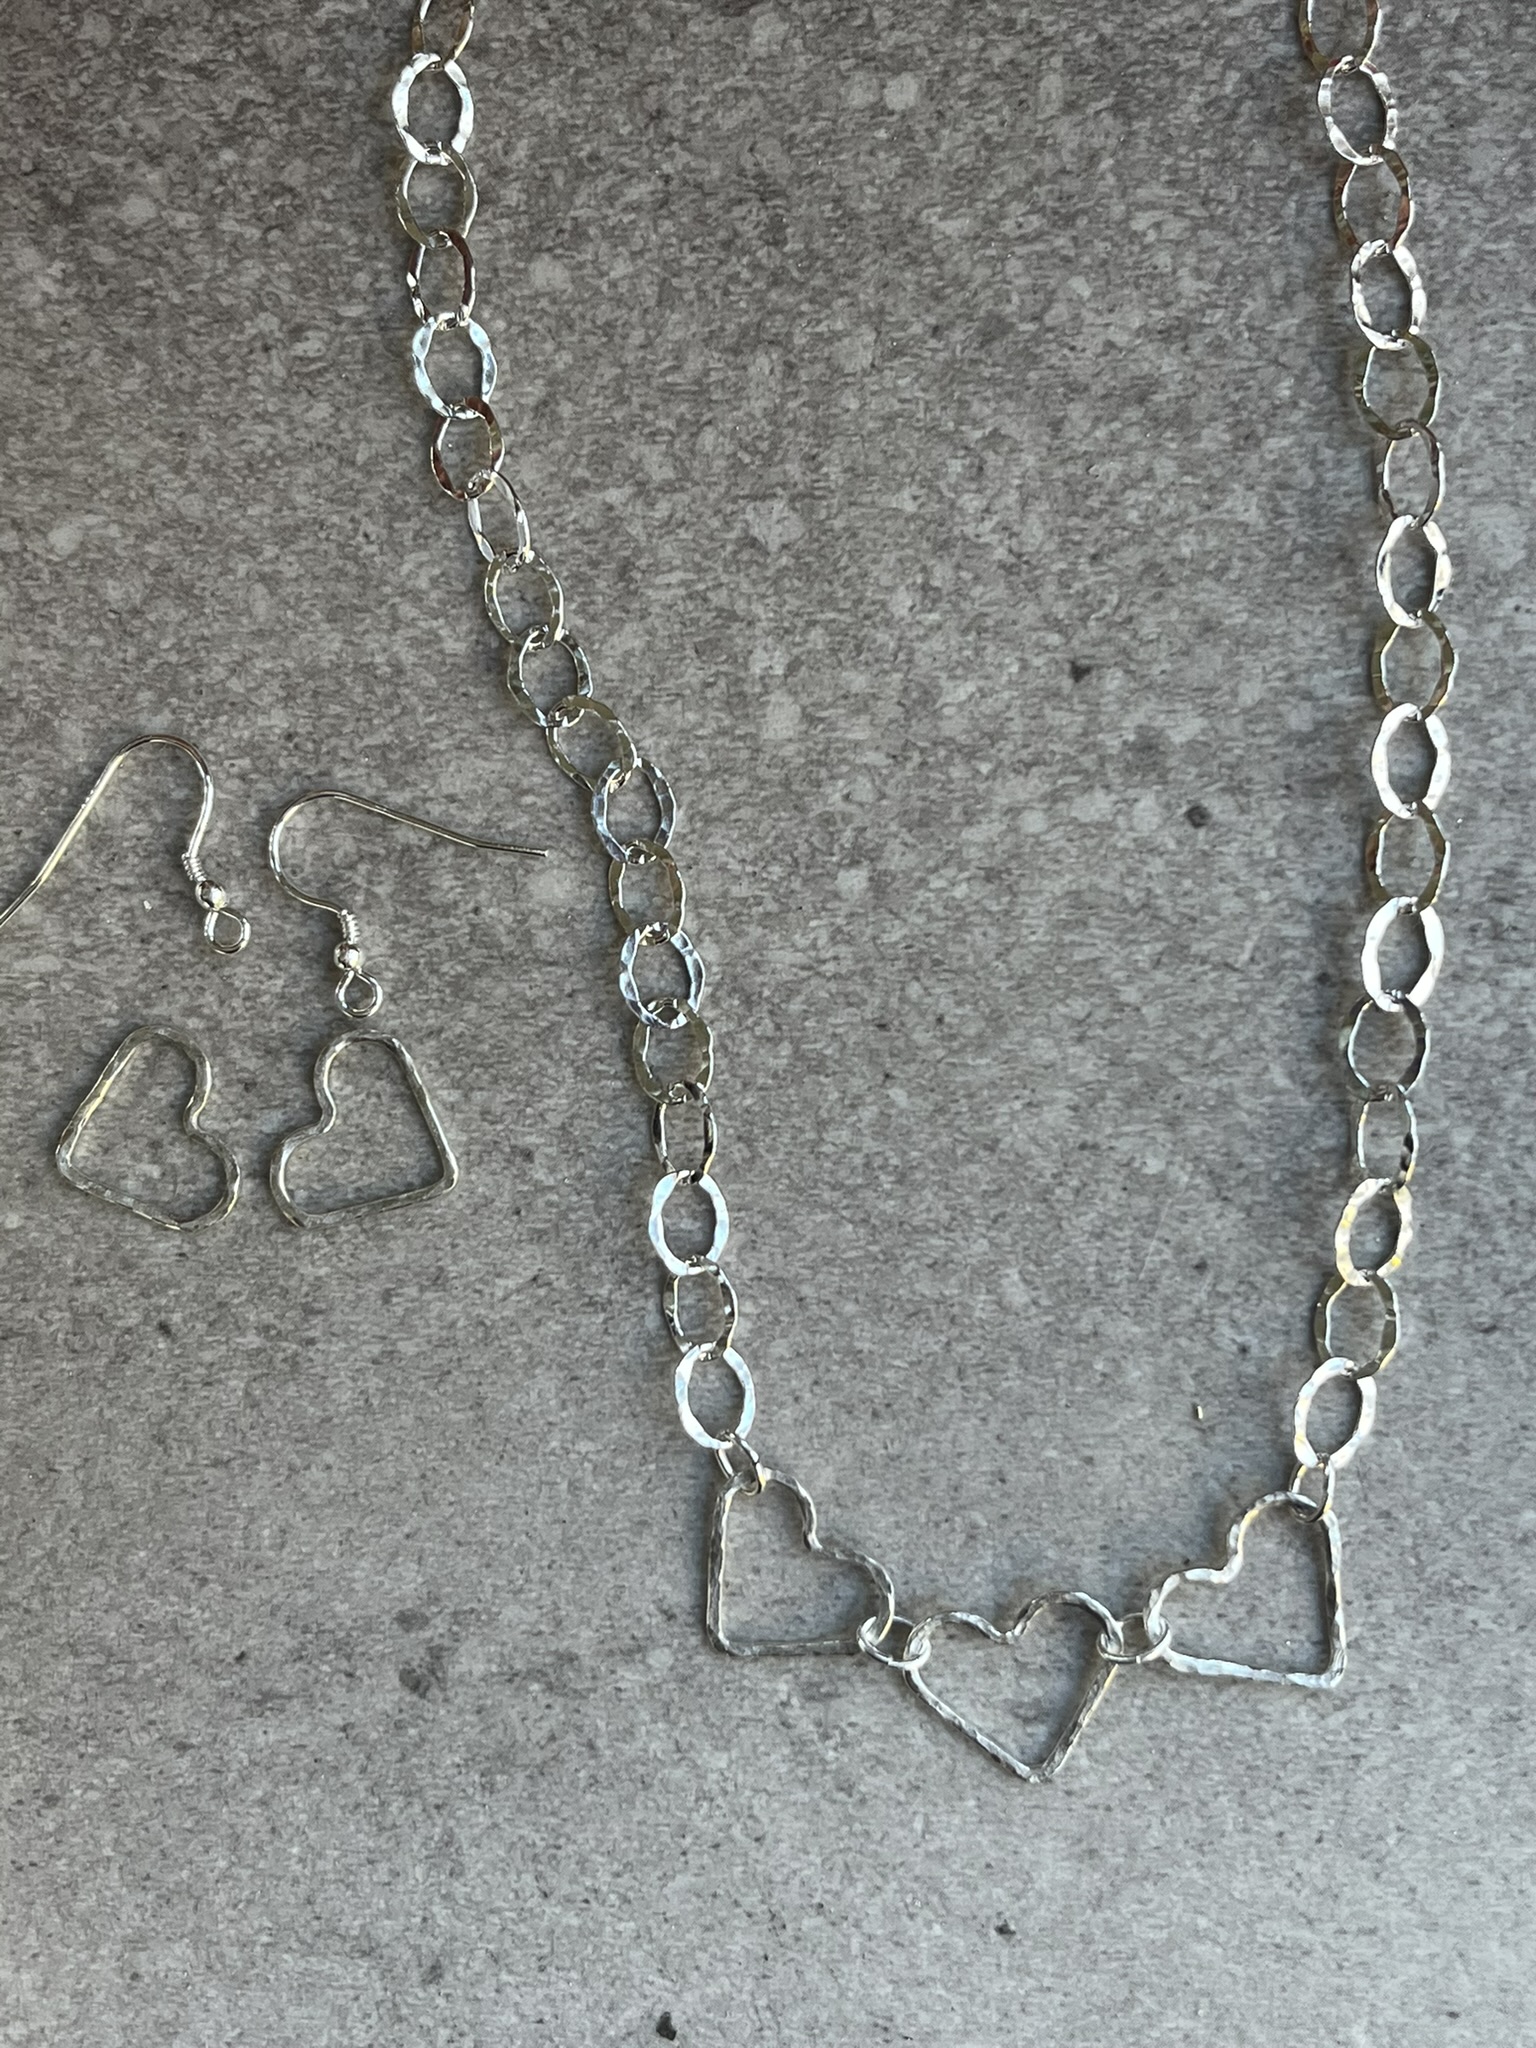
To make the earrings, open an earring hook wire by gripping either side of the hook wire loop with two pairs of pliers (chain, flat or snipe nose pliers). Twist the pliers in opposite directions to open the hoop.
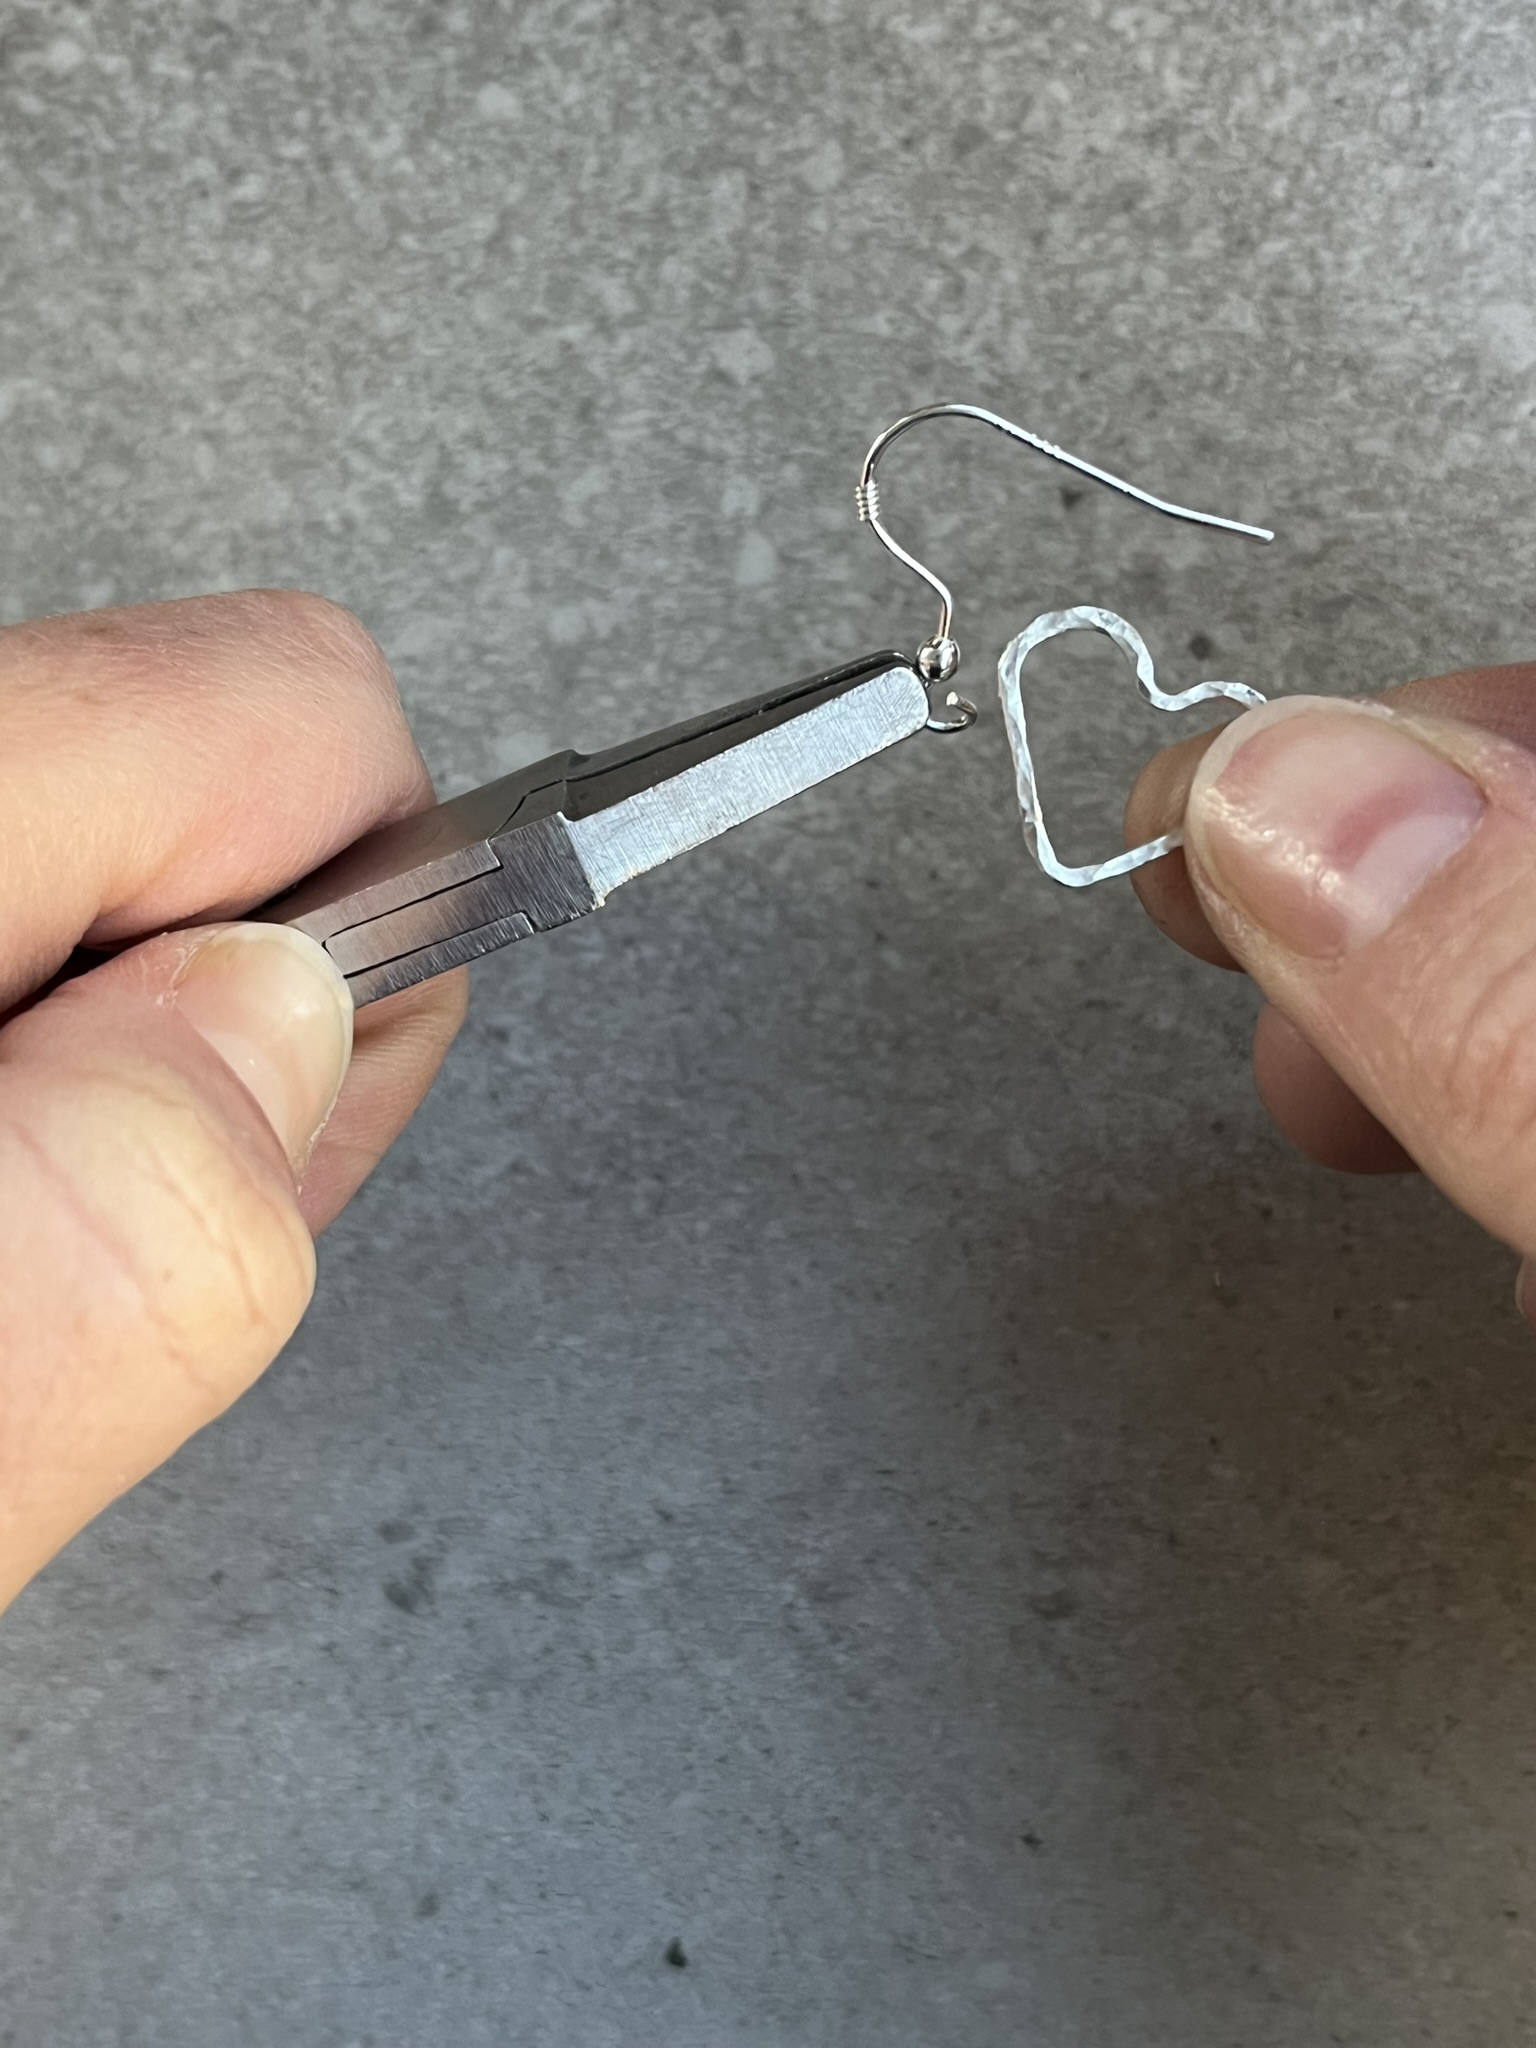
Step 10
Thread a heart on to the open loop and the two pairs of pliers to grip either side of the hoop and twist inwards to close flush. Repeat this to create a second earring and make a pair.
Note: Earrings are often a mirror image, you should consider this when adding your hearts onto the earring hook wires.
Step 11
To add shine to both pieces, rub gently with a silver polishing cloth. Alternatively add to a barrel tumbling machine with shot, barrelbrite and water for 20 minutes.

Sian Brown
Sian has been hand making her award winning jewellery in the West Midlands for over 12 years. Sian spent 10 years in Birmingham’s historic Jewellery Quarter before relocating to a quiet Worcestershire village.