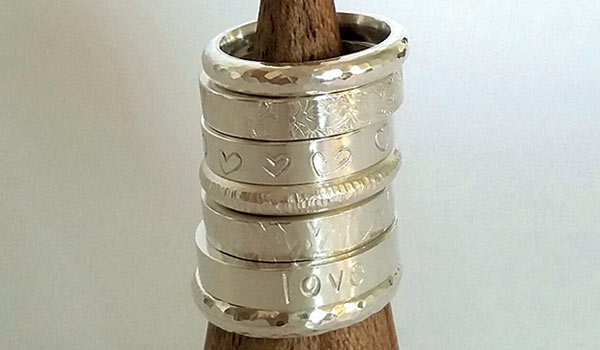
Follow our simple step by step guide for an easy way to personalise our range of silver ring blanks.
Step 1:
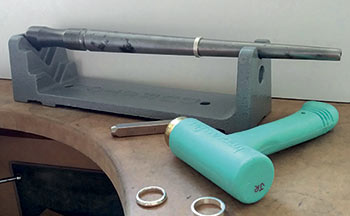
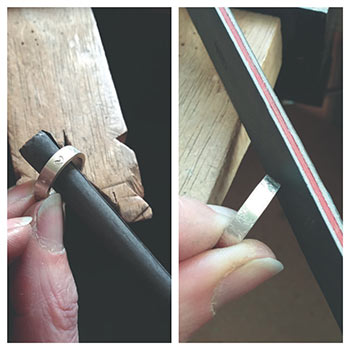
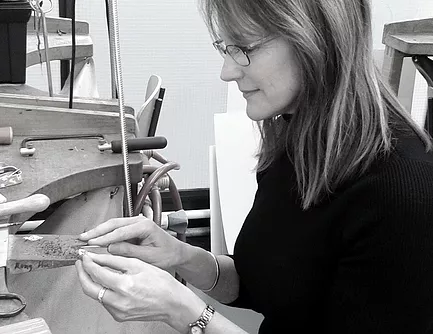
Secure the ring.
Place your ring on a ring mandrel before you begin stamping.
We recommend that you use a mandrel holder to hold your mandrel securely. Plus it will allow you to work with both hands, whilst you add texture or a design to the ring blanks.
Step 2:
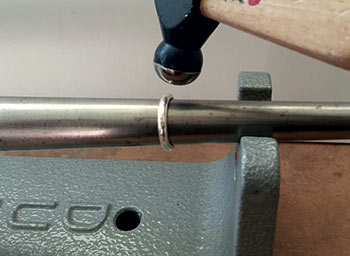
Texture the ring.
First let’s look at texturing the court blank, which has a more rounded profile we think it looks good with a sparkly hammered finish.
To get this look, place your ring firmly on the mandrel and position the mandrel in the holder. Using the rounded end of a ball pein hammer, hammer evenly on the surface of the ring, turning the mandrel around so that the ring is fully textured all around.
Top Tip:
Don’t hammer too hard as this will stretch the ring.
Step 3:
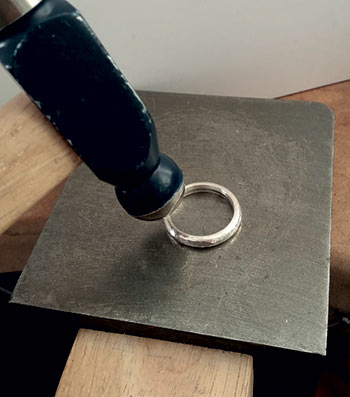
Texture the sides.
If you want to texture the sides of the rings then place the ring flat onto a steel bench block and continue hammering to texture the sides.
Again, we advise not to hammer too hard or you’ll distort the edge of the ring.
Step 4:
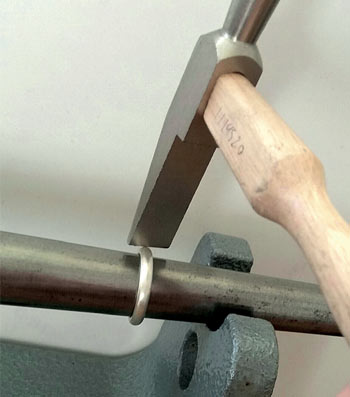
Stamp the lines.
You can use other hammers to achieve different textures, such as using a wedge end of a riveting hammer to add a line texture.
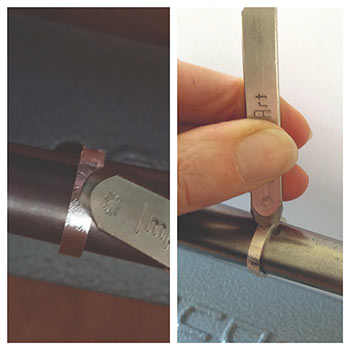
Step 5:
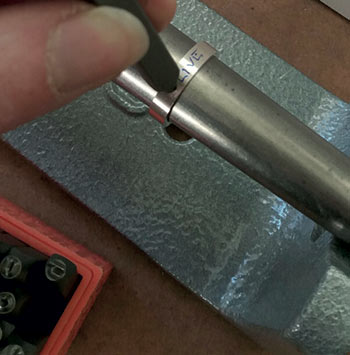
Stamp the pictures.
Add texture easily and evenly to your flat profile ring blanks by using a stamp with a picture (e.g. flower) to create an interesting pattern, by “multi-stamping”.
Top tip: Hold the stamp level
It’s important to hold the stamp level; though you are working on a curved surface, the stamp will impress by the contact of the ring through to the mandrel.
Strike the stamp firmly with the hammer, move the ring round a little and strike again. Continue like this, turning the mandrel around so that all the surface is stamped. Check now and again to see you are happy with the pattern.
The aim is for a random design, so it does not matter if sometimes all of the stamp does not imprint.
Step 6:
Clean the edges.
Once you’re are happy with the overall design, you may need to clean up the edges. Some bruising where the stamp came close to the edges will be usual.
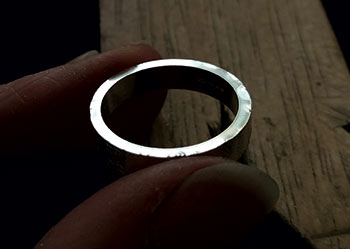
Step 7:
Sand the bumps.
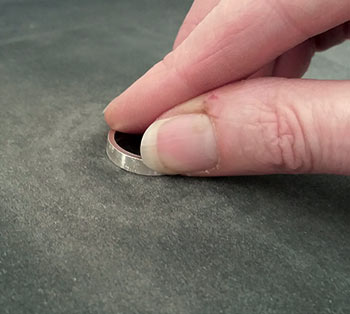
The easiest way to remove these slightly bumpy edges is to lay a sheet of emery paper on a flat surface, we recommend that you start with a grit around 240.
Hold the ring flat with your fingers and rub firmly in a circular motion. Check the ring after a few rubs to see if the bumpiness should have gone.
Repeat the process using an emery paper with a less coarse grit for example 600 grit. To finish use an 1200 grit sheet, for one final rub. The edge should now be smooth and shiny.
Step 8:
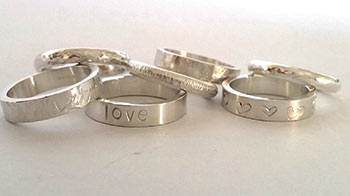
Stamp the letters.
If you are confident with stamping, you can stamp words or pictures onto the flat profile ring blanks. The important thing is to hold the stamp level so you get a clean strike.
Top tip: Mark where you want to stamp
It’s useful to mark out your words first or create guides for a pattern with a marker pen.
Step 9:
Polish and Buff.
When you finished your personalised or textured your ring blank, you will need to spend a little time polishing and buffing the edges and inside to get them to a nice smooth and shiny finish. Use a buffing stick or abrasive flexible sticks.
Step 10:
Tumble.
If you have a barrel tumbler, use this to give the rings a final sparkle.
Your own personalised professional-looking rings are now finished.
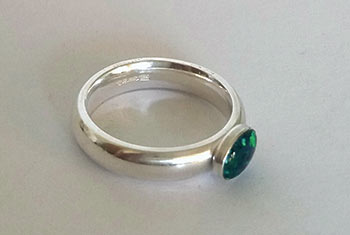
Extra Idea:
The ring blanks can also be adapted by soldering on ready-made bezels and adding a stone.
To do this, you will need to file a small flat surface on the blank onto which the bezel will sit.
See the downloadable version of this project to print and keep.
We want to see what you have been making! Share your creations with us on social media, tagging in Cooksongold on Facebook, Twitter and Instagram.
Janet Royle
Working in silver, gold and beautiful gemstones (sometimes combined with original antique pieces), Janet blends traditional skills and modern technologies to create her unique collections.