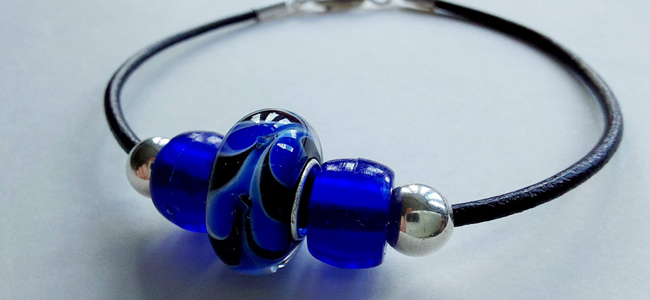
For those just starting out in jewellery making, it can be pretty daunting to figure out what to start creating. That’s why we have put together a few quick and easy makes, like this leather beaded bracelet, that take only 15 minutes to create. Leather beaded bracelets are a stylish classic that will complement any outfit. To make an extra special gift, try a leather bracelet with name beads to personalise this jewellery make for a loved one. Read on to discover how to make a leather bracelet.
Step 1
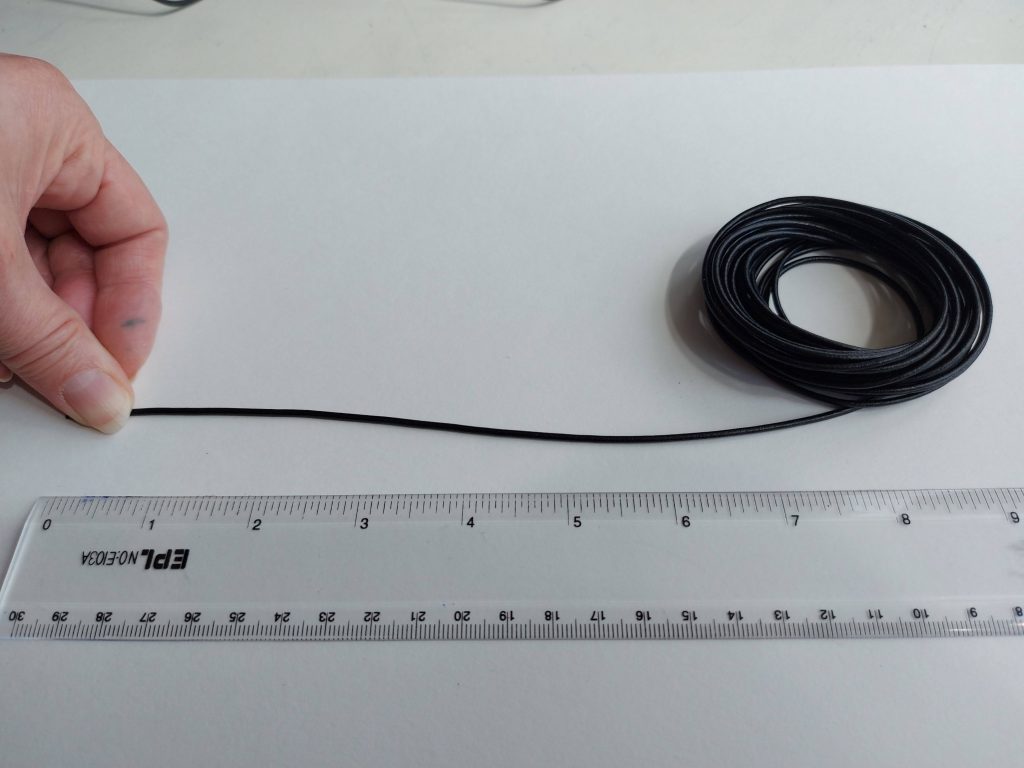
Firstly, lay out the leather cord. It comes in long, 5 metre coils, so you can afford to be generous with your cutting. Cut off a length measuring 7.5 inches simply using a pair of scissors, but cut a length which suits your own requirements. This creates the base for your leather and bead bracelet.
Note: As a rough guide, an average sized bracelet can vary in length from 6.5 – 7.5 inches (16.5cm – 19cm). Making allowances for any larger diameter beads and findings you may want to add, it’s better to cut a longer length and adjust as necessary as you go along.
Step 2
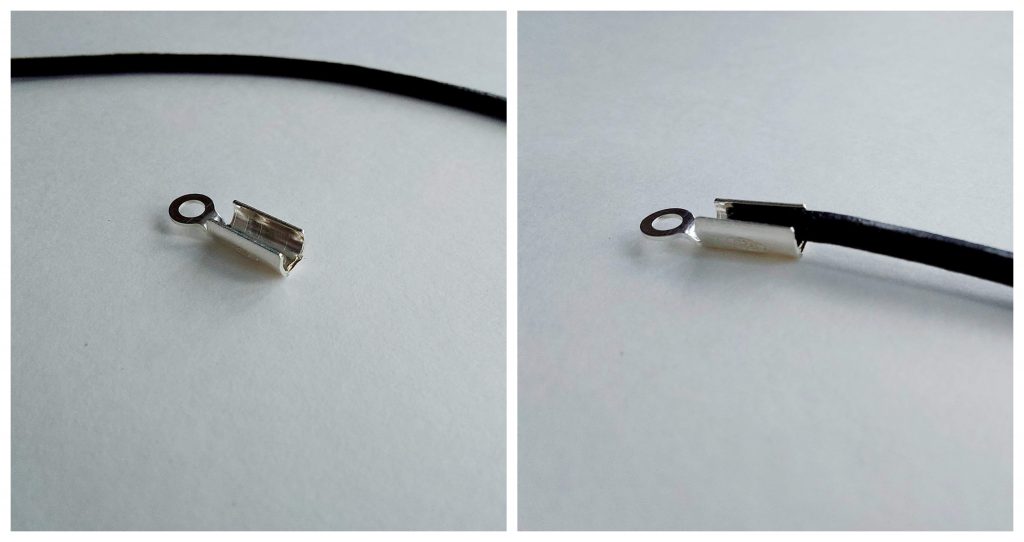
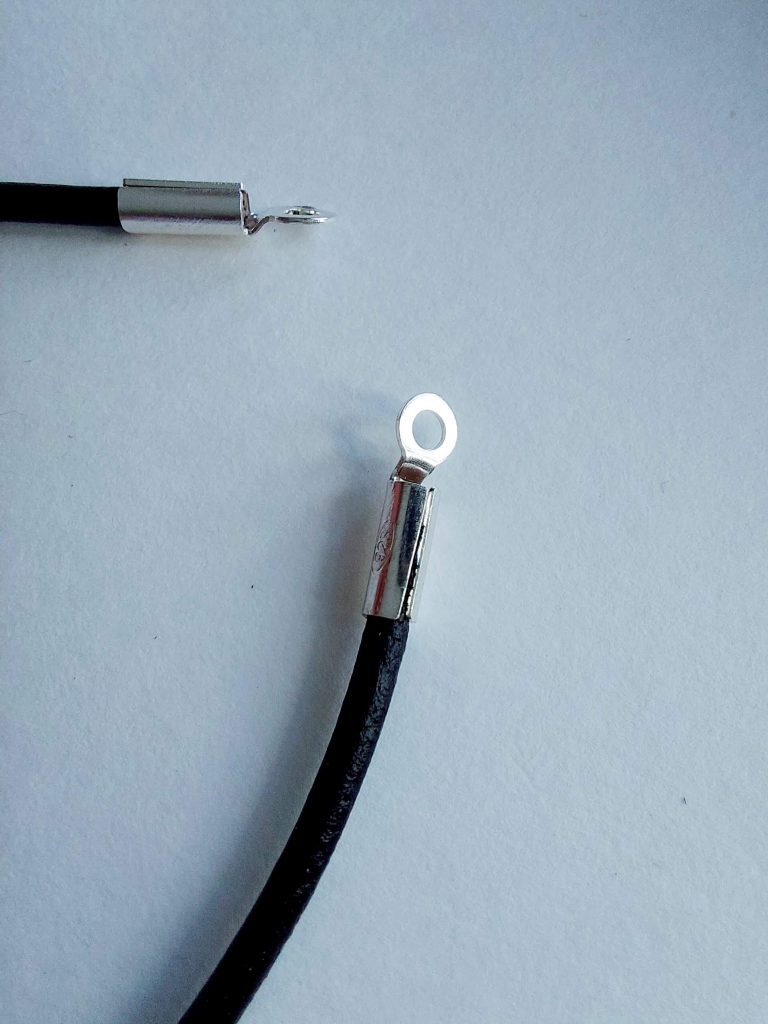
Next, take out one of the silver end caps and try positioning the end of the leather cord bracelet into the channel. The idea is to basically squeeze the two open sides over the leather beaded bracelet to secure the end cap into place.
Note: Make sure the leather beaded bracelet is pushed all the way into the end cap to ensure maximum grip once closed.
Step 3
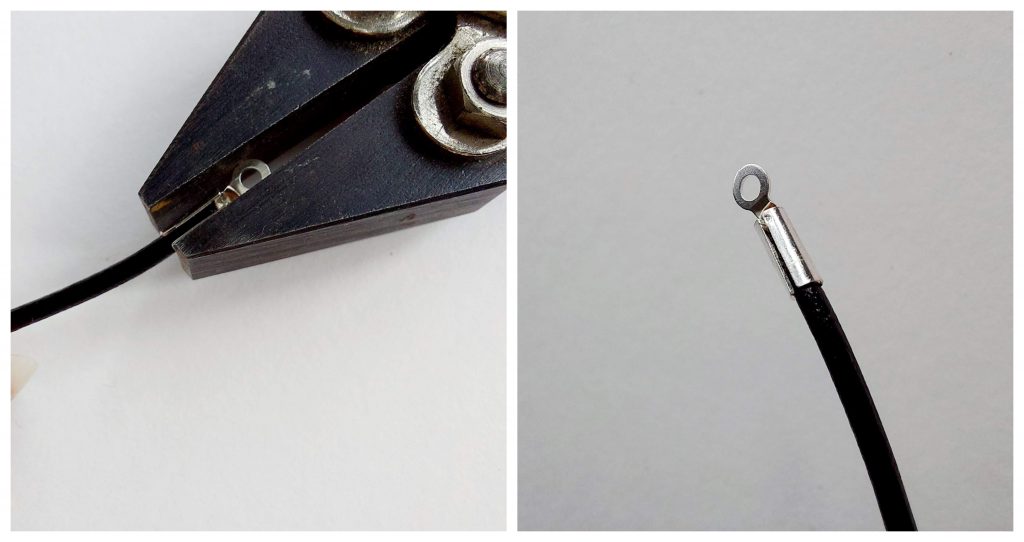
Once you have the correct position, gently start to squeeze the sides of the end cap using the parallel pliers. The aim is to close the gap, encapsulating the leather cord bracelet, making sure to leave no rough edges.
Step 4
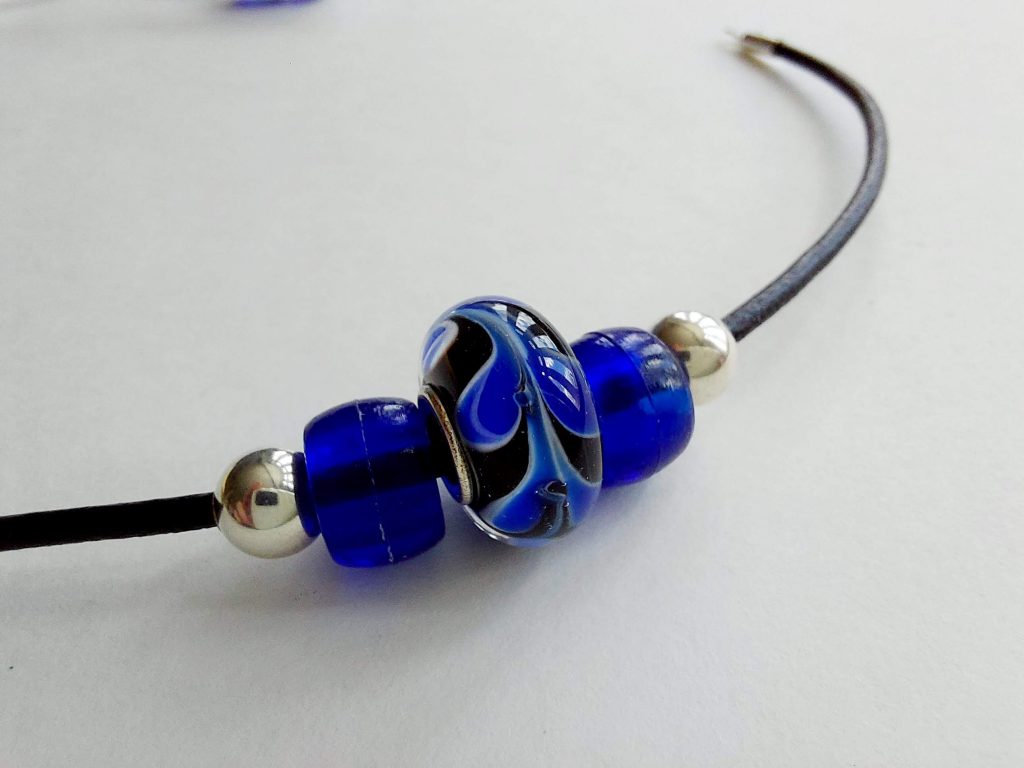
With one end now secure, you can start to thread on the beads. Play around with the configuration of the beads until you reach a design you are happy with. If you find the holes on the 6mm silver beads a little tight, simply take a round needle file and gently twist it through the hole to widen them a little. A leather bracelet with name beads can make a stylish gift to give to friends and family for that personal touch. Or try a beaded leather wrap bracelet to complement your other pieces.
Try it around your wrist to check the length before proceeding to the next stage. Now is the time to cut off a little more leather if the beaded leather wrap bracelet is looking too long. Remember you still have two 5mm jump rings and an 11mm clasp to add, along with another end cap, so try to take this into account.
Step 5
Add the second end cap to the opposite end of the leather beaded bracelet, thus securing the beads into place as they will no longer fall off. Try to position the end cap at 90° to the first one, so that the leather cord bracelet with beads will lay flat once the other findings are attached. (Don’t worry if you don’t manage to do this, your leather beaded bracelet will still work.)
Note: If you are finding it tricky to attach the end caps, try to remember that a series of gradual squeezes with the pliers is much more productive than one, big push. This way, you can keep checking the position of the leather cord bracelet whilst monitoring the progress of the metal sides, as they are gently pushed over into position.
Step 6
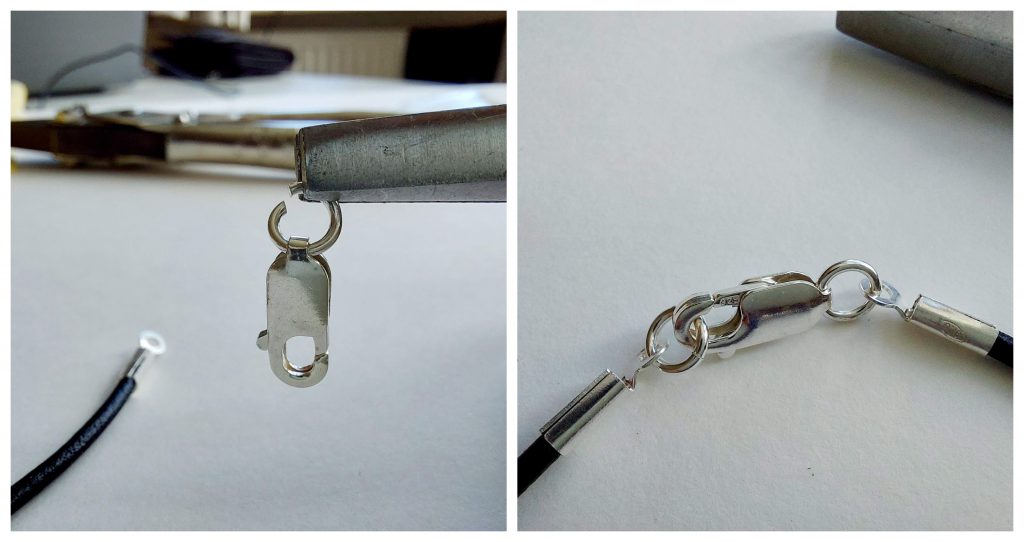
Once the end caps are on, take one of the 5mm jump rings and twist it open using the flat pliers, leaving a gap. Slide on the clasp, and then loop through the ring on one of the end caps, to attach it to the leather beaded bracelet. Close tightly by twisting in the opposite direction. Add a second jump ring to the opposite end of the leather cord bracelet and ensure it is closed neatly and tightly leaving no rough edges.
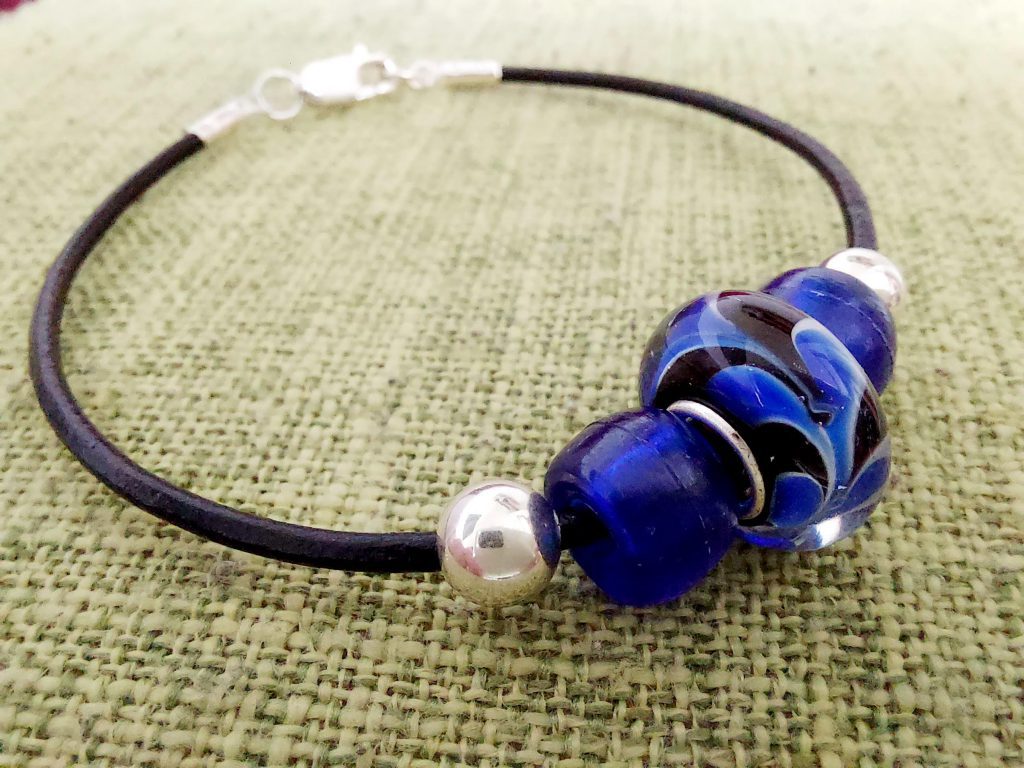
Your leather beaded bracelet is now complete, congratulations on learning how to make a leather bracelet! Now stand back and admire!
We want to see what you have been making! Share your creations with us on social media, tagging in Cooksongold on Facebook, Twitter and Instagram.

Joanna Varney
Joanna has worked in and around the jewellery industry for well over 20 years. She has designed and created her own pieces as a designer maker, as well as working in jewellery retail on a much larger scale, producing designs and NPD for some of the UK’s largest high street retailers