Want to learn more about the art of beading? And how to make a silver beaded bracelet to master the technique? Use our step-by-step guide below on how to make a beaded bracelet to kick off your journey into the world of beaded jewellery. Our simple beaded bracelets video tutorial will help you discover what basic tools you’ll need and how to bead to a high standard.
<iframe width=”560″ height=”315″ src=”https://www.youtube.com/embed/95qr1nQDqkE” title=”YouTube video player” frameborder=”0″ allow=”accelerometer; autoplay; clipboard-write; encrypted-media; gyroscope; picture-in-picture” allowfullscreen></iframe>
Silver Beaded Bracelet Kit List
To make beaded bracelets, you’ll need to pick up these key pieces of kit:
- 0.5mm silver wire
- 5mm heavy jump rings
- Sterling silver toggles and hoops
- 8mm round beads
- Small flush cutters
- Round nose pliers
- Tronex pliers
- Long snipe nose pliers
- Small flat pliers
How to make bracelets with beads and wire
Step 1
Take your 0.5mm silver wire. Using your flush cutters trim approximately 5-6cm of the wire.
Step 2
Now, take your round nose pliers and bend the end of the 5-6cm wire to form a small loop.
Top Tip: Make sure you leave a small amount of the wire free at the end of the loop so that you can twist it back on itself and around the length of the wire for a tidy finish.
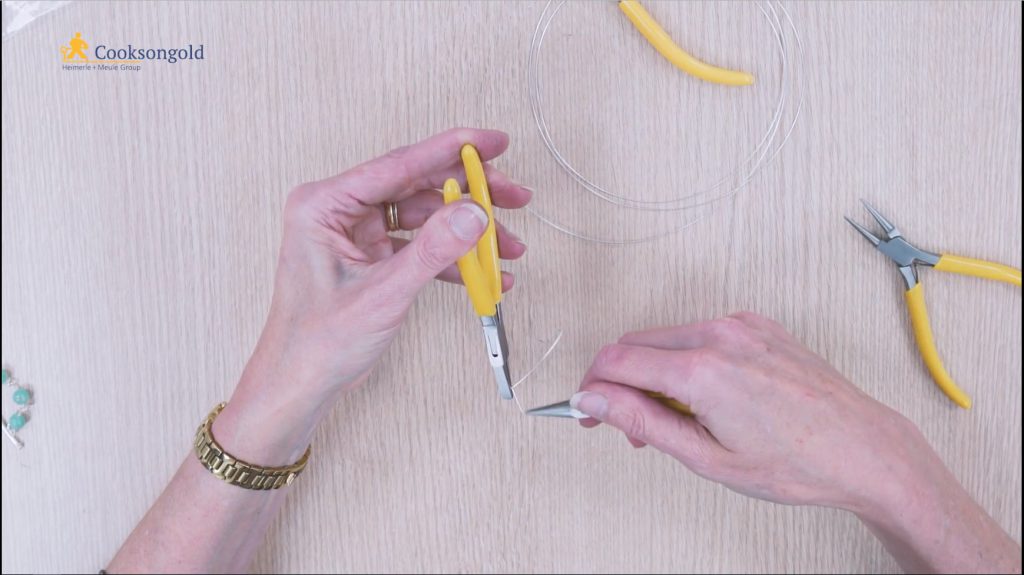
Step 3
Using your flat nose pliers, press down the loop and hold it in place whilst your snipe nose pliers stabilise the loop. Take the loose end of the wire that you have wrapped and snip away any excess using your flush cutters. Now you should be left with a tidy loop at the end of the wire making it easy to bead and secure them in place.
Step 4
Add your chosen bead to the small length of wire. To secure the bead completely in place on both sides of the wire, all you have to do is create another loop.
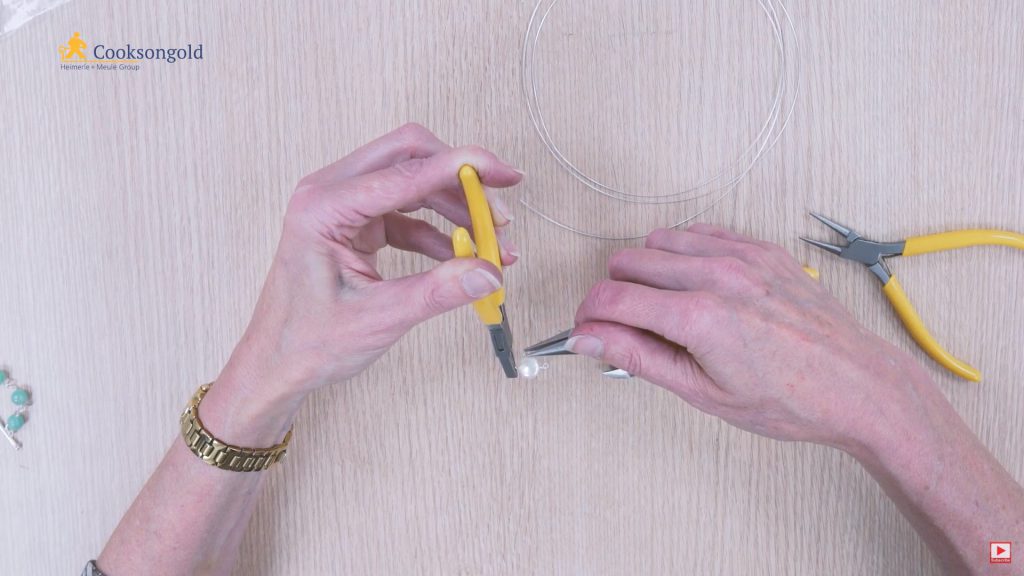
Step 5
Using your round nose pliers create a loop in the end of the wire ensuring that there is a little wire left to loop around next to the bead to secure it. Your snipe nose pliers are an excellent tool for flattening your loop in place and supporting it as you wrap the wire around using your round nose pliers.
Step 6
Now you should have one bead in place with a small length of wire running through it secured at either end with two wire wrapped loops. Repeat this process for the rest of your beads.
Step 7
Once you have completed steps one through six you are now ready to assemble your beaded bracelet. First, take your sterling silver toggle and attach a jump ring to it. When the jump ring is open, attach it to a bead on the other side. Repeat the process of attaching jump rings until you’ve assembled your beaded bracelet to the length that you require.
Want to know more about the basics of jump rings? Read our guide on how to use jump rings to discover the steps required for opening and closing jump rings, as well as how to solder them in place.
Step 8
With your beaded bracelet at a length that suits you, you can now add the final jump ring to attach the hoop. Make sure you test the length of the bracelet now that both the toggle and hoop have been added. And that’s it! Making beaded bracelets is that simple.
Now that you’ve mastered the basic art of how to make a beaded bracelet you can experiment with different variations, beads and clasps, helping you to create unique jewellery.
Discover our ranges of jewellery tools and bullion to make sure you have everything you need to complete your favourite projects.

Cooksongold