
Be inspired to make this stunning rainbow signet ring, by following our simple step by step written instructions.
Step One
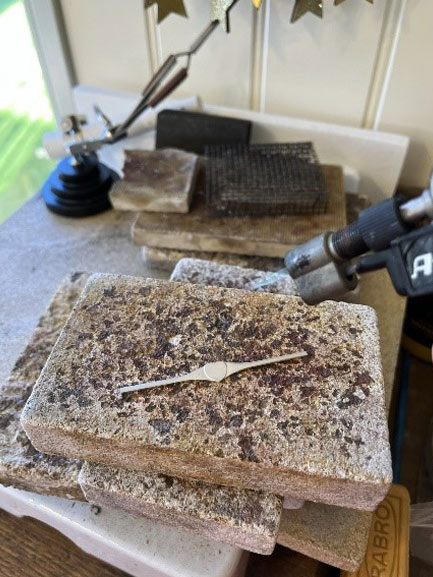
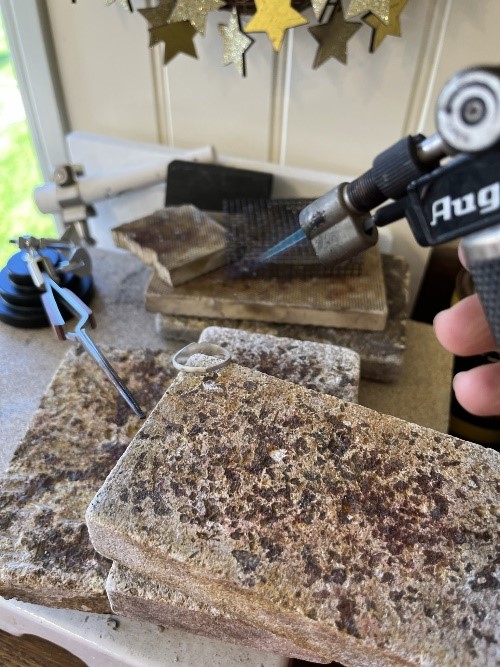
Take the heart signet ring and place on a heat proof brick. Use a hand held blow torch to heat the ring evenly, annealing the silver. The silver is annealed when it glows a dull red.
Step Two
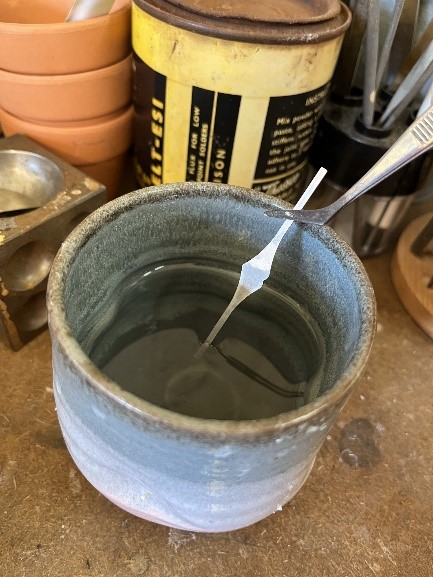
When the silver has cooled a little, quench in water using tweezers to hold and then put in a warm acid pickle.
Step Three
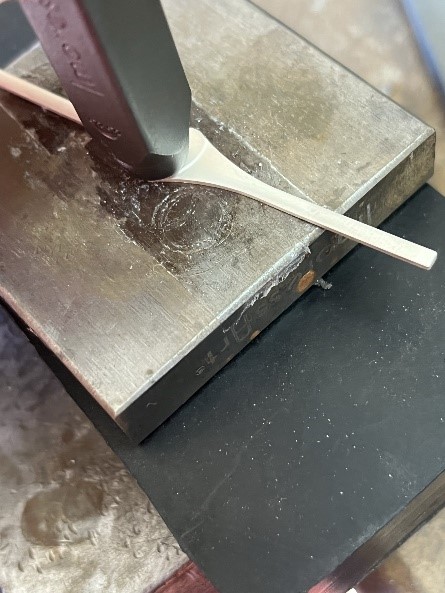
Remove the silver from the pickle solution, rinse and dry. Place the silver heart on a steel block, you may wish to secure it with double sided tape.
Place the Impress Art stamp face down and ensure the design is the correct way up!
Strike the top of the stamp with hammer 1-2 times making sure you do not move the stamp between blows.
Step Four
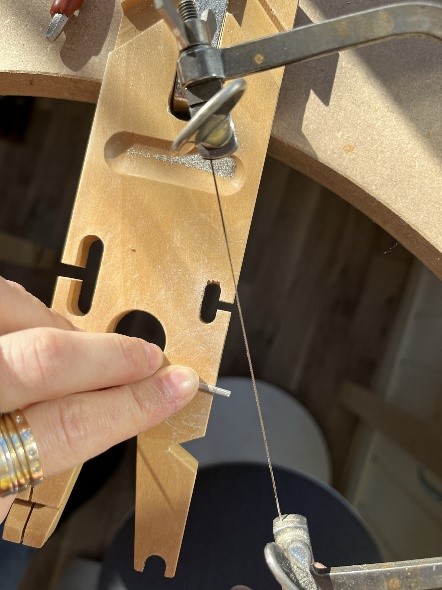
Use a piercing saw to cut off the excess ring length either side. Rest the ring against your benchpeg and use a smooth sawing action.
To find out your rings size you can use: plastic ring stick mandrel and gauge tool sizer set UK size A-Z+6
To find out how long your silver needs to be for your ring size use an online ring blank calculator.
Step Five
Bend the ends of the silver round using half round pliers until they meet each other. Overlap the ends and then realign to create some tension that will hold the ends flush. It does not matter if the ring is not round at this stage.
*If the silver ends do not line up because they are not smooth or straight enough use a flat needle file in between the gap and gently file away both sides at the same time to make the ends parallel.*

Step Six
Place the ring on a fire proof brick and add some flux to the join. Cut a small piece of hard solder and place underneath the join. Use a hand blowtorch evenly over the ring until the solder melts and flows.
When slightly cooled, quench the ring in water using tweezers to hold it and then add to a warm acid pickle.
Step Seven
When rinsed and dry use needle files to file away any excess solder and then use emery boards on the join to smooth it over.

Step Eight
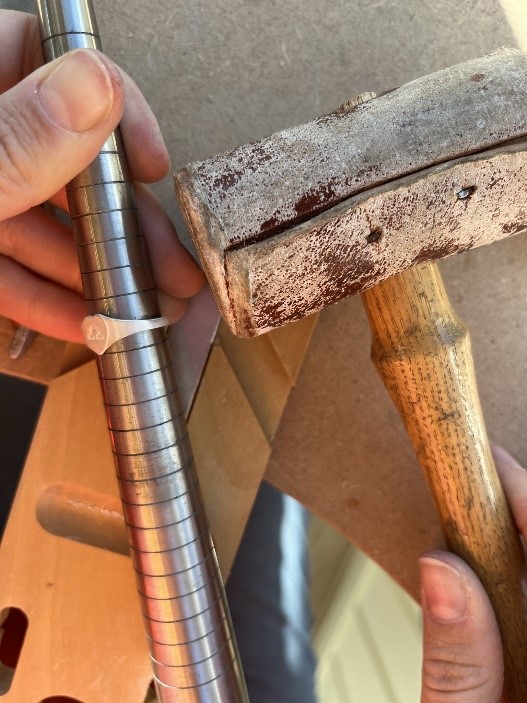
Place the ring on a triblet or ring mandrel and hit the ring using a leather mallet to ensure the ring is round.
Step Nine
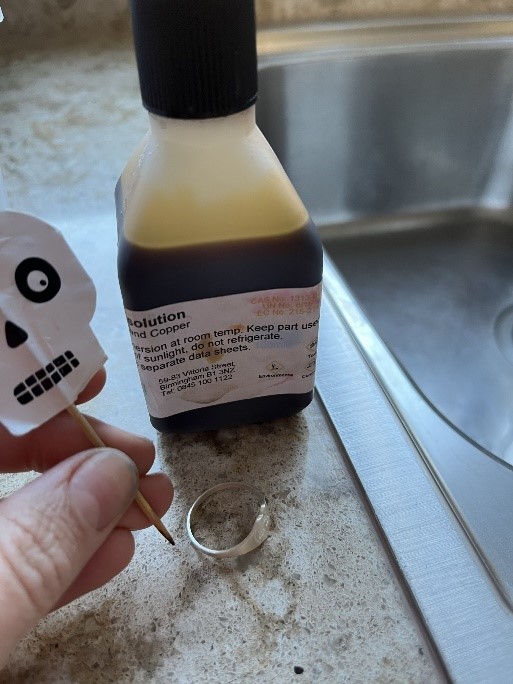
Using a cocktail stick apply a small amount of Platinol to the rainbow stamp pattern.
Follow the safety instructions on the Platinol.
Step Ten
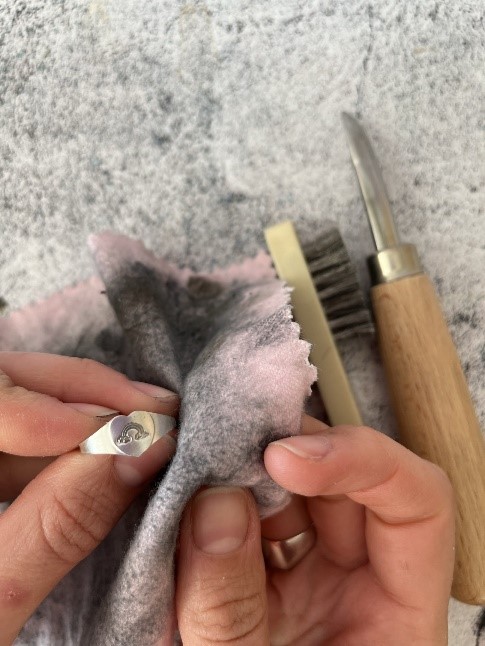
Finish the ring by polishing in a tumble polisher, polishing mop or simply rub over with a wire brush and silver polishing cloth.
Final Rainbow Signet ring
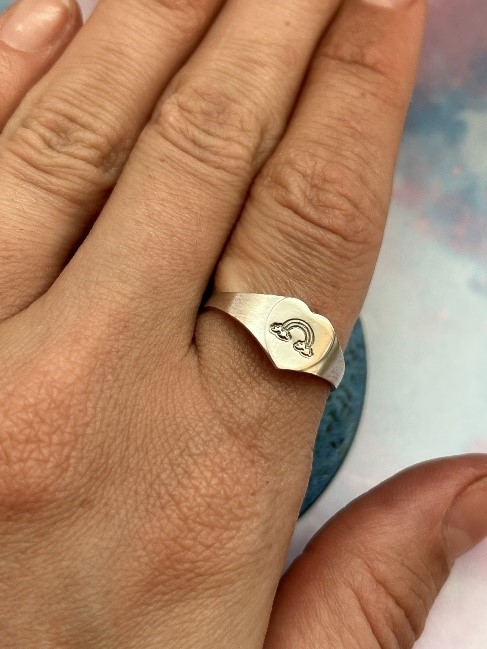
We hope you enjoyed making your Rainbow Signet Ring. If you have any questions or want to know more, get in touch with us on Facebook, Twitter and Instagram. We’d also love to see what you’ve been making so please share pictures of your creations with us too, tagging Cooksongold.

Sian Brown
Sian has been hand making her award winning jewellery in the West Midlands for over 12 years. Sian spent 10 years in Birmingham’s historic Jewellery Quarter before relocating to a quiet Worcestershire village.