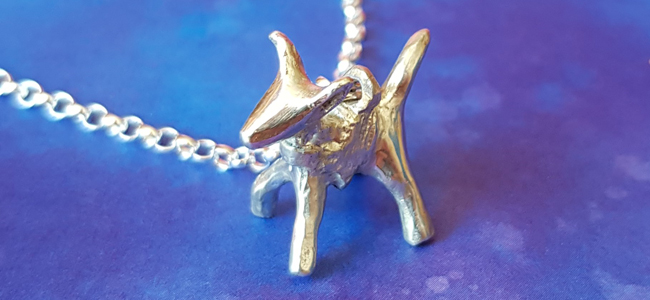
Make something cute for the animal lover in your life, like this dog shaped sculpture. Perfect as a pendant!
Step One
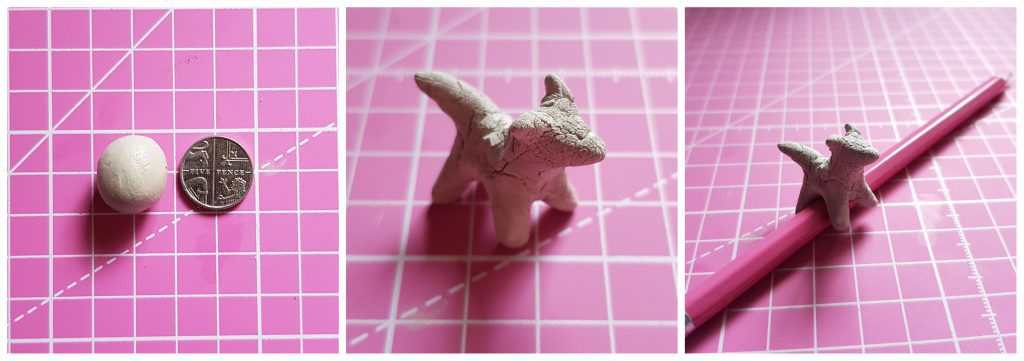
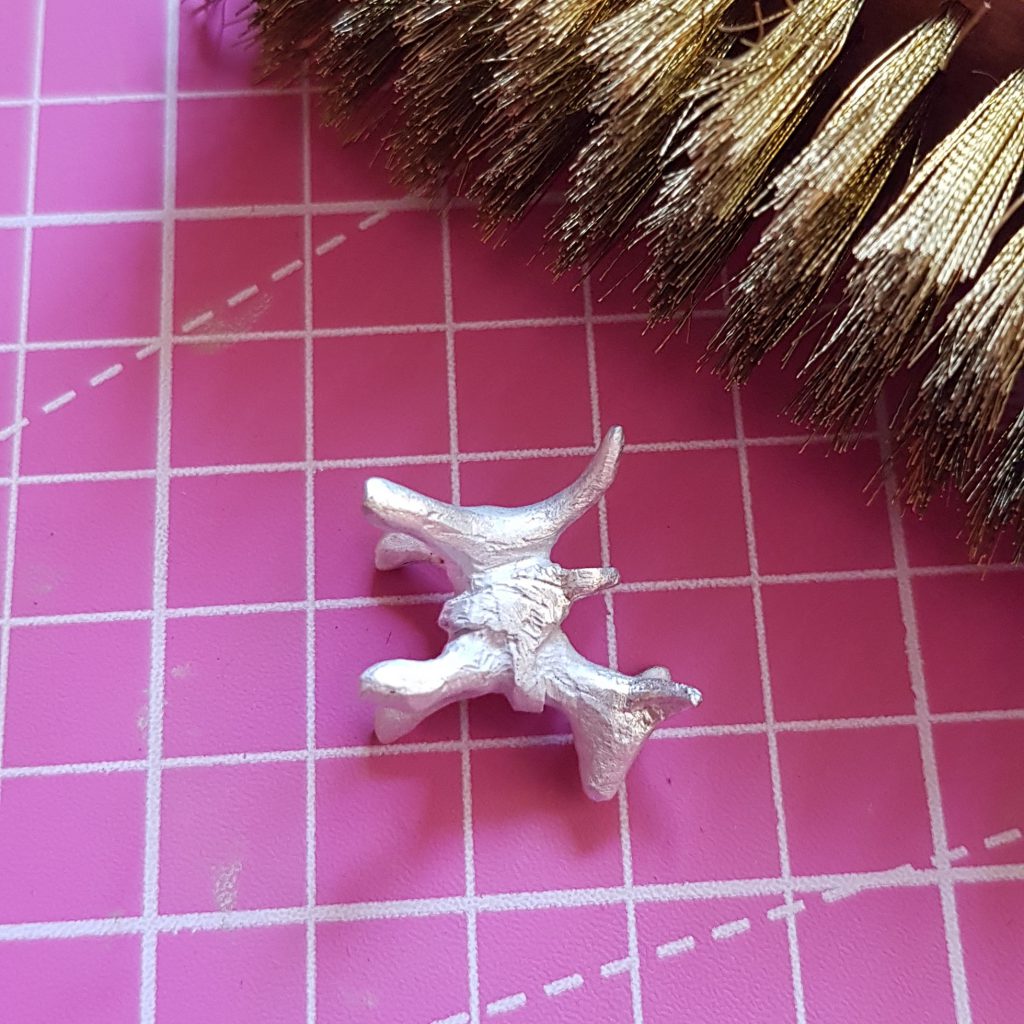
Open your packet of 950 silver clay and squish about half the packet into a ball, about the diameter of a 5p. Then slowly sculpt the piece of silver clay into the shape you desire. In this case it is a dog, which was gently formed by pulling the shape of the legs, tail, head and ears from the main body. Once done, place it over a pencil to dry naturally. The pencil will help to hold the weight of the clay body and stop the legs being squashed.
Step Two
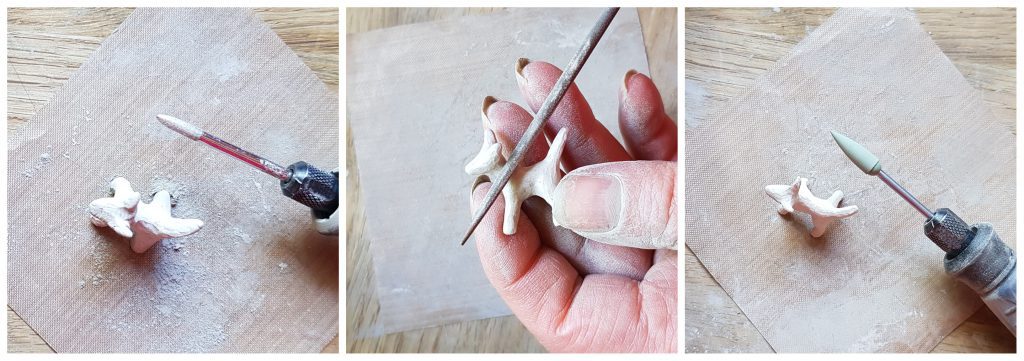
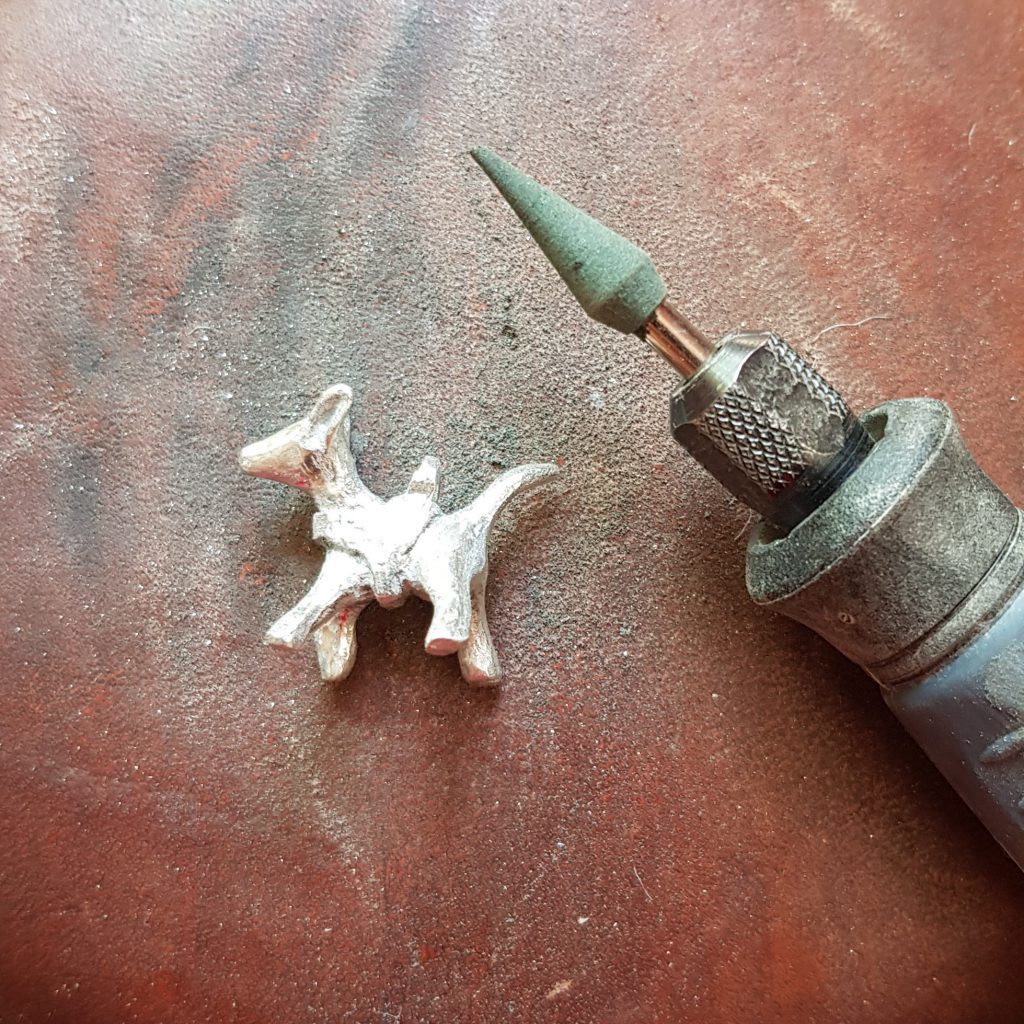
When you are sure that your tiny sculpture is completely dry, you can start refining the surface. I use a variety of burrs on my Dremel flexi shaft, including diamond burrs, a tiny steel burr to add detail and rubber burrs.
Step Three
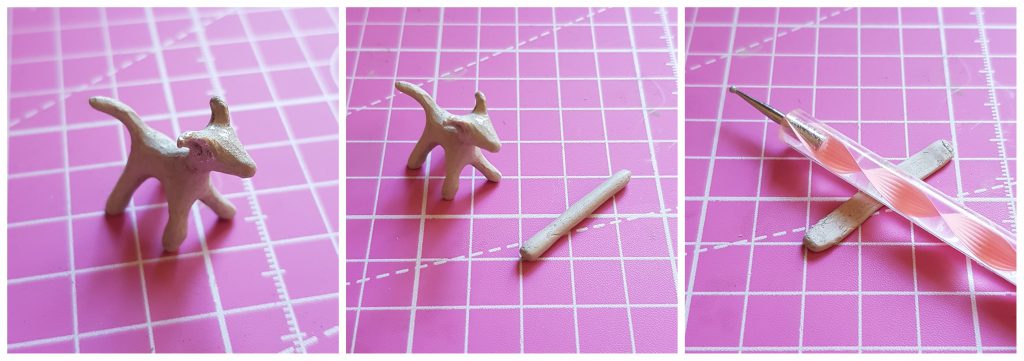
Once you are happy with how you have refined the main body, you can add the dog harness. Take a small piece of soft silver clay from the packet you have opened and role it into a little sausage. Role the tiny coil flat or gently press it with your finger.
Step Four
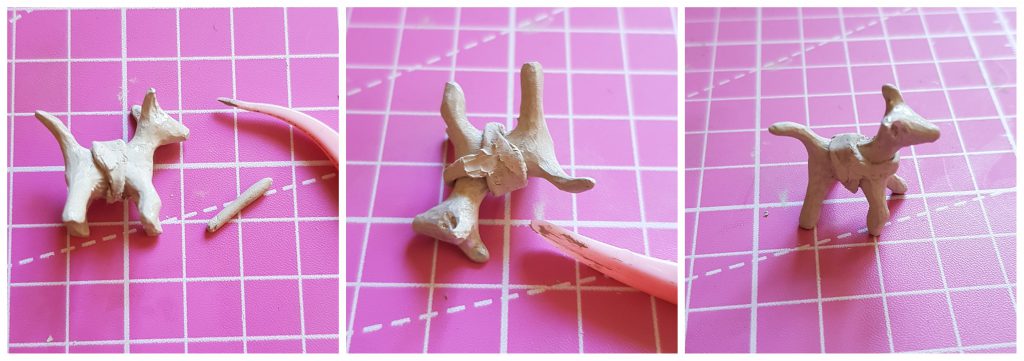
Dip the end of your modelling tool in some water and carefully dampen the area around your dog’s middle. Carefully wrap the little coil you have made around the middle of your dog and shape with your modelling tool, pressing it in place.
Step Five
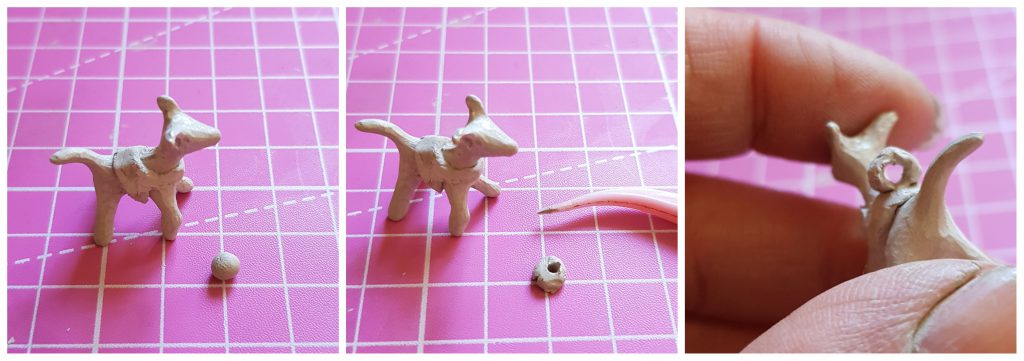
Now to the handle for your dogs harness, this component will also form the loop for a split ring later on. Take a little ball of silver clay, gently press it flat and the poke a hole through the middle with a pointy modelling tool. Then dampen one edge and put in place on the harness, in the middle of your dogs back. Use a modelling tool to shape and refine the harness, before leaving to dry for 24 hours.
Step Six

When you are sure that your sculpture is completely dry, refine the details with your choice of modelling tools. I use a tiny steel burr on my Dremel multi shaft and a circular needle file
Step Seven

Once refined, brush carefully with a brass brush to clean off any loose bits. Your sculpture is now ready to fire in a kiln
Step Eight
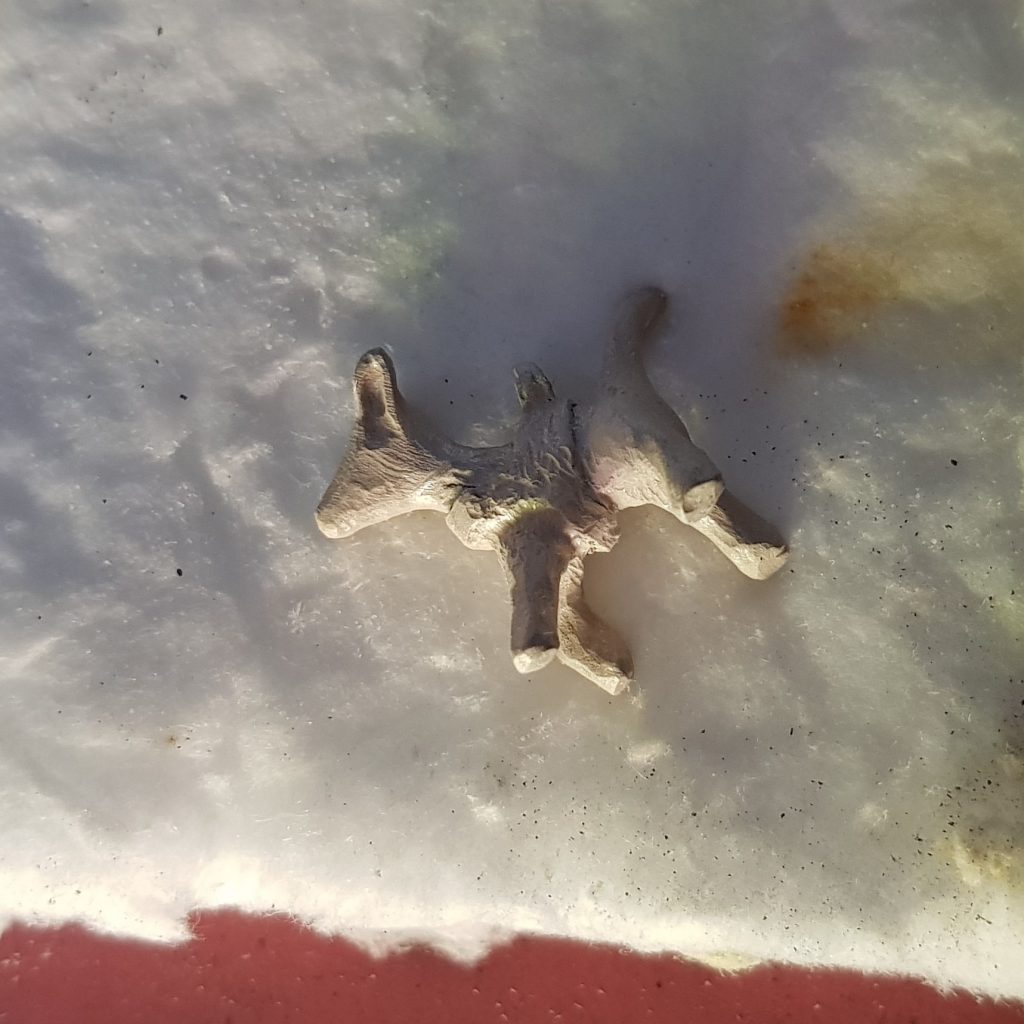
Place your silver clay sculpture carefully on a kiln blanket and use some more kiln blanket to support the legs.
Step Nine
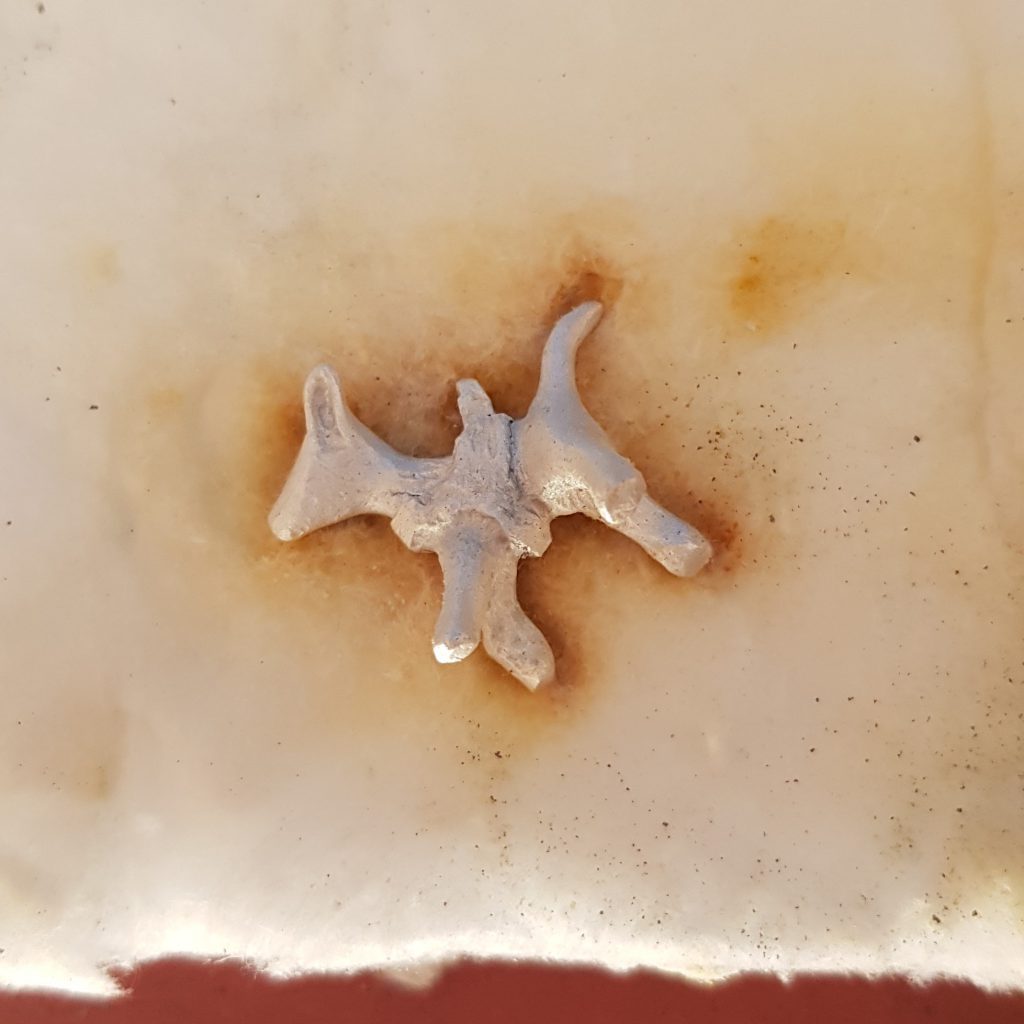
Fire your sculpture, following the instructions for the silver clay and your kiln. For me, I started the firing from room temperature, heated to 500° and soaked for 30 minutes. Then ramp up to 870° for 60 minutes. Then leave to cool down.
Step Ten
Once your silver sculpture has cooled down, brush it gently with a brass brush. You could leave the tiny sculpture as it is, I like to work harden my tiny sculptures to make them stronger. To work harden and clean, barrel polish in a tumbler with some mixed shot and barrelbrite for 30 minutes.
Step Eleven
Rinse your sculpture and dry. You could leave it as it is, or you can refine your sculpture further in a mixture of ways, using a sandbag to lean on: Tiny steel burrs; various rubber burrs; flexible abrasive boards 3000 grit; finishing with a burnisher to polish.
Step Twelve
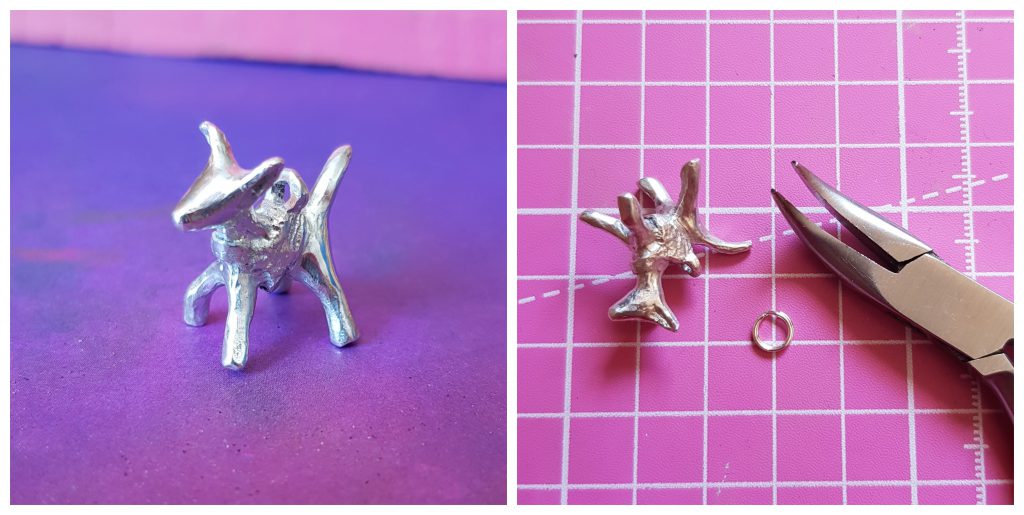
You could leave your dog purely as a sculpture, or you can now add a sterling silver split ring.
Step Thirteen
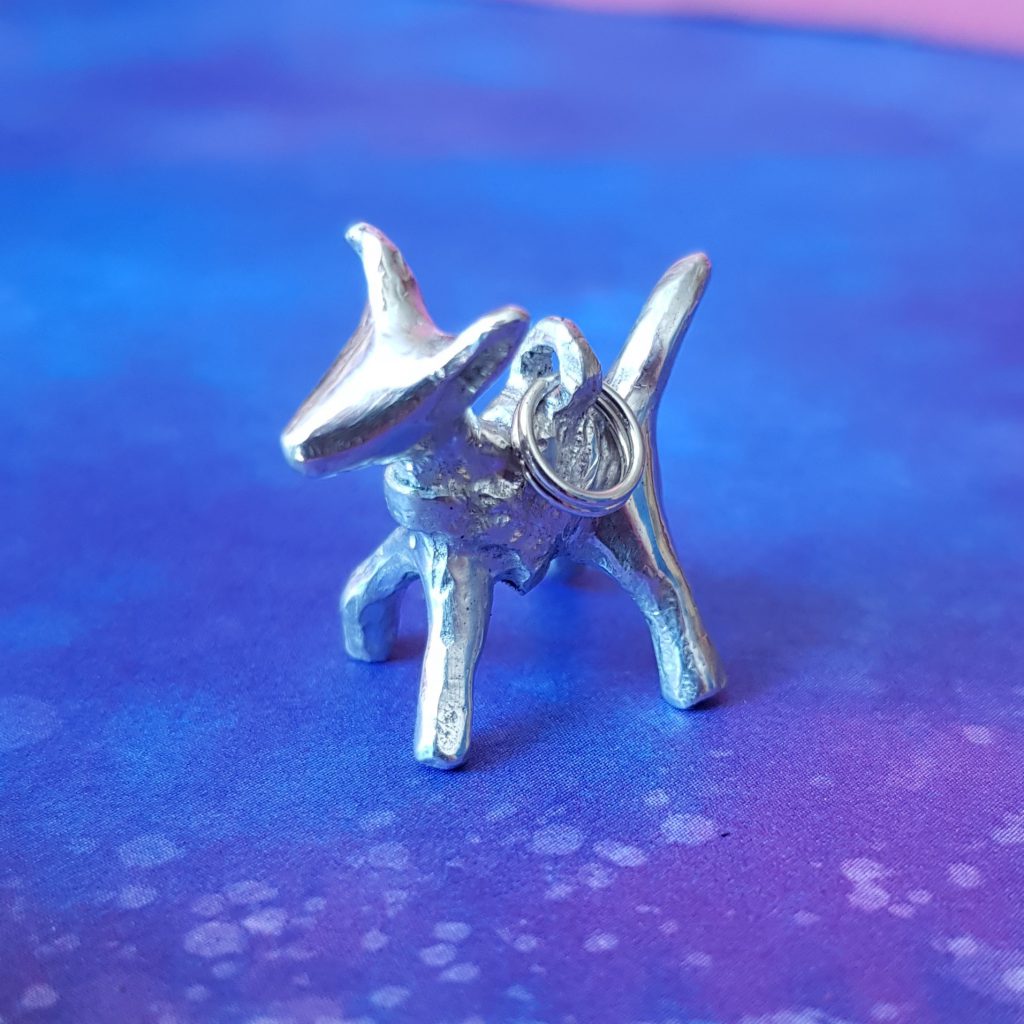
Thread a silver chain through the split ring to finish your bespoke tiny dog sculpture pendant.

We want to see what you have been making! Share your creations with us on social media, tagging in Cooksongold on Facebook, Twitter and Instagram.
CRZyBest
Silversmith & Sculptor. I'm Claire, I create tiny bespoke sculptures & turn them into jewellery, accessories & alternative bouquets.