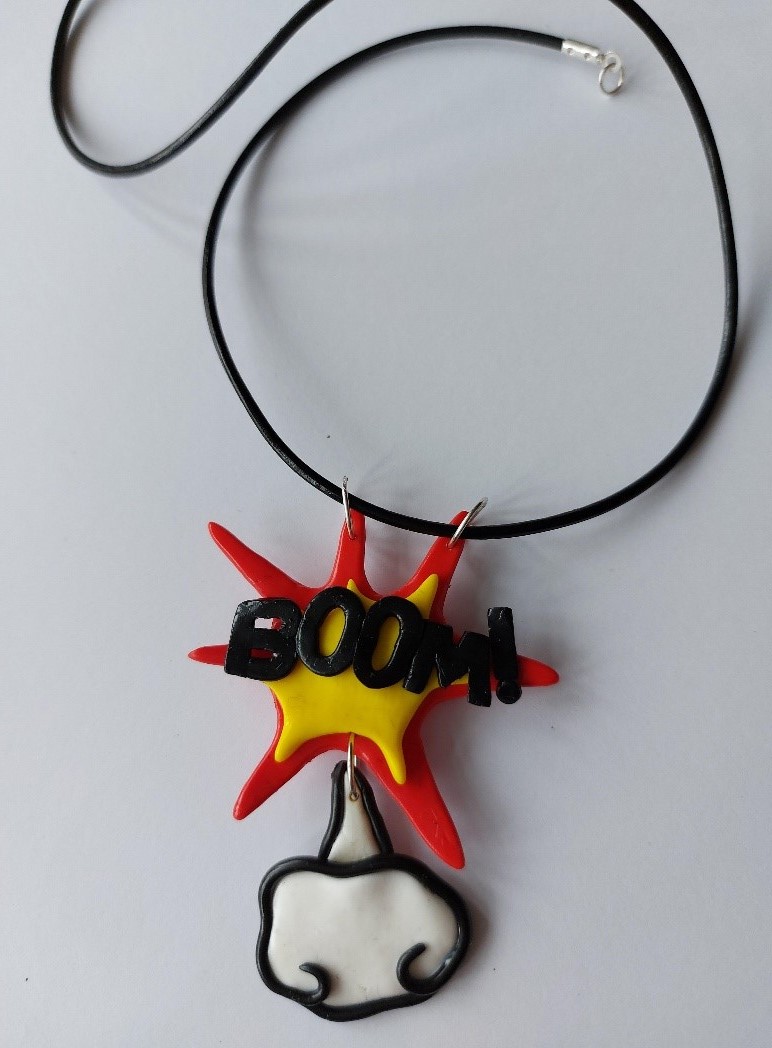
For Bonfire Night this year I am channelling the late, great Roy Lichtenstein and his wonderfully expressive, Pop Art explosions. His iconic comic book style is the perfect way to capture the atmosphere of November 5th and great fun to reproduce in a kitsch jewellery style.
You will need:
Fimo Professional Colour Pack of 12 (Red, Yellow, Black and White)
Fimo Modelling Tools Pack of 4
Baking Parchment and Tray
Fimo Professional Double Ended Drill And Smoothing Tool For Fimo Polymer Clay
Vallorbe 16cm Round Needle File Cut 2
Large Jump Rings (using 0.8mm silver wire)
Sterling Silver Jump Ring Heavy 5mm
Flat and Round Nosed Pliers in Cooksongold Pliers Set
Classic Parallel Action Pliers Half Round/flat 125mm
Black Round Leather Cord 2mm Diameter, 1 X 5 Metre Length
Sterling Silver End Caps 2mm Pack of 10 Fold Over Cap For Cord/leather
Sterling Silver Lobster Claw Oval 11mm
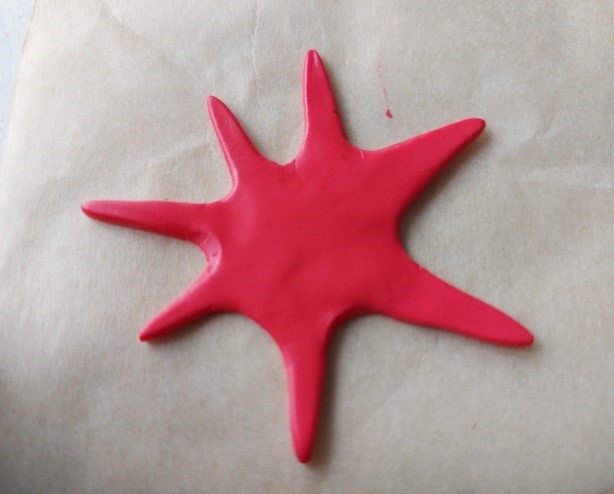
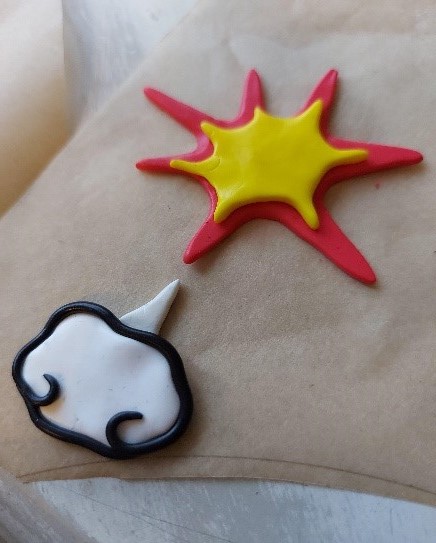
Step one
Choose your base colour for the star burst, either red, yellow or blue. Start with a ball of clay, which you can then flatten slightly. Gently start to pinch the edge into irregular points, gradually teasing the clay until you can the desired shape. When you are happy with it, gently roll it flat onto a piece of baking parchment. Use the moulding tools to perfect the shape as required.
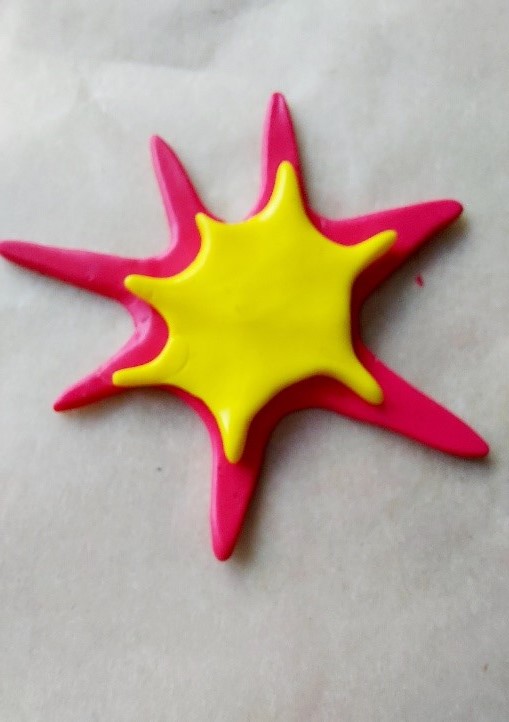
Step Two
Repeat the process with a smaller piece of clay in a different colour and position it on top of the first. Now wash your hands to avoid any colour transfer.
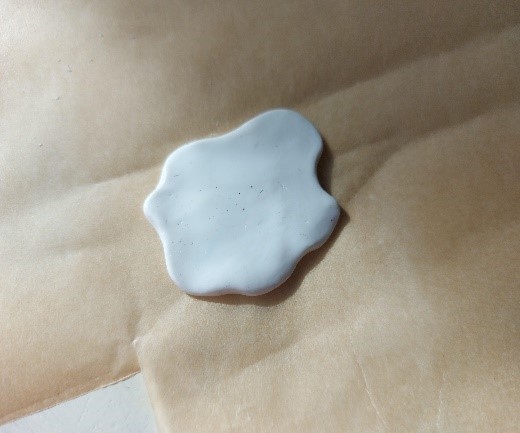
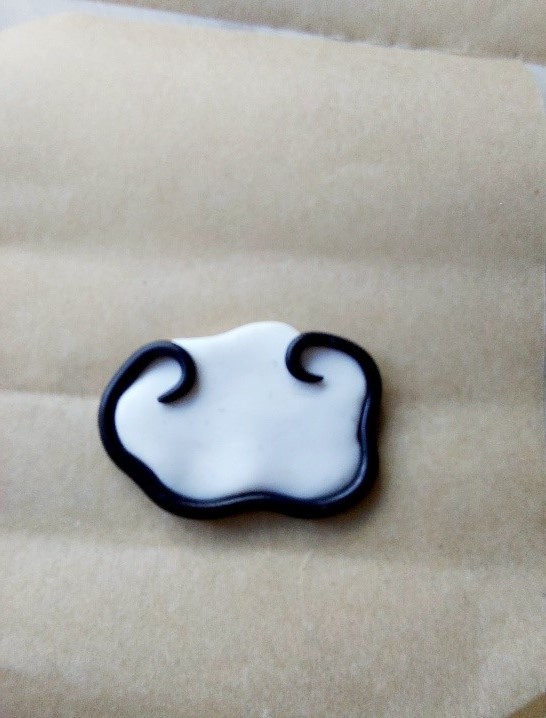
Step Three
Next mould a piece of white clay into a small cloud shape making sure to place it on a clean surface. Add an additional small triangle of white clay to create the ‘blast’ effect. Wash your hands again and roll out a piece of black clay into a very thin sausage shape. Add it to the edge of your white cloud shape to give it some definition.
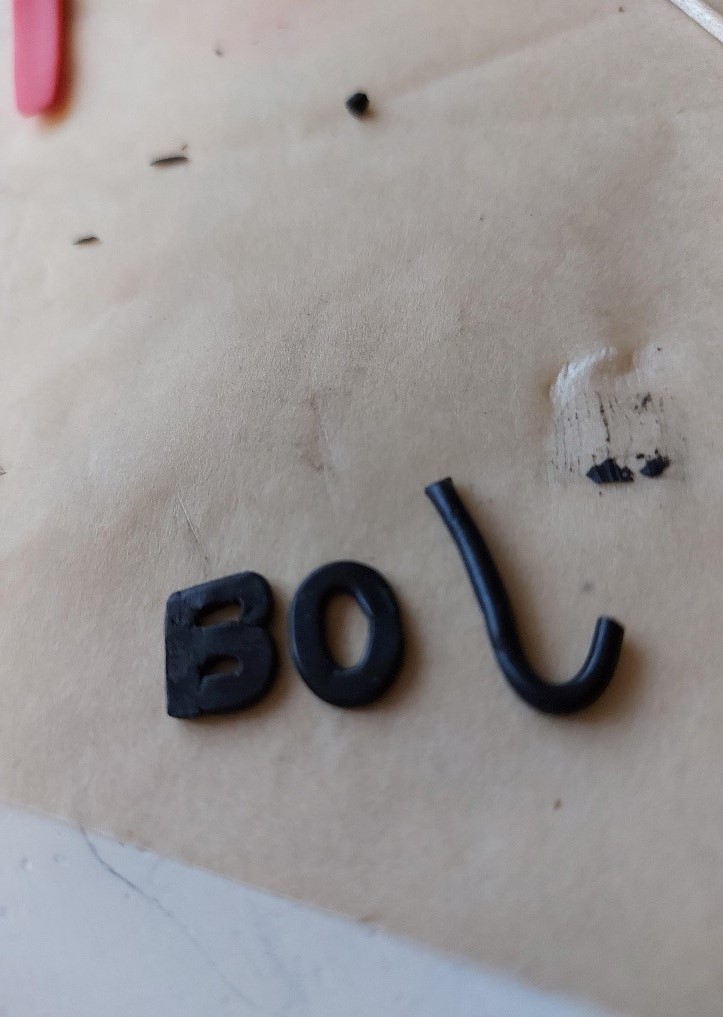
Step Four
Using more black clay, roll out another long sausage shape to start the lettering. There are many words which could be used; Bang, pop, whizz but I chose to go with boom! Make the basic outline of each letter, flatten and then shape and cut the edges using the moulding tools.
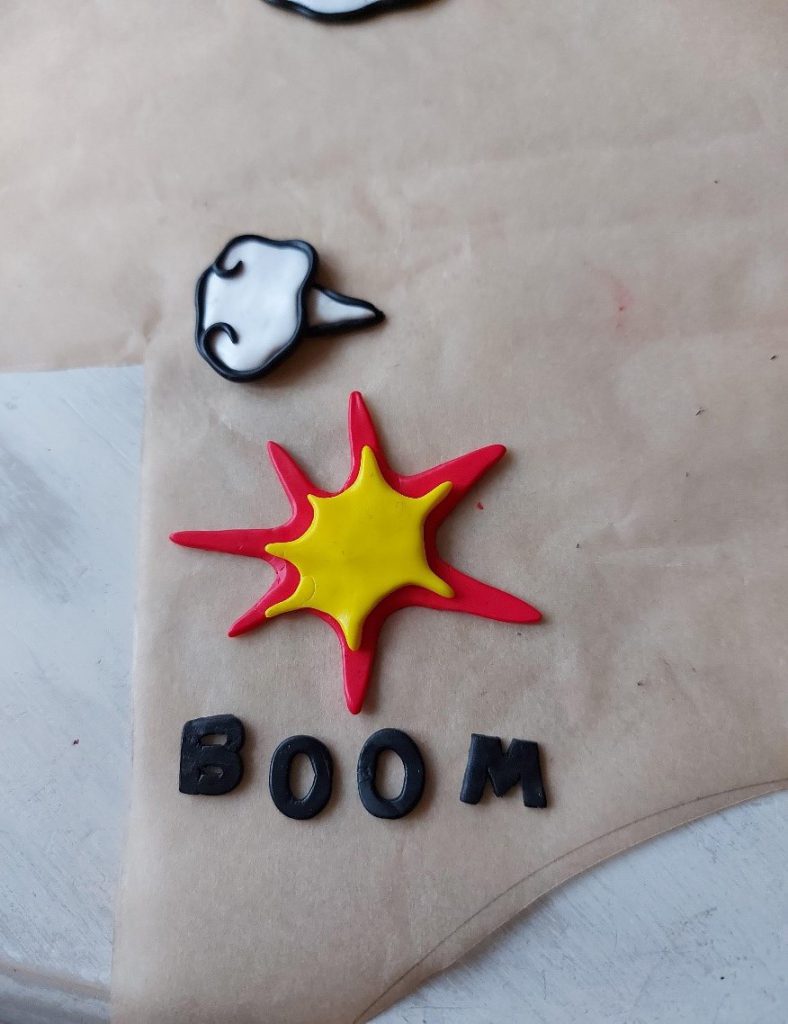
Step Five
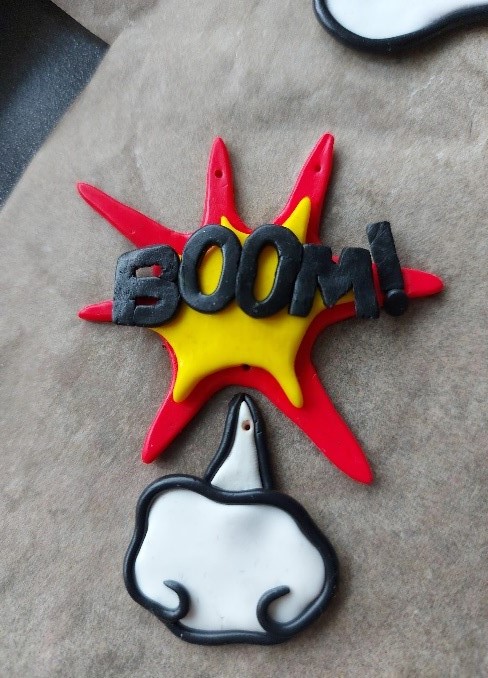
Now start to bring the design together, positioning all the pieces and paying particular attention to the lettering. Remember that the colours will still transfer at this stage until the clay is baked, so don’t press anything (particularly the black letters) down too firmly or unsightly marks will be left.
Step Six
Once you are happy, make some pilot holes for the jump rings. (These will be enlarged once the clay is baked). Depending on the shape of your piece, it might be that one may be enough at the top for threading onto a pendant chain or cord. Due to the positioning of the spikes, my design required two to ensure it would hang straight.
Step Seven
Pick up the baking parchment and transfer the whole thing onto a baking tray. Bake in a low oven for no more than 30 mins following the manufacturer’s instructions. (I always use the lowest possible temperature).
Step Eight
Once baked and cooled, gently widen the holes using a drill bit or a needle file, until they can accommodate your jump rings. I made oversized jump rings (approx. 10mm) using a length of 0.8mm silver wire. Simply wrap the wire tightly round a metal former of the correct diameter (I used a doming punch), and saw through with a piercing saw.
Step Nine
Varnish using Fimo Gloss.
Step Ten
Carefully add the jump rings.
Step Eleven
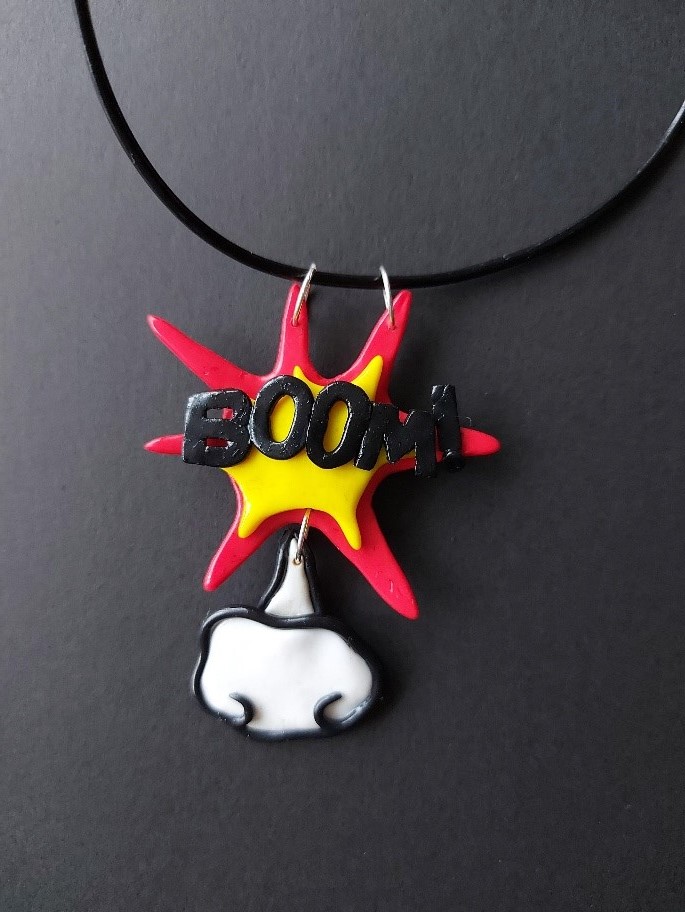
Cut the leather cord to choker length or slightly longer if you prefer and add the end caps. Add a 5mm jump ring to either end along with your chosen clasp.
Step Twelve
Thread on the finished pendant and boom…you are done! (Sorry couldn’t resist).

By Jo Varney

Joanna Varney
Joanna has worked in and around the jewellery industry for well over 20 years. She has designed and created her own pieces as a designer maker, as well as working in jewellery retail on a much larger scale, producing designs and NPD for some of the UK’s largest high street retailers