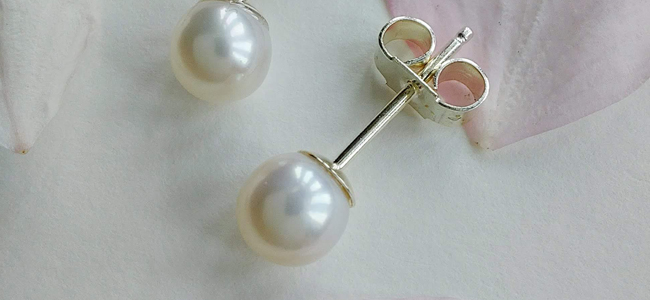
A pair of classic pearl stud earrings are the cornerstone of many a jewellery wardrobe. But it might surprise you to learn just how simple and inexpensive it is to make your own. Don’t forget, Pearls come in a range of colours so don’t limit yourself to white.
Step One
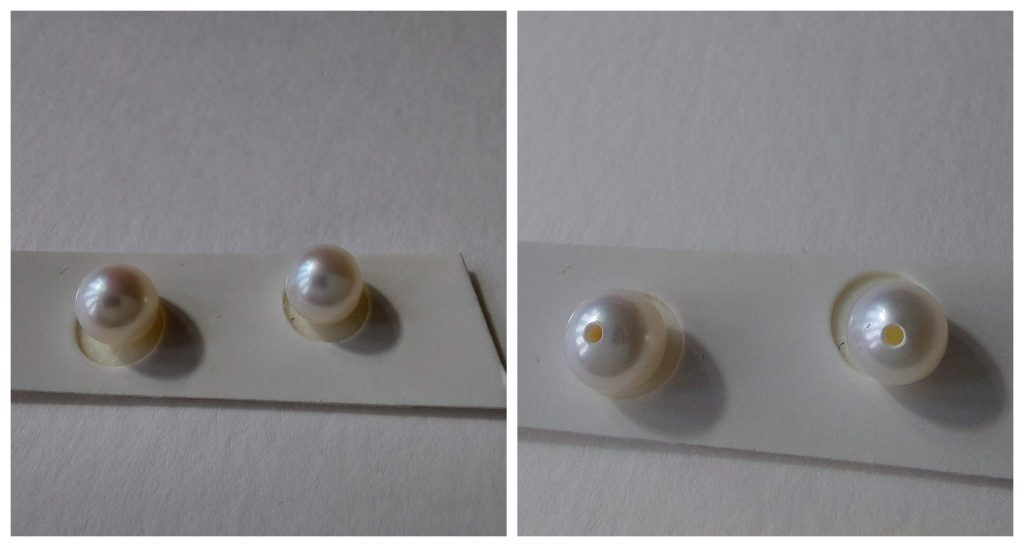
Open up your pack of pearls and turn them over to reveal the drilled hole. Position the pearls so the hole is as central as possible.
N.B. The pearls will come on a card which has a sticky backing to keep them in place. Don’t be tempted to discard this backing as it is very handy for keeping the pearls in an upright position whilst the posts are being glued into position.
Step Two
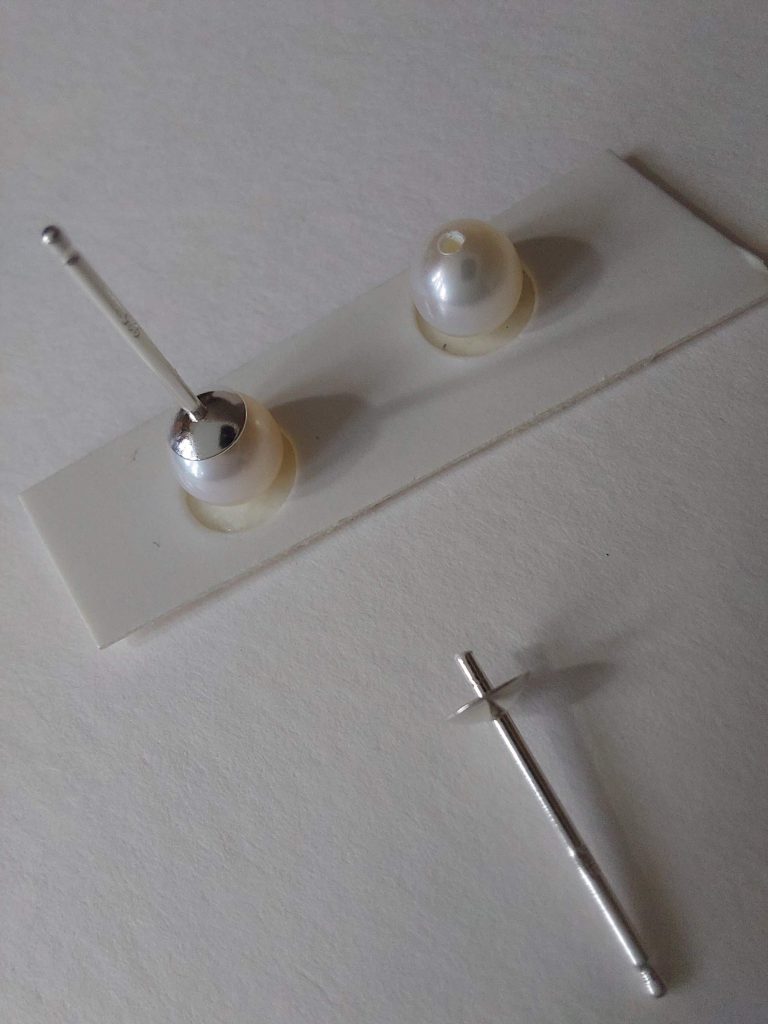
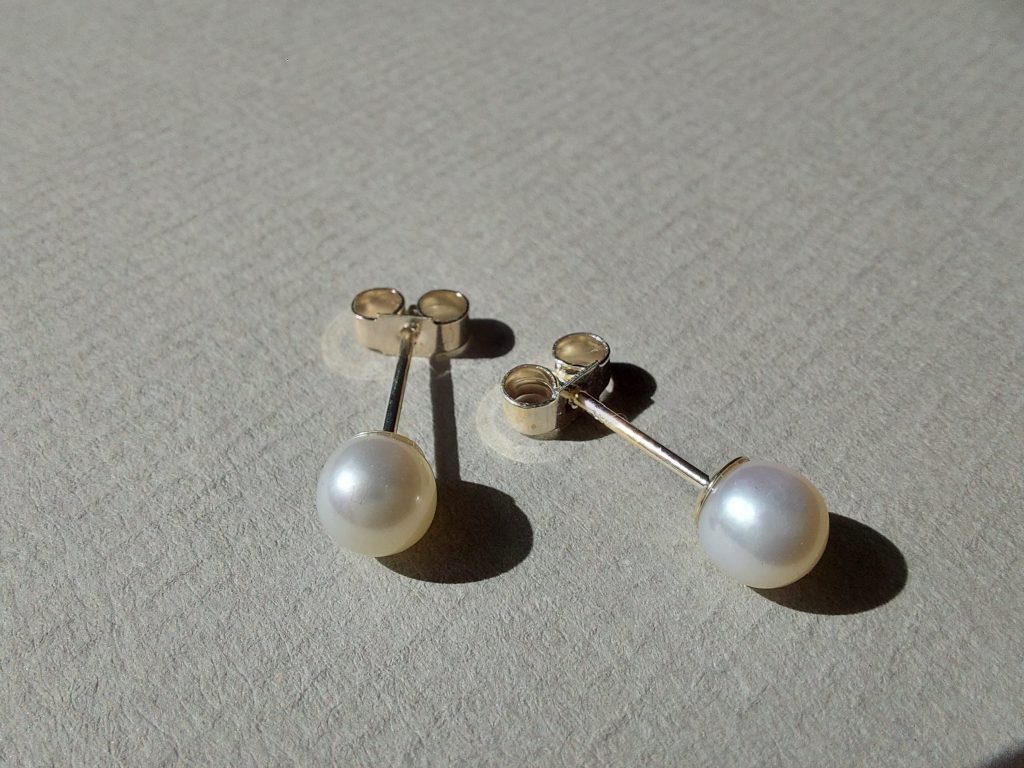
Next, take out two of the cup, peg and post earring fittings and familiarise yourself with the function of each part. The small pin protruding from the centre of the cup should locate easily into the drilled hole of the pearl, allowing it to be nicely held within the cup. (The cups should be slightly smaller than the pearls to avoid being visible when the earrings are worn.)
Practise positioning the post onto the pearl to see how it sits but also to check the hole is upright. Adjust if required.
N.B. It is always best to practise fitting pieces together before applying any glue. This will give you an exact idea of how things will look and avoid any panic once you have opened the glue.
Once you are happy with the fit, mix up the glue
N.B. Araldite Crystal is a two-part, epoxy adhesive which is extremely strong and dries quickly leaving you only a 5-minute working time. It must be mixed in equal parts to work correctly.
Step Three
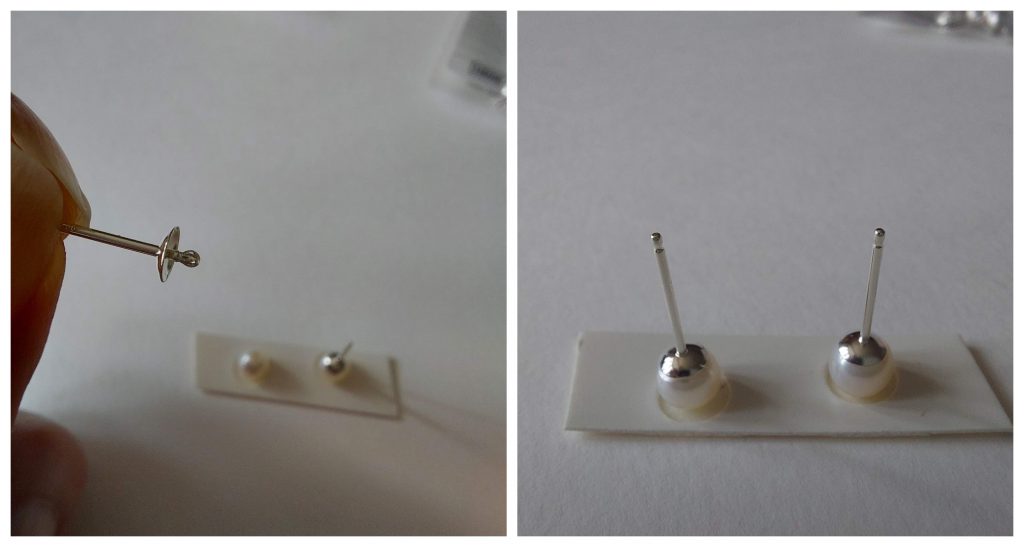
Squeeze out an equal amount of glue from each tube onto a disposable surface and mix thoroughly with the spatula provided. Apply a tiny amount of glue to the locating pin in the centre of the cup and around the hole in the pearl. Be sure to use only a small amount as you don’t want any excess running out down the sides of the pearl. If you do find any excess, use nail polish remover and a cloth or tissue to gently wipe it away.
With this type of glue, the setting time is 5mins, the handling time is 20 mins and the full-strength will be achieved in 2hrs, so I would recommend leaving the earrings to dry for the full 2 hours to allow for maximum strength before handling. Once the glue is fully dry, add a pair of scrolls and the earrings are finished and ready to be worn.
N.B. Two-part, epoxy glues are by far the most suitable product for this type of jewellery task. Don’t worry if you can’t get the specific brand I used, a slower drying variation will do exactly the same job whilst providing an equally strong bond. Just ensure you leave it for the maximum drying time to guarantee a good result. Always follow the manufacturer’s instructions and if in any doubt, leave it overnight.
We want to see what you have been making! Share your creations with us on social media, tagging in Cooksongold on Facebook, Twitter and Instagram.

Joanna Varney
Joanna has worked in and around the jewellery industry for well over 20 years. She has designed and created her own pieces as a designer maker, as well as working in jewellery retail on a much larger scale, producing designs and NPD for some of the UK’s largest high street retailers