Whether you regularly work with sheet metal or are you just discovering different metal forming techniques, this guide to using metal working hammers will give you all the details you need to start taking advantage of metal working hammers available for forming and forging metals such as sheet, wire and rod.
Metal Shaping Techniques
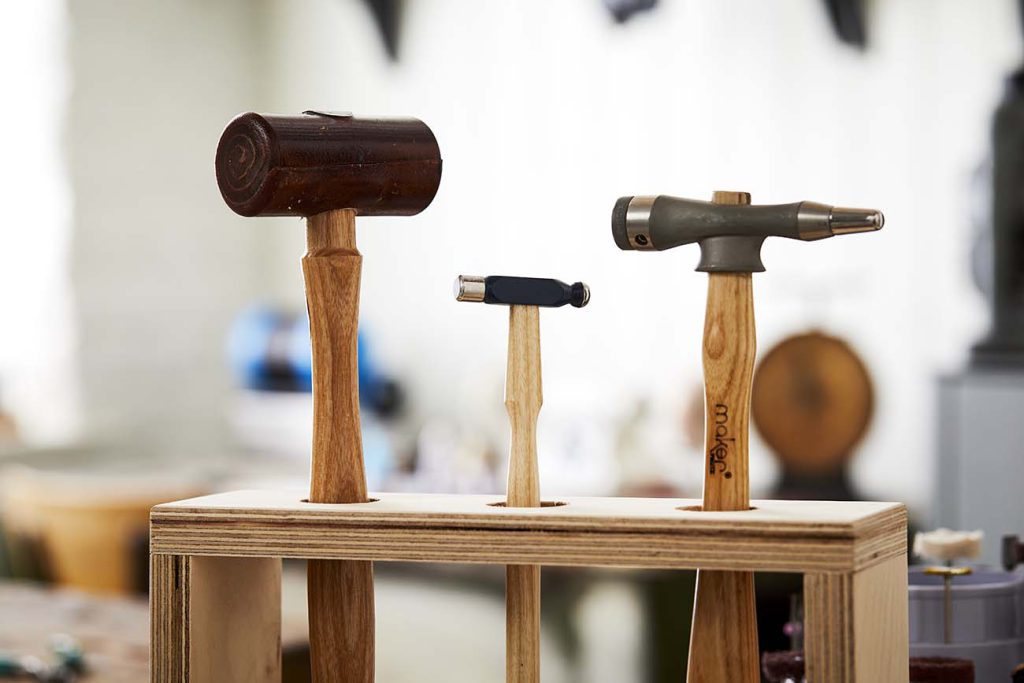
Before you start shaping metal, a good quality metal shaping hammer is vital, and will continue to be one of the most important tools at your bench to precisely forge, planish, raise, or emboss metal.
Forging
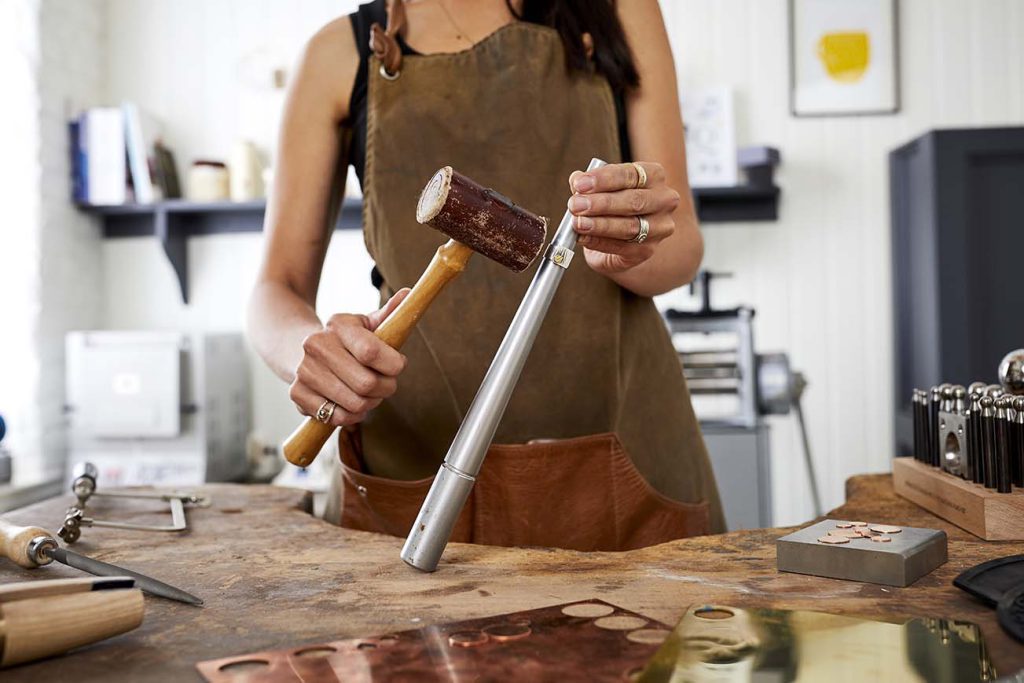
Forging refers to the use of a hammer to shape metal. A jeweller’s sledge hammer is especially ideal for forging thick metal as it is more substantial than other jeweller’s hammers.
Its relatively small face means that you still retain visibility of the metal you’re working on as you hammer, giving you more control as you shape the metal.
Planishing
Planishing refers to the flattening of sheet metal or wire and can be applied to a number of pieces for different outcomes, depending on the finished result you would like to see.
How to use a planishing hammer
Before you get started its good to know some jewellers use a planishing hammer with a stake which stretches out the metal to help form it into your desired shape
Most planishing hammers are double-sided with a rounded face and a flatter face. Beginning your process with the curved face will give you a softer approach to forming the metal as it will be less likely that any unwanted dents will appear, as long as you lightly hammer in a consistent motion.
Raising and embossing
Raising is the compression of metal down to the stake without stretching it whereas embossing is the opposite of this; stretching the metal from the inside using a hammer, usually to make a dome.
Anticlastic
If you are looking for a more advanced hammering technique, hammers can also be used for anticlastic work with thinner metals of around 0.4mm – this is where the metal is shaped using a hammer and a snake-like stake creating accurate curves.
Basic Metal Hammering Tips
Still learning how to shape metal with a hammer? Here are our top tips on how to get your technique just right:
- Practice really does make perfect. When you first start using hammering techniques, start off with some scrap sheet metal or wire before you graduate to the final piece you’ll be working on.
- Don’t invest in every hammer you can get your hands on before you get to know which techniques and finishes suit your style of jewellery making. Start out with the basic kit; a jobbing hammer, sledge hammer, rawhide mallet, and maybe a couple of texturing hammers. Expand as you discover which tools work best for you.
- Don’t be too heavy handed as you work your sheet metal or rod – let the hammer do the work for you. A lighter, more consistent touch will mean that fewer mistakes are made and the overall finish is more even.
Working on shaping heavy gauge metal rod? The jeweller’s sledge hammer has the power and precision to make light work of flattening the end of the rod to form clean bangles for your latest collection. For example, the Fretz Jeweller’s Sledge Hammer is ideal for heavy duty metal shaping and forming.

How to texture metal sheet using metal working hammers
There are numerous ways to create texture on sheet metal and various hammers you can use to do the job and having a variety of different hammers in your toolbox will speed up the process of adding unique texture to your pieces.
Many jewellers will try out a few homemade techniques when it comes to adding texture to their pieces such as using a rivet hammer to create a repeated pattern across a sheet of metal, or your regular jobbing hammer could also be used to create rough textures on rings – the possibilities are endless when it comes to adding texture to your pieces.
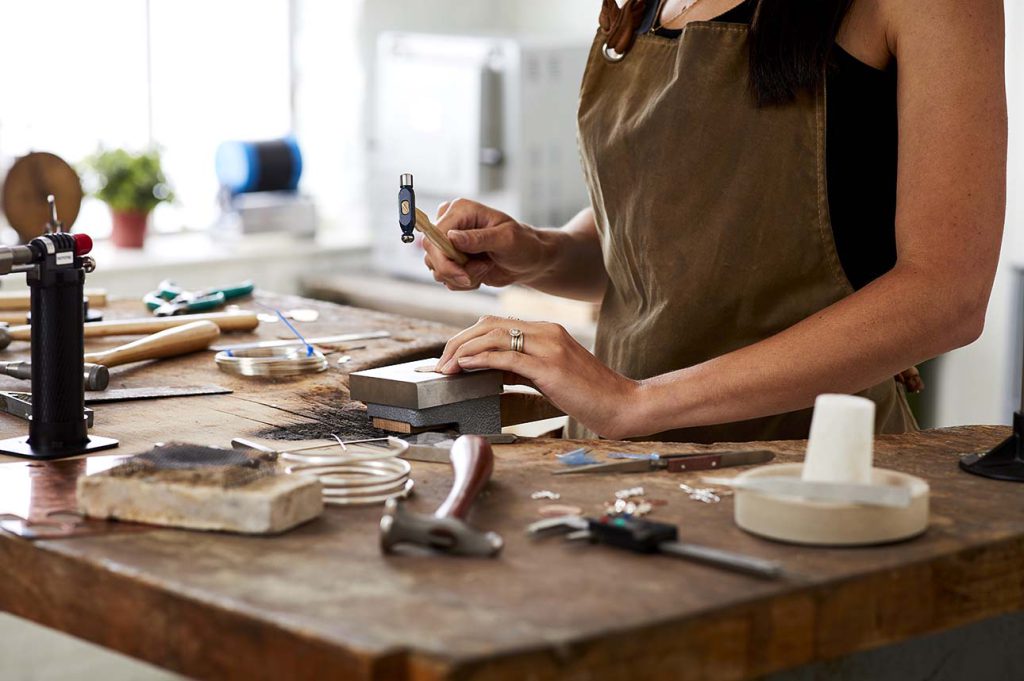
How to use a texturing hammer
If you prefer a completely consistent look when it comes to adding texture, you’ll want to invest in some texturing hammers to help you achieve a consistent and professional look across your work. Using your texturing hammer, and a few other jewellery bench tools, here’s how to create an even textured look:
- For a consistent look, rest your sheet metal on a clean, flat steel block, and tape the corners down so that it doesn’t shift out of place as you work.
- Always hammer in the same direction with your hammer in the same position as you move across the sheet. This will keep the pattern looking neat and consistent.
- If you’re struggling to hammer across the metal sheet without going off track, add some marker lines to your sheet. Mark a cross on your piece – this will help you to move in the same direction across the metal sheet as you continue to hammer and add texture.
- The key to perfecting your desired look is experimentation! Make sure you try new angles, new hammer heads, and continue to practice to find your ideal finish.
Take a look at our latest collection of metal shaping hammers; including the professional Fretz hammers range, and stock up on the basic jeweller’s hammers you need. For more advice on tools and techniques, take a look at our equipment and technique blogs.

Cooksongold