As one of the most popular types of gem cutting, cabochon cutting is a great place to start your lapidary journey. Having said this, it does require a certain level of skill. This is why we’ve put together a guide on all things cabochon cutting. We’ll talk you through how to cut a gemstone cabochon and the different tools needed for beginners and advanced cabochon cutting. Ideal for creating truly unique pieces, find out everything you need to know about this technique below.
What is a cabochon cut gemstone?
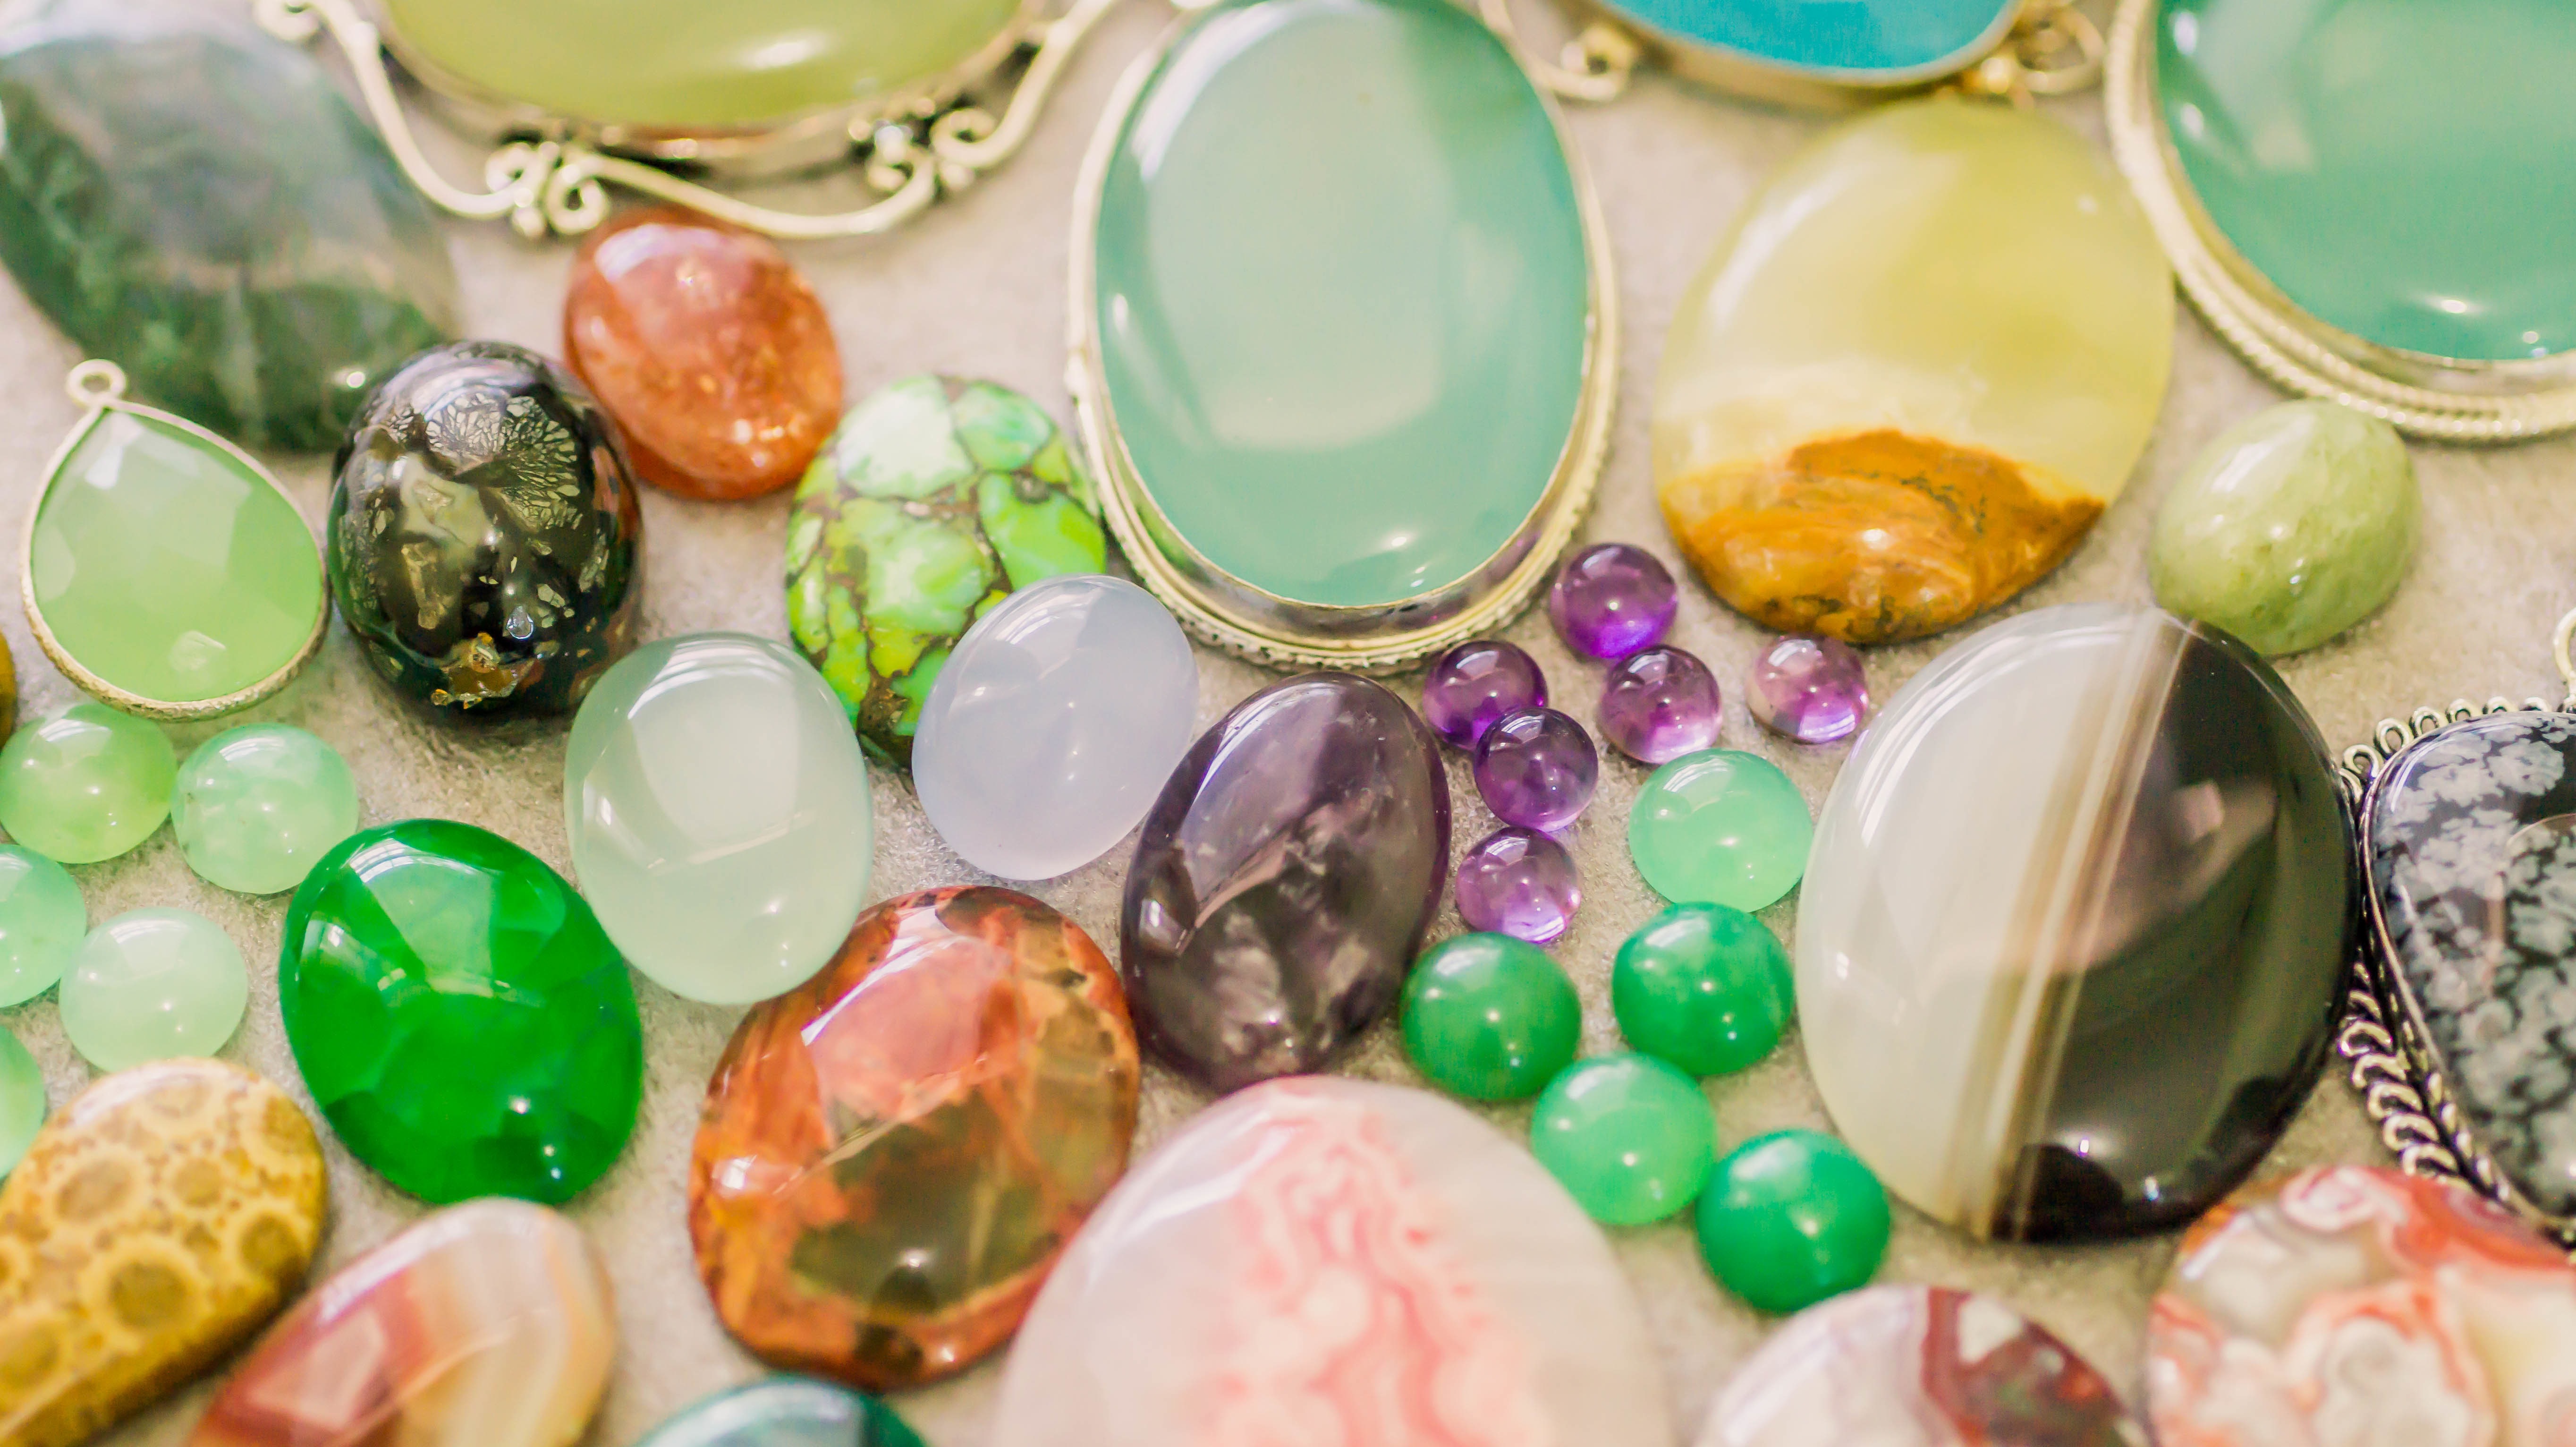
So, what is a cabochon cut gemstone? Cabochon cut stones are simply stones that have been cut to showcase their natural colours and patterns. Generally, they have an oval shape with a flat base and can be a range of widths. They are then polished to optimise their visual effect further, creating a sleek, glassy look.
Tools needed for cabochon cutting
Whether you’re just starting out with this technique or you’re looking to take your skill to the next level, here are the tools you’ll need:
- A pre-cut rock slab: If you’re short on time and need to skip a step, buying a pre-cut rock slab will save you time and energy on trimming down a large chunk of rock.
- A trim saw: You’ll need a trim saw to be able to cut through the rock slab.
- A grinder: You’ll need a bench grinder to remove any leftover material after you’ve used the trim saw and to shape the cabochon.
- Sanding pads: Use a combination of different grit sanding pads to smooth any scratches from the surface of your gem.
- A polishing unit: Make sure you have a polishing motor and a selection of attachable mops to add onto the motor for fast and efficient polishing.
Tools needed for advanced cabochon cutting
Starting from scratch? There are a few key pieces of kit you’ll need before you begin:
- A slab saw: If you’re cutting your own rock into a slab, you’ll need a slab saw instead of a trim saw due to the difference in thickness of the saw blades.
- Lubricant: Cut lube will help to keep the saw blade sharp and prolong its life.
- A cabochon cutting machine: If you want one machine that will encompass the majority of the above, get yourself a cabochon cutting machine.
How to cut a gemstone cabochon: step by step
Collected all the tools you need for cabochon cutting? Now you’re ready to learn how to cut a gemstone cabochon, step by step. Just follow our instructions below:
- Decide on the shape. If you’re new to cabochon cutting, it’s best that you stick to the basic, oval shape. However, if you’re looking for something a bit more advanced, you could try cutting ridges or a concave into the stone for a more unique look. We’ll talk you through how to cut an oval in the following steps.
- Cut the slab. The first step in the cutting process if you’re starting from scratch is to cut the slab. So you’ll need to decide the height you require for the cabochon. This does also depend on what stone you’re using and how soft or hard it is. For example, a soft stone like turquoise needs to be thicker than a stone like agate (7 on Mohs hardness scale), to prevent it from breaking and making it more durable. Once you’ve established the height, use your slab saw to cut your rock into a slab.
- Cut the cabochon. Choose the area you’d like to cut and use an aluminium pen to mark the shape – so for an oval, draw the oval and then four straight lines by the edge of each curve of the oval. Then use your trim saw to cut around the outline of the marking, removing as much excess material as you can. Make the preforms with the grinder to match with the final shape of the cabochon.
- Shape the cabochon. Using your grinder, shape the preformed stone into the cabochon – adding water to the wheel to keep the stone cool and dust to a minimum. Each time the stone dries, stop, and then add more water before starting again. When grinding, use the lower quarter of the wheel to avoid losing grip on the stone.
- Add the bevels. When your shape is pretty much finished, it’s time to make the dome. Create a bevel around the stone at a 45° angle to about 2/3 of the way down the stone. Next, grind a second bevel around the stone at approximately 60°. Repeat the process at a steeper angle each time, remembering to leave a section of the previous cut showing and stop when all the bevels join at the centre.
Top tip: keep checking to see if the dome is even, and then move onto the next step. - Create a ridge for the setting. From the start of where the edge of the stone begins to dome to the base, create a vertical edge for the stone to easily sit in the setting. Then gently sand a thin bevel around the lower edge of the widest part of the stone for the solder at a later stage.
- Sand out the stone. Now you’re onto smoothing the stone. To get rid of any deep scratches on the surface, sand the stone with your sanding pads – starting from 180 grit and working your way up to a 1000 grit. Keep checking to see if the dome is even as before. Try and air-dry the stone so you can get an accurate look at the progress before continuing.
- Polish the stone. The final step in the cabochon cutting process: polishing the stone. There are a number of different methods and materials for this, but the quickest is to use a polishing motor. Add the soft mop attachment to the motor and polish until the stone is completely shiny, maximising the internal pattern.
And you’re done! Now you know how to cut a gemstone cabochon, you’re ready to add it to a setting. Find out how in our blog with 4 ways to showcase cabochon stones, and pick up all the jewellery tools you need online.

Cooksongold