
Using headpins and eyepins for jewellery making is an essential skill that, once mastered, will help you create a number of designs with minimal effort. Forming wire loops using headpins and eyepins is primarily to secure beads into place, but they don’t just have to be functional. A simple method can be used to make eyepin and headpin loops an additional feature of your design, as well as being a functional finding that holds your piece together.
Use our guide below to master the basic techniques of how to use headpins and eyepins.
How to use headpins in jewellery making
What are headpins used for?
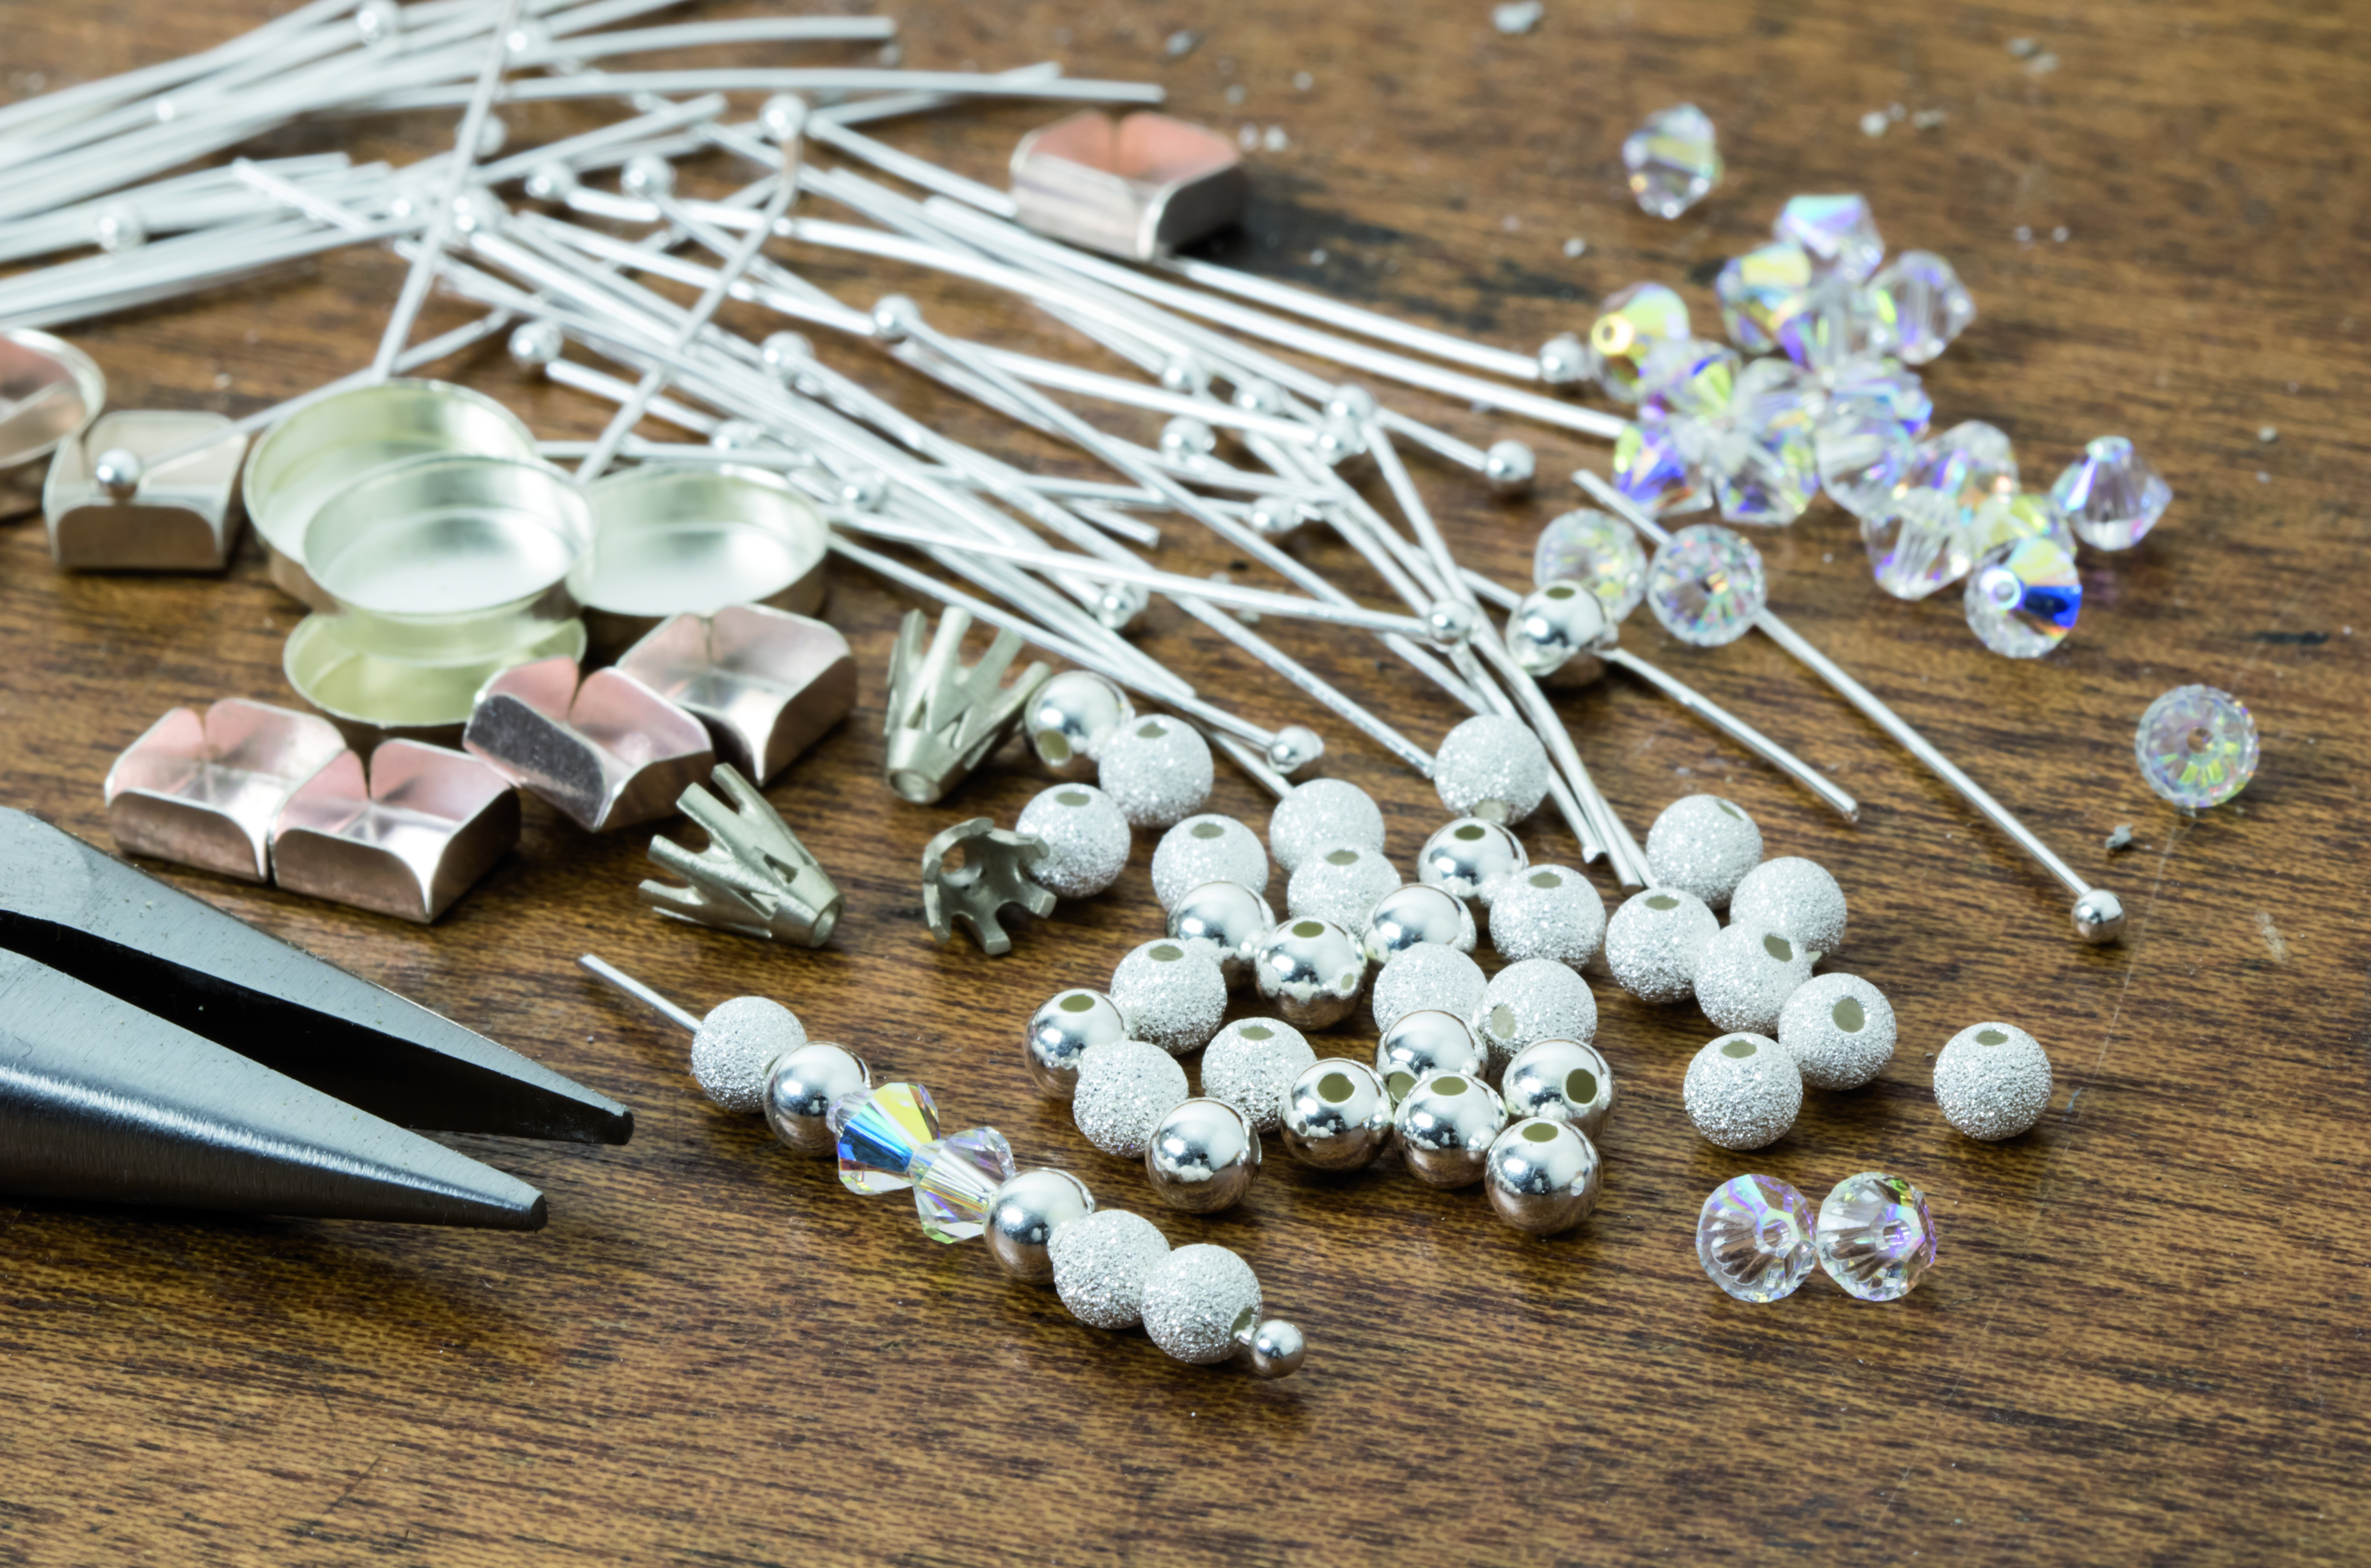
Headpins are thin pieces of wire, with a flattened piece of metal at one end, also known as the “head”. The head acts as a stopper, ensuring beads are secured onto the wire. At the other end of the headpin, the wire is flush cut to make it easier to use. Headpins are normally available in different precious metals and alloys. The most common materials used by jewellery makers include sterling silver, gold-plated or brass-plated silver, gunmetal, antique copper and brass. Both headpins and eyepins are available at jewellery findings suppliers in varying lengths – this comes in handy when you’re working with larger beads that will require that extra bit of wire wrapping to secure in place.
In jewellery making, headpins are often used to create earring dangles that feature beads or gemstones. They can also be used to create bead or charm links using a wire wrapping technique.
Making loops with headpins
- Thread your bead or charm onto the headpin so that it gently rests at the head of the pin.
- Make sure there is enough wire above the bead to create a loop – this should be about 1cm.
- Take a set of round nose pliers and bend the wire at a right angle.
- Gripping the wire in your round nose pliers, start to rotate the pliers towards the bend in the wire that you have already made, creating a half loop.
- Adjust your pliers as you continue to rotate them and bend the wire – this will help you to form a full loop.
- Take a set of flat nosed pliers to close the loop, remembering to add any other element or link that you would like to add before tightly closing the loop.
Beginner Tip: Still getting to grips with your round nose pliers? Use a marker to indicate 5mm from the tip of your pliers. This will give you an accurate point at which you can clamp and rotate the wire for a small, neat loop.
How to use eyepins
Eyepins are an excellent time saver when it comes to bringing your jewellery pieces together, as they already have a loop at one end, and can be easily manipulated to create bead links fairly quickly. Similarly to headpins, they can be bought in a number of metals and lengths depending on the look you want to create.
Making links with eyepins
- Thread your bead onto the eyepin so that it rests gently at the eye of the pin.
- Make sure there is enough wire above the bead to create a loop – you may need to trim the end of the eyepin with wire cutters if it’s still a little too long with your bead threaded onto it. Try to leave about 1cm.
- In the same way as you would with a headpin, take your round nose pliers and bend the wire at a right angle just above the bead.
- Now start to rotate your pliers, bending the wire as you go creating a loop.
- Now you can easily attach jump rings to the loops you’ve created to add more beads or charms to your links.
How to make a wire wrapped loop
If you’re up to speed with how to make basic headpin loops, you may want to learn how to make a wire wrapped loop. This will give your jewellery pieces an additional touch of finesse as well as improving your wire wrapping skills.
- Start out with a longer headpin or eyepin to create a wire wrapped loop, as you’ll need the extra length to create a wrapped effect.
- Create your initial loop as in steps 1 – 4 above.
- Once you’ve created your wire loop, you’ll then need to take your flat nosed pliers with your free hand, still holding onto the loop with your round nose pliers in the other.
- Now start to wrap the excess wire around the straight length of wire below the loop with your flat nose pliers. Aim to wrap the wire around three times or more if you‘ve left a little more space between the loop and the bead.
- Once you’ve finished wrapping the wire, trim any excess with wire cutters and tuck in the end of the wire with your flat nosed pliers.
There you have it. A step by step guide on how to use headpins and eyepins and master the art of creating loops and links. Stock up on all the jewellery findings you need to master your craft at Cooksongold, from headpins and eyepins, to lobster clasps and dropper wires.
Have any tips on creating the perfect wire wrapped link or loop? Share your tips and tricks with us on Facebook or Pinterest – we’d love to hear from you!
Download Our Findings Guide to find out more….

Cooksongold