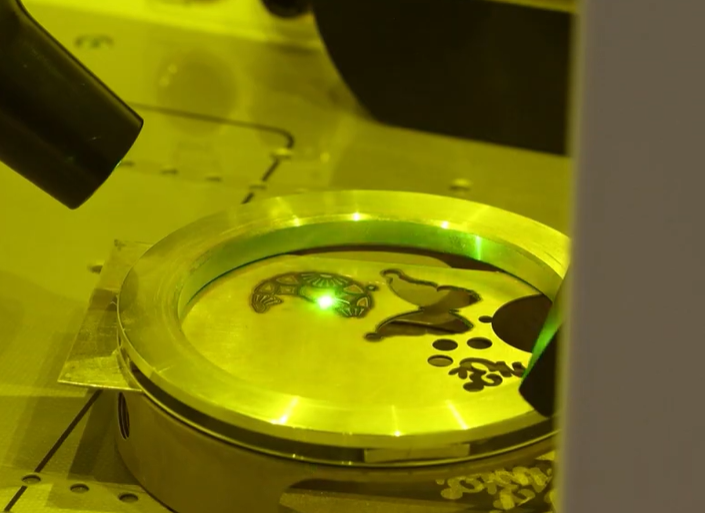
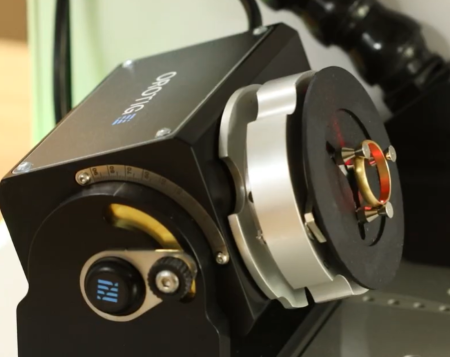
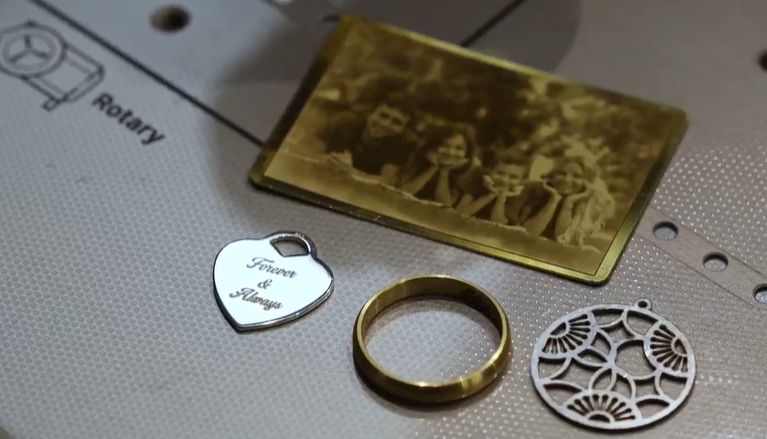
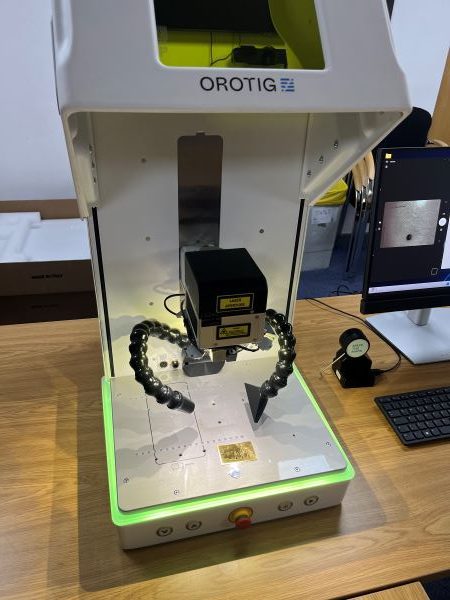
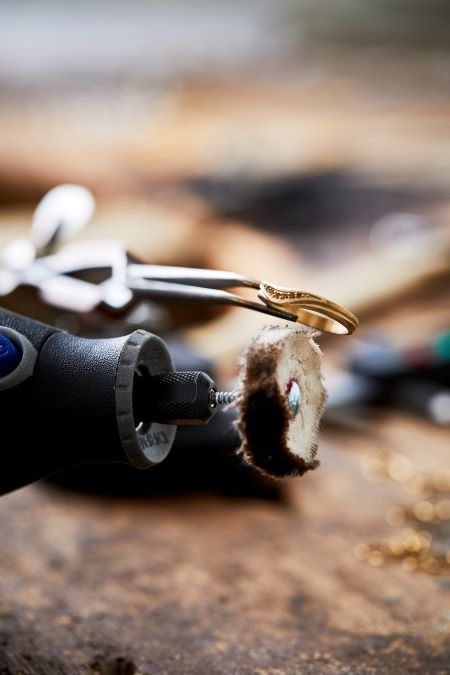
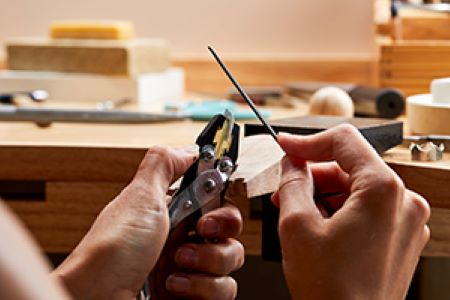
We know that starting your jewellery making journey can be overwhelming which is why, as a part of our how to make jewellery hub we’re giving you some helpful advice, tips, guides and more on a range of jewellery making. Here we’ve listed what we think are some of the essential tools that you will need and how to use them.

Beading is a form of jewellery making that enables beginners to take their first step into jewellery production. With so many beads in varying shapes, styles and sizes, the possibilities are endless. If you’re just starting out when it comes to using basic beading tools, this guide will help you get to know each tool in detail and how to use beading tools to speed up your production process, without compromising on the finish.

Beading tools for beginners: what to expect and how to use them

Beading needles

Beading needles are invaluable if you work with beads on a regular basis, making threading quick and easy. Made with steel wire, and featuring a long eye at the top of the needle, you can buy these in sets ranging from very delicate, thin wire right up to larger, heavy duty needles. Choose smaller gauge beading needles if you’re working with very small, fiddly beads and opt for a larger beading needle if you regularly work with larger, more substantial beads and cord. If you can, always opt for a beading needle with a collapsible eye – this will simplify your beading process. With just a little pressure you can efficiently add beads to your cord with your beading needle.

How to use a beading needle

  • Take your beading needle and carefully thread the cord you’re using through the eye of the needle.
  • Push the first bead onto the needle, gently pushing it past the eye of the needle.
  • If you feel a little resistance as you thread the first bead, that’s normal. This should loosen up as you continue threading your beads onto the needle.
  • Continue to thread the rest of your beads from the needle, directly onto the cord.

Bead Reamer

A bead reamer is a long, narrow file that can be used to either increase the size of a bead hole or to tidy up the finish of a bead hole, removing rough edges and any excess debris that was created when the bead was formed. You can pick up bead reamers with long tapered edges to make bead holes large, or a cylinder reamer to touch up rough edges. Your cylindrical bead reamer is particularly useful when working with ceramic or glass beads where the holes need to be gently filed to remove any sharp edges around the bead hole. Look out for bead reamers with diamond tipped files. These will help you work more efficiently when it comes to filing and making bead holes larger.

How to use a bead reamer

  • To make a bead hole slightly larger, take your tapered bead reamer and gently file the inside of the hole using a gentle circular motion. Repeat this at each end of the bead so that the hole is a consistent size all the way through.
  • To tidy up sharp edges, gently file the edges of the bead hole until you’re happy with the result. You may also want to use a cylindrical reamer to make sure you reach all the sharp edges in and around the bead hole.

Crimping Tool

A crimping tool is ideal for finishing off your beaded jewellery to a high standard. Although some jewellery may use pliers to secure a crimp bead, this may leave you with sharp edges. Whereas a specific crimping tool is designed to secure a crimp in place accurately.

How to use a crimping tool

  • With all your beads in place on your cord, thread the crimping bead onto the end.
  • Now take the end of the cord, attach whatever final component you want to the cord and loop the end of the cord back on itself, through the crimping bead in the opposite direction.
  • Now you can take your crimping tool and carefully place the first setting over the crimp, applying a small amount of pressure.
  • Once you’ve created the first crease in the crimp bead, take your crimping tool again. Using the second setting in the tool, apply pressure to the crimp bead on the opposite side applying pressure as you do.
  • Continue applying pressure until the crimp bead is rounded, secure and tidy.
  • Now take the end of the excess wire coming from the crimp bead and snip off using your wire cutters.
  • To finish, add a crimp cover to the crimp bead and gently apply pressure to the crimp cover using the end of your crimping tool. Once secure this will leave you with a professionally finished beaded piece.

Bead board

Want to take your beading projects to a more advanced level? You may want to invest in a bead board. Bead boards are designed to help you plan out your beaded necklace or bracelet out in detail before you start using your hand beading tools. With specific measuring areas, individual storage areas, and channels to help you identify the number of beads required for your piece, the beading board is a handy beading tool for beginners to transition to a swifter process and more accurate finishes. As you move onto creating multi—strand beaded necklaces a bead board will also provide you with multiple channels so that you can map out your piece ahead of stringing.

How to use a bead board

  • Are you creating a single strand necklace? Make sure you use the outer channel on your bead board.
  • Either side of the channels, you’ll notice measurement markers. If either side of your necklace reaches the 9-inch marker, this means that your entire necklace will be 18 inches long. Keep this in mind as you line up the beads you’ll be working with, as this will determine the finished length of your piece. Keep in mind that the addition of a clasp will extend your piece by up to 1 inch.

Need a necklace length guide in your studio? If you need a reminder on the difference between a princess length necklace and an opera length, check out our visual guide to different types of necklaces and their lengths

  • If you’re making a multi-strand necklace, think about how far apart you would like your bead strands to sit. If you want a little more space between the two strands, place the first strand in the outer channel and the second strand in the inner channel. That will leave you with a clear gap between the two strands.
  • The bracelet measurement system works much in the same way as the necklace measurement, however it usually sits at the back of the of the bead board in a straight line.
  • When adding beads to the channels remember to start from zero (or the central point of the piece). That way you can build out the beads symmetrically at either side of the central starting point.

Now you’ve gotten to grips with how to use a beading tool effectively and how to introduce new hand beading tools into your repertoire, you can adapt your pieces and experiment with multi-strand pieces. Check out our beading tools range and pick up the jewellery making tools that will help you improve your skill set.

Save this for later

Author: Cooksongold
Written by

Cooksongold