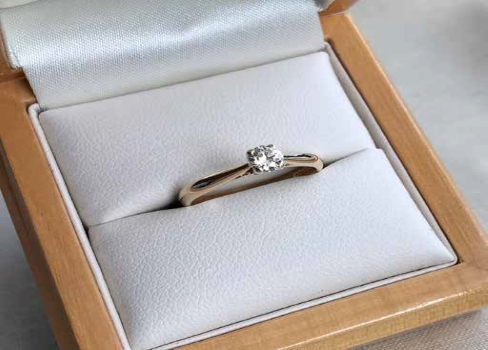
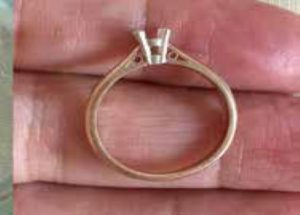
Make a beautiful 9ct gold ring using a Shank and Collet from the Simplicity Range.
We use Gold solder on this ring because it is easier to apply than using a separate flux and solder. I would advise using a pin or needle to apply the solder paste as it cuts down on wasting paste in the nozzle provided for the syringe.
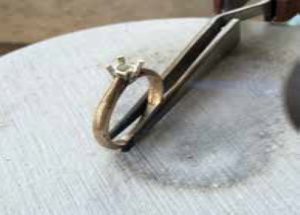
Step 1:
Positioning the collet.
First wearing the Optivisor make sure the collet and head fit together nicely if they don’t you can file them slightly so they fit together. Position them so the collet is on the soldering board and the shank is being held in position by tweezers suitable for soldering. We recommend wearing the Optivisor with the 2.5 magnification to position the collet and shank, and to solder it. If you do not need to wear one please wear safety glasses.


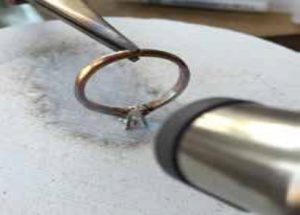
Step 2:
Apply the solder.
Apply gold solder paste where the shank meets the collet and solder on a low heat always moving the blowtorch around building up the heat slowly. As soon as you see the gold solder flow remove the heat and quench in water. Now you want to reposition the ring so the collet is facing up and the shank is being held by the tweezers. Apply solder paste where the shank meets the collet and solder on a low heat moving the blowtorch around building up the heat slowly. As soon as you see the gold solder flow remove the heat and quench in water.
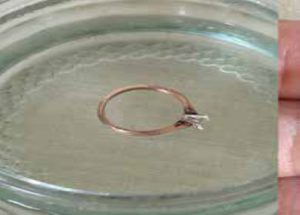
Step 3:
Clean the ring.
We now need to clean the ring in the pickle pot. I use safety pickle so I make a fresh batch each time I use it. Take the ring out of the pickle and brush with a metal brush to remove any stains.
Step 4:
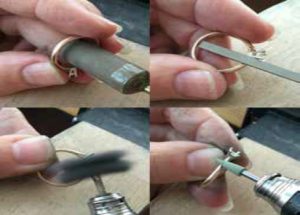
Preparing for setting.
Next we are going to clean the ring ready for setting the gemstone. First I used the sander roll inside the ring to even out where the shank was soldered to the collet, then I filed the areas where I soldered. I then used a grey Scotchbright pendant wheel all around the collet and shank and lastly I used the extra fine Eveflex burr.
Step 5:
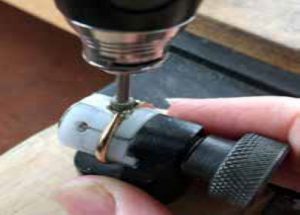
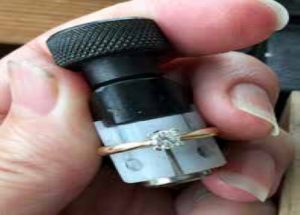
Seat the stone.
Now we are going to use a stone setting burr to create a seat for the gemstone, choose a burr the same size as your gemstone. Put the ring in a ring clamp and put the burr inside the collet from the top down. Make sure it is level or your gemstone will not sit in a straight position. Do this until the gemstone sits nicely with enough prong length to set the gemstone.
Step 6:
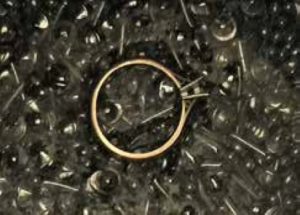
Time to shine.
Next put the ring into a metal barrelling machine for an hour or two to polish it.
Step 7:
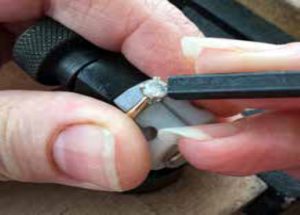
Set the gemstone.
Now we are ready to set the gemstone, put the ring into a ring clamp and position the gemstone in the collet. Hold the ring clamp still and push one of the prongs against the gemstone. Make sure to push your thumb or finger on the opposite side to the prong being pushed to help keep the gemstone in position. Don’t push it too hard, you want to push it just slightly at first. Now push the prong that is opposite the one you have just pushed, making sure the gemstone is straight and in the right position. Next push the two remaining prongs. Now that all the prongs have been pushed up against the gemstone it’s time to check its position. If you are happy with the position repeat the above steps but pushing harder this time. If you are not happy with the position of the gemstone use pliers to gently pull back the prongs and reposition the gemstone and start again. Once all the prongs have been pushed against the gemstone and it doesn’t move, push down from the top to make sure you have a very secure setting.
Step 8:
Finishing.
If there are any marks left by the bezel pusher use an Extra Fine Eveflex Burr to remove them and then polish the prongs with a polishing compound. You can also put the ring in a Ultrasonic Cleaner depending on the gemstone used.

Sharon Philogene