Find out how to create a ring featuring an inverted heart gallery strip cabochon gemstone setting in this step by step tutorial.
Step 1: Shape your Metal
Cut the chosen metal for your ring band to the desired size, then use your ring bending pliers to bend the metal for the ring band so the edges are touching
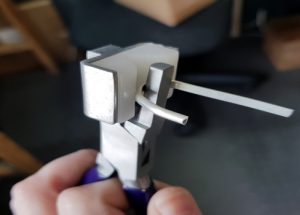

Step 2: File the Edges
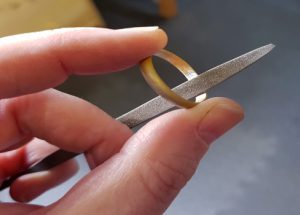
Use a flat needle file to make sure the two edges of the metal are clean and fit together snugly. Hold the ring up to the light when the edges are pushed together to ensure you have a good join.
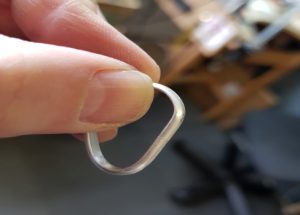

Step 3: Start Soldering
Place a small pallion of hard solder onto the join of your fluxed ring, and solder then quench.
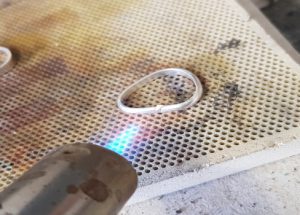

Step 4: Form the Ring
Place the ring on the triblet and tap with a rawhide mallet to shape.
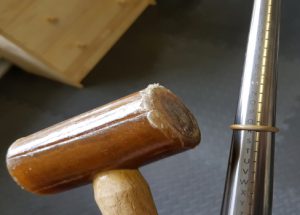

Step 5: Tidy your Work
Use a needle file to tidy up the ring. If using a D shape band, file a flat plane on the edge as this will make it easier when soldering onto the gallery strip setting later.

Step 6: Cut the Gallery String
Wrap your chosen gallery strip tightly around your gemstone. Cut at the overlap using side cutters, or mark and saw where required. Use ring or half round pliers to line up the edges neatly, ready to solder.
TIP: Ensure your overlap is neat, so the pattern of the wire will run smoothly

Step 7: Solder the Setting
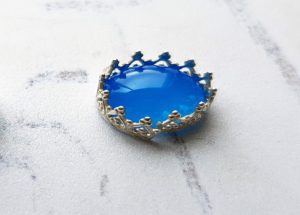
Flux the join and place the gallery strip on a tiny pallion of hard solder. Solder, heating gently to avoid overheating the wire edges. Quench, then check the gemstone fits comfortably into the setting with no gaps. Remove the stone.

Step 8: Add the Base
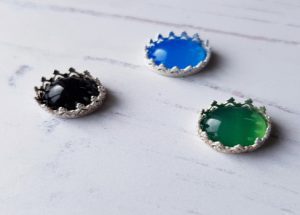
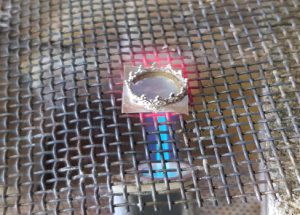
Flip the setting over, and syringe easy solder paste around the base, then pace the setting onto a piece of 0.5mm sheet just larger than the setting. Ideally you want to heat the piece from beneath to avoid melting the gallery strip, so use steel mesh to raise the setting and heat from below then quench.
TIP: Alternatively, you can turn the setting upside down and heat the base of the setting to solder.

Step 9: Cut and File
Carefully saw around the base of the setting and use a needle file followed by fine wet and dry paper to file the setting smooth. You should now have a smooth bezel cup ready to solder to your ring band.
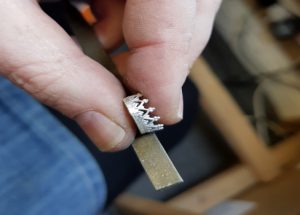

Step 10: Solder and Pickle
Place the setting upside down on your soldering block, squeeze a small amount of easy solder paste into the centre, and hold your ring band in place with tweezers. The flat edge you filed earlier should be flush to the back of the setting. Solder the pieces together, then quench and pickle
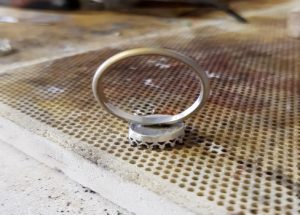

Step 11: Polish the Ring
Polish the settings using your preferred method (using a barrelling machine is ideal for this). Gently push your gemstone into the clean, dry and polished setting.
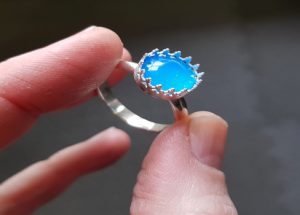

Step 12: Set the Cabochon
Use a burnisher to gently push the setting over the stone. Start at the cardinal points, and gradually work your way around, ensuring the setting is flush to the top of the stone. If needed, give your piece a final polish.
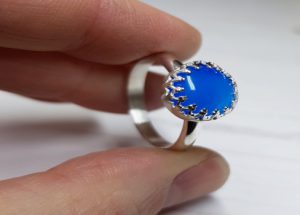

And you’re all done! Now it’s time to admire your creation
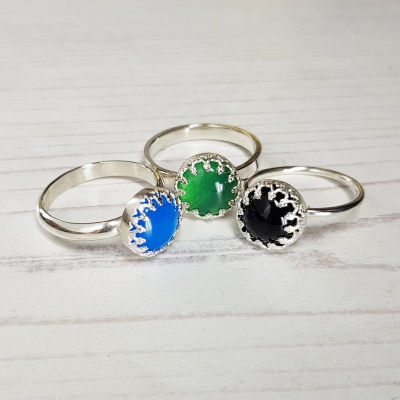

See our selection of gemstones or gallery strips or maybe try another of our stone-setting projects
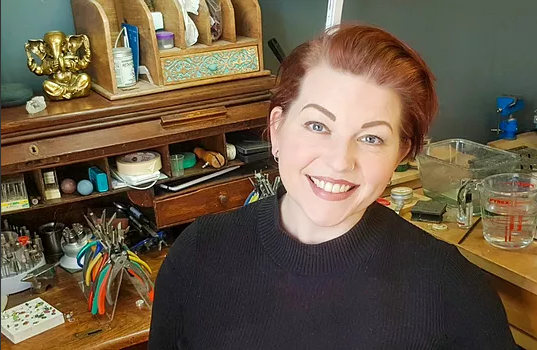

Lydia Niziblian
I'm an independent jewellery designer/maker, working from my studio in the heart of Whitchurch Village in Cardiff, my hometown. My jewellery designs feature a range of textures, patinas and finishes, exploring the concepts of weathering, aging and wear. These are brought to life with colourful, carefully selected gemstones, and contrasting textures and materials.
