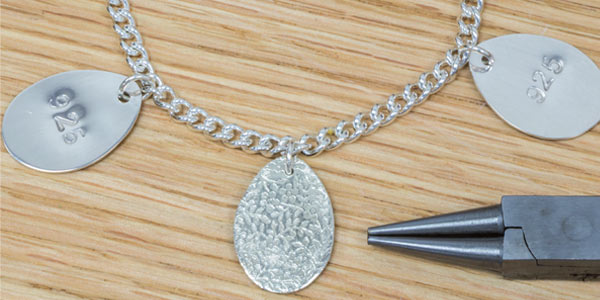
Create this beautiful silver charm bracelet where textured silver clay is combined with punched sheet metal to make a striking contrast. The oval charms can be embellished to suit your design. Discover our step-by-step silver charm bracelet tutorial below.
Step 1 – Create the oval shape using silver clay
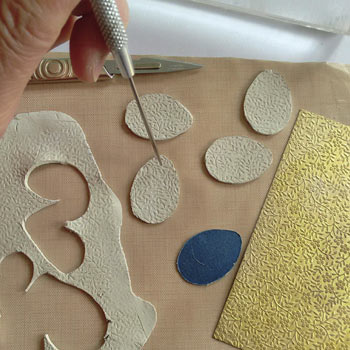
Roll out the silver clay thinly and evenly on a sheet of Teflon. Place the brass plate over the clay and press the plate into the clay.
Lay a small egg shaped card template gently over the clay and carefully cut out the charms. Lay a small egg-shaped card template gently over the clay and carefully cut out the charms (to make this design your own, simply use a different template).
Use a sharp needle tool to add a hole in the top of each one. Leave the silver clay to dry completely overnight.
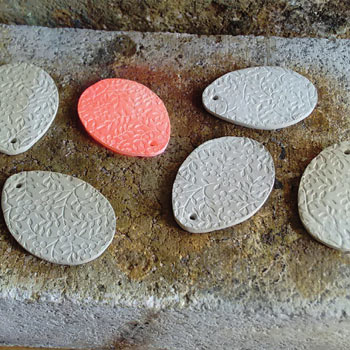
Step 2 – Fire the clay
Once the silver clay has dried out and looks like plaster, fire the charms with a blow torch, keeping the flame evenly over the piece for an equal finish.
Time each oval shape as the silver clay starts to glow pink for four minutes and quench in cold water.
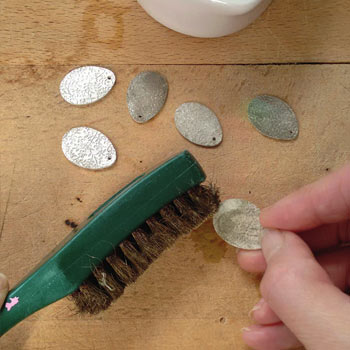
Step 3 – Brush the silver clay
Use a wire brush with washing up liquid to brush the oxide from the clay pieces and clean the metal to reveal the silver.
Step 4 – Prepare the silver
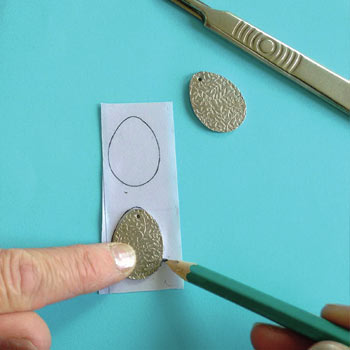
Stick double-sided tape to a piece of paper. Then use one of the silver clay pieces and draw two egg shapes on the paper.
Cut out the shapes with a scalpel and peel off the backing paper. Stick the shapes to a piece of 0.8mm silver sheet.
Step 5 – Cut the silver shape out
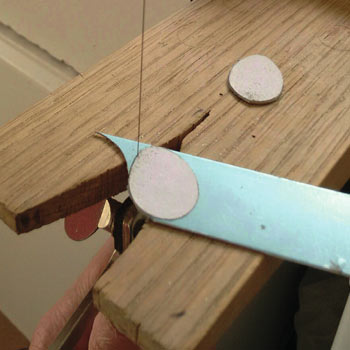
With the egg-shaped images attached to a sheet of 0.8mm silver, use a fine saw blade to saw out two additional charms.
Add a hole at the top of each charm using a 1.5mm drill bit.
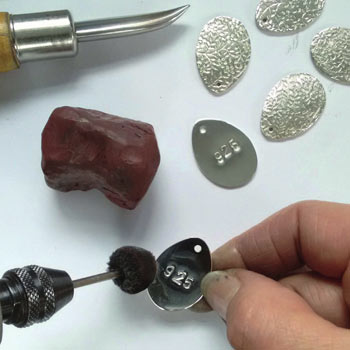
Step 6 – Stamp on the silver sheet
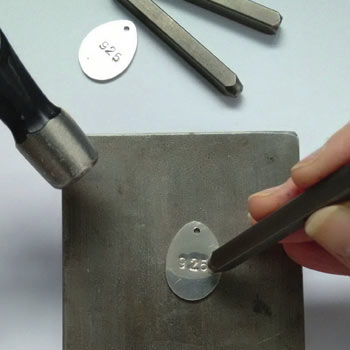
From the number punch set, pick out 9, 2, and 5. Punch out the middle number 2 centrally on the oval-shaped charm, t
From the number punch set, pick out nine, two, and five. Punch out the middle number two centrally on the oval-shaped charm, then punch out the nine and five on either side of it.
You can create a contrast on the 925 detail by using the ImpressArt enamel marker pen to darken the stamp.
Optional: For something more personal, you can always add some extra details using one of our large range of ImpressArt picture stamps.
Step 7 – File the silver
Use a flat needle file to remove any jagged edges on the silver caused while you were sawing.
Step 8 – Polish the silver
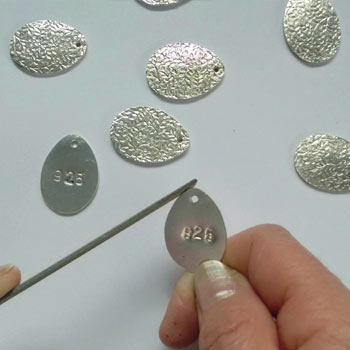
Polish all of the charms. Emery papers from coarse to fine can be used on the 925 charms. Polishing compounds can be used to create a mirrored finish on the surface of the silver.
A metal burnisher is a great tool to use on the silver clay charms, as the burnishing action hardens the softer PMC making it more durable.
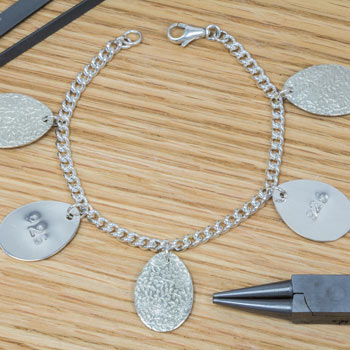
Step 9 – Finish and add to the sterling silver charm bracelet
Attach five 6mm jump rings to a length of curb chain long enough to fit the wrist. Space them evenly along the bracelet and add a 6mm jump ring to one end. Then add a turnable clasp to the other end via a 5mm jump ring.
Thread on the egg charms making sure all the jump rings are tightly closed and secure.
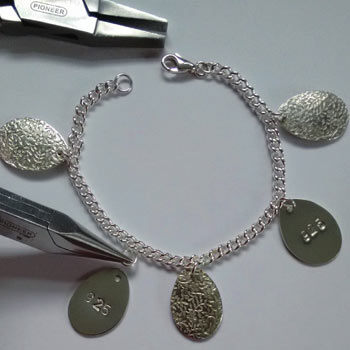
Your sterling silver charm bracelet is now complete!
That’s our silver charm bracelet tutorial – suitable for beginner jewellery makers. We want to see what you have been making! Share your creations with us on social media, tagging in Cooksongold on Facebook, Twitter and Instagram.
For more inspiration and ideas, check out our other jewellery making projects to put your skills to the test.

Jane Kharade