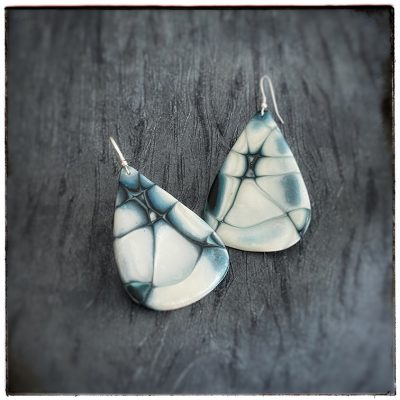
Have some fun with Fimo and create a lovely pair of Shibori earrings. Explore the multiple design effects you can come up with in any colour way you desire! For you or your friends, the perfect project for some new jewellery pieces
Step 1
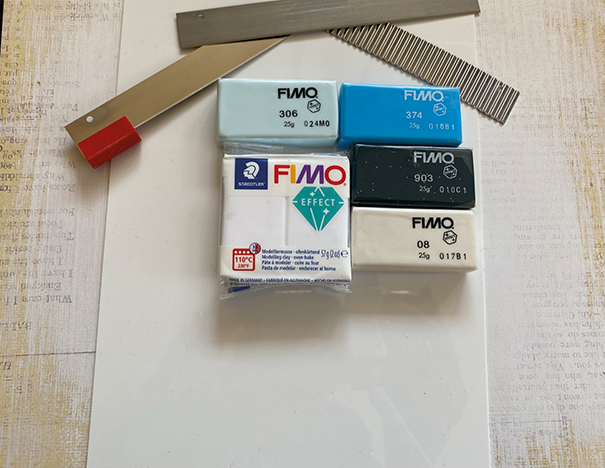
CHOOSE YOUR CLAY COLOURS
Select roughly 12.5g of each of your clay colours
Step 2
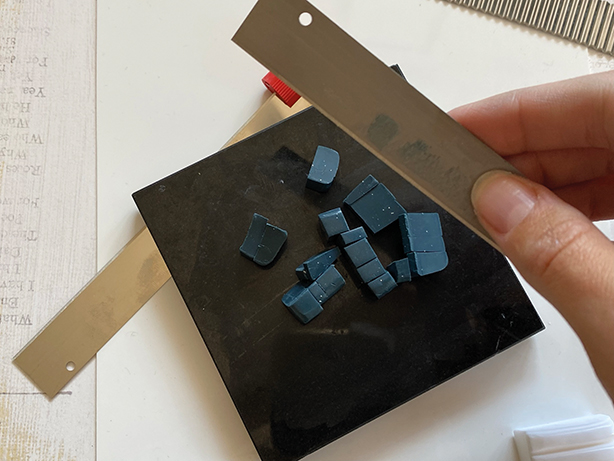
CONDITION YOUR CLAY
Condition each one by chopping, rolling and reforming it until smooth and pliable. You could use a pasta machine.
Step 3
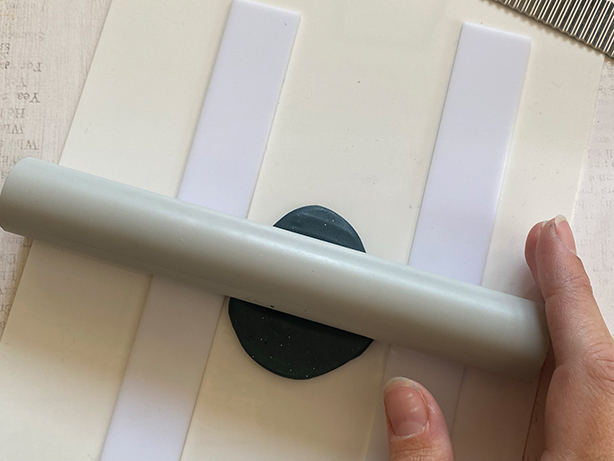
ROLL YOUR CLAY
Roll out each coloured clay into a sheet. Use rulers or lolly sticks either side of the clay to make sure your clay is even.
Step 4
CUT YOUR CLAY
Use a square cutter or template to cut each coloured clay into squares.
Step 5
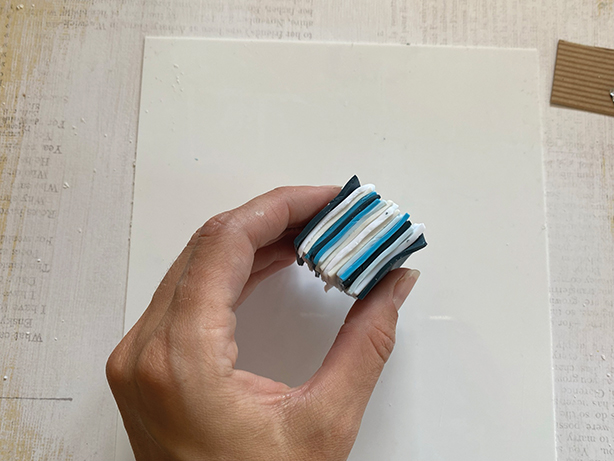
LAYER AND ROLL YOUR CLAY
Layer up your clay squares and gently roll so they bond.
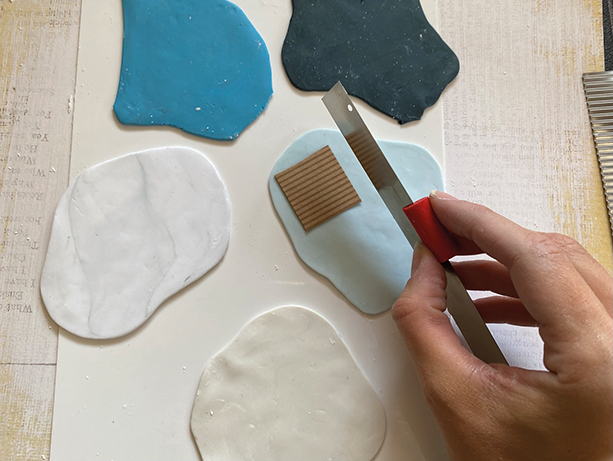
Step 6
CREATE YOUR CLAY CUTS
Use a ruler to make cuts into your clay block going through most of the layers.
Step 7
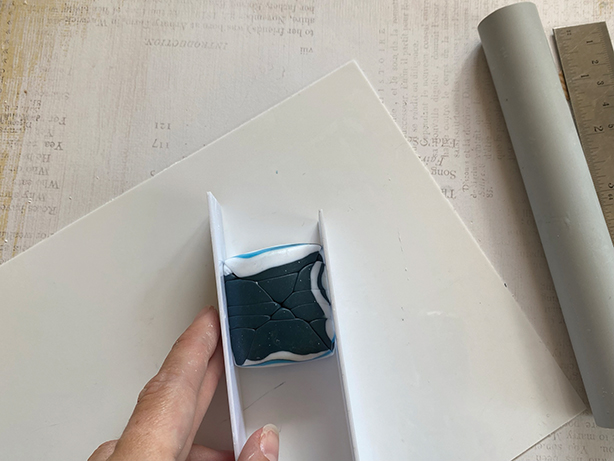
CLOSE YOUR CLAY CUTS
Push your block back together to close the cuts you have made and gently roll. If needed, push the block back together using rulers or a flat surface.
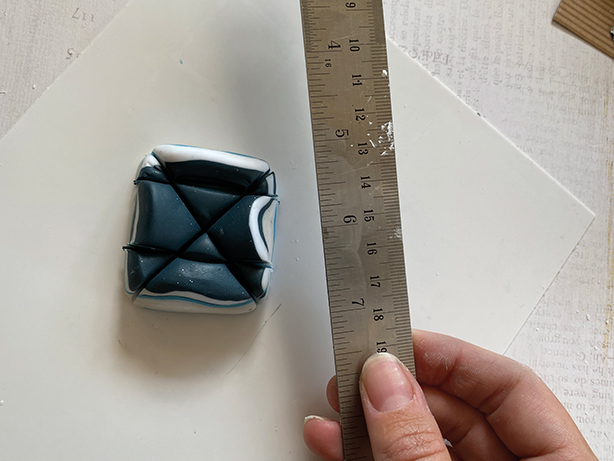
Step 8
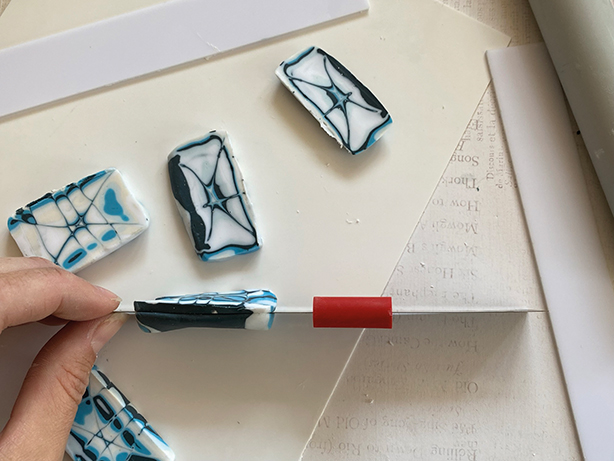
SLICE YOUR CLAY
Turn your clay block onto its side. Take your cutting blade and slice down your block, making each slice the thickness of a pound coin. Put these slices to one side.
Step 9
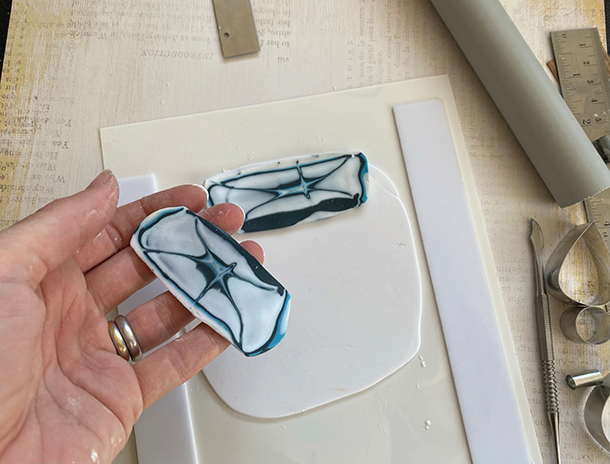
CONDITION AND ROLL YOUR CLAY
Take 25g of Fimo clay, condition and roll out to the thickness of approximately 3mm and lay your sliced clay on top. Use your rolling pin to gently even out and bond the two clays together.
Step 10
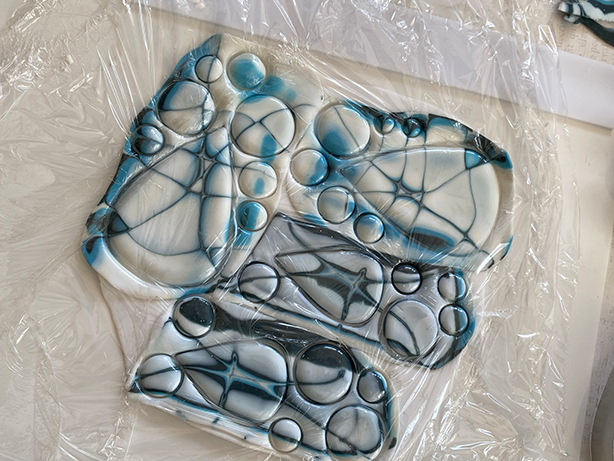
CUT YOUR CLAY
Take your cutters and press them into the sheet of clay. You can use a layer of clingfilm over the clay to help stop untidy edges.
Step 11
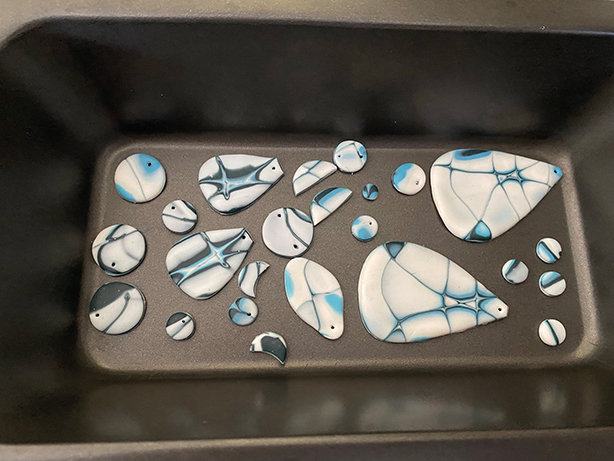
ADD HOLES TO YOUR CLAY AND BAKE
Add any holes using a pick or blunt instrument. Carefully remove the excess clay and lift up your shapes. Bake your clay in an oven at 110°C for 30 mins
Step 12
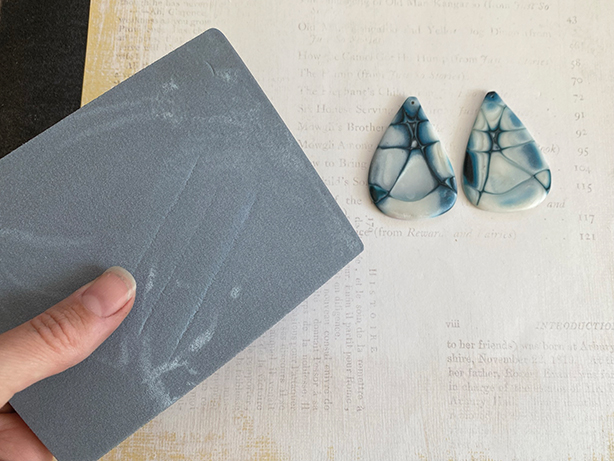
NEATEN AND POLISH YOUR CLAY
When cool, remove any rough edges using the grind ‘n’ polish set with water.
Step 13
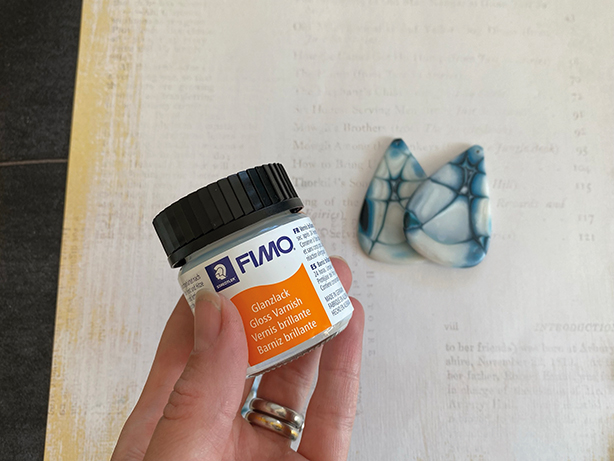
VARNISH YOUR CLAY
Varnish your clay shapes using a paintbrush and Fimo water-based varnish.
Step 14
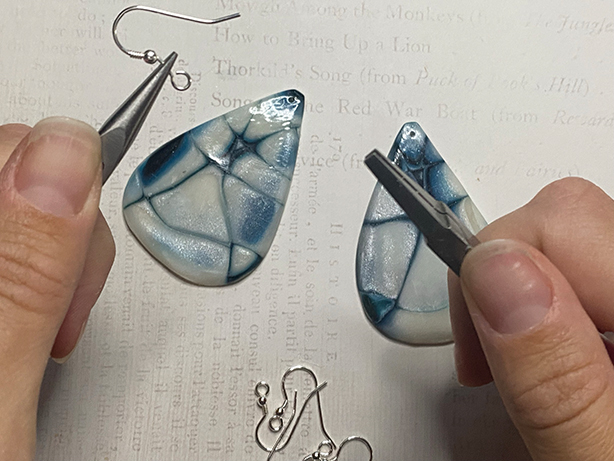
ADD YOUR EARRING HOOKS FOR A FINISHED PRODUCT
Grip either side of the earring hook wire using the pliers (flat nose, chain nose or snipe) and twist in opposite directions to open it. Add your Fimo shape and then reverse the twisting process to close. Alternatively, you can glue on posts with discs to create stud earrings or add jump rings to make pendants.
Your finished piece
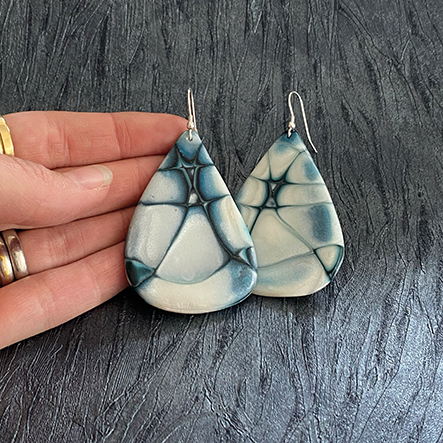
We want to see what you have been making! Share your creations with us on social media, tagging in Cooksongold on Facebook, Twitter and Instagram.

Sian Brown
Sian has been hand making her award winning jewellery in the West Midlands for over 12 years. Sian spent 10 years in Birmingham’s historic Jewellery Quarter before relocating to a quiet Worcestershire village.