Give beautiful hand stamped keychain designs to friends, sell them as part of your individual collection or use them on your own home and car keys with the help of ImpressArt and jewellery designer Janet Royle.who has created a seaside themed keyring…
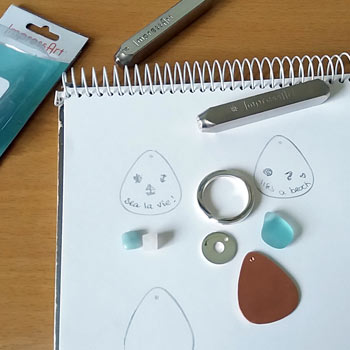
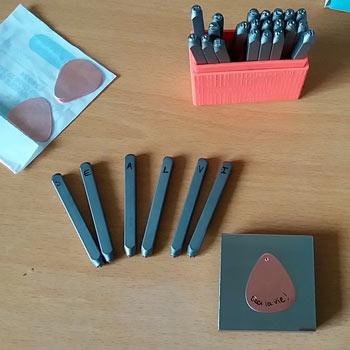
Step 1: Plan your design
Plan out your design by drawing around the blank and use this as a template for ideas, thinking about your theme and lettering.
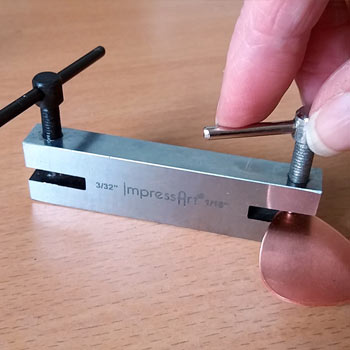
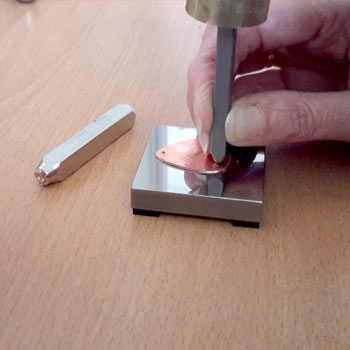
Step 2: Make a hole
Mark where a hole is required and use your punch to cut out a 1/16″ hole.
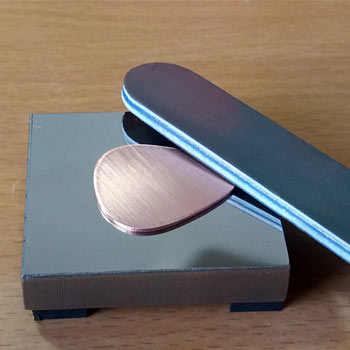
Step 3: Polish
Lightly pre-polish the blank using the medium buffing pad. This provides a clearer surface to stamp on.
Step 4: Prepare your stamps
Place the blank on your block. Here we are stamping ‘freehand’, so to make it a little easier why not write the lettering on the blank as a guide.
Top Tip:
Make sure the stamps have the ImpressArt logo facing you for correct orientation. If your stamps don’t have this write the letter on each one so that when it is facing you, it is in the correct position to stamp.
Step 5: Get stamping
Hold the stamp level against the blank and hit once firmly with the hammer. Don’t double hit the hammer as you’ll end up with a blurred image. Also, don’t place stamps too close to the edge of the metal as it will squash the edge.
Practise on some scrap metal before stamping your final piece so you can see how hard to hit the stamp, as smaller stamps impress more deeply than larger ones.
Top Tip:
Part of the charm of stamped lettering is its handworked look, but the letters shouldn’t be so out of line that they’re hard to read.
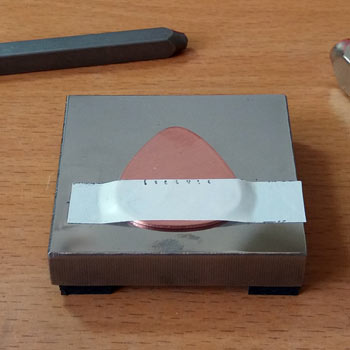
Step 6: How to do straight lettering
To stamp straight lettering use the tape to make a straight line. Mark on the tape with lines where the letters are to go. The tape also holds the blank in place on the block.
Step 7: Use the enamel marker pen
Once you are happy with the stamping, use ImpressArt enamel marker pen to fill in your newly stamped shapes as this will make them stand out more.
Carefully apply the ink over each stamping. Leave for 10–15 seconds (no longer than this as it dries quickly), and rub the ink with a cotton bud to ensure that it has gone into the grooves of the stamping, then wipe off with a soft cloth or tissue.
If needed, smooth off the edges and make a final polish with the finest sanding stick (3000 Grit).
Step 8: Add optional embellishments
You can now attach the copper blank to the keyring using a small split ring. If you wish to add beads you’ll need to make a wire connector.
First, make a loop with your snipe nose pliers on your small piece of silver wire and twist the end of the wire to secure the hoop.
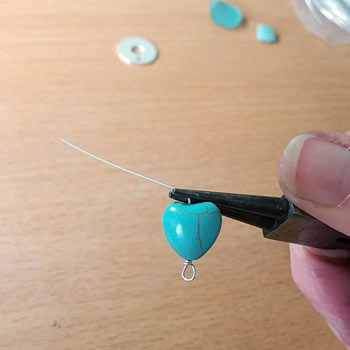
Step 9: Add the bead
Place the bead on the wire, make another hoop at the end to secure and snip off the wire with the cutters.
You are now ready to assemble the keyring using the 8mm split rings.
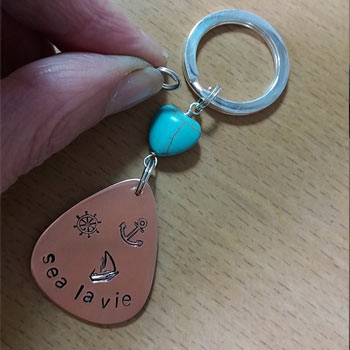
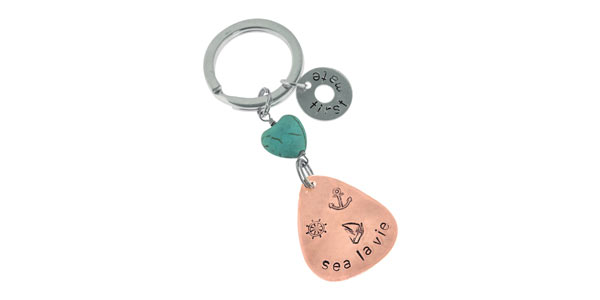
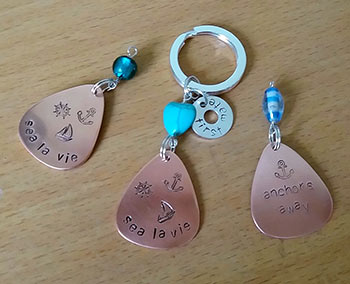
Step 10: All done
The finished result – with some variations. We’ve stamped a silver washer to add further detail.
Why not experiment with bead colours and stamp picture themes? Here we’ve used green and blue glass beads and turquoise shaped beads to go with the sea theme, but the options are endless.
See the downloadable version of this project to print and keep.
We want to see what you have been making! Share your creations with us on social media, tagging in @Cooksongold on Facebook, Twitter and Instagram.
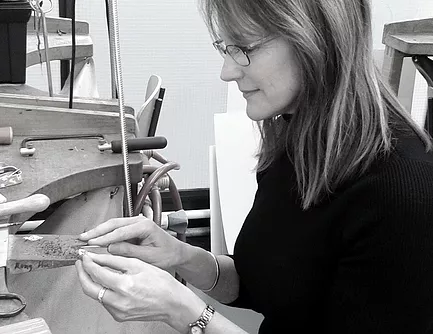
Janet Royle
Working in silver, gold and beautiful gemstones (sometimes combined with original antique pieces), Janet blends traditional skills and modern technologies to create her unique collections.