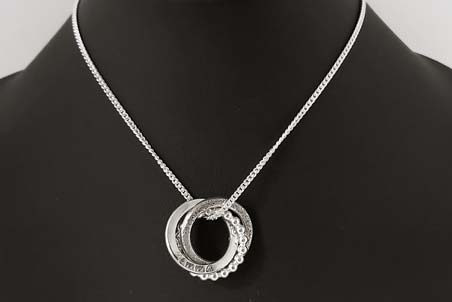
Create this beautiful personalised necklace, using our step by step tutorial.
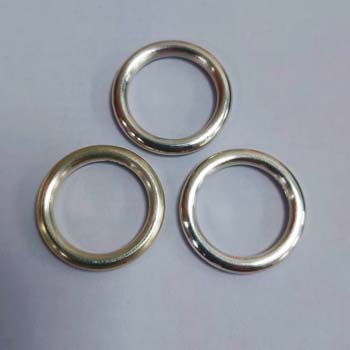
Step 1: Choose your rings
You will need to start with three rings the same diameter and thickness. You can either make these from scratch from round wire, or use finished wedding rings to save time.
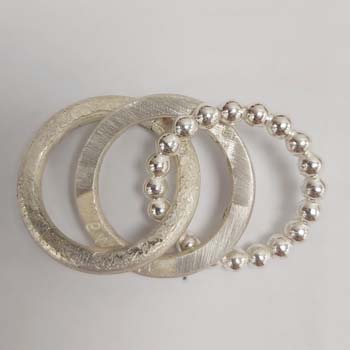
Step 2: Prepare your rings
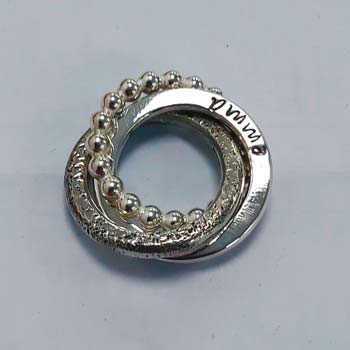
You can leave your Russian ring pendant plain or you can add texture to each ring to create a different look. For this project I have used two 3mm Silver halo wedding rings (size M) and added texture to one ring using a hammer. For my third ring I am using a 3mm Silver beaded ring (size K as this has the same outside diameter as the size M halos). If you have decided to make your three rings out of round wire, make each ring separately, solder and shape (texture if required).

Step 3: Personalise
If you want to personalise your pendant with a name, file one side of the remaining plain halo ring flat using coarse emery paper. You want to create a flat face wide enough for you to fit a 2.5mm stamped letter. Once you have achieved this, work through the grades of emery paper to the finest grit. Then carefully stamp the name/word you want on the ring.
Step 4: Cut & open
Cut through the name ring and the textured ring with a jeweller’s saw and open using parallel pliers, with a sideways movement to preserve the curve.
Step 5: Solder & pickle
Link the name ring through the beaded ring and solder it closed (like a chain link). I have used easy solder paste, but you could also use easy solder strip and flux. The sterling Silver beaded ring has an anti-tarnish coating so protect it during soldering with Technoflux. When pickling, make sure the beaded ring does not touch the solution.

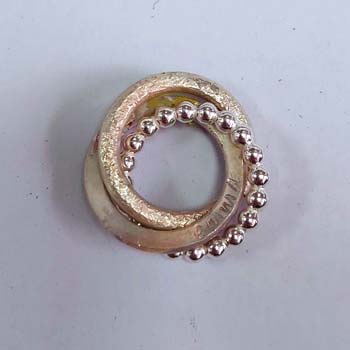
Step 6: Join the three rings
Pass the final textured ring through both of the soldered rings. Think of it as if you are making a very small Venn diagram with your name and beaded ring. In that space, loop the textured ring and solder closed (again protecting the beaded ring from any heat and pickle).
Step 7: Clean & polish
Clean your solder joints and polish the three rings. You can use a polishing motor, pendant motor or barrel polisher for this.

Step 8: Finish
Thread the Russian rings through a chain of your choice to finish the pendant. You may have to fiddle a bit with the placing of the rings, to get the right pattern.
Top tip:
Once you have created this piece you could branch out into other alloys. Traditional Russian wedding rings combine three precious metals, yellow, rose and white Gold.
We want to see what you have been making! Share your creations with us on social media, tagging in Cooksongold on Facebook, Twitter and Instagram.
Ann-marie Robinson