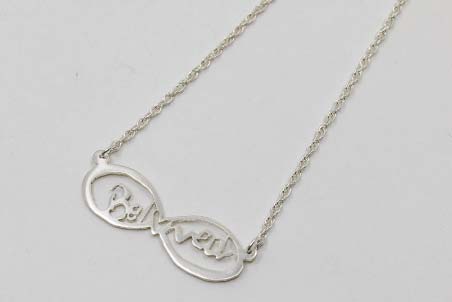
Create this personalised Silver necklace, featuring any word or design you wish, with our step by step tutorial.
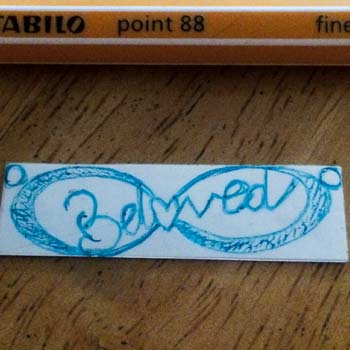
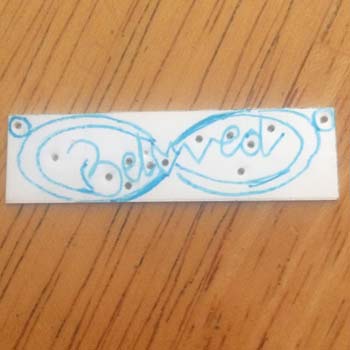
Step 1: Sketch
Sketch your design on your notepad.
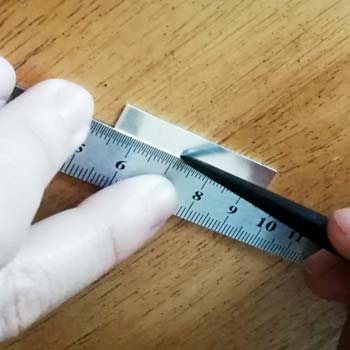
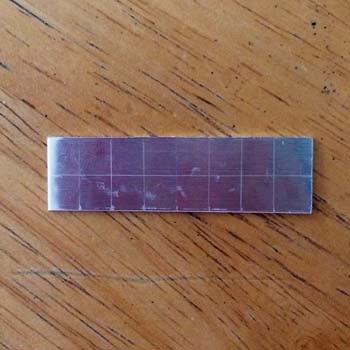
Step 2: Measure & scribe
Ensure your sheet is 12x40mm. Then, using your ruler, mark the sheet with a scriber or divider. Avoid making marks too deep. You will need to scribe these lines very lightly as they are only guides.
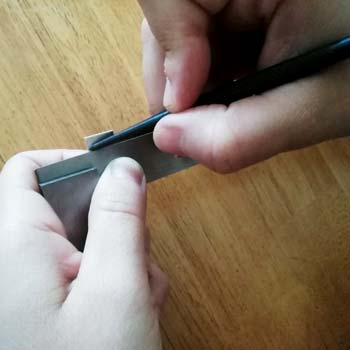
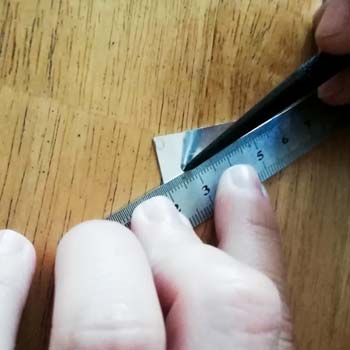
Step 3: Find the angle
Use the engineer square to find the fair angle of the sheet.
Step 4: Measure & mark
Use the engineer square and scriber to mark out eight strips measuring 5mm each. Scribe on the other side two sections of 6mm each.
Step 5: Mark a diagonal line
Mark out a diagonal line where you will write the word or the name for your pendant.
Step 6: Mark your design
Freehand, mark out your design from the second to the seventh strip and mark two circles on the first and eighth strip.
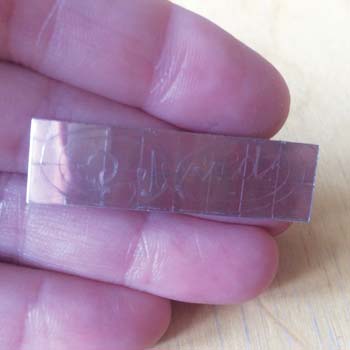
Step 7: Mark again & punch
Using a pencil first and then the scriber, mark the metal. You can also use a fine tip marker for marking out and piercing your metal. Then, using the centre punch and mallet, mark out where you want to drill.
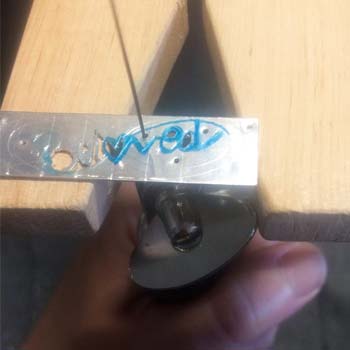
Step 8: Drill the sheet
Run the drill slowly and do not push too hard. Remember to lubricate the drill bit with the beeswax to avoid friction heat.
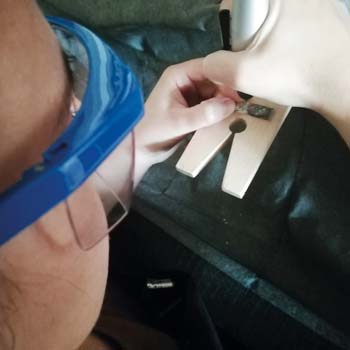
HEALTH & SAFETY
Always use the safety goggles when drilling metal.
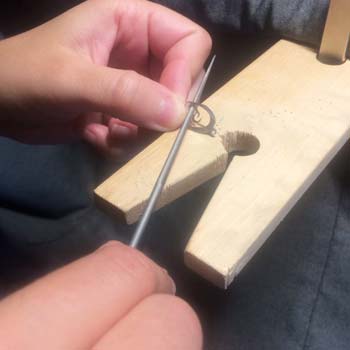
Step 9: Check your blade
Double check the tension of the saw blade, pinch it with your thumb like a violin chord. The piece being sawn needs to be secure and the teeth of the blade must point toward the saw frame’s handle.

Step 10: Work inside out
Firstly, pierce the inside for better control of the piece and then work from the inside out.
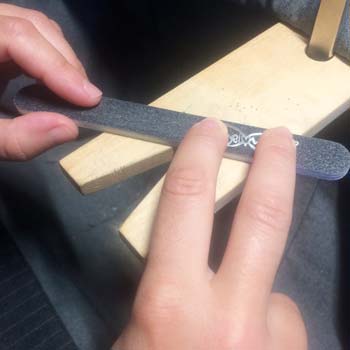
Step 11: File
Use the needle files, half round, round, threesquare and square to remove burrs from the edges. The teeth on the all files point a way from the handle and therefore cut on the push stroke. Lift the file or apply pressure on the return stroke. Press down on the top of the file with your index finger while filing and hold the piece stable.
Step 12: Start to finish
Use the benchpeg as support while you are filing; it will help secure your work. When you are polishing always wear goggles, an apron and dust mask to protect yourself. Before finishing the metal, make sure that all of the scratches have been removed from the surface by using the rough to fine emery paper grades. Always clean your metal before and between the grades and make sure not to move through the different grades too fast otherwise deeper scratches will remain.
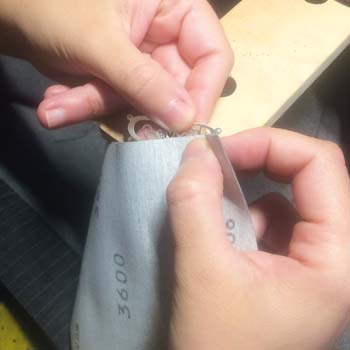
Step 13: Polish
Using the Micromesh set, hand polish your piece to a mirror finish. After filing and sanding the surface of the metal, you can obtain the high polish, satin or different finish desired depending on which accessories you use.
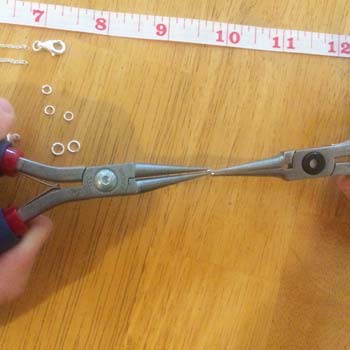
Step 14: Prepare the chain
Cut the chain in to two pieces of 7” each. Use the 4mm heavyweight jump rings to connect the pendant to the chain and to a trigger clasp.
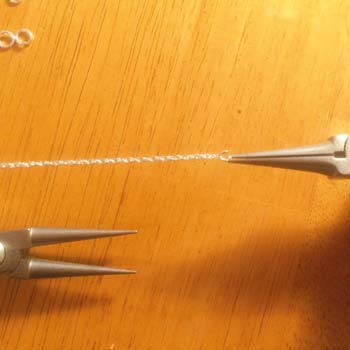
Step 15: Attach the chain
Using the chain pliers, open up the 4mm jump rings and join all of the pieces together through the jump rings. Then, use the 5mm jump ring for the end of the chain and you’re finished.
We want to see what you have been making! Share your creations with us on social media, tagging in Cooksongold on Facebook, Twitter and Instagram.
Silvia Costantini