Learn how to make a beautiful personalised silver bracelet using metal stamping technique. This is ideal as a gift or for yourself.
Step One
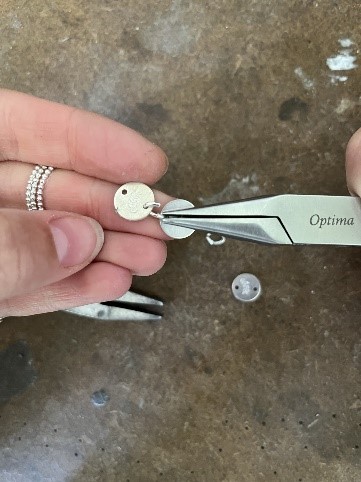
Place the silver discs on a heatproof block and heat each one up individually using a hand blow torch until it briefly glows red. Leave to cool for a minute and then pick each disc up using tweezers.
Quench these in water, then add to a warm safety pickle solution. Leave in the solution for 5 minutes or until clean. Remove from the safety pickle solution using plastic or brass tweezers.

Step Two
When clean and dry place a silver disc on the steel block.
The discs may already be stamped ‘925’ and you may wish to have this on the reverse on the disc.
You could use double sided tape on the steel block to hold the disc securely on the steel block.
Place your stamp (image face down) onto your silver disc.
Double check the image or letter is in the right place and will be the right way up.
Hold the stamp in place with one hand and hit the top of the stamp with a household hammer or ImpressArt hammer.
Repeat this on all 3 discs.
The 10mm discs come as a pack of 5 so if you make a mistake or are unhappy with how the stamped disc has turned out, you have 2 spare!
Note: Impress Art guide stickers can help to line up and guide where you want your letter or shape to be stamped. If you have any spare scrap silver or copper sheet it’s a good idea to practice stamping on these first.

Step Three
Open an oval jump ring by gripping the jump ring with a pair of snipe nose, flat or chain nose pliers on both sides. Twist one pair of pliers forwards to open.

Step Four
Thread the open jump ring through the hole on the disc, then add the other disc.
Step Five
Close the jump ring by gripping the jump ring with a pair of snipe nose, flat or chain nose pliers on both sides. Twist one pair of pliers back to close the jump ring flush. Repeat this so that you link all 3 discs together.

Step Six
Using reverse action tweezers, hold the first jump ring and a small amount of solder paste to cover the join on the jump ring.
Heat the jump ring gently with a hand blow torch until the solder melts and flows.
Leave to cool for a minute and then quench in water.
Repeat this process for the second jump ring (soldering the jump ring and then cooling it in water).
Add the joined discs to a warm safety pickle solution and leave for 5 minutes or until clean.

Step Seven
Decide on the length you want your finished bracelet to be.
The average bracelet is 7.5 inches long.
To make the bracelet 7.5 inches long, take the chain bracelet and cut the link using wire or side cutter pliers so you have a 12 link length and a 12 link length with lobster catch still attached.
These 2 lengths of chain with the addition of the 3 joined up links will result in a bracelet of 7.5 inches.
Adjust the number of links you keep or remove to make a longer or shorter bracelet.

Step Eight
Open an oval jump ring by gripping the jump ring with a pair of snipe nose, flat or chain nose pliers on one both sides. Twist one pair of pliers forwards to open.

Step Nine
Thread the open jump ring through the hole on the disc and add the chain.
Close the jump ring by gripping the jump ring with a pair of snipe nose, flat or chain nose pliers on both sides. Twist one pair of pliers back to close the jump ring flush.
Repeat on the other side so your 3 discs are now in the middle of your chain bracelet.
Step Ten
Using reverse action tweezers, hold the jump ring and a small amount of solder paste to cover the join on the jump ring.
Heat the jump ring gently with a hand blow torch until the solder melts and flows.
Leave to cool for a minute and then quench in water.
Repeat this process for the second jump ring (soldering the jump ring and cooling in water).
Add the joined discs to a warm safety pickle solution and leave for 5 minutes or until clean.

Step Eleven
To polish, you can rub the bracelet with a silver polishing cloth. You can also use a barrel tumbling machine with water, shot and barrelbrite as well as using a pendant motor with a mop or silicone rubber wheel.
To make the stamped details dark, use a cocktail stick dipped in Platinol and draw in the detail.

Step Twelve
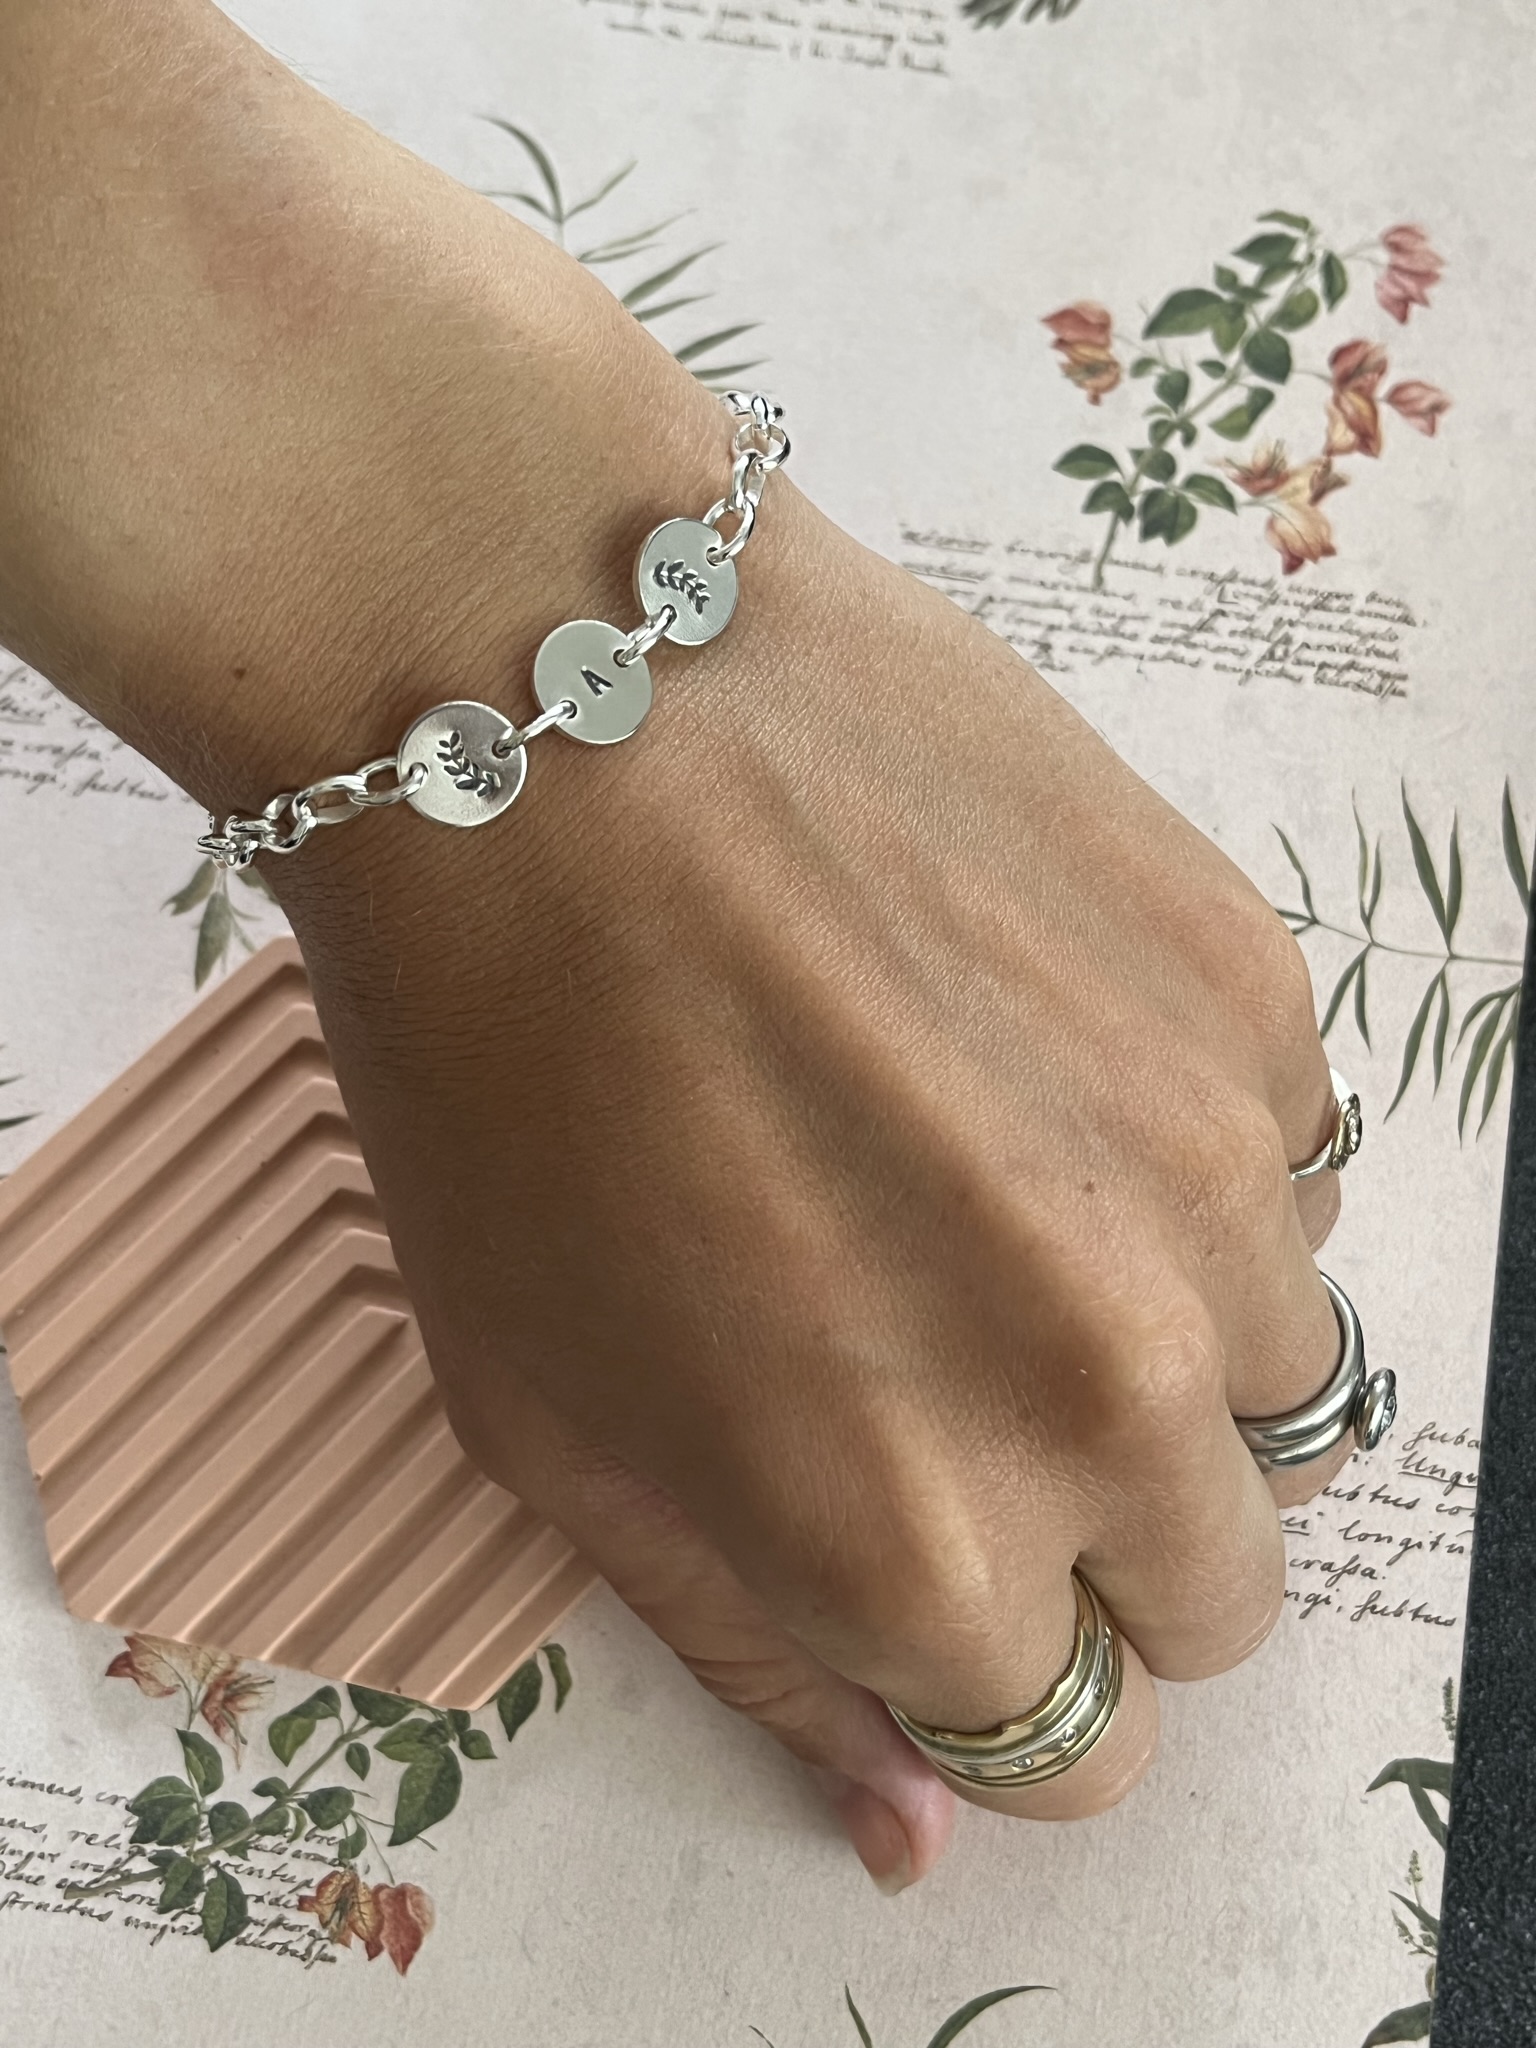
Give the personalised bracelet a final polish with a polishing cloth.

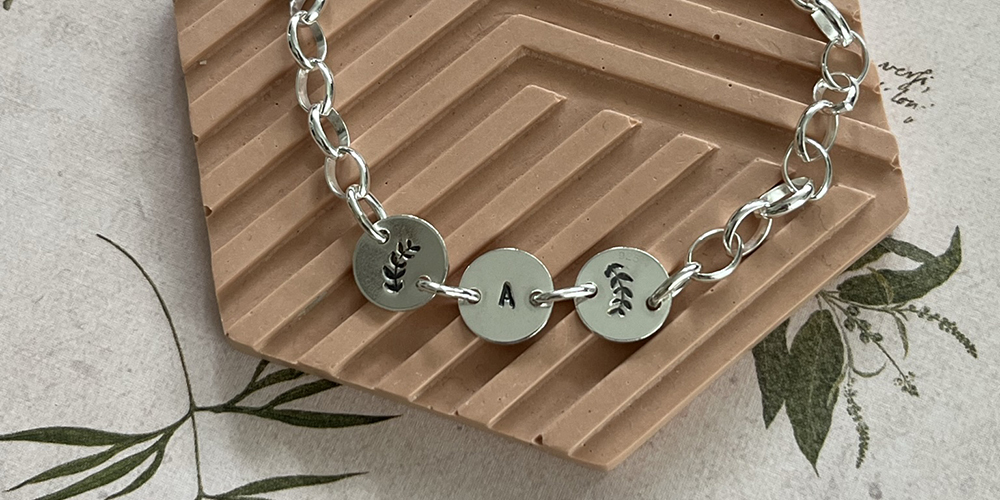
Finished Personalised Bracelet
We hope you enjoyed learning how to make your Personalised Disc Bracelet. If you have any questions or want to know more, get in touch with us on Facebook, Twitter and Instagram. We’d also love to see what you’ve been making so please share pictures of your creations with us too, tagging Cooksongold.

Sian Brown
Sian has been hand making her award winning jewellery in the West Midlands for over 12 years. Sian spent 10 years in Birmingham’s historic Jewellery Quarter before relocating to a quiet Worcestershire village.