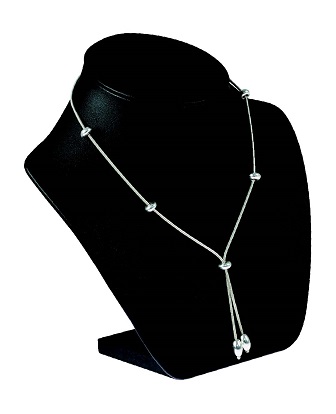
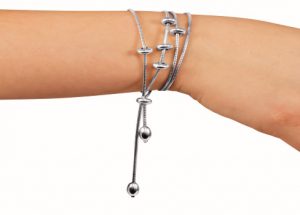
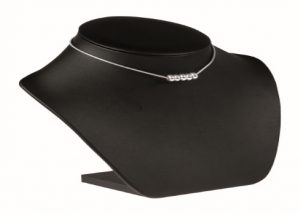
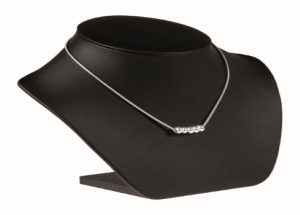
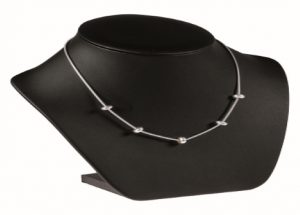
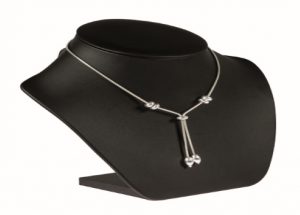
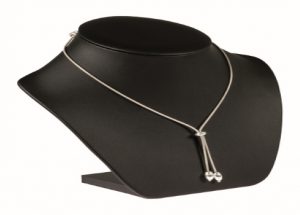
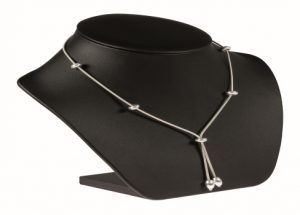
This adaptable piece of jewellery can be used as a Lariat Necklace, Choker, Back Necklace or Bracelet. All of the above styles can be further altered by your spacing of the Ellipse Sliding Clasp.
Step 1:
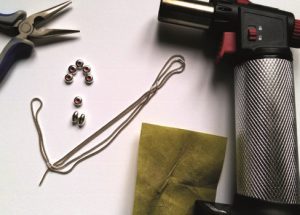
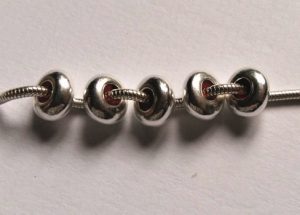
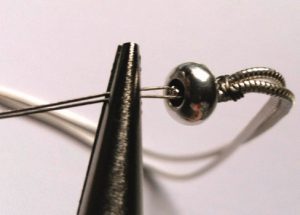
Thread the clasps.
Thread FIVE Sliding Ellipse Clasps onto the snake chain. It is important you do this first because after this step the necklace will not be open again to add anything else to. Using some scrap beading thread/wire wrap the loose ends of the chain together tightly so that they can be threaded through the remaining Sliding Ellipse Clasp. Use the end of the wire to poke through the clasp and pull with flat nose pliers. This is a tight fit but be patient and go slowly. When they are through the other side they will move smoothly.
Step 2:
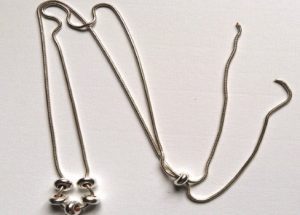
Create the stoppers.
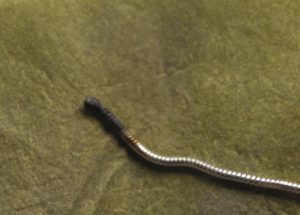
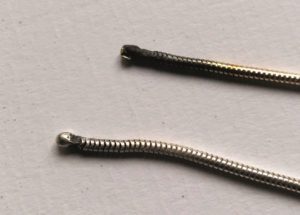
Remove the beading thread so that the ends are free. To stop the Sliding Ellipse Clasp from coming off we need to create stoppers. We do this by threading a Silver Olive Bead onto each of the loose end then we melt the end of the chain to a ball. To do this use a rubber or wood handled pliers or tweezers to hold the end of the chain hanging down into the blue part of the flame. You will see the chain change colour from silver to black, to glowing orange. At this point a melted ball should appear on the end. Remove from the flame and allow to cool. Repeat for the other end of the chain.
Step 3:
Sand the chain.
Do not worry that the chain looks black/gold in colour. Use fine grit sanding paper rub off the oxidisation. Although you will not get it back to the high shine lustre of the remaining chain (by using the sand paper only) the dull part will be hidden by the Silver Olive Bead.
Step 4:
Tah Dah.
You now have probably the most adaptable piece of jewellery that you will ever own.

Lorraine Sanderson