Sterling silver sparkle wire is a simple material that can dramatically change the look of handmade jewellery. Its lightly faceted surface reflects light from multiple angles, giving finished designs a soft shimmer rather than the flat shine of standard wire.
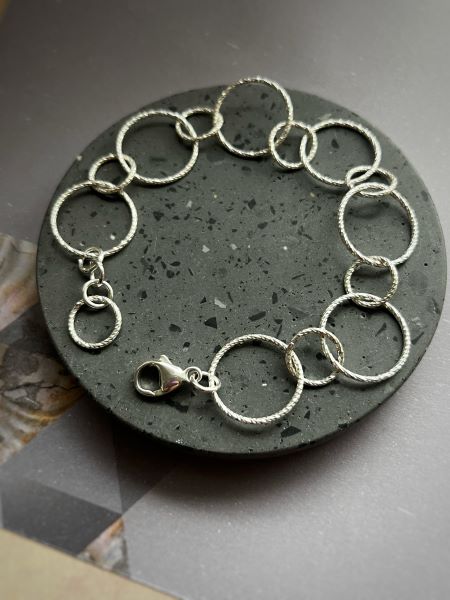
This subtle texture makes it ideal for minimalist designs where the material itself adds interest. In a bracelet made from linked hoops, sparkle wire brings movement and light to an otherwise simple form.
In this project, you’ll learn how to make a sterling silver sparkle wire bracelet using alternating hoops and a trigger clasp, along with a few practical tips for working with sparkle wire.
Why Sparkle Wire Works So Well in Bracelets
Before starting the project, it’s useful to understand why sparkle wire works particularly well in bracelet designs.
Sterling silver sparkle wire offers the same durability as standard sterling silver wire, but its lightly textured surface reflects light from multiple angles, giving jewellery a subtle shimmer.
Bracelets benefit from this effect because the constant movement of the wrist naturally catches the light. Even simple designs such as linked hoops appear more refined without the need for gemstones or additional decoration.
Sparkle wire also keeps the design lightweight and comfortable to wear while still adding visual interest, making it an ideal choice for minimalist bracelet styles.
Step 1
The larger hoops form the main structure of the bracelet.
- Take your 1mm sterling silver sparkle wire.
- Wrap it tightly and neatly around a cylindrical shape, such as a punch tool.
- Continue wrapping until you have created a neat coil of wire.
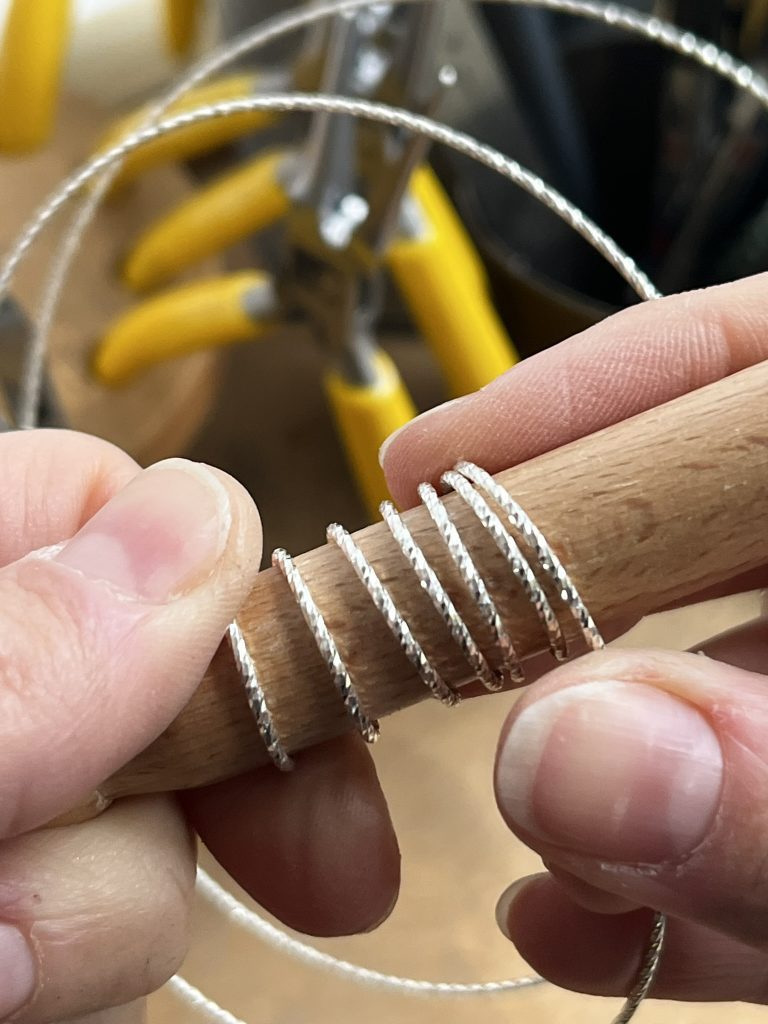
- Slide the coil off the cylinder.
- If the coil feels unstable, wrap masking tape around it to hold everything together.
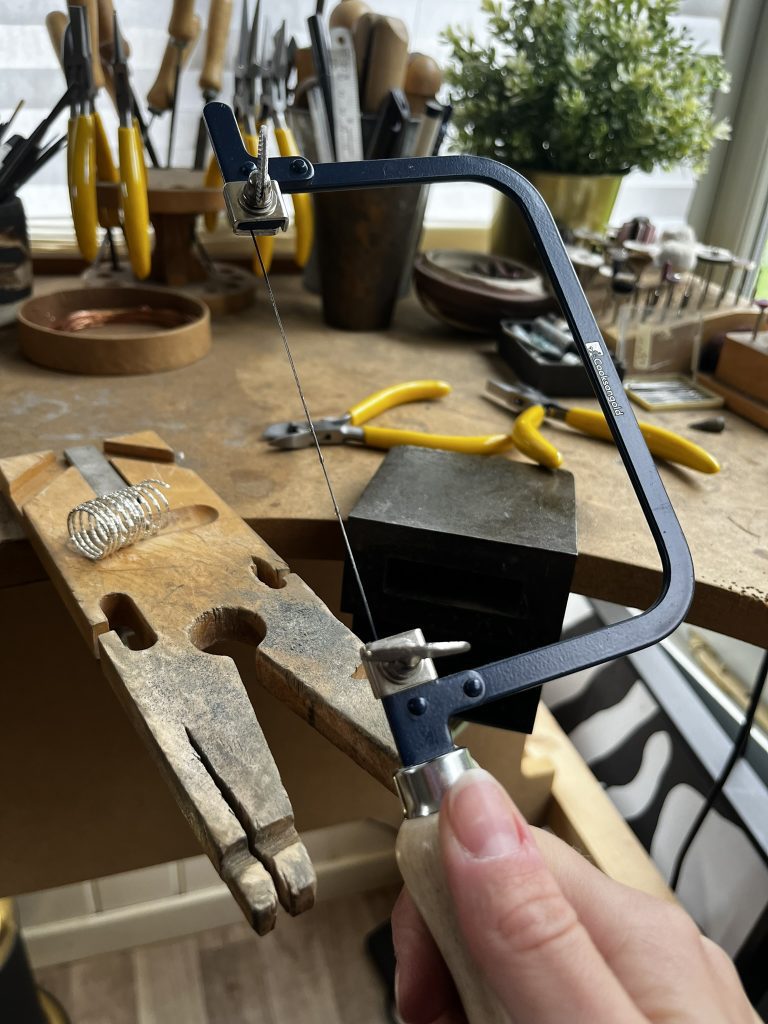
- Support the coil on a bench peg.
- Using a piercing saw, carefully cut along the coil to create multiple 15mm jump rings.
- These rings will form the larger links of your bracelet.
Step 2
The smaller hoops act as connectors between the larger rings.
- Wrap the same wire around a smaller cylindrical tool, such as a scribe or centre punch.
- Create another tight coil.
- Remove the coil and secure it with masking tape if needed.
- Support it on your bench peg.
- Use a piercing saw to cut along the coil and create 10mm jump rings.
These smaller rings will link the larger hoops together.

Step 3
Each 15mm hoop needs to be neatly closed before soldering.

To close a jump ring properly:
- Grip each side of the ring with flat nose or chain nose pliers.
- Twist one hand forward and the other back – never pull the ring apart sideways.
- Twist slightly past alignment.
- Then bring the ends back together so they meet flush with no gap.
- This twisting motion keeps the ring perfectly circular.
Once aligned:
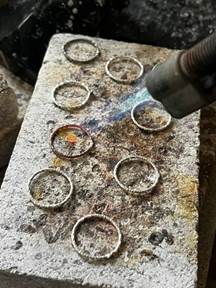
- Add a small amount of solder paste to the join.
- Place the ring on a soldering block.
- Heat with a handheld blowtorch until the solder flows.
Then:
- Allow the ring to cool briefly.
- Quench it in water.
- Dry it thoroughly.
- Repeat this for all the 15mm hoops.
Step 4
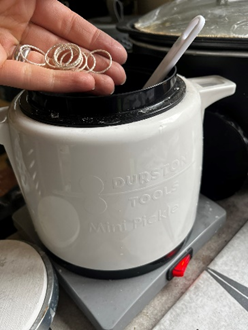
Once soldered:
- Place the hoops into a warm pickle solution.
- Leave them for about 10 minutes, or until clean.
- Rinse and dry.
After cleaning:
- Inspect each hoop carefully.
- Ensure the joins are neat and fully soldered.
- If any joints need attention, repeat the soldering process.
If a ring has lost its shape slightly, place it back onto the cylindrical tool or a round mandrel and gently reshape it into a perfect circle.
Step 5
Join the hoops together by:
- Linking one 10mm ring between two 15mm rings.
- Closing the smaller ring using the same twisting method as before.
Continue linking rings until you reach your desired bracelet length.
The pattern will look like:
Large hoop → small hoop → large hoop → small hoop
This creates a flexible chain with visual rhythm.

Step 6
To finish the bracelet:
- Attach a trigger clasp to one end of the chain.
- On the opposite end, add:
- a few smaller jump rings
- a final 10mm hoop
This gives the wearer a little adjustment room when fastening the bracelet.

Step 7
For strength and longevity, solder the joins.
- Hold a jump ring using reverse action tweezers so the join is visible.
- Place the tweezers on a soldering block, ensuring the rest of the chain is safely out of the way.
- Apply a small amount of solder paste to the join.
- Heat with the blowtorch until the solder flows.
Then:
- Let the ring cool for a few seconds.
- Quench in water.
- Dry.
- Repeat until every join in the bracelet has been soldered.

Step 8
- Once all soldering is complete:
- Place the bracelet into warm pickle solution for about 10 minutes.
- Rinse thoroughly.
- Dry.
To polish:
- Use a barrel tumble polisher with water, barrelbrite and shot, or
- Buff gently with a silver polishing cloth.
This final step brings out the characteristic sparkle of the textured wire, revealing the subtle shimmer that makes the design special.
Harvey Wedgbury