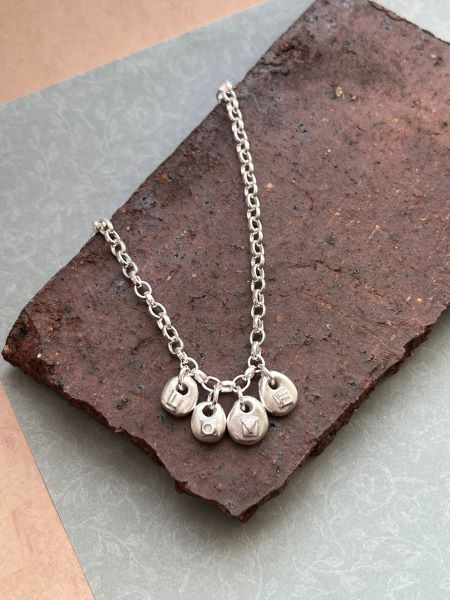
The ‘LOVE’ silver clay charm necklace is a simple yet meaningful project. Silver clay can be rolled, shaped, and stamped like ordinary clay, but once fired it transforms into solid silver. By making letter charms, you’ll pick up the basics of silver clay while designing a personalised necklace that’s right on trend.
Watch a step by step video guide on how to make this project below:
Step 1
Take a small amount of silver clay, kneading it if necessary. Split the clay into five even pieces.
Note: You may wish to apply a little olive oil or metal clay balm on the mould to help release the silver clay from the mould such as; 700 576

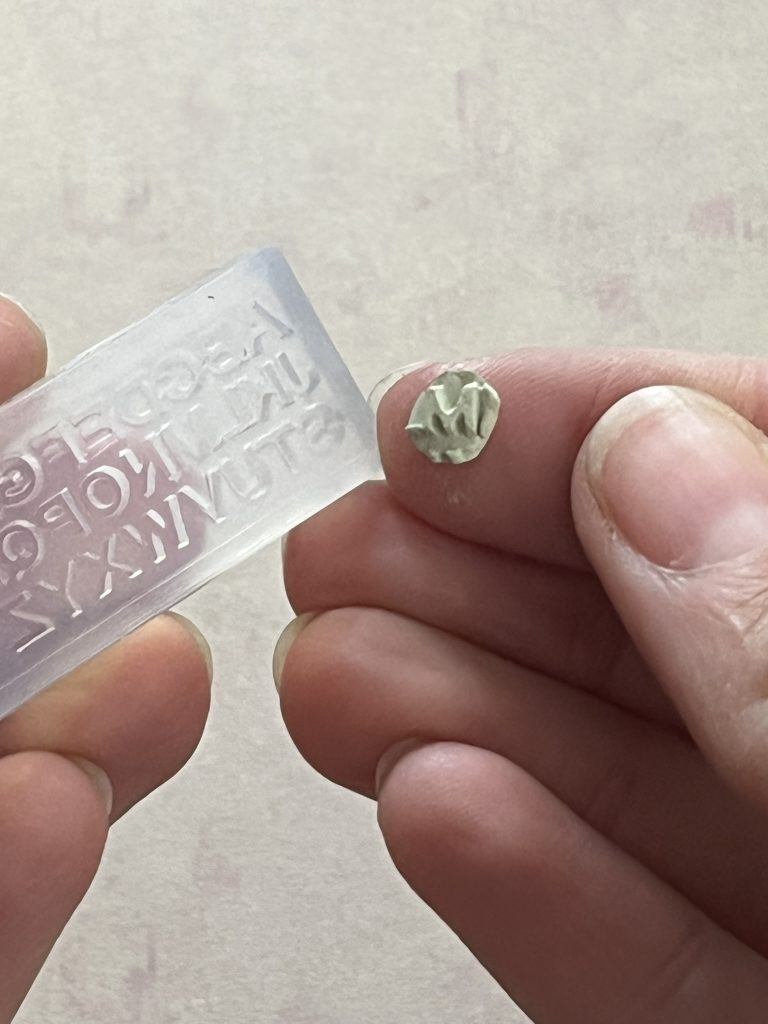
Step 2
Take one piece of clay split this into four smaller pieces, push the first piece into the letter of the mould and carefully remove it.
Place the clay with the letter shape onto a non stick surface and using a knife of scalpel, remove the excess clay around the edges. Repeat until you have all your letters.
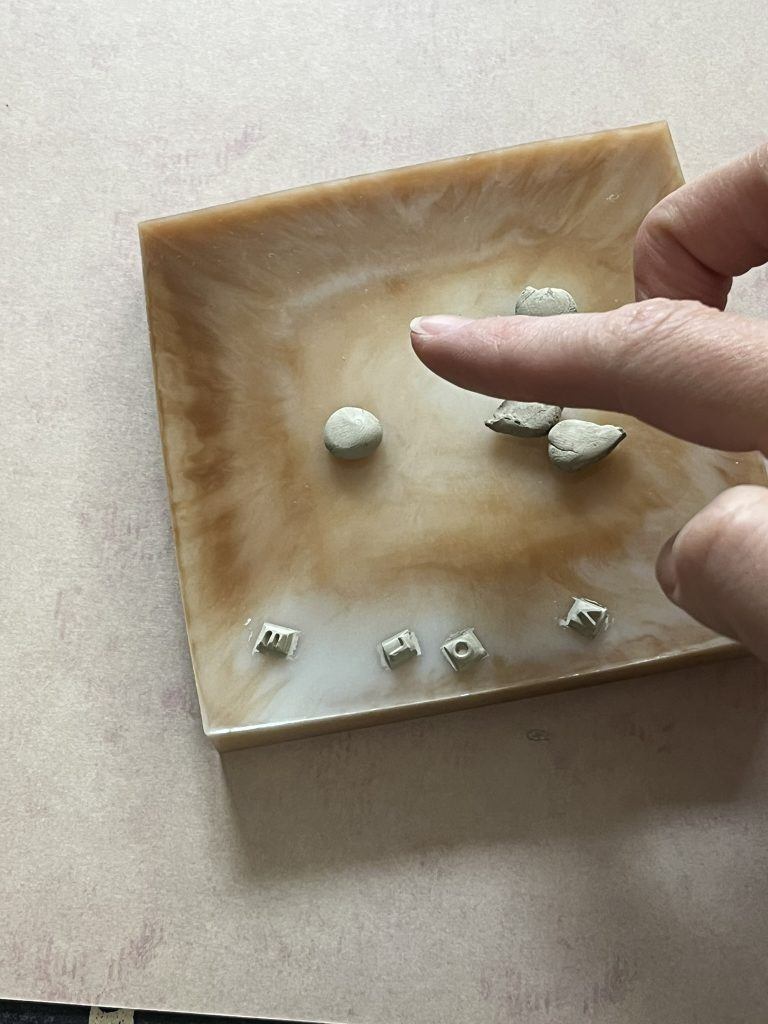
Step 3
Roll four of the pieces of clay into balls ensuring they are smooth and even. Gently press the balls flatter and place on a non stick surface.
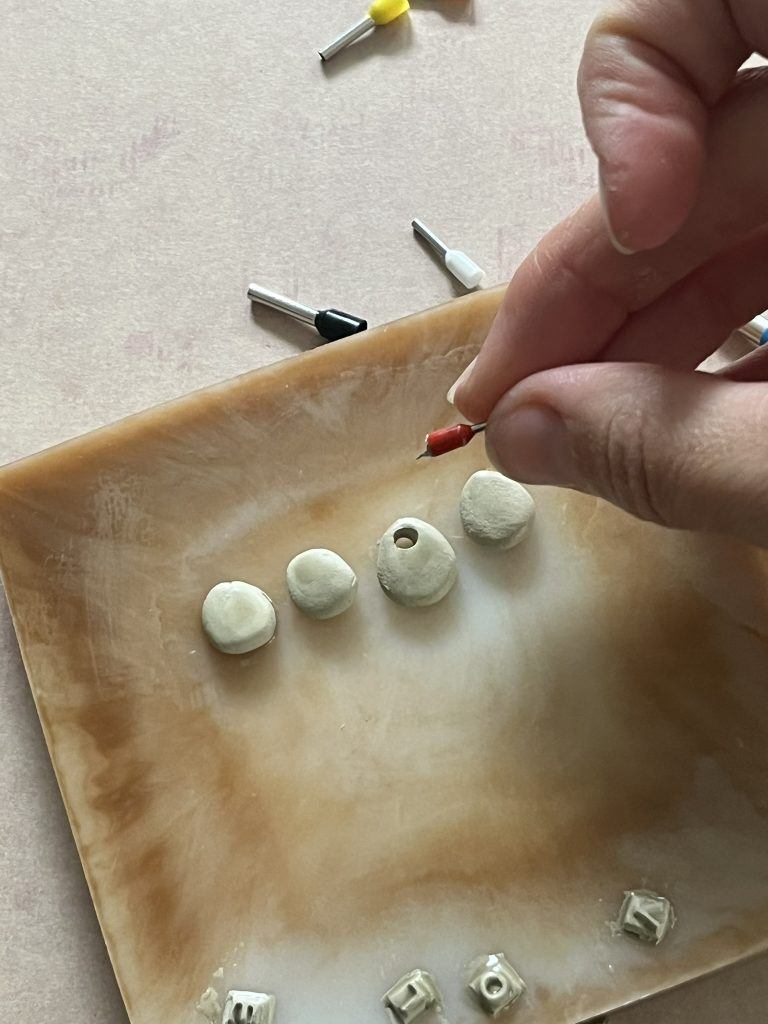
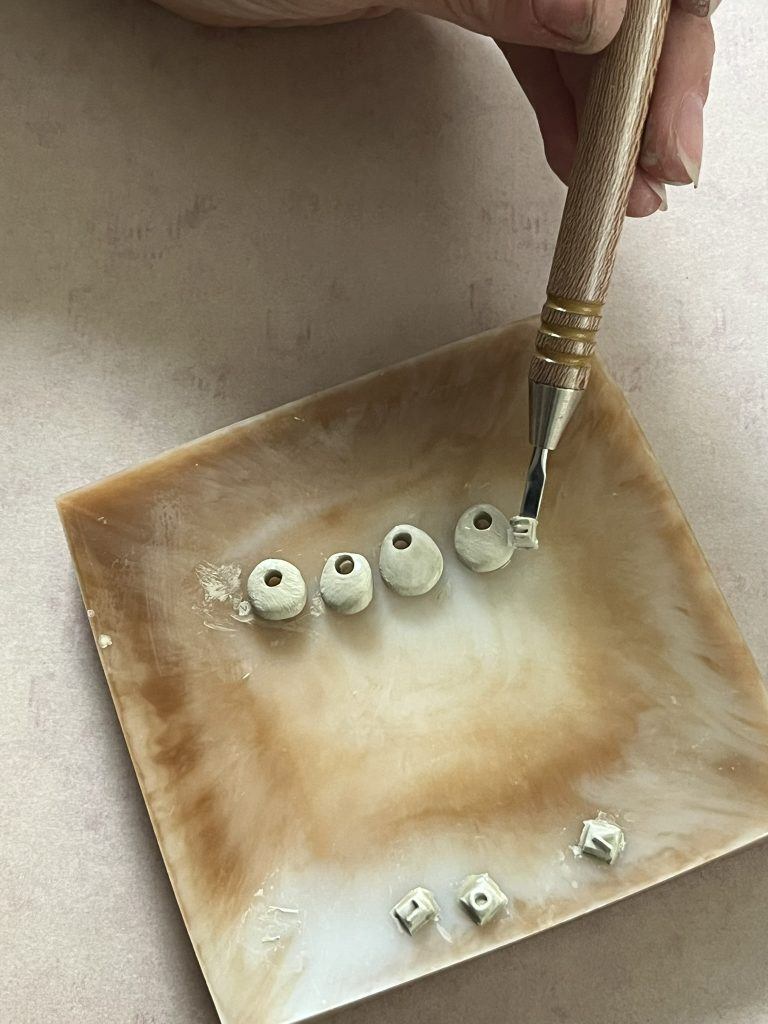
Step 4
Add holes at the top of each clay charm using mini clay cutters (700 680) or a cocktail stick. Smooth over any rough edges using a brush or silicone brush.
Step 5
Carefully pick up a letter using a brush, scalpel or silicone brush and place on top of one the larger balls of clay. Gently work around the edges to ensure the twp pieces of clay join and are smooth. Repeat for all the letters and balls of clay.
Note: Bare in mind that the holes on your charms need to be close enough to the top that after firing and shrinkage the 5mm jump rings will be able to thread through to attach the charms to your chain necklace.
Step 6
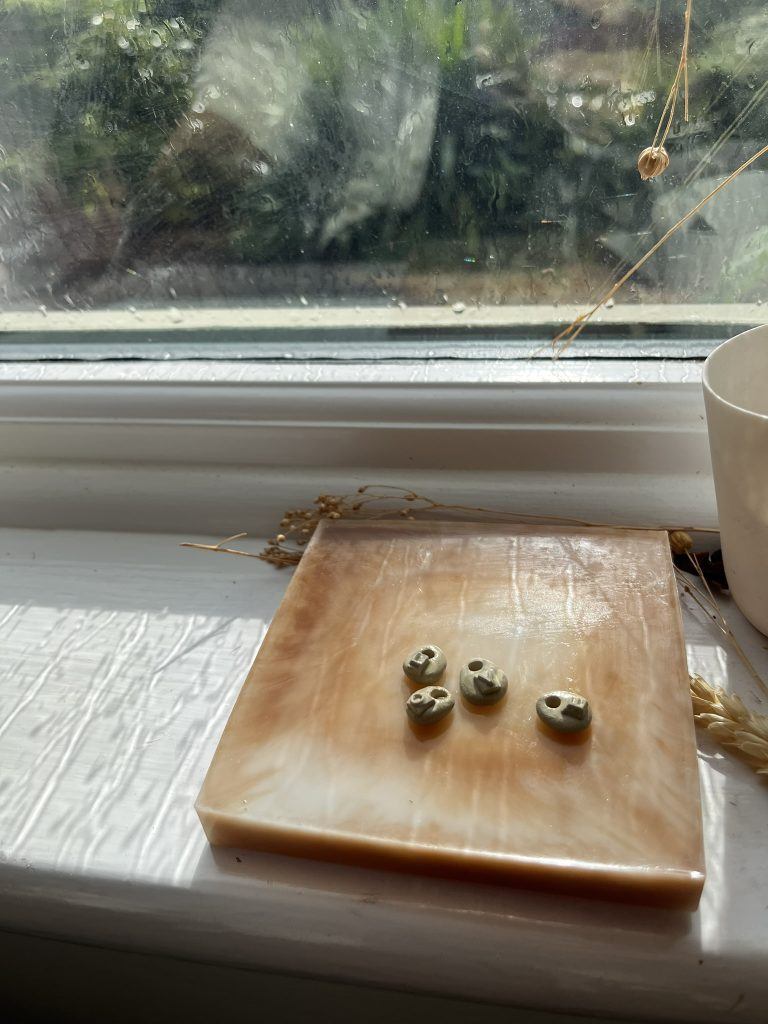
Leave the silver clay in a warm space to dry overnight.
Step 7
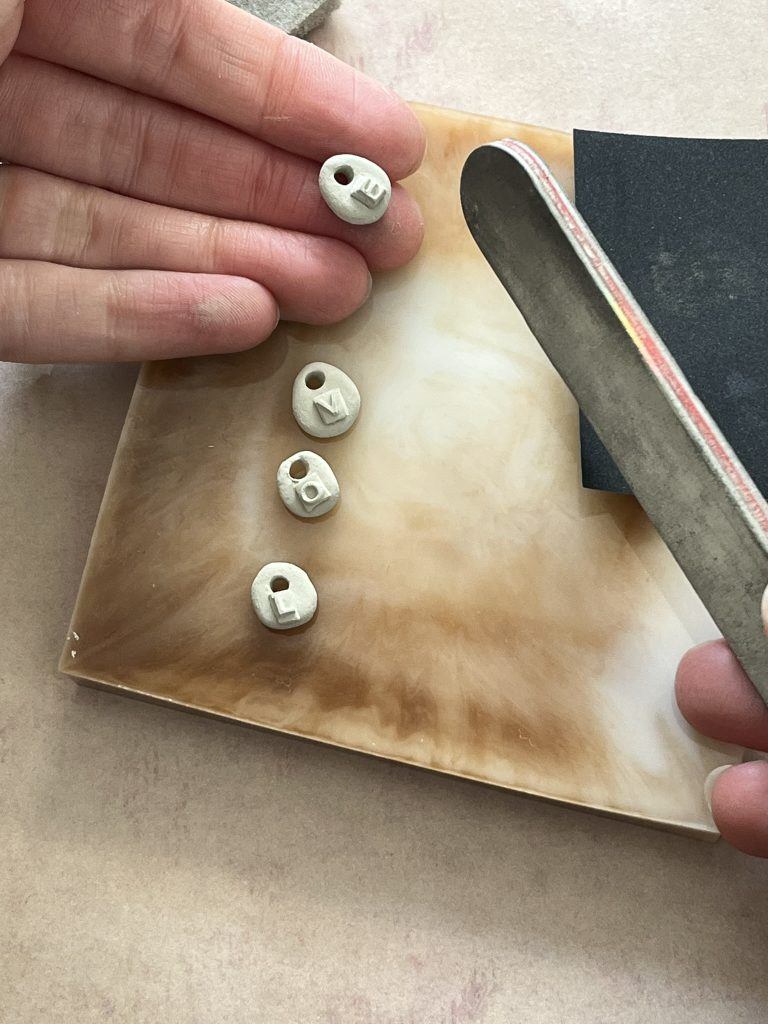
When fully dry, refine the shape of the silver clay with needle files if needed and smooth the surface further using abrasive pads and emery paper.
Step 8
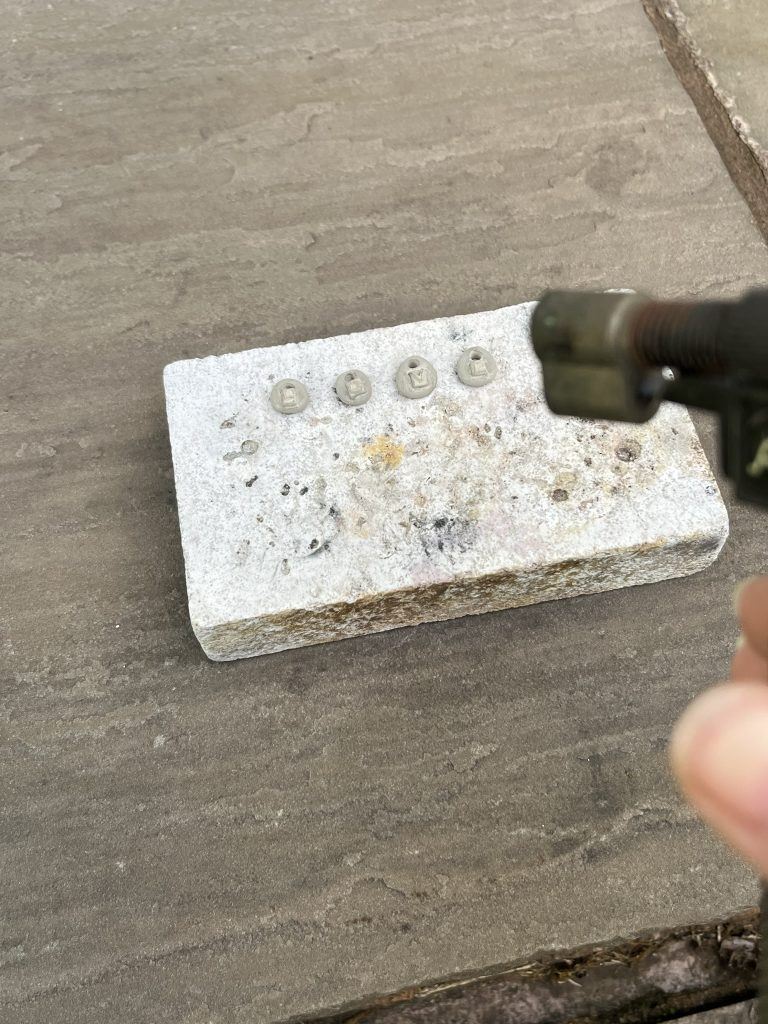
Place the silver clay charms on a soldering block and heat using a handheld blow torch. Burn off the binder and then torch fire following the instructions included with the silver clay. Leave the silver clay to completely cool before handling.
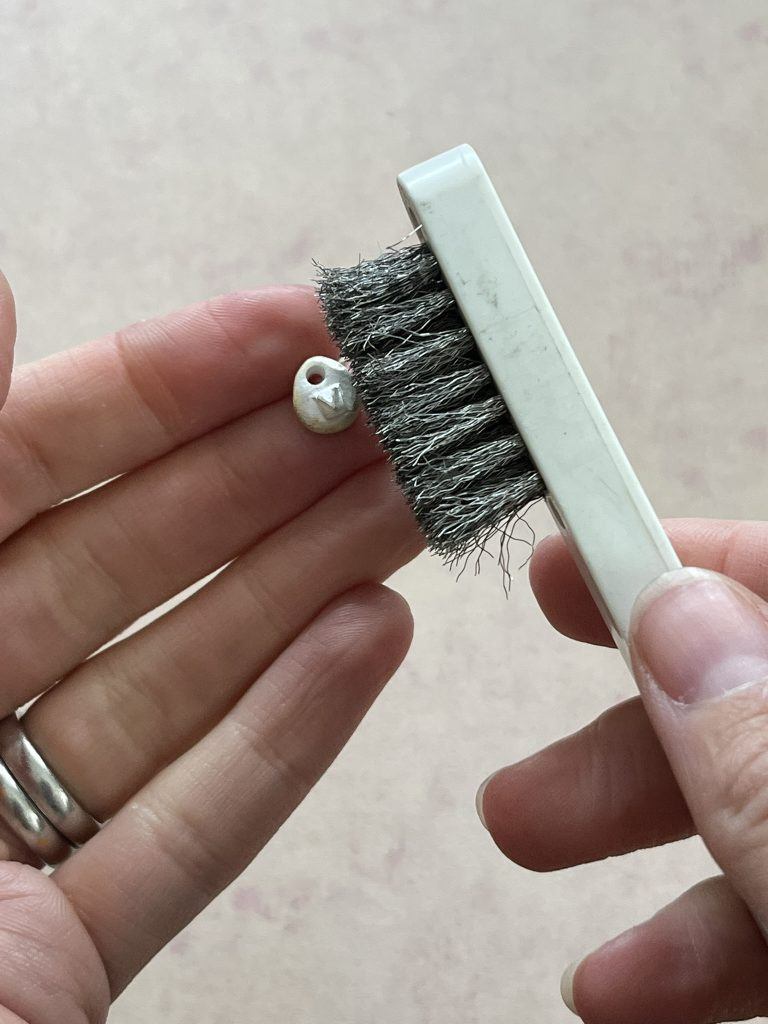
Step 9
When cool, use a metal brush to bring out the detail and a polishing cloth to bring out the shine of the silver.
Step 10
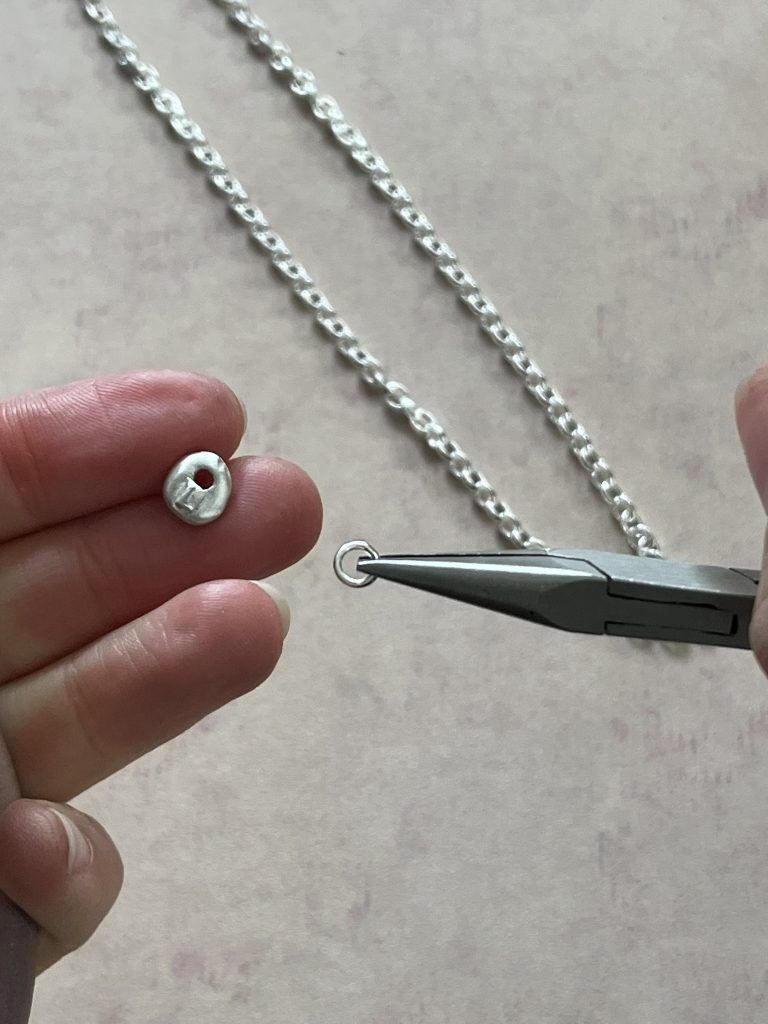
Attach the charms using the 5mm jump rings.
Use two pairs of pliers (flat, chain or snipe nose), grip either side of the jump ring with the pliers and twist outwards to open. Thread on charm and the chain and then close the 5mm jump ring. To close the jump ring, use the same technique but twist inward so the ends are flush with no gaps.
When adding on the charms make sure they are facing the right way and hang correctly when worn.
Note: For extra security you can solder the jump rings shut. Hold the 5mm jump ring in a pair of reverse action tweezers in a 3rd hand or rested on a soldering block.
Add a small amount of solder paste to the join on the jump ring and heat the jump ring using a handheld blow torch until the solder melts and flows. Quench the silver chain in water and dry.
Repeat the process and add to a warm pickle for 10 minutes until clean. Rinse and dry.
For soldering you will also need:

Sian Brown
Sian has been hand making her award winning jewellery in the West Midlands for over 12 years. Sian spent 10 years in Birmingham’s historic Jewellery Quarter before relocating to a quiet Worcestershire village.