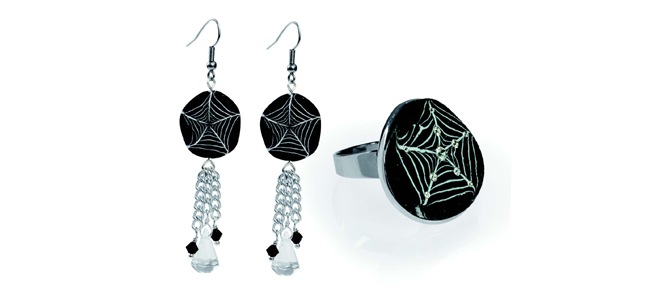
Have a spook‑tacular Halloween with this FIMO clay earrings and ring project by jewellery maker Jayne Rozario…
Step One: Conditioning the clay
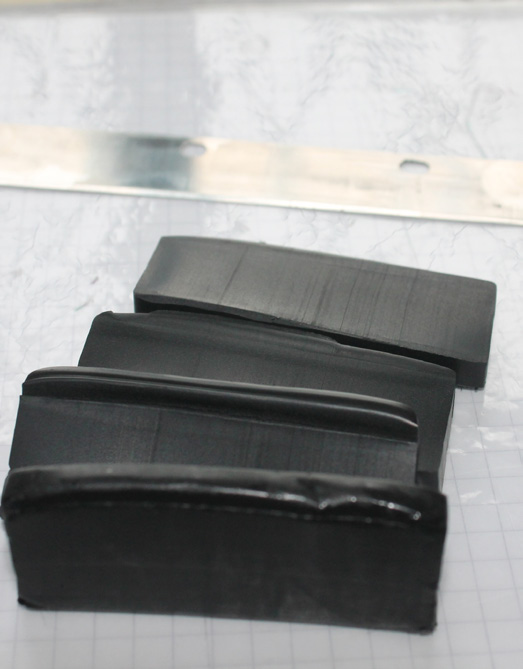
Condition the clay before using. If you use light and dark colours together always condition the lightest colour first to keep clean. Slice block from the opened packet, approx. 5mm each slice.
Step Two: Rolling the Clay
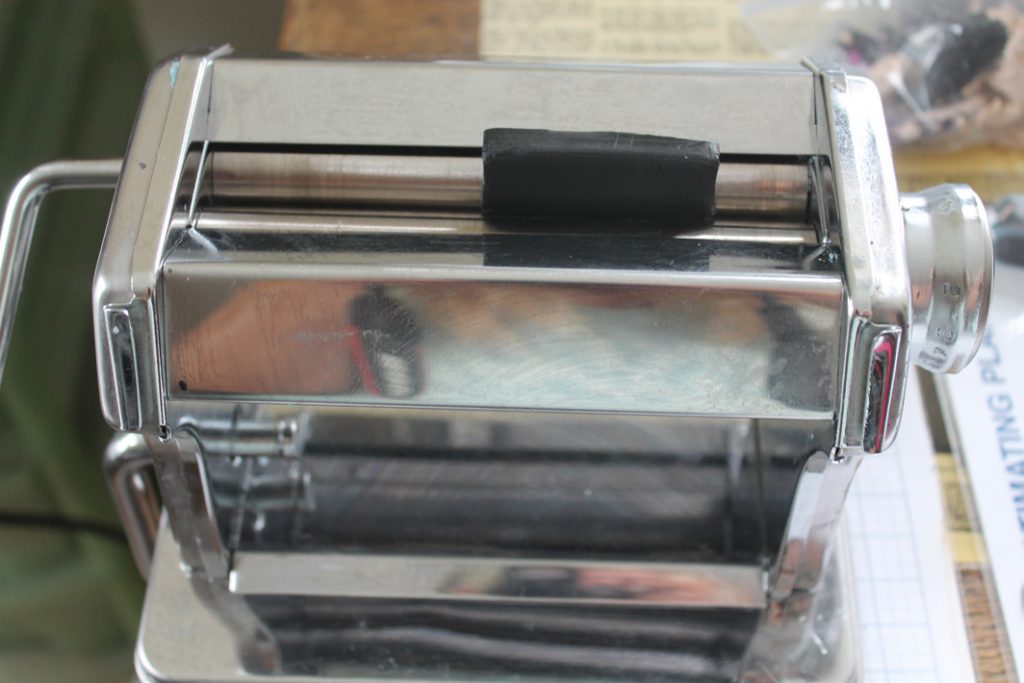
Roll the clay through the pasta machine on the thickest setting, using the white clay first. Do this about twenty times. For this project we used black and white and then added some Fimo white glitter effects to the black to make it more interesting.
Step Three: Flat out and cut out
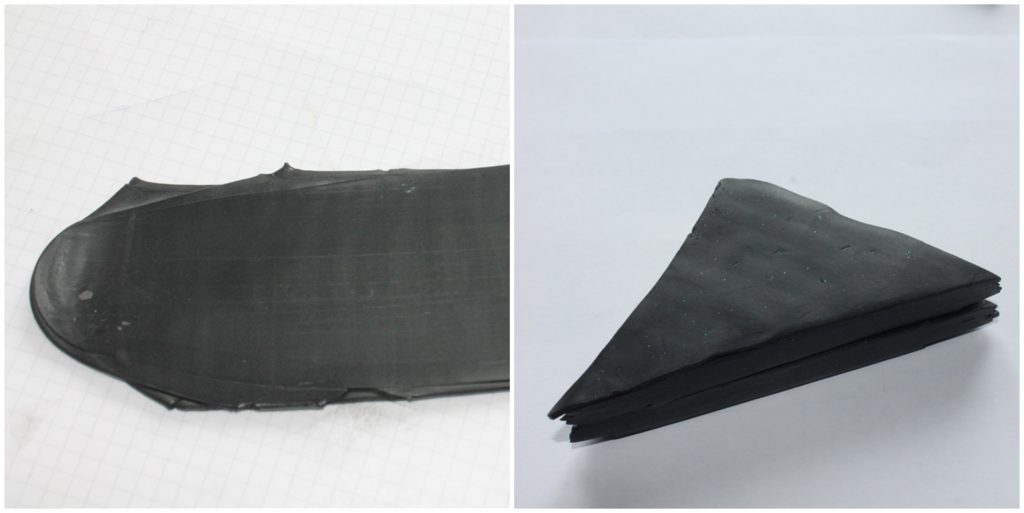
Your piece of conditioned clay will end up looking something like this. The dimensions at this stage don’t matter. Using your rigid blade, cut triangles out of your slab at a size that is easy for you to work with and then lay them on top of each other.
Step Four: Creating the Arcs
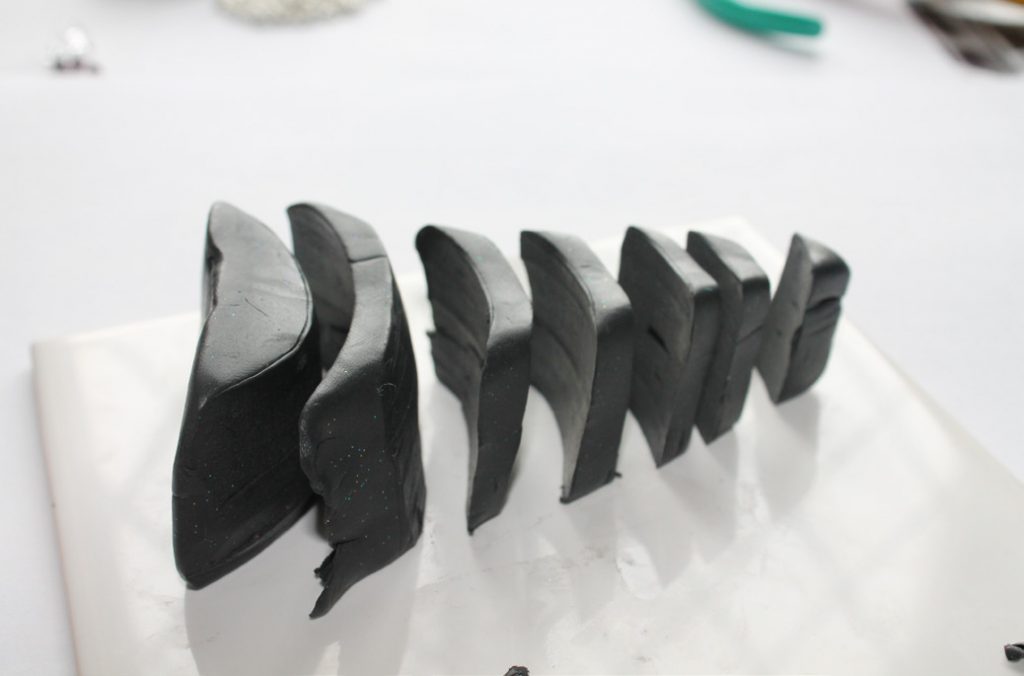
With a flexible blade, cut arcs through the black triangular block. These will form the spider’s’ web. There isn’t a set amount for how many arcs you make, so make as many as you wish.
Step Five: Adding the White Clay
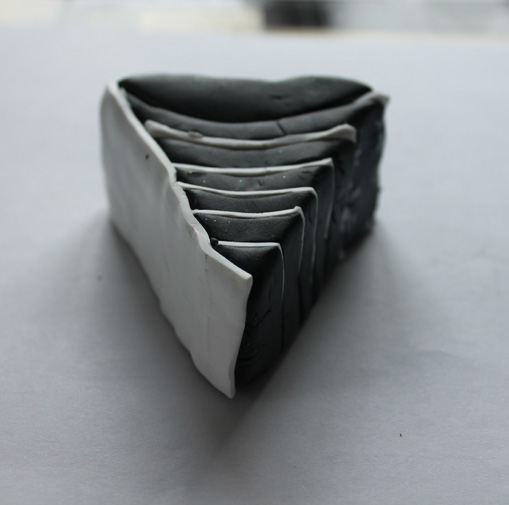
Take the white clay and roll it though the pasta machine at a medium thickness setting. Then inlay the white clay into
the newly made arcs. Then cut off the surplus with either scissors or a blade and line one edge of your triangle with the white clay.
Step Six: Creating the Cane
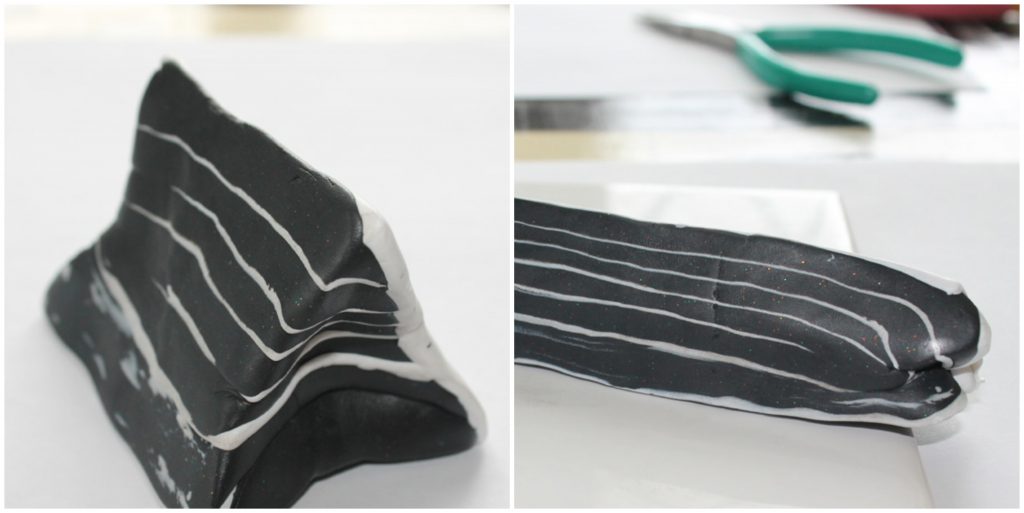
You are now going to make a cane by elongating your triangle. Your intention is to keep the cane in a “toblerone” shape so using your flat surface as support, continually turn the three sides onto the surface as you continue to gently elongate the cane by carefully and evenly pulling and “wiggling,” keeping your white lines straight as a guide. Do this until it looks something like this.
Step Seven: Putting Things into Place
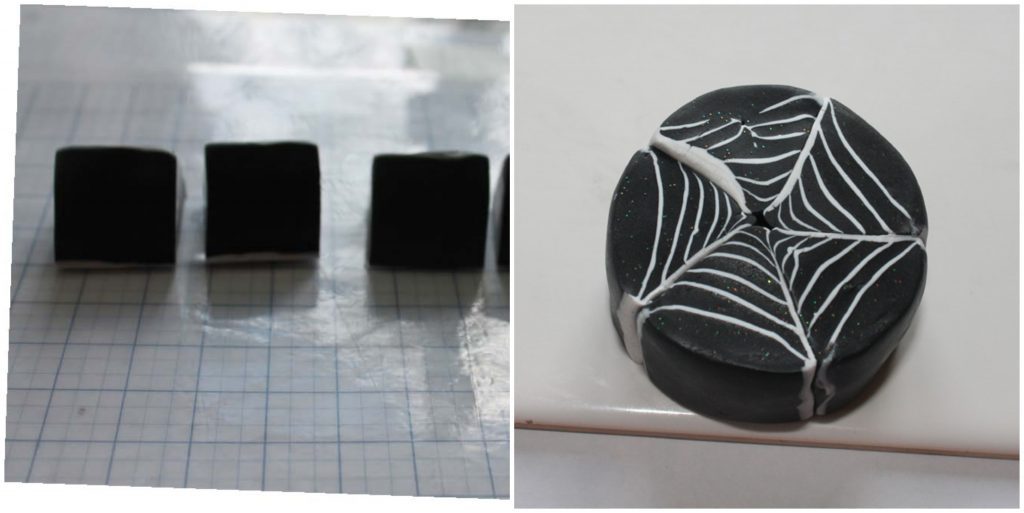
Then cut 5-7 even pieces no shorter than 3cm each. Any smaller is difficult to handle. Manipulate the little triangles into place to make the web. You will have to push them into shape, keeping an eye on those white lines and making sure there are no holes for air to get trapped.
Step Eight: Rolling, rolling
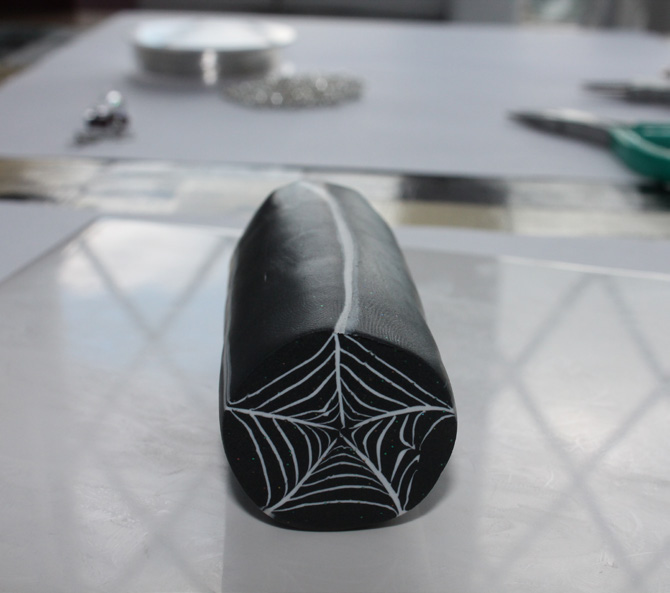
Reduce the cane as before but keeping it as a roll. Gently pull and “wiggle” evenly in the length. Keeping the white stripes as straight as possible. Until the roll is a size you like to make your beads.
Step Nine: Making the Ring
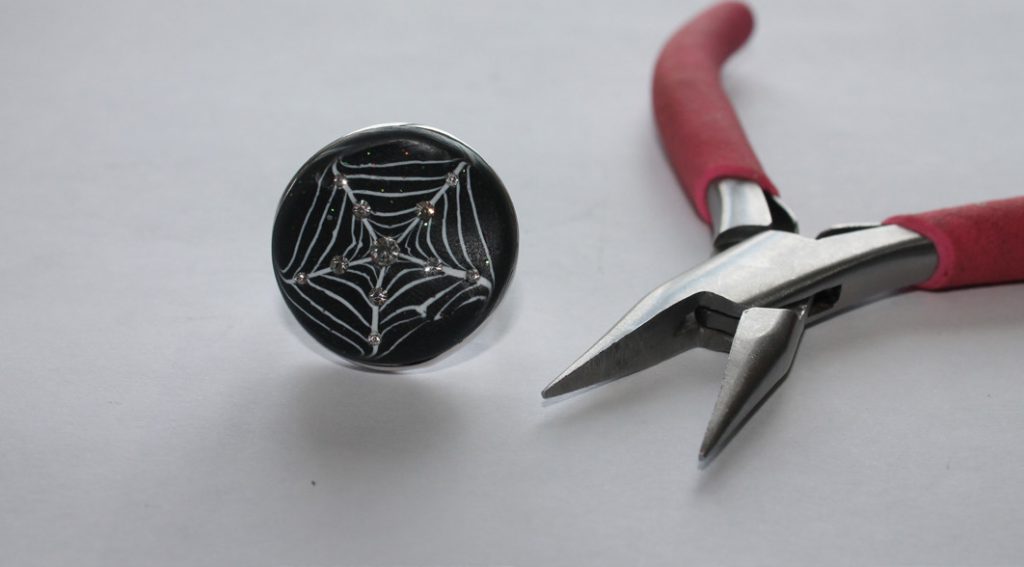
To make the ring cut a slice off the cane with the straight blade at approximately the same size as the ring profile. Then, place into ring and gently tease into place. Using pliers place flat back crystals wherever is pleasing to you, gently press them down. Bake in oven on a plate or tile as instructions on the packet. When baked, pop it out and glue back in. If any crystals are loose glue those in too.
Step Ten: Creating the Earrings
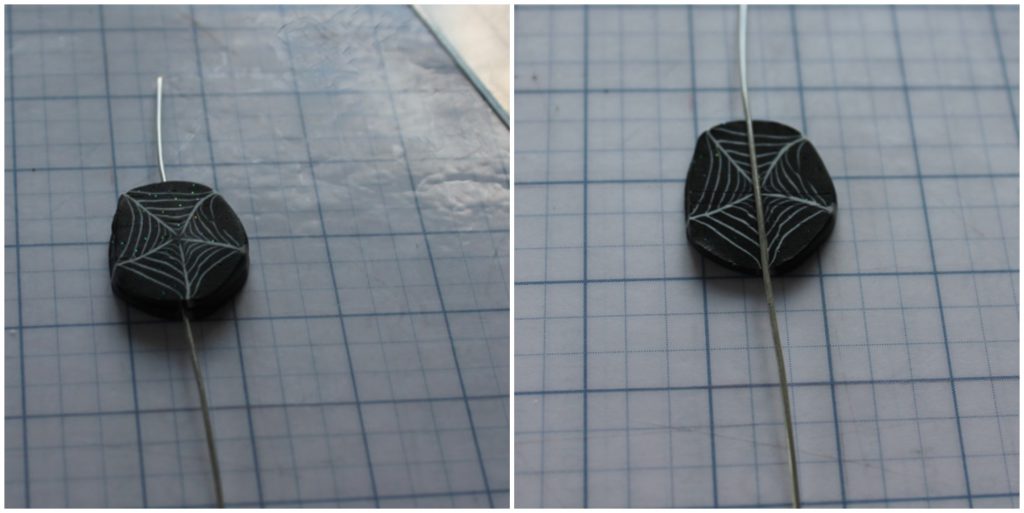
For the earrings cut off four slices approximately 2-3mm thick. Lay 75mm of wire down the centre of two and gently press into the clay. Place the other slice on top. With your fingers VERY gently press the two together and smooth the join around the outer edge. Place in the oven on a tile or plate for the recommended time and temperature on packet.
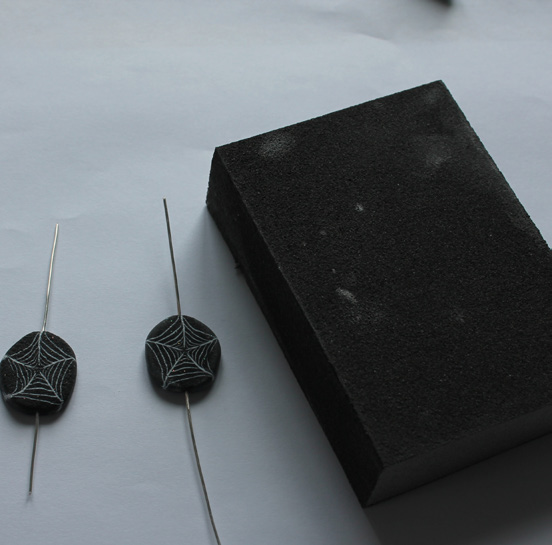
TIP: For a smoother more professional finish it is a good idea to sand the pieces; you can use a medium or fine sanding block. By wetting your piece and sanding block before sanding you’re less likely to produce dust.
Step Eleven: Making the Loop
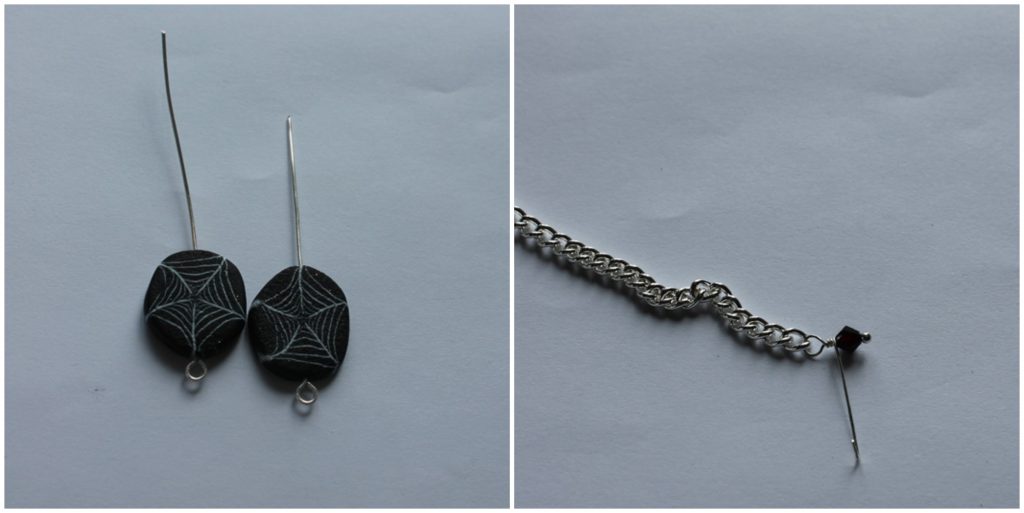
With round nose pliers make a loop at the bottom of your spiders’ web. Check they are the same way up and attach a crystal to the end of your chain, by making a wire wrapped loop or normal loop.
Step Twelve: To Finish
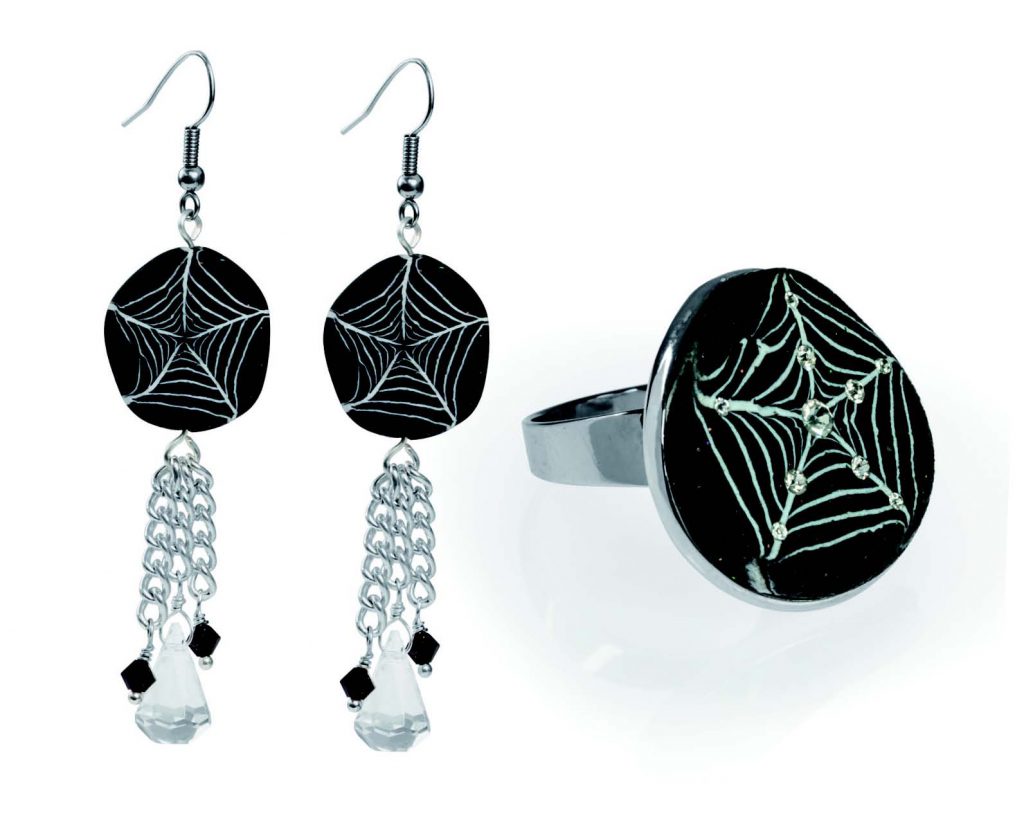
Cut the chain to your desired length (in our example we’ve chosen three lengths of chain, but you can have more or less!) and add as many crystals as desired. Make a loop at the top and attach your ear wire and then they’re complete. Happy Halloween!
See this project in the downloadable PDF version
We want to see what you have been making! Share your creations with us on social media, tagging in Cooksongold on Facebook, Twitter and Instagram.
Jayne Rozario