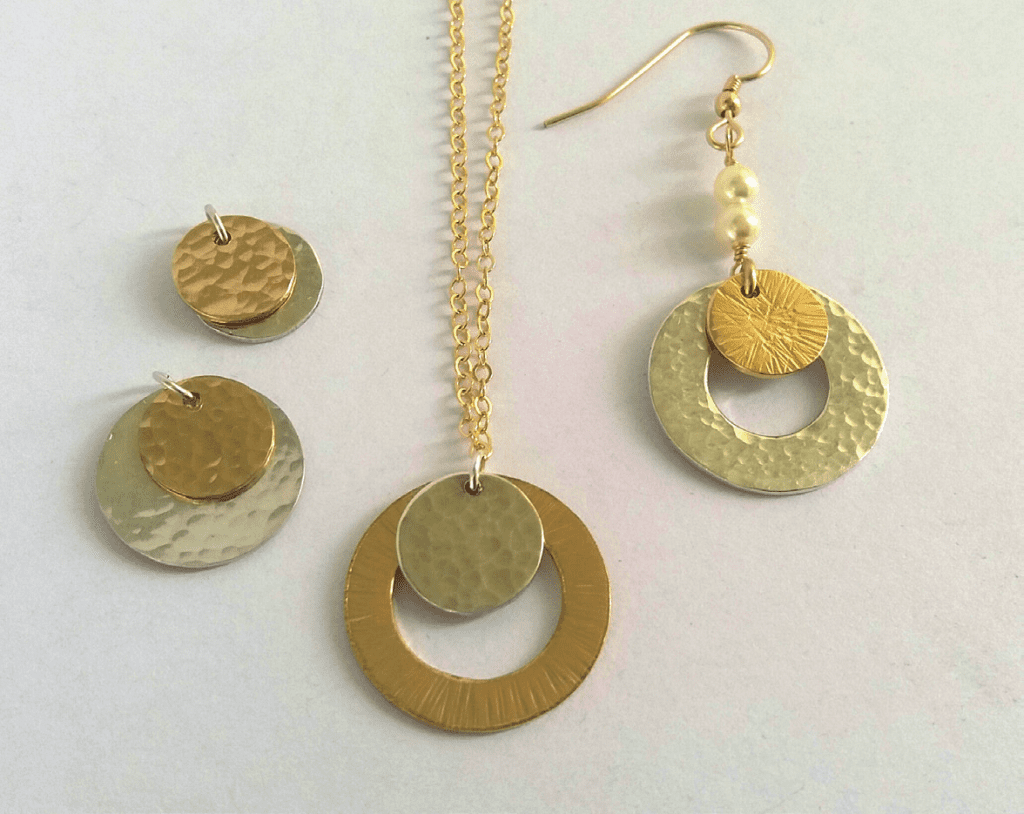
Use our GOLD FILLED* supplies to add rich warmth to your jewellery projects, perfect for adding a bit of sparkle to your next creation
Drop Earrings
Made with 10mm discs and 4mm pearls.
Although you can leave the discs as they are, adding texture with a hammer or using ImpressArt stamps gives a little more sparkle
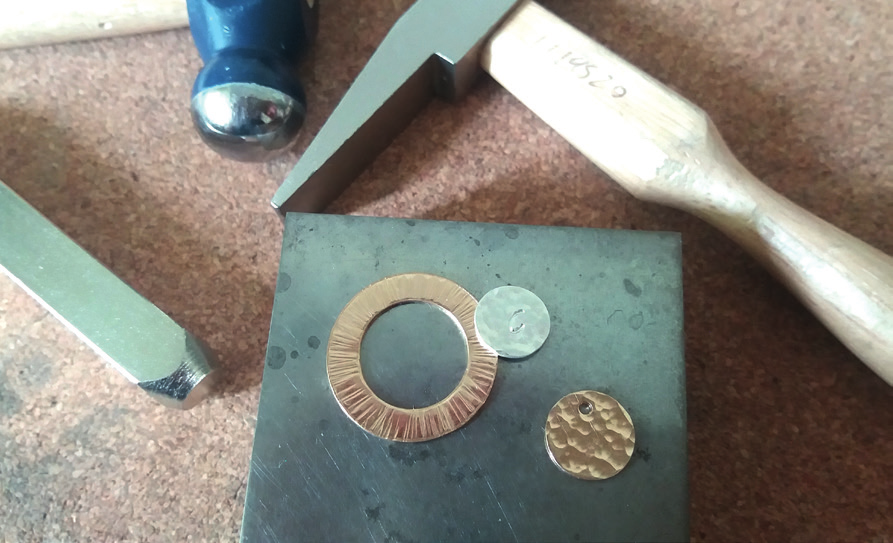
Step One: Hammer Effect
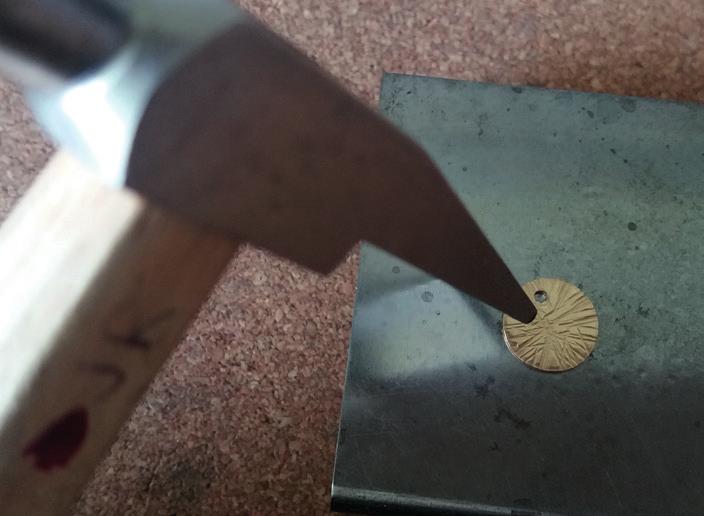
Here the thin end of a riveting hammer adds a lined off etc. Work on a steel block and slowly turn the disc to make an even pattern. (It may be worth practising on a spare piece of metal before working on the disc to get your technique right.)
Step Two: Make a Hoop
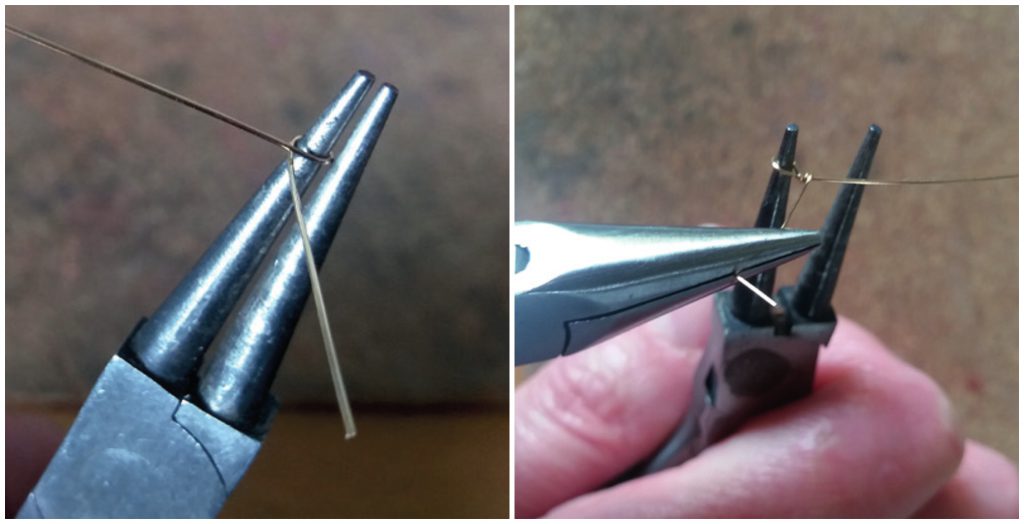
Use round nose pliers to make a hoop in a 7cm piece of gold wire, twist the end of the wire neatly with snipe nose pliers and snip off excess.
Step Three: Thread
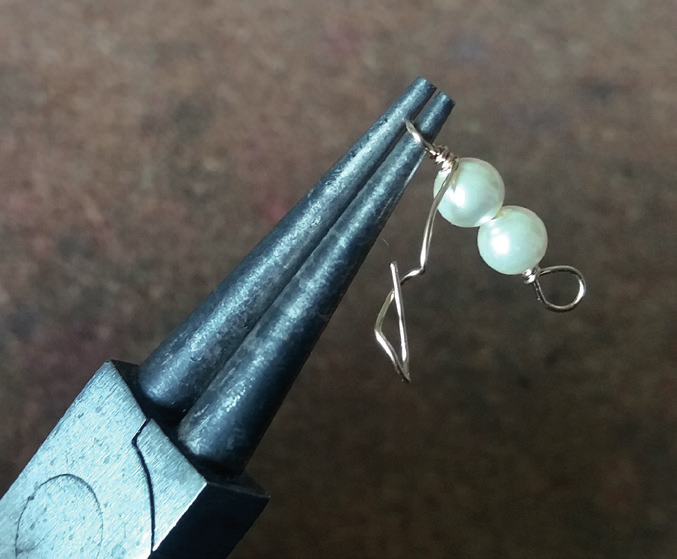
Thread two 4mm pearls onto the wire then form a hoop on the other end in the same way (snip off the excess wire).
Step Four: Add pearls
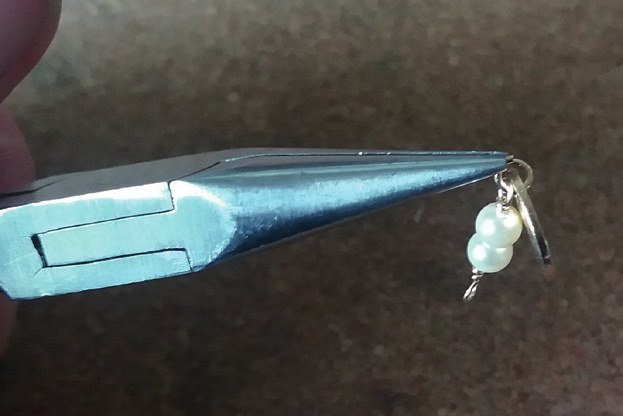
Use a rolled gold jump ring to add the wired pearls to the disc
Step Five: Attach
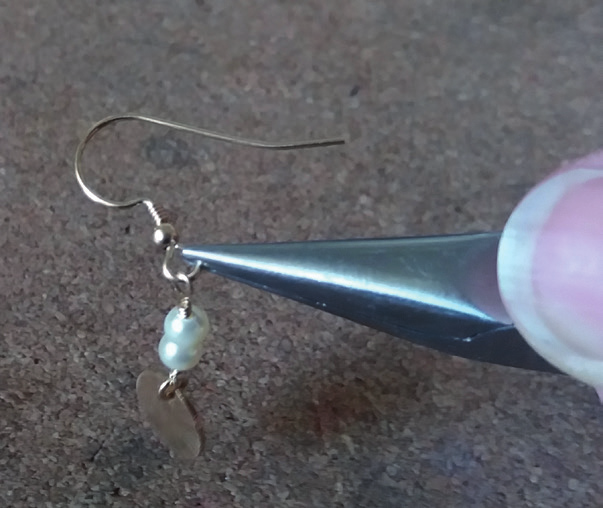
Then attach the other end to the ear hoop.
Dangle Earrings
Step One: Texture

Texture the disc, here with the round end of a jobbing hammer.
Step Two: Thread
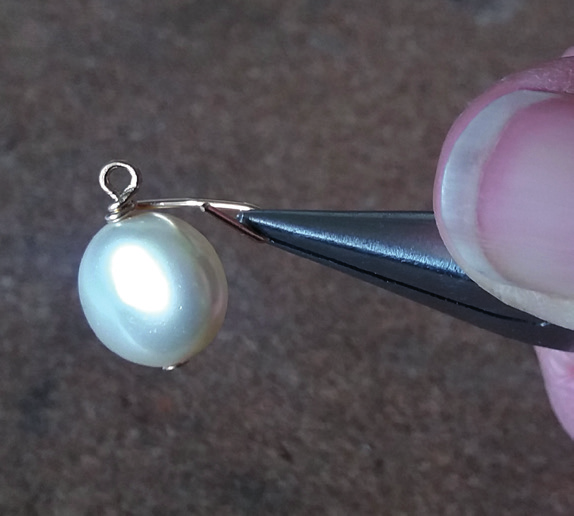
Thread a coin pearl onto a head pin and form a loop as before.
Step Three: Attach the pearl
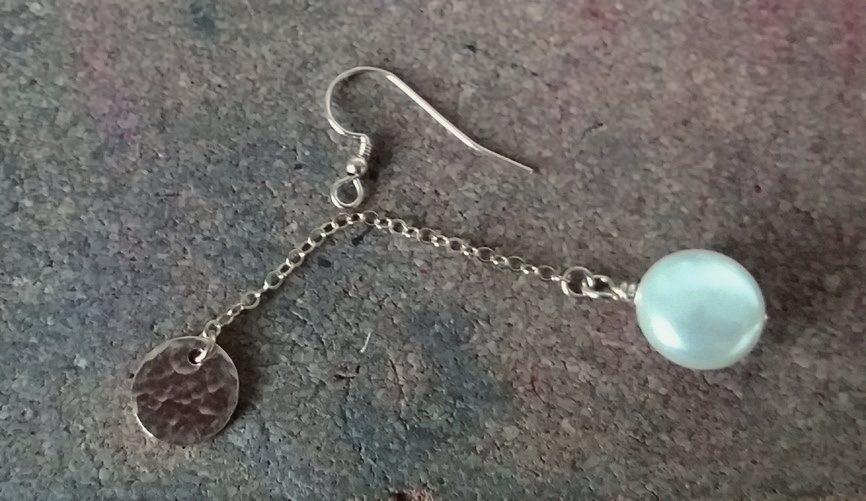
Using jump rings, attach the pearl and the disc to either end of a 4cm length of chain. Then attach an ear hook near to the centre of the chain, so that the pearl and disc are off set.
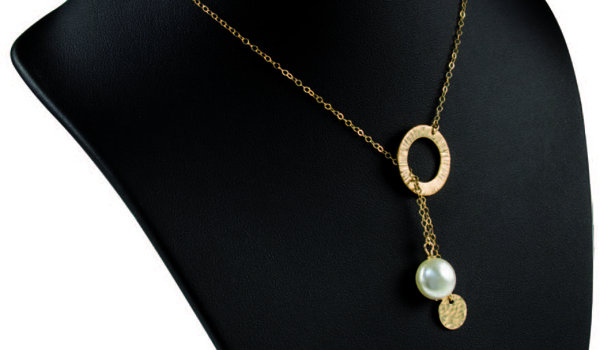
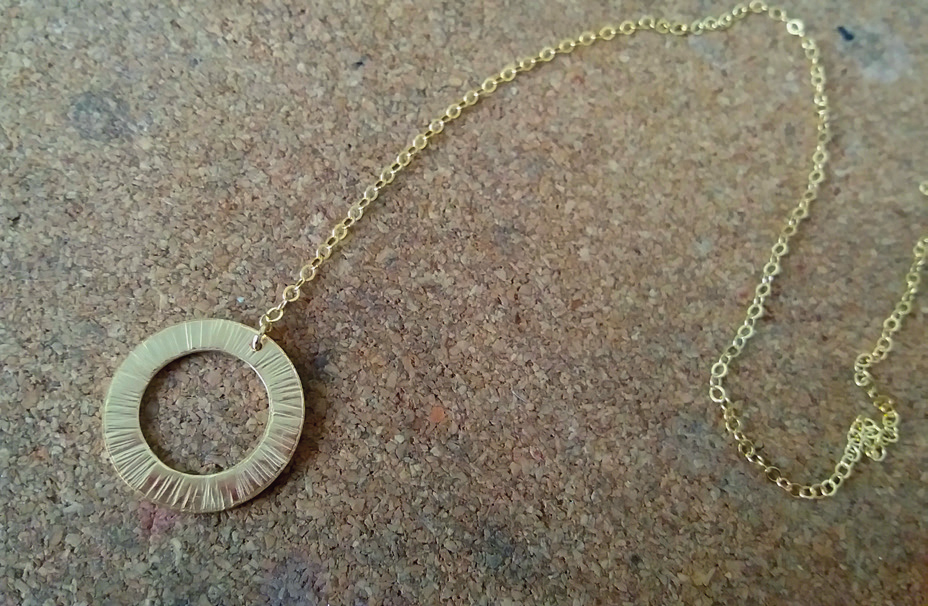
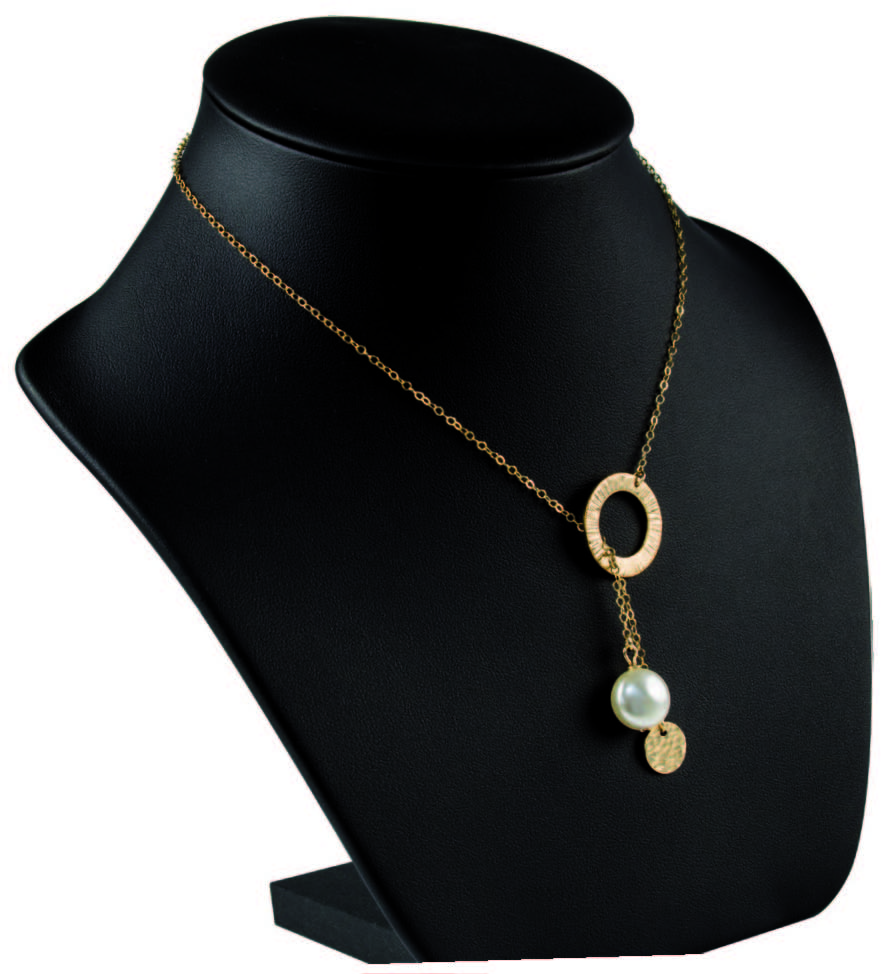
Lariat Style Necklace
In this design there is no need for a clasp, the chain is long enough to slip over the wearer’s head.
Step One: Texture
Choose textures for the washer and disc. (The disc could also be stamped with a letter to personalise the necklace)
Step Two: Drill
Drill a 0.8mm hole into the washer and fix to one end of a 22” chain using a jump ring.
Step Three: Thread
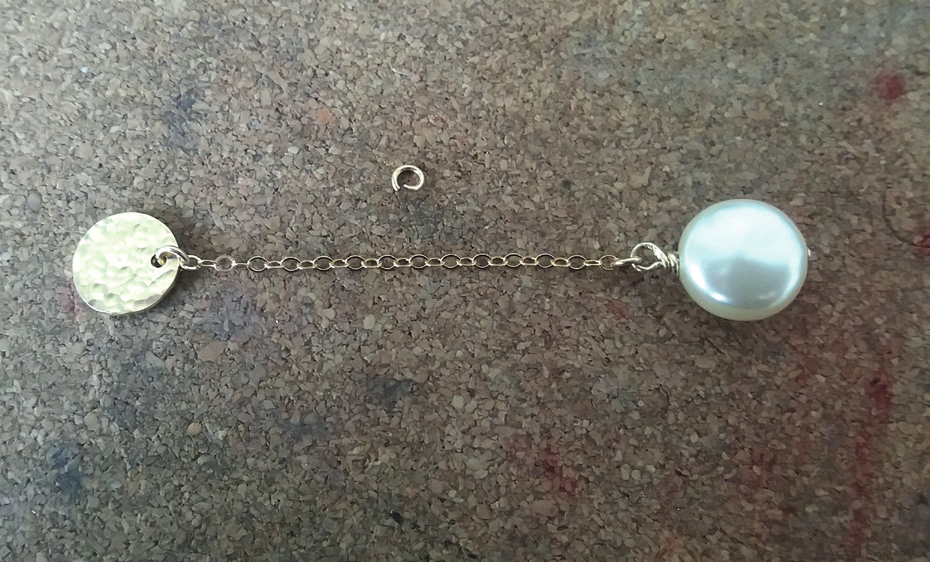
Thread a coin pearl onto a head pin as before and attach to 4cm length of chain with a disc on other end (in same way as for dangle earrings).
Step Four: Texture
Thread the eng chain through the washer, then add the shorter chain to this end using a jump ring. The pearl and disc should prevent the end of the necklace from coming back through the hole in the washer, but will hang neatly when worn.
These are just some ideas to get your creativity flowing – you can also mix gold filled and silver blanks to create lovely contrasts!
*Gold filled jewellery is also known as rolled gold or gold bonded, and is created by mechanically bonding a layer of gold to a layer of base metal – usually brass. This outer gold layer is much thicker and more durable than gold plating. Unlike gold plated metal, gold filled chain can be soldered using 9ct gold easy solder.
We want to see what you have been making! Share your creations with us on social media, tagging in Cooksongold on Facebook, Twitter and Instagram.
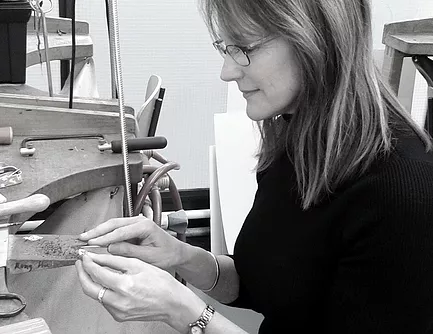
Janet Royle
Working in silver, gold and beautiful gemstones (sometimes combined with original antique pieces), Janet blends traditional skills and modern technologies to create her unique collections.