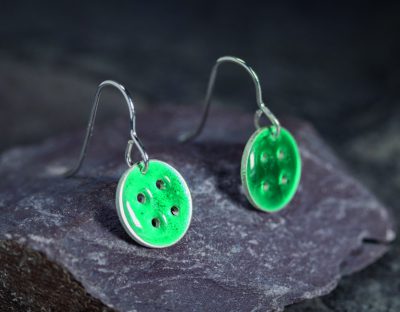


Want to experiment with your enamelling technique? Choose from a variety of colours and create a pair of stylish button earrings for everyday wear!
Step 1
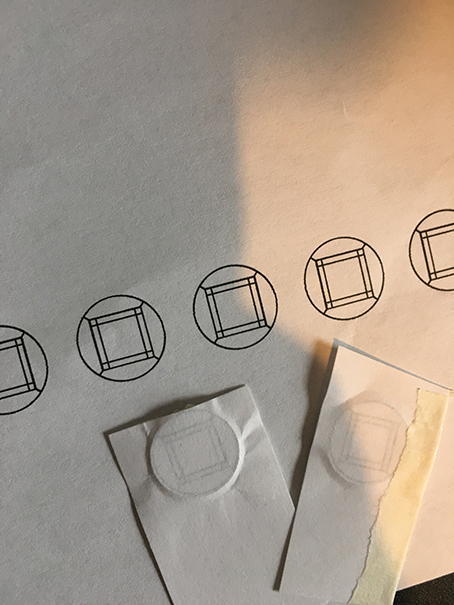
CREATE YOUR TEMPLATE
Make a template to help guide where you need to drill and attach it with masking tape. Alternatively,
measure and mark directly onto the Silver.
Step 2
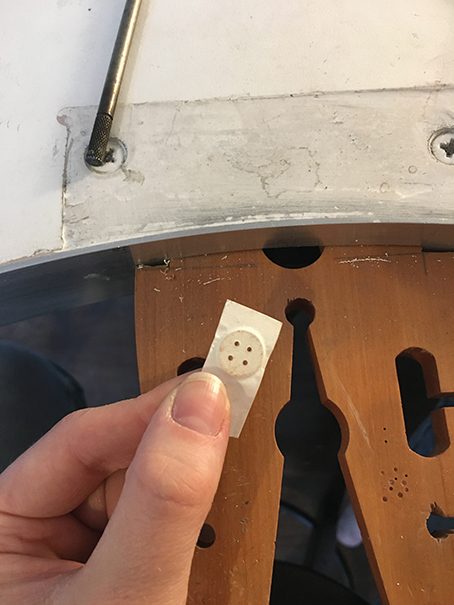
DOT AND DRILL YOUR JUMP RING HOLES
Before drilling, mark onto the masking tape four neat dots to drill into. Use the template to help
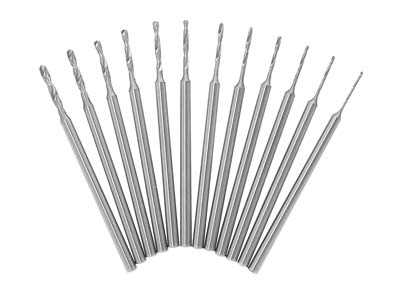
measure where to mark. When drilling, start with a 1mm drill and then increase to your preferred
size from there. I chose to drill 1.5mm button holes and to drill 0.8mm for the jump ring holes.
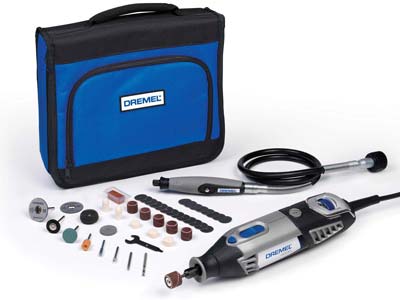
If you don’t have an electric drill, you can use a bow drill (999 331) – a type of non-electric drill.
Step 3
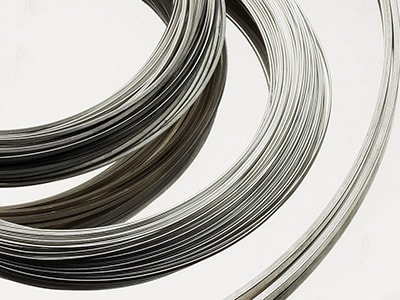
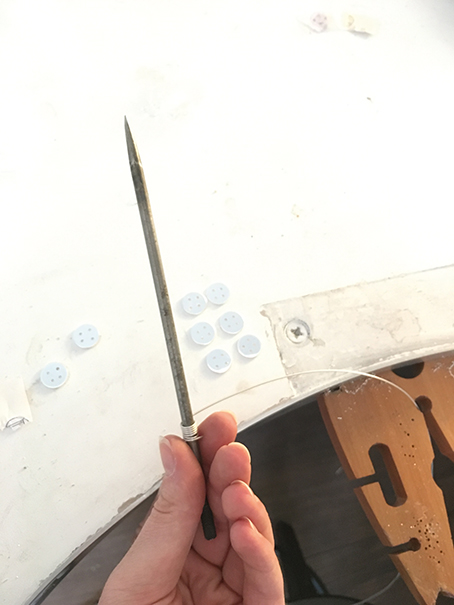
MAKE YOUR JUMP RINGS
Next, make the jump rings. I used 0.8mm round Silver wire and a steel scribe with my desired diameter to tightly wrap the wire into regular coils. You can use pre-made jump rings for this step but as we aren’t soldering the jump rings, it’s best they are work hardened by this making process. Additionally, by making your own jump rings, you are able to choose the wire size and jump ring diameter.
Step 4
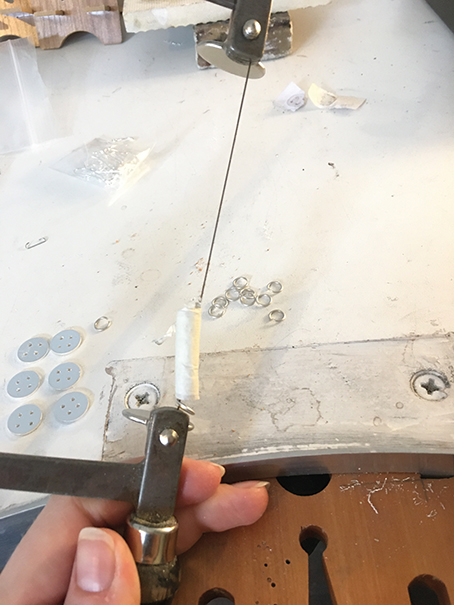
MASK, THREAD AND SAW YOUR JUMP RINGS
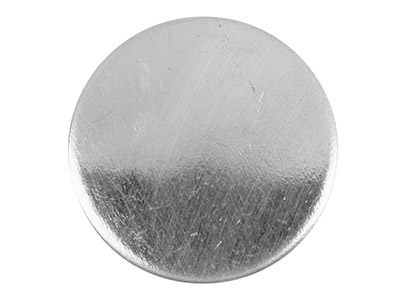
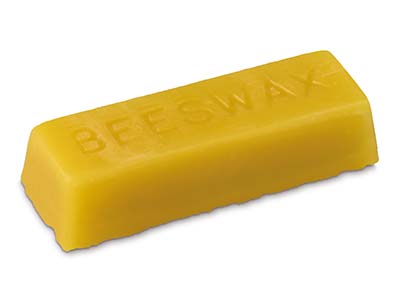
When happy with the amount of jump rings in a coil, wrap the jump ring coil in masking tape and thread your saw blade through the jump rings. You will then be able to slowly saw through the inside of the jump rings. The masking tape will help keep the coils neat. Take your time and use beeswax or cutting lubricant to help prevent the wire from snagging on the blade. Once you are happy with the jump rings, set them aside for later. In preparation for the next step, clean the Fine Silver blanks well with pumice powder.
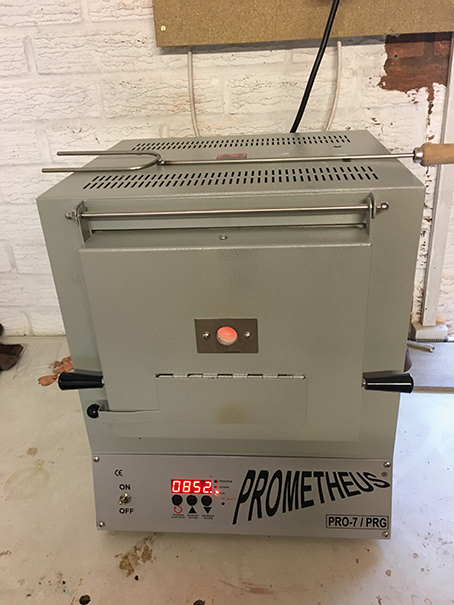
Step 5
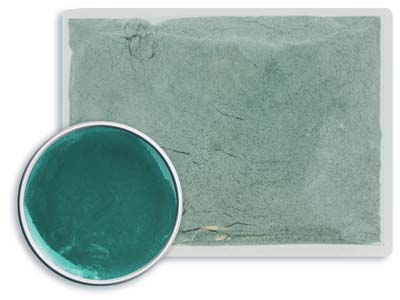
ENAMELLING YOUR SILVER BLANKS
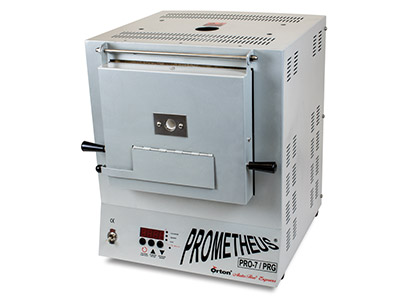
For the enameling, I have chosen to use a Prometheus Pro-7 kiln, programmed to 850˚C for 1 hour. Alternatively, you can torch fire the enamel pieces, using a jeweller’s torch, tripod and stainless steel mesh. Assemble the tripod with the mesh and place the Fine Silver blanks (already loaded with powdered enamel) onto the mesh, then heat gently from below, taking care not to blow away the powder.
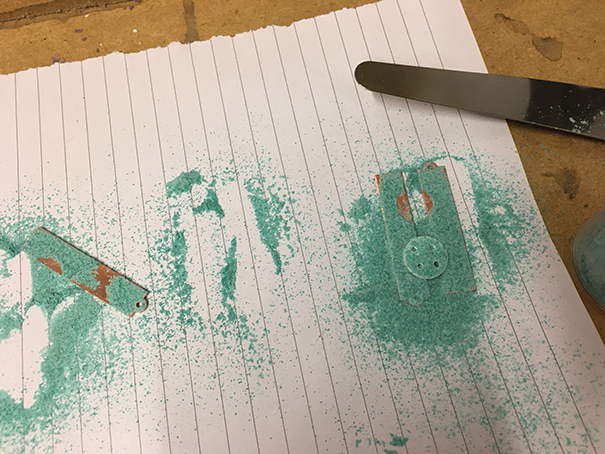
Step 6
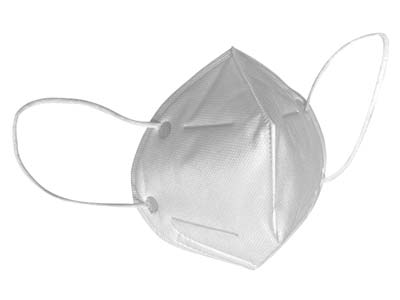
POWDER ENAMEL YOUR SILVER BLANKS
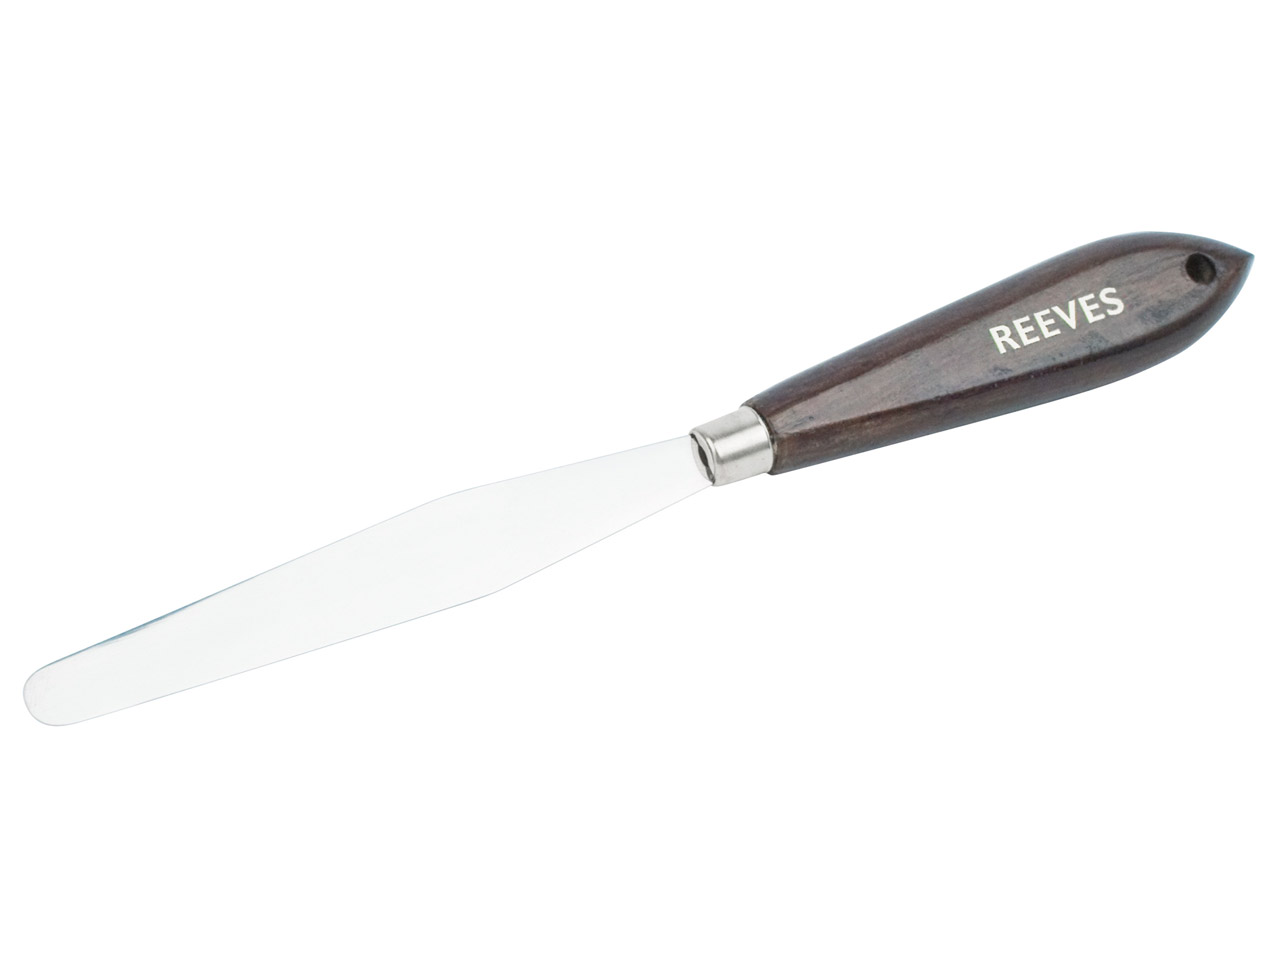
Whilst doing this next step, wear a dust mask and work in a well-ventilated area. To powder enamel your Silver blanks, lay a piece of clean paper down, then set up two metal scraps to act as a sort of stand for the Silver component. Then using a sieve, gently sprinkle the powdered enamel over the Fine Silver blank. Take care not to clog any of the drilled holes with enamel powder and to evenly coat the metal face. Use the spatula to gently move the silver component from the paper to a wire rack. Once you are comfortable with your kiln and the time needed for these to enamel, you can enamel multiple pieces at a time.
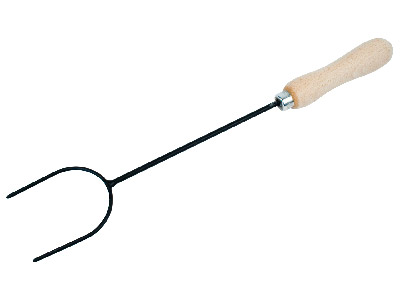
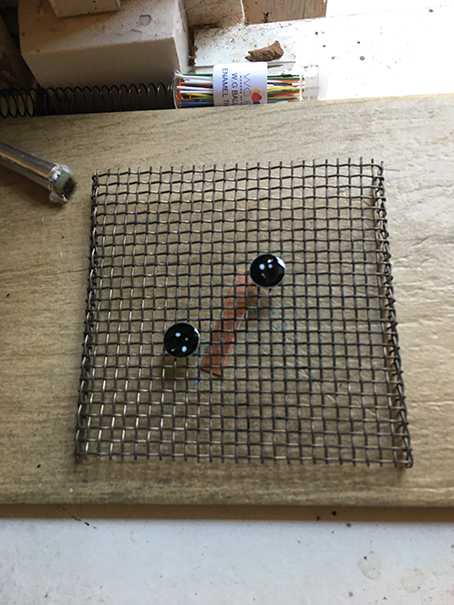
Step 7
COOL DOWN AND APPLY AN ENAMEL COAT
Use the kiln fork to move the wire mesh in and out of the kiln. It is important to have somewhere to place the wire frame and silver blank when they are cooling – I used an old tile off cut. Remember to never quench enamel, as it will crack. Instead, always leave it to cool slowly on its own. Because we have chosen to use Fine Silver, there will be no fire stain on the Silver blanks. You may need to apply two coats of enamel to properly cover the Silver.
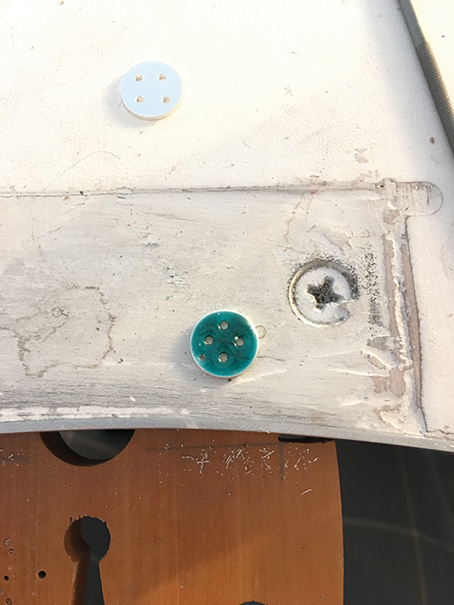
Step 8
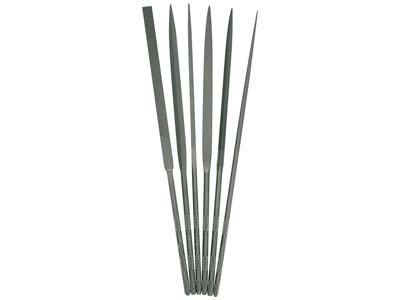
BUFF YOUR EDGES
Once you’re happy with enamel coat, use a 1200 or 2000 grade wet and dry paper to buff the edges and any run over enamel. At this point, I re-drilled the jump ring holes again using a 0.80mm drill to remove a small amount of enamel that had spread into the hole. Make sure to use a lot of beeswax or cutting lubricant for this step to ease the way.
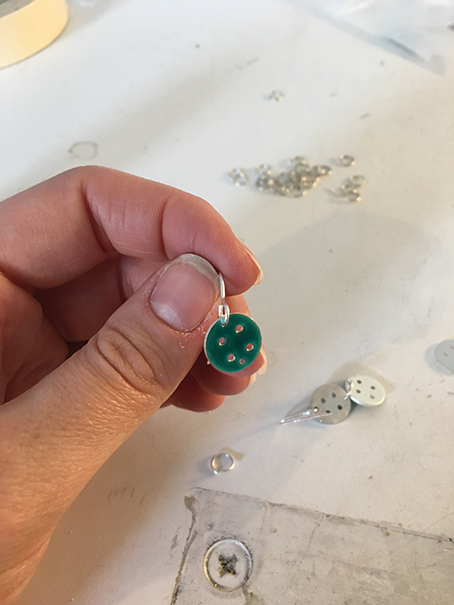
Step 9
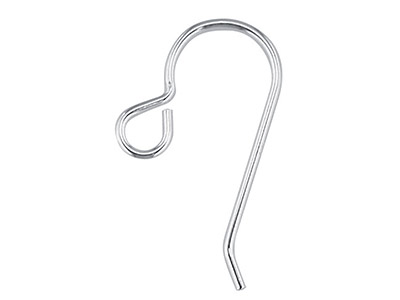
ASSEMBLE YOUR EARRINGS
Now you need to assemble the earrings. This step can be done by hand but will be a lot easier with narrow nosed pliers to manipulate the wire. As we are not soldering, be sure that the jump rings are closed securely. If you are struggling to fit the wire through the jump ring hole, use a 0.90mm drill bit (again with lots of beeswax or cutting lubricant) to gently widen the hole.
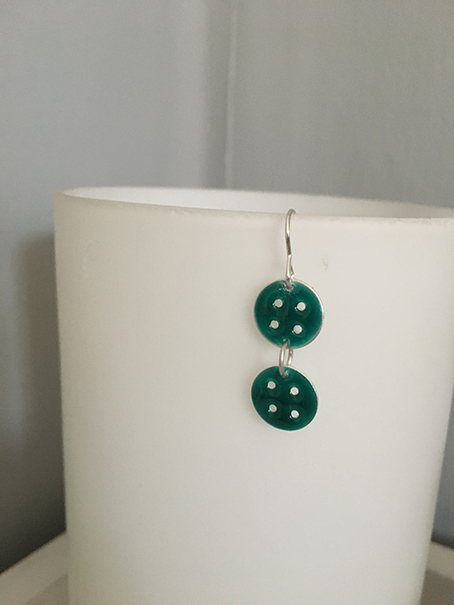
Step 10
CLEAN UP YOUR FINISHED EARRINGS
I chose not to polish these earrings as to create a contrast between the glossy enamel and matt Silver finish. Instead, I simply wiped the earrings over with a polishing cloth, but you may wish to polish them.

Abby Blest
Abigail Yvette Blest is a jewellery designer and maker who trained in the historical Jewellery Quarter, she has a particular interest in traditional bench skills. In the past Abigail has explored mixed media in her jewellery practice, such as wood, ceramics and enamel.