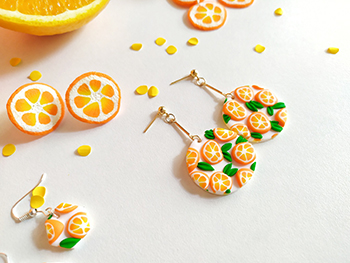
An orange is not only a tasty and healthy fruit, but also a stylish, bright and colourful earring accessory! Get in the mood with these Fruity FIMO Earrings
Step 1
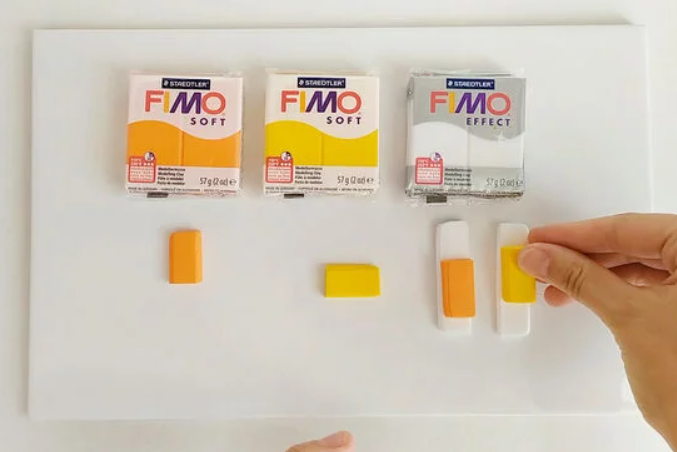
Roll out a block of FIMO soft white with the acrylic roller on baking paper to a sheet about 3mm thick. This will be your base plate. Cut 2 portions of FIMO effect translucent white, as well as half a portion of FIMO soft tangerine and half a portion of sunflower. Now mix 2 light yellow tones by knotting one FIMO effect translucent white portion at a time with half a portion of sunflower or tangerine.
Step 2
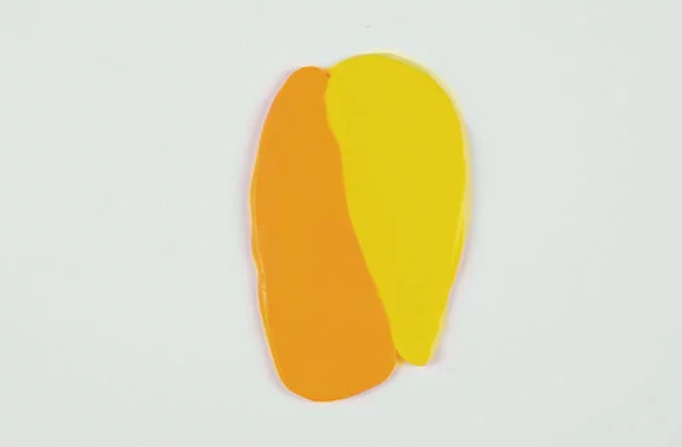
Now create a colour gradient from yellow to orange. To do so, roll out your mixed colours into a plate about 3mm thick using the acrylic roller. Cut both plates into two triangles and press them together at the seam.
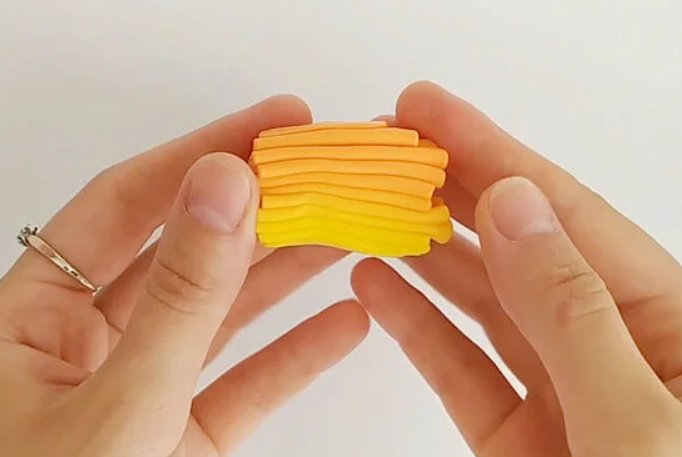
Now fold the plates together, yellow on yellow and orange on orange. Then roll the acrylic roller over the folded plate again. Now fold the plate again and roll it out again. Repeat this step until a uniform colour gradient has been achieved.
Important: Fold in the same direction, orange again on orange and yellow on yellow
Step 3
Now fold the long strand like an accordion from yellow to orange. Gently press the strand making it flatter and longer (called reduction) to create a long sausage. This should be orange on the top and yellow on the bottom.
Step 4

Now divide the strand with the colour gradient into 6 equal parts. Roll 2 portions of FIMO soft white into a thin sheet (approx. 1mm thick). Wrap it around each yellow string. Make sure that the seams do not overlap but abut well and close without gaps. Gently roll the strand back and forth so that the white sheath connects well with the yellow strand.
Now shape each strand into a drop shape. The light-yellow side forms the tip.
Step 5
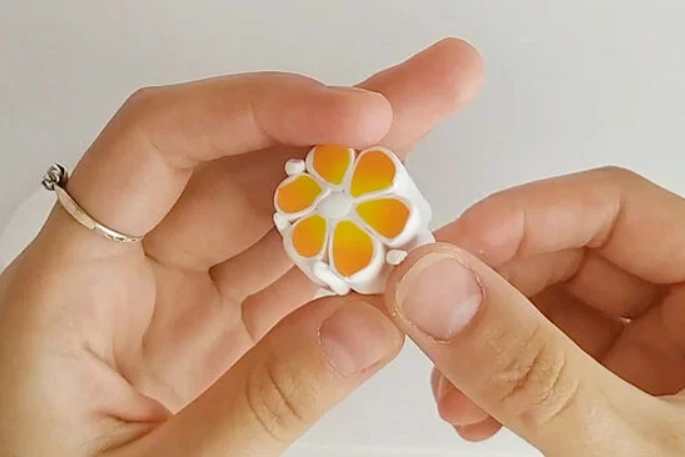
Now assemble the cane: Take a white FIMO strand. Place the drop-shaped strands around them in a circle and gently press them together. The pointed, lighter side points inwards. When you have assembled all the pieces, fill the outer gaps with thin, white FIMO strings to close the gaps.
Step 6
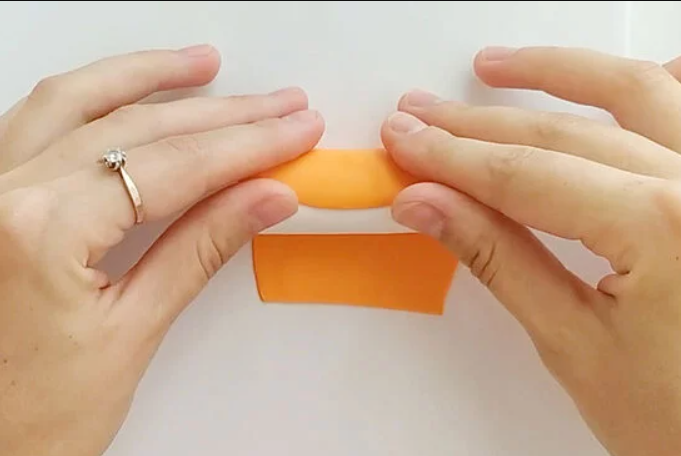
Now roll out another thin plate (approx. 1mm thick) made of FIMO soft tangerine. Wrap this orange plate around your cane. Again, make sure that the seams abut each other well, but do not overlap. Your orange cane is finished.
Step 7
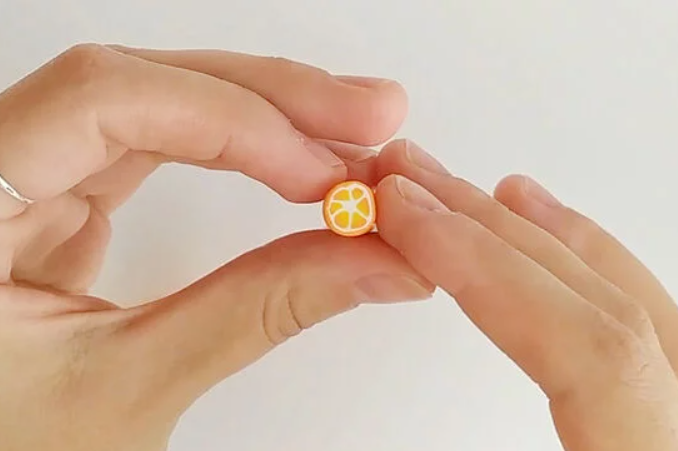
Now you need to reduce your orange cane, so roll it longer and thinner. It works best with your hands. It is best to work on a glass panel or tile. When you are satisfied with the diameter, cut the ends clean with a knife. A look at the cross-section of your cane now shows you a beautiful orange slice.
Step 8
From now on, work directly on an ovenproof, small tile or on baking paper. This means that your FIMO earrings can move directly into the oven on the tile and you no longer have to lift the FIMO later and don’t warp it.
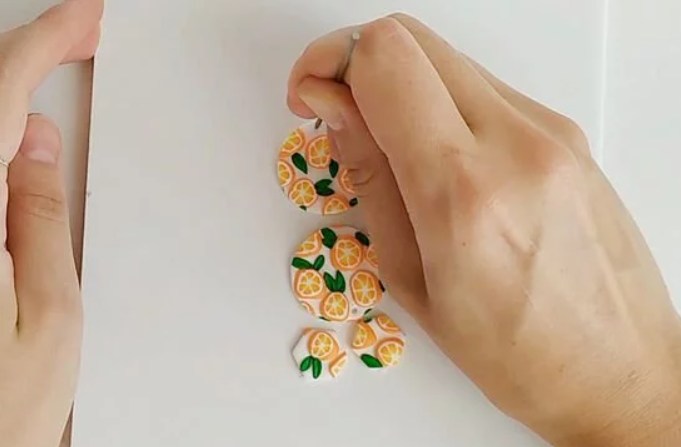
Now cut off thin slices from the cane and place the FIMO orders on your prepared white base sheet. Shape small leaves made of FIMO soft tropical green and place them between the orange slices using a needle. When the sheet is beautifully decorated with oranges, use the round cookie cutter to cut out the earrings. Punch a hole in each earring at the top edge.
Now, everything is hardened lying flat in the oven at 110 ° C / 230 ° F for 30 minutes.
Step 9
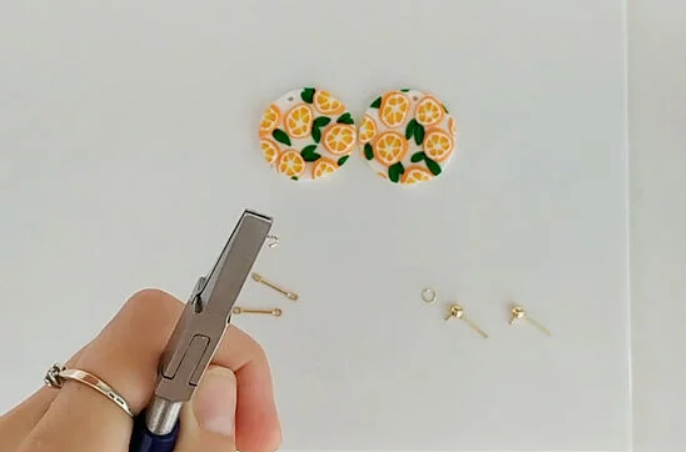
Allow everything to cool down well and attach the bending ring and ear hooks. Eh voila! Done!

We hope you enjoyed making your FIMO Fruity Earrings. If you have any questions or want to know more, get in touch with us on Facebook, Twitter and Instagram. We’d also love to see what you’ve been making so please share pictures of your creations with us too, tagging Cooksongold.

Cooksongold