Have you had a ready to finish precious metal casting piece from Cooksongold? Need some tips to finish it off?
You’re in luck! Today’s precious metal casting blog series will be sharing our guide on how to finish your piece so it is a perfect high quality finish.
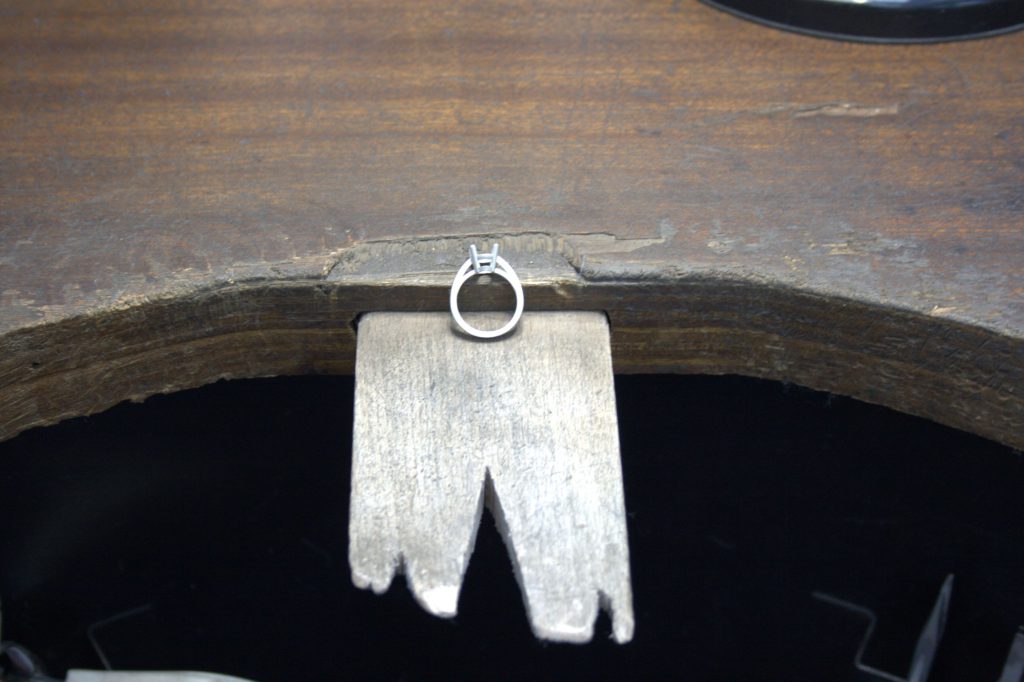
Despruing your piece
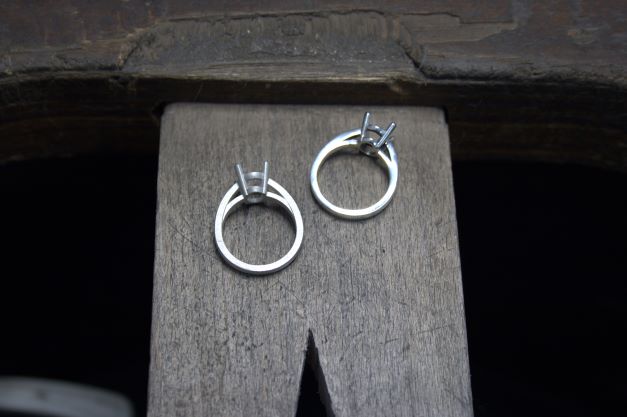
Once your piece has been printed and delivered to you. It will have one or multiple small cut pieces of metal attached to it. This is called the sprue.
The sprue is added by our technicians in CAD so that when the part is printed in wax and added to the wax tree for casting, the molten metal can feed into the piece.
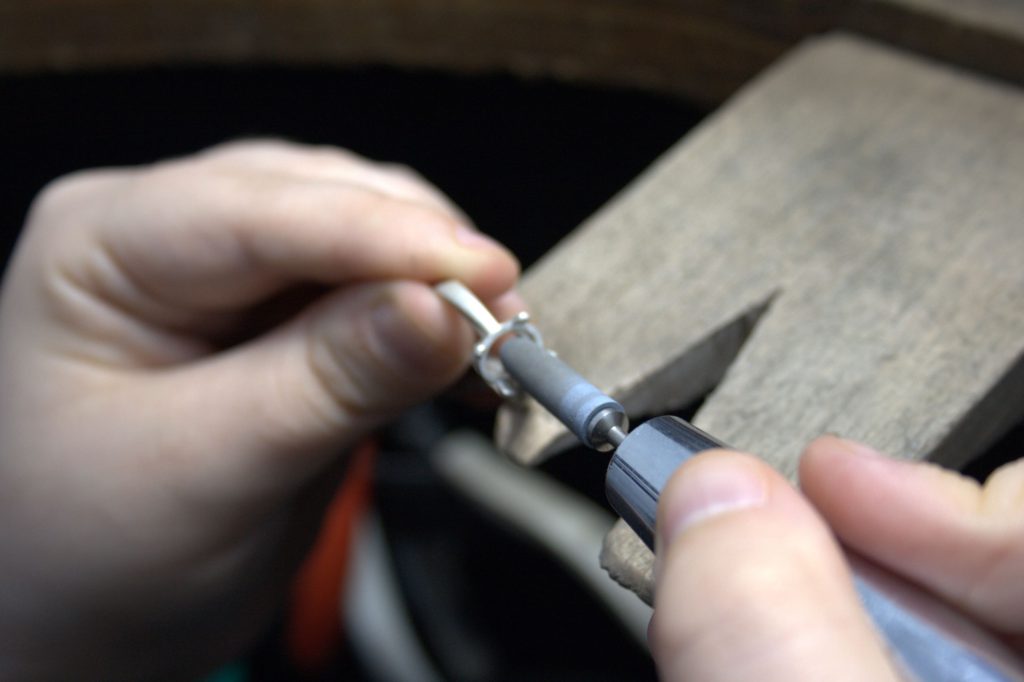
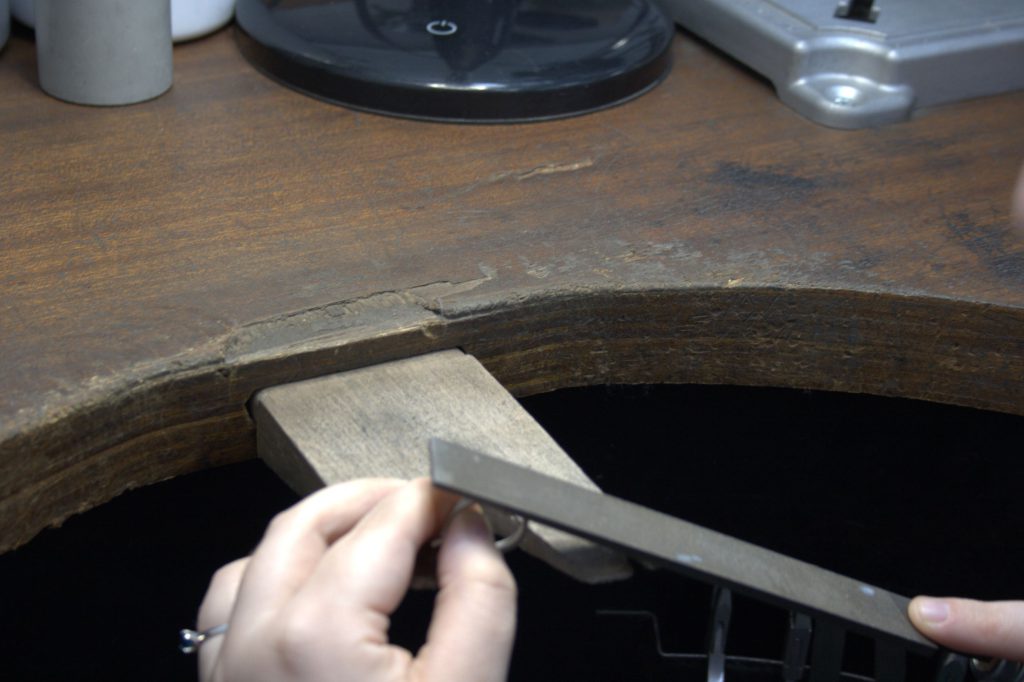
Removing the sprue is easy and will have to be done before finishing your part. This can be done by using a piercing saw and carefully sawing off your sprues. Then you can file down your sprue using a metal or needle file.
Buffing
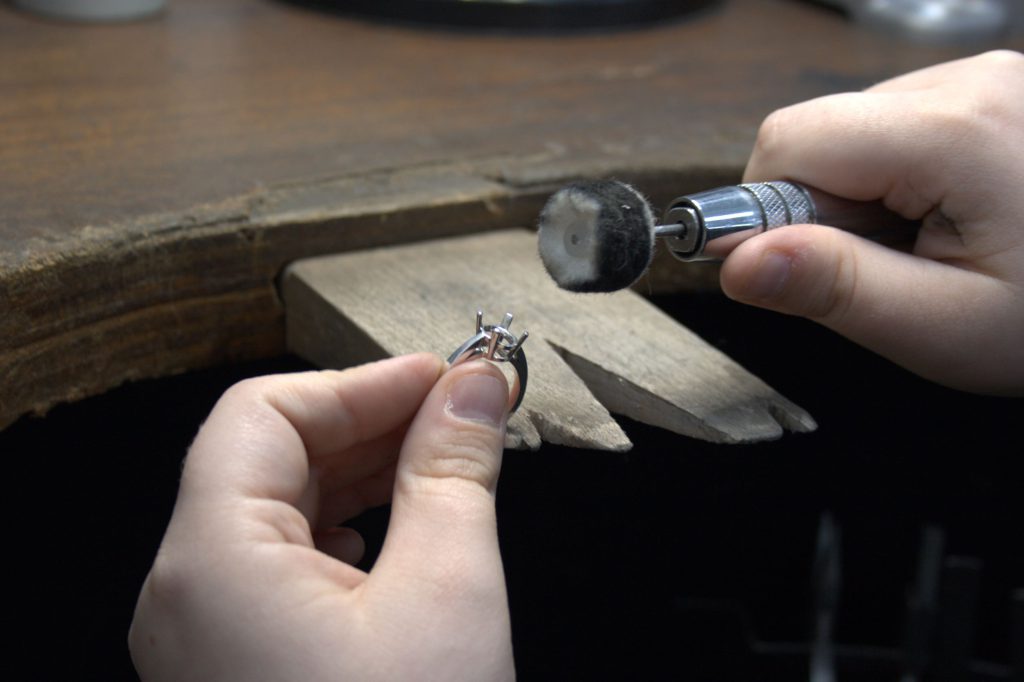
Items that are cast will have a fine grain texture to them and can also have fine build lines that the printer has created when printing each layer but these can be easily buffed away to smooth it over using emery paper/stick.
Sandblasting (If you have a sandblaster if not skip to next step)
The easiest way to finish a piece that has been cast, is to sandblast it. This will create a frosted texture all over the piece, much like the look of the cast piece to begin with but will give it a much more uniform look and will also texture the flat area that has been buffed back after the sprue.
If you want a piece to have mixed polish areas, always do the lower quality finish first, i.e sandblasting the outside of the ring and high polishing the inside of the ring. If there are small areas which are fiddly, it will be easier to do the higher quality and then masking those areas off with tape as to not disturb the finish.
Polishing: Emery paper
For most other types of polishing you will need to go through each stage of emery paper or stick, starting from low to high.
Hold your piece firmly against the bench peg and work away from yourself, following the shape of the item. Always follow the shape of your piece, as you might buff a flat spot onto a curved area if buffing flat. Go over each area that you are wanting to be buffed, until the previous finish level has been buffed away. Between each grade of paper/stick, you will want to buff in a direction 90 degrees to your previous buff, if possible. This will help remove scratches caused by the emery paper.
Many jewellers find a system that they prefer to work in, and potentially skip grades of buffing for a higher grade but if this is new to you, we recommend going through each grade from 400-1200 until you find what works for you. If you are looking for a mirror polish, you may want to try going up to 2000 before polishing.
For the insides of rings or flat curved surfaces, there is also a tool that can be used in a pendant motor. Work slowly with these as prolonged use can cause a piece to get quite hot. If you don’t have a pendant motor or have these available a curved emery stick works just as well, but can take longer.
Polishing Wheel
Once your piece is ready for polishing, you can take it to the polishing wheel. You will need two types of polish and two wool wheels.
Label each wheel for the type of polish applied to it as you don’t want to contaminate either of them with the others polish. Firstly get your wheel spinning and press the rough polish against the wheel, coating all around the wheel, and then start polishing your piece.
When the piece is ready for the fine polish you will want to wash any rough polish on the part with warm soapy water and then dry. Swap your wheels over and prepare the second one with the fine polish and again polish your piece. You can either wash your part again with warm soapy water or if you have access to an ultrasonic, this may help with removing any residue.
Dry the piece and it’s ready!
Ann-marie Robinson