Trying your hand at piercing metal is a great project when learning how to use a piercing saw. Practice makes perfect when using a piercing saw, so don’t be too disheartened if you break a few blades when you start. It is important to have the blade in the saw correctly, have a comfortable posture and saw gently without forcing. Allow the saw to do the work!
How to Pierce Metal: Step-by-Step
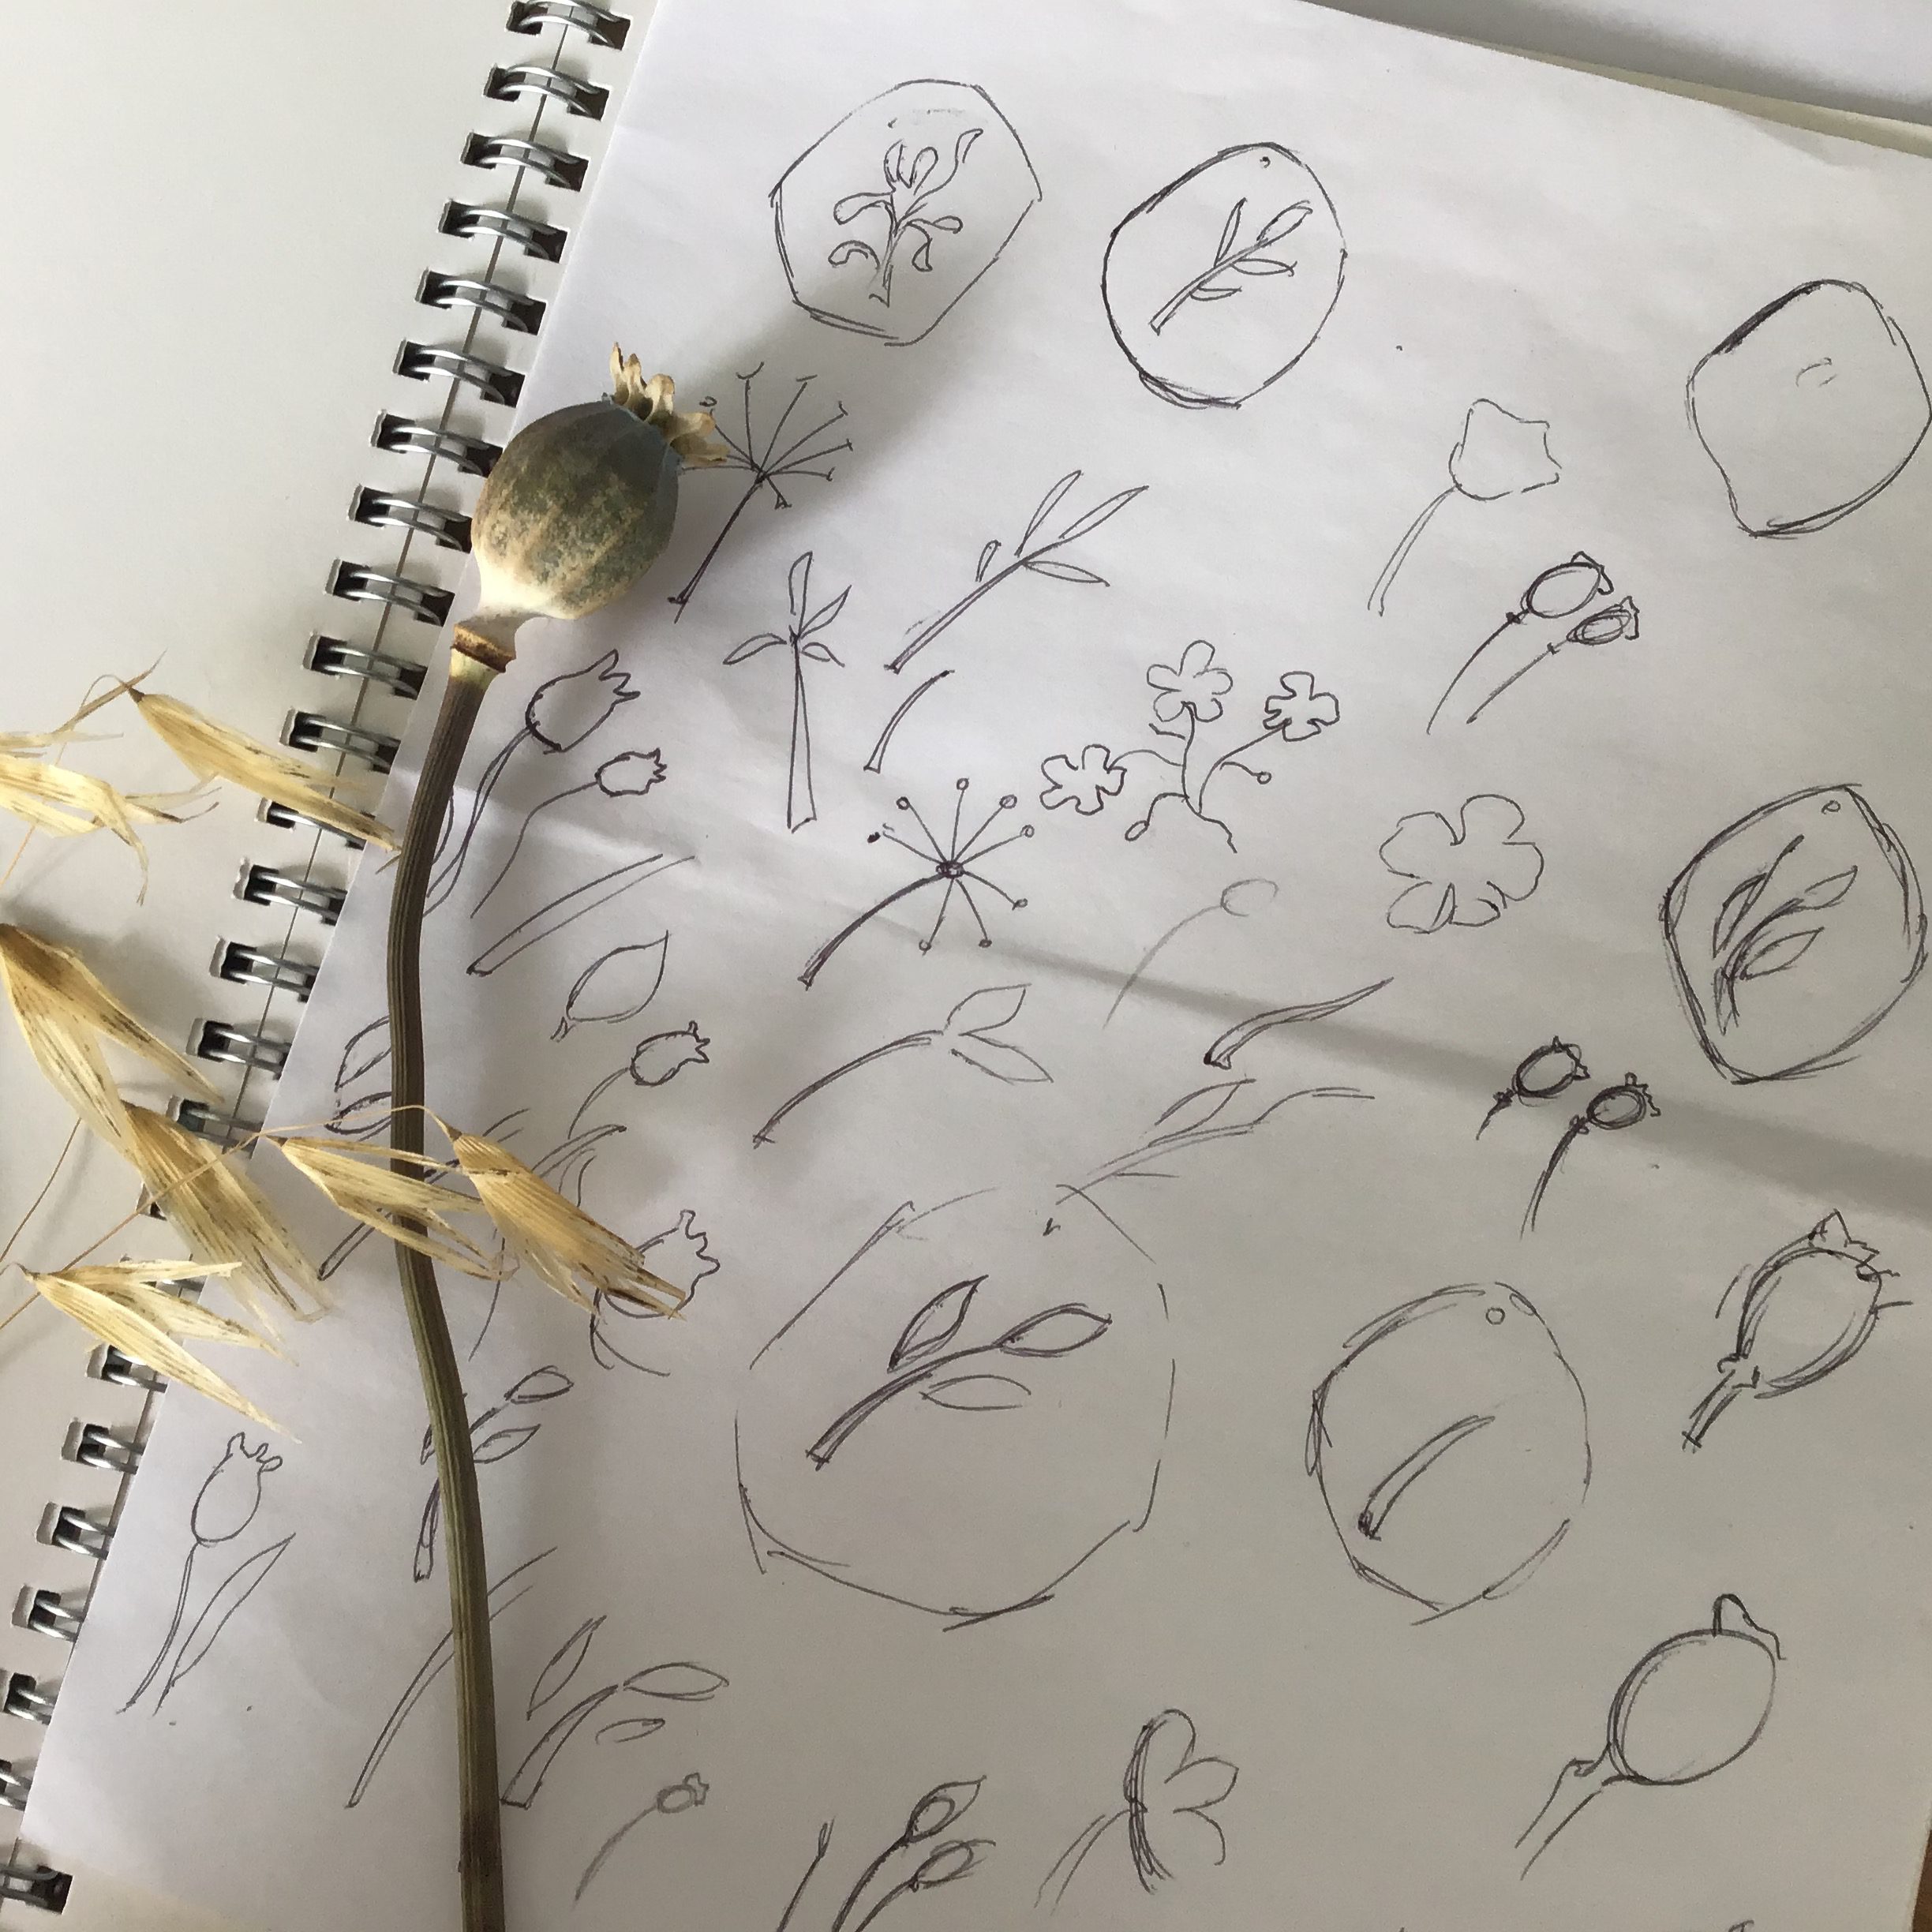
Choose your design
Choose a simple shape for your design and draw it onto a piece of scrap paper. A design of about 2 or 3cm across is a good size to start with. I drew an irregular freehand shape as it’s more forgiving if you go wrong. Cut the paper shape out with scissors.
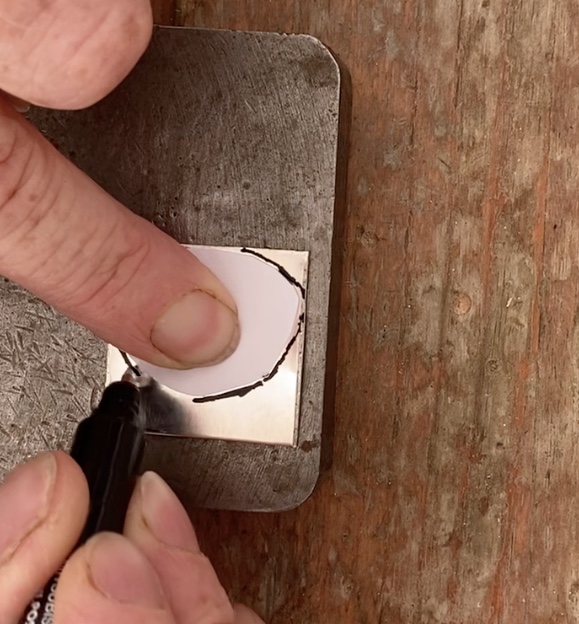
Mark onto your metal
Position your paper template onto your metal and carefully draw around it onto your silver, using a permanent pen. If you make a mistake, gently wipe away the pen with a damp cloth or tissue and redraw your line.
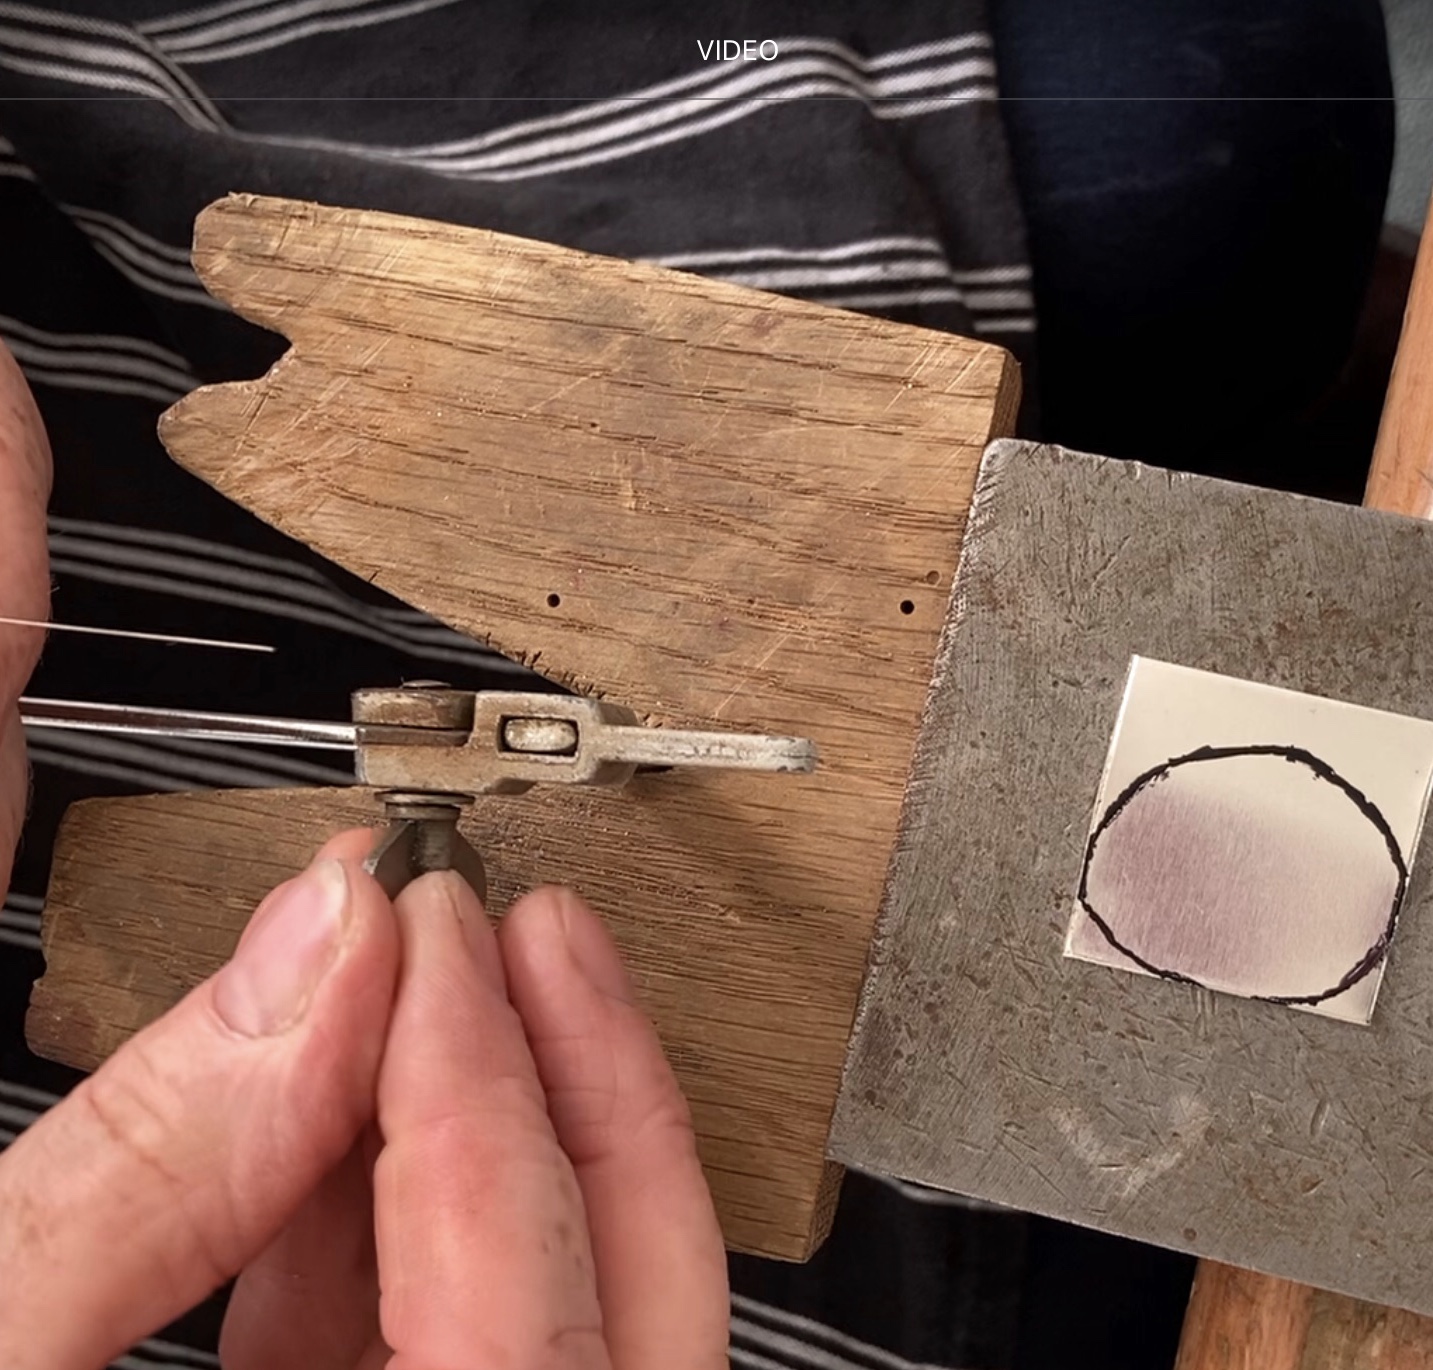
Put your blade into your saw
Rest the top of your saw against your bench or bench peg. Loosen the top wingnut and insert the blade, check that the teeth in your saw blade are pointing down towards the handle of your saw before you tighten the wingnut. Firmly push the handle of the saw towards the bench peg as you tighten the bottom of the saw blade into the bottom fastening. The blade should make a “ping” sound if you pluck it with your finger nail.

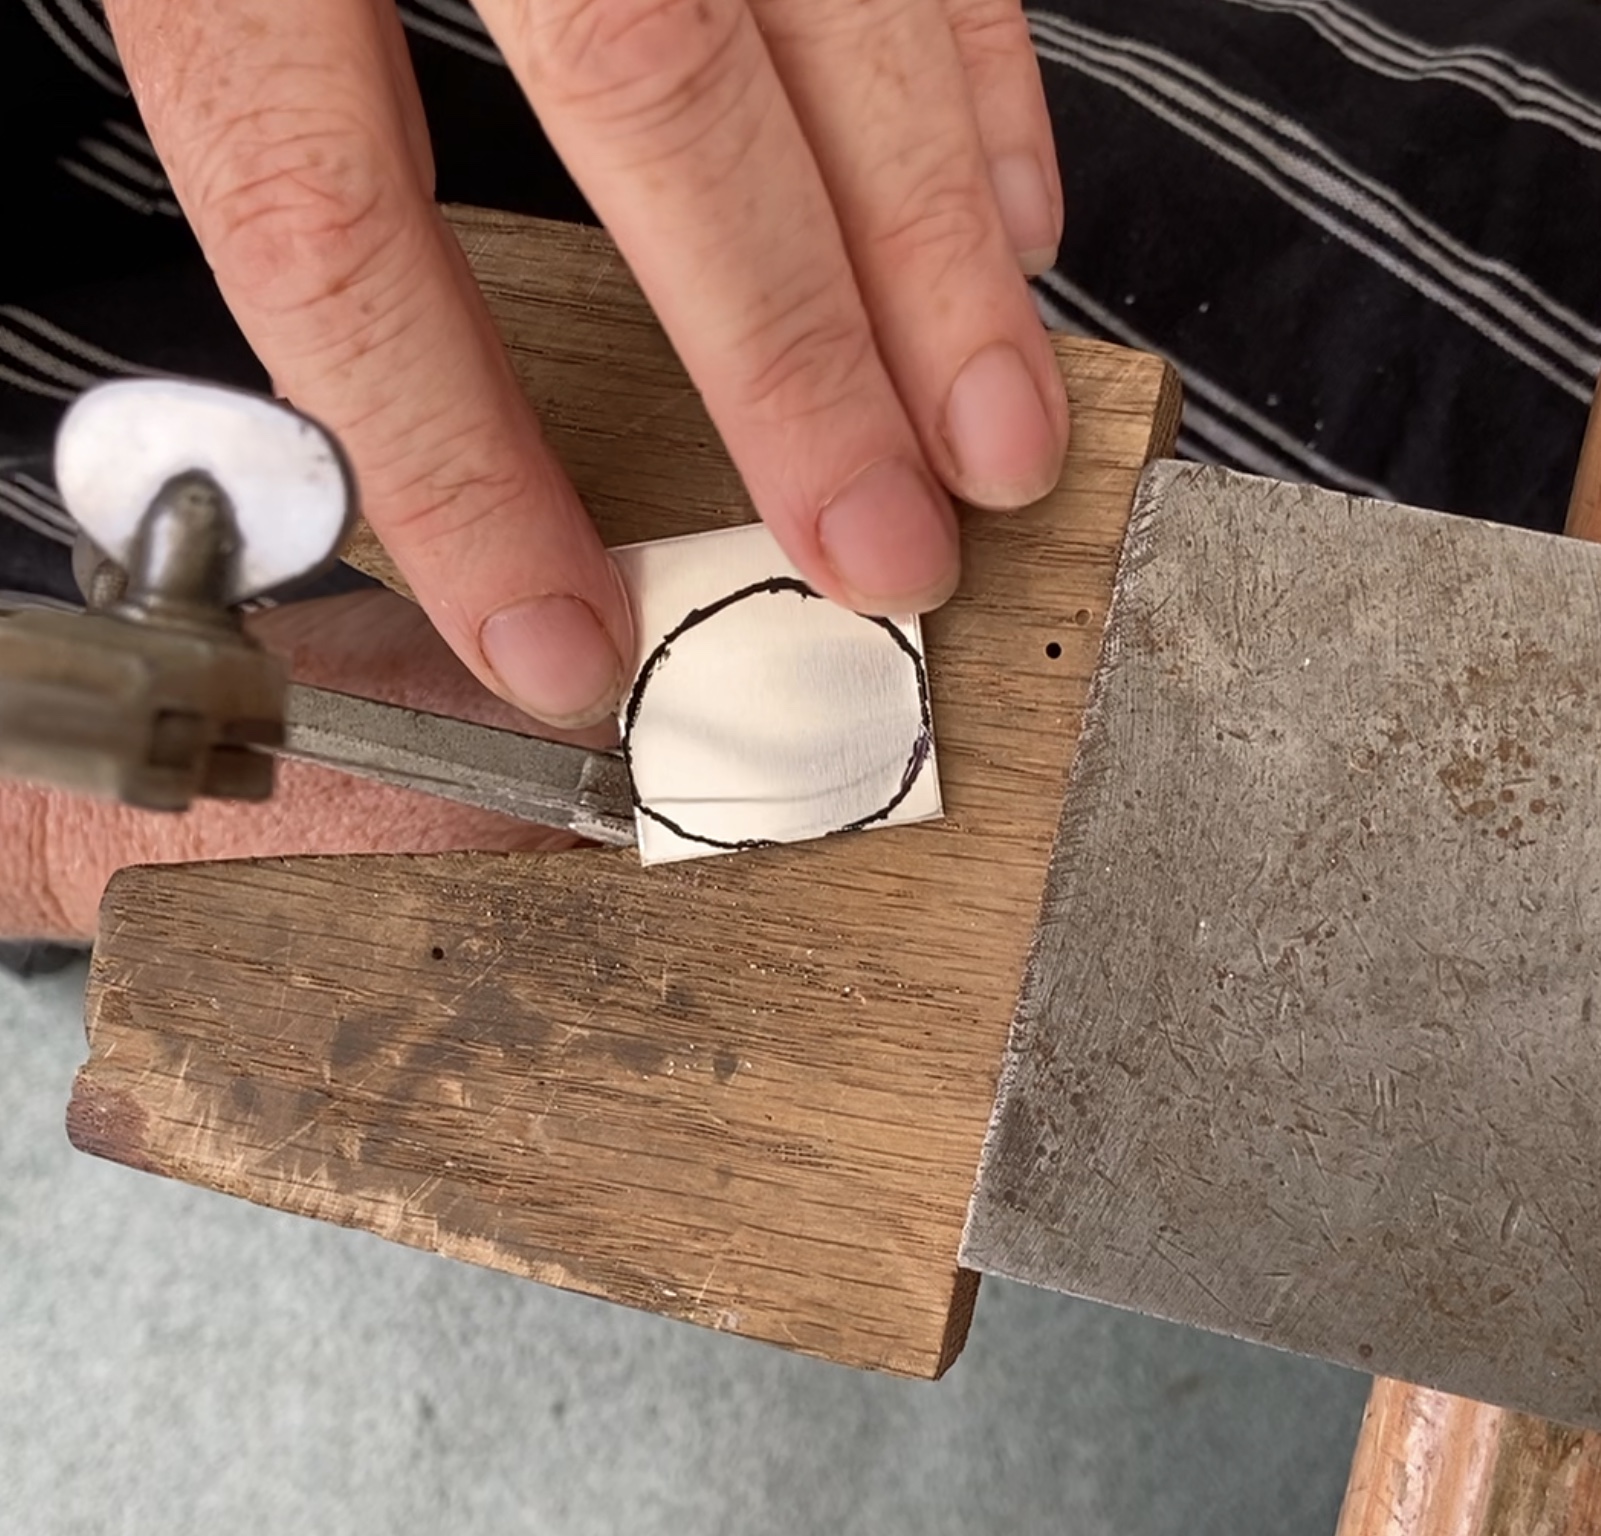
Position as you saw
Your posture matters. Sit in a comfortable position so you are able to saw without twisting or bending forward too much. You will saw in the V shape gap in your bench peg. Position the metal over the V shape—holding it down firmly with two fingers. Hold the saw vertically and gently stroke the blade downwards against the metal to begin sawing.
Sawing your shape
Keeping the saw blade vertical saw gently, following your line. Hold the metal down onto your bench peg—KEEP YOUR FINGERS BEHIND THE BLADE! Move the blade up and down without pushing it against the metal. The blade will cut the metal on the down stroke. To cut a curve, slowly move the silver on the bench peg as you saw. Do not force or twist the blade, it will break. Rub a little beeswax onto the blade occasionally to stop it sticking. If you get jammed, or go off your line, gently saw backwards to get back on track.
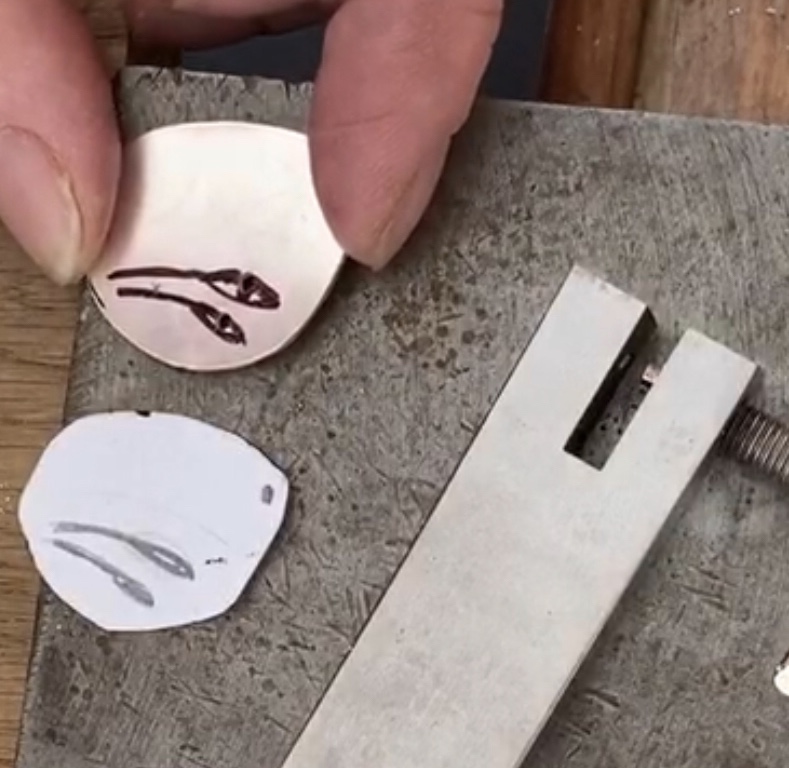
Cutting an internal shape
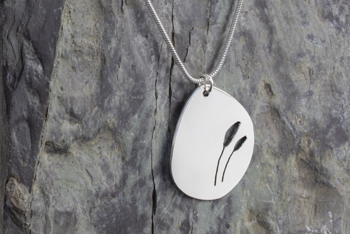
My design has two decorative seedpods cut inside the shape. I drew them onto the silver with the permanent pen then made a hole in each shape – I used a two-hole punch. Undo the bottom wingnut on your piercing saw then thread the sawblade through the hole. Make sure the tension is correct again before you start to saw—if the blade is in too tight or too loose it will snap, remember to test by pinging! When you need to turn a tight corner, saw on the spot by slowly turning the silver as you saw. If you twist the blade while it is in the metal, it will snap – take your time as you saw.
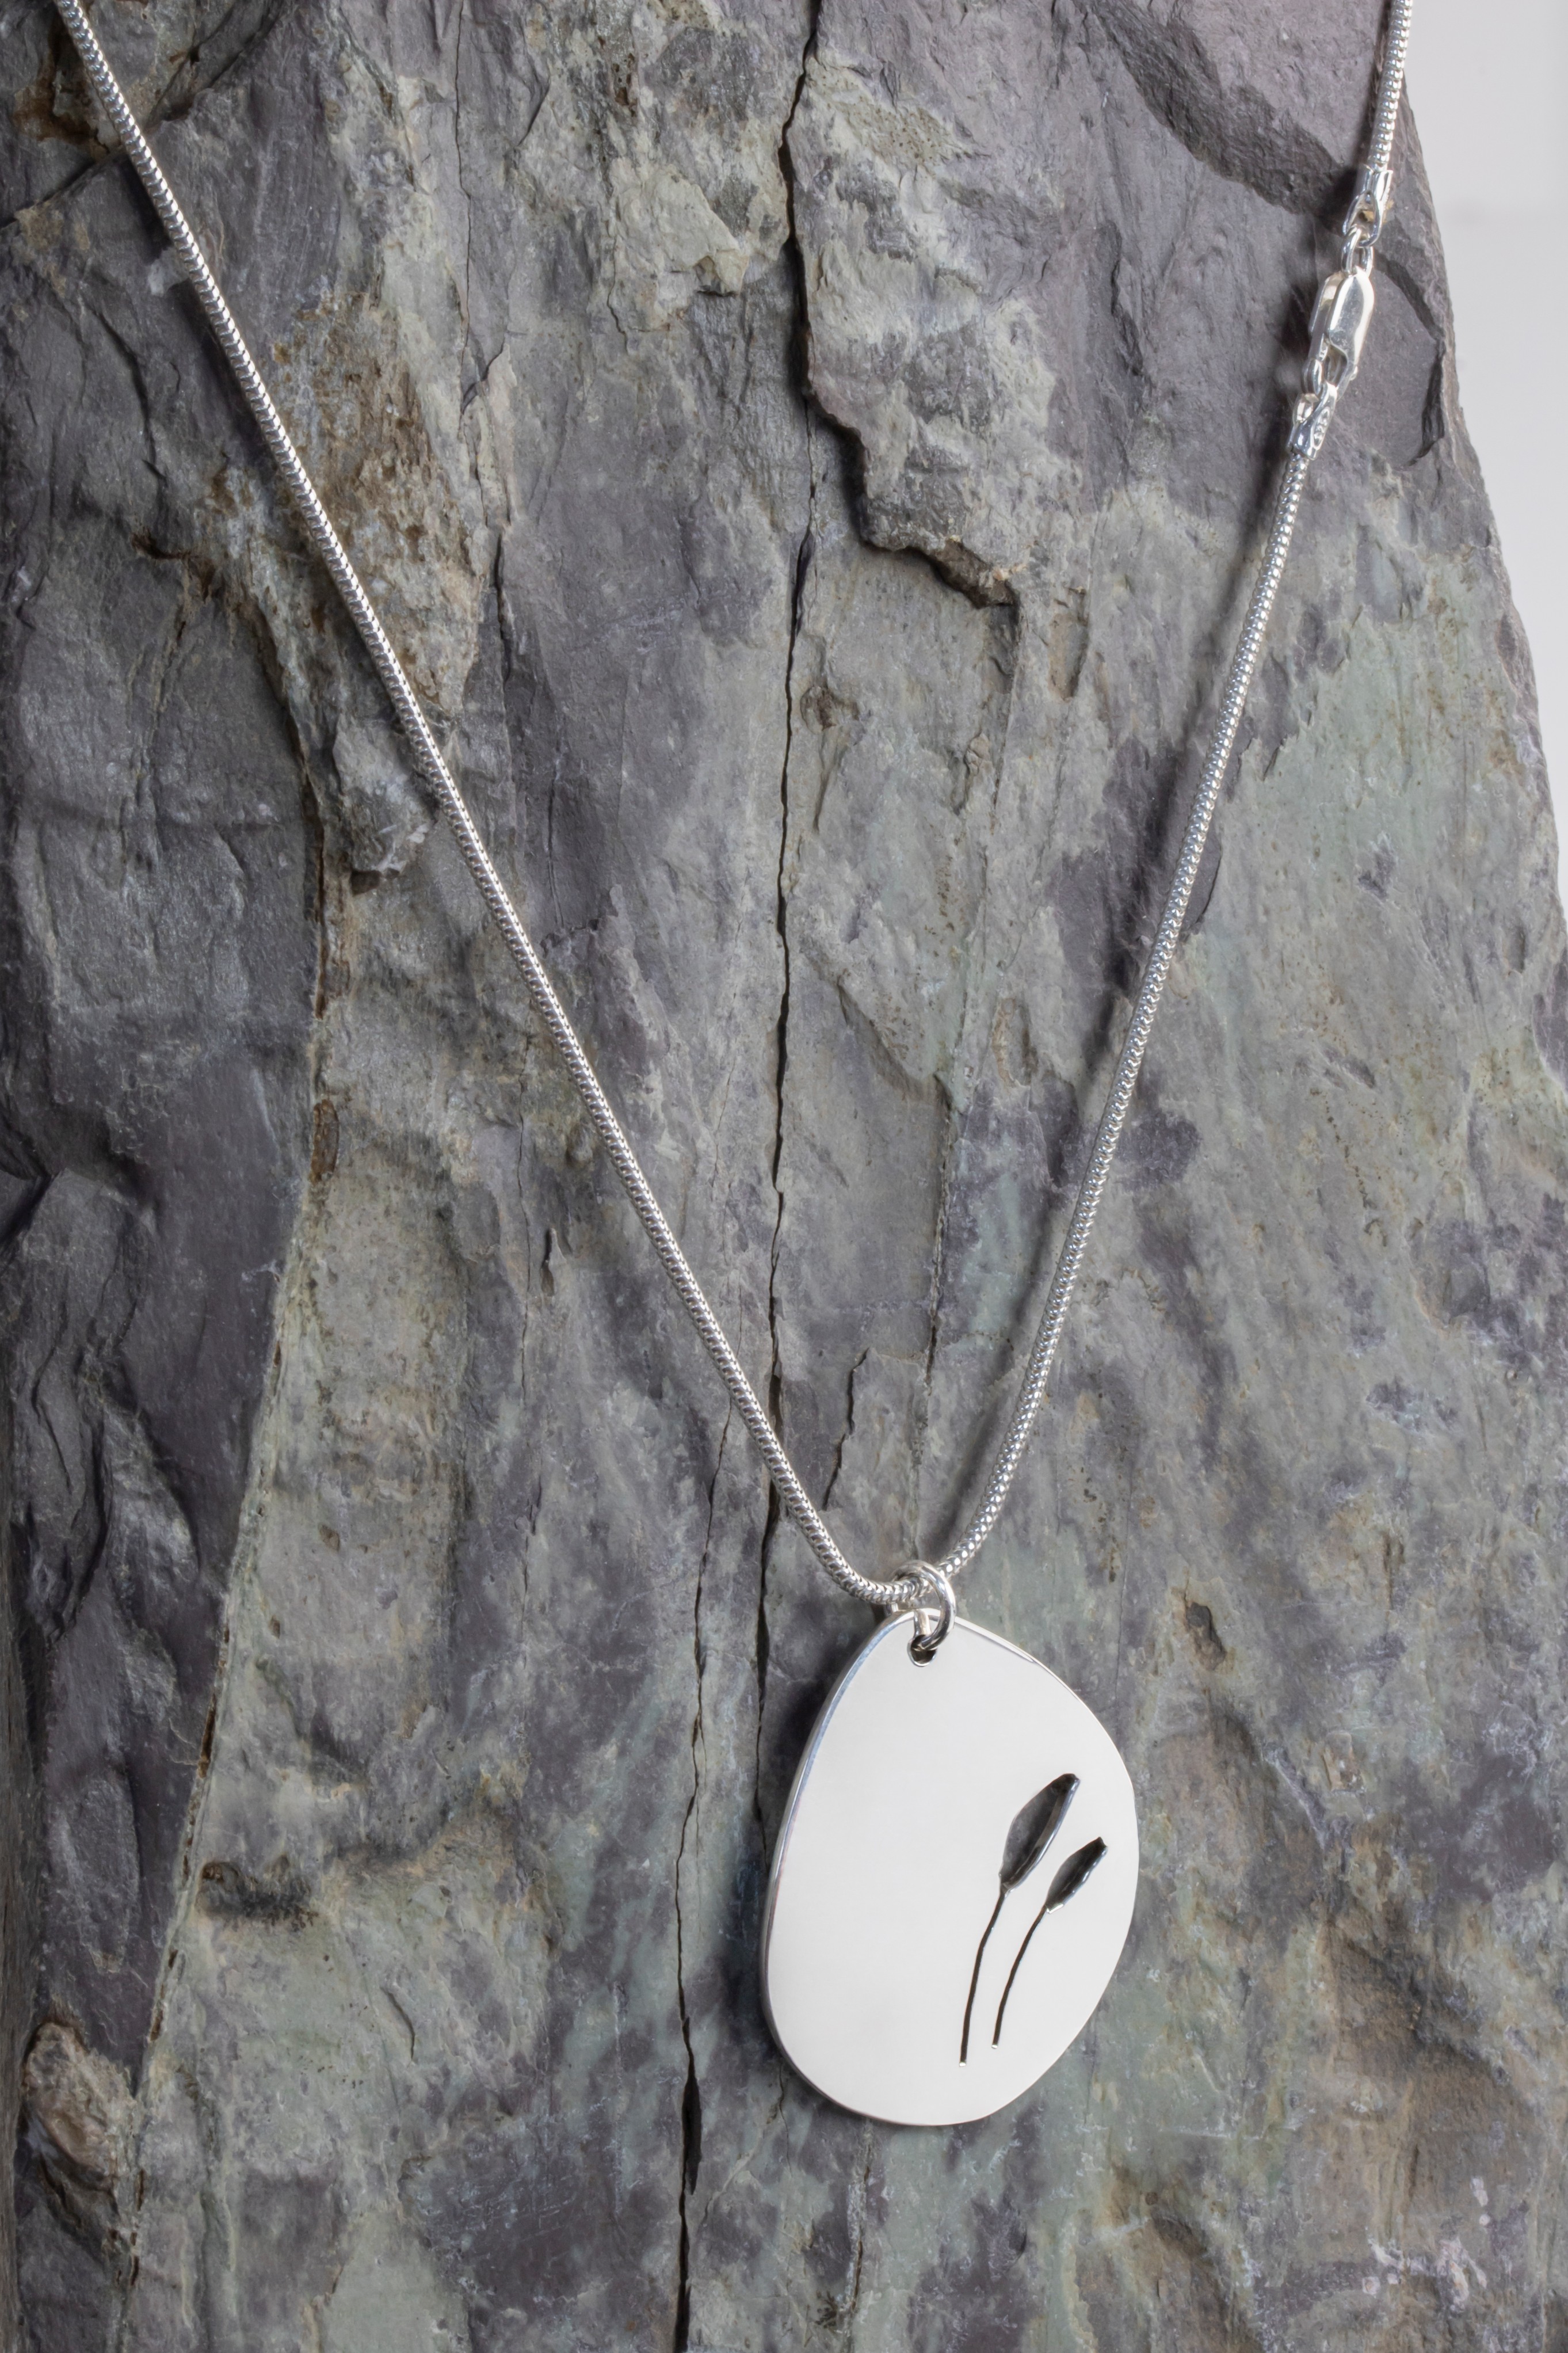
Finishing your design
I used a half round needle file and 600 and 1000 grit Wet and Dry papers to smooth my silver pendant before polishing on my polishing motor. The silver snake chain and a 5mm jump ring complete the design.
It may not be advisable for some to use your stomach or chest to push the saw frame into the bench peg, as it can cause bruising or injury for someone who isn’t strong. Instead, push the saw handle using your hands.
See the video version
Now you know how to pierce metal for jewellery making, it’s time to give it a go yourself! Make sure you have all the jewellery tools and bullion you need from Cooksongold.
Which metal piercing tips would you add?
Learn more about Christine, via her Designer of the Month Interview

Cooksongold