Our blogger, Jo talks you through how to make a stunning FIMO flower ring using our new jewellery blanks.
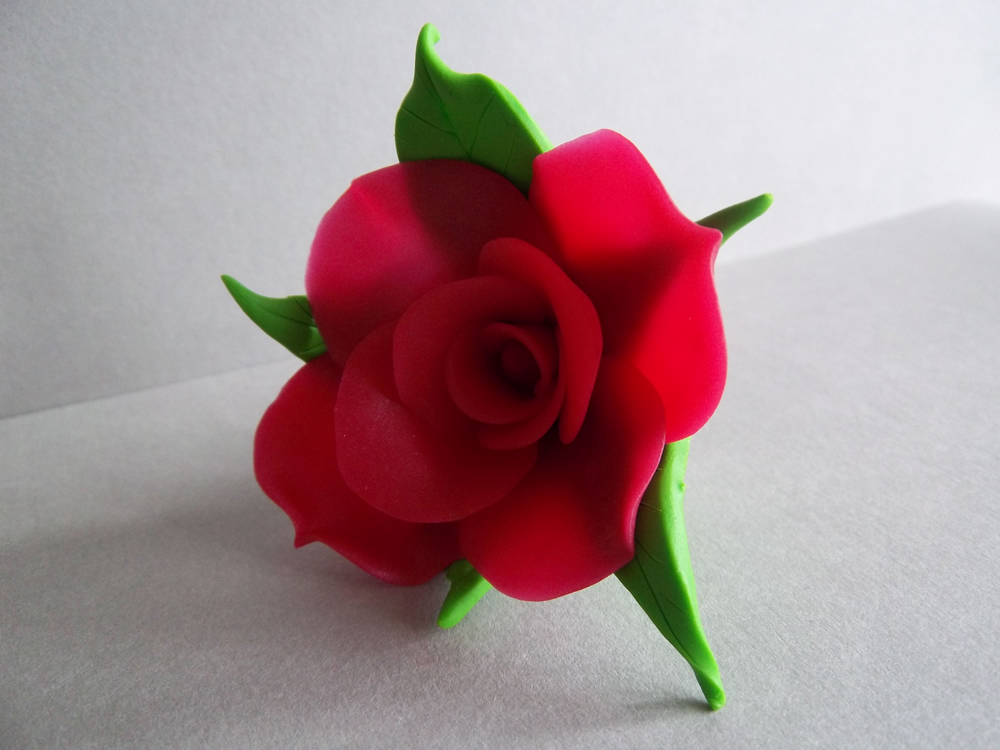
Fimo is something I used to play with when I was a child, so I was really looking forward to doing this project. I decided to take inspiration from this season’s huge floral trend and used flowers as my theme. After a few attempts using different techniques, I settled on a traditional rose design that I have used before in cake making. As it turned out sugar fondant and Fimo are very similar to work with and I must admit I am very pleased with the results!
To make a Fimo Floral ring, you will need:
A metal ring blank (Fimo accessories)
Grind’n polish set (Fimo accessories)
Superglue or 2 part epoxy resin
Aluminium Foil
Use of an oven
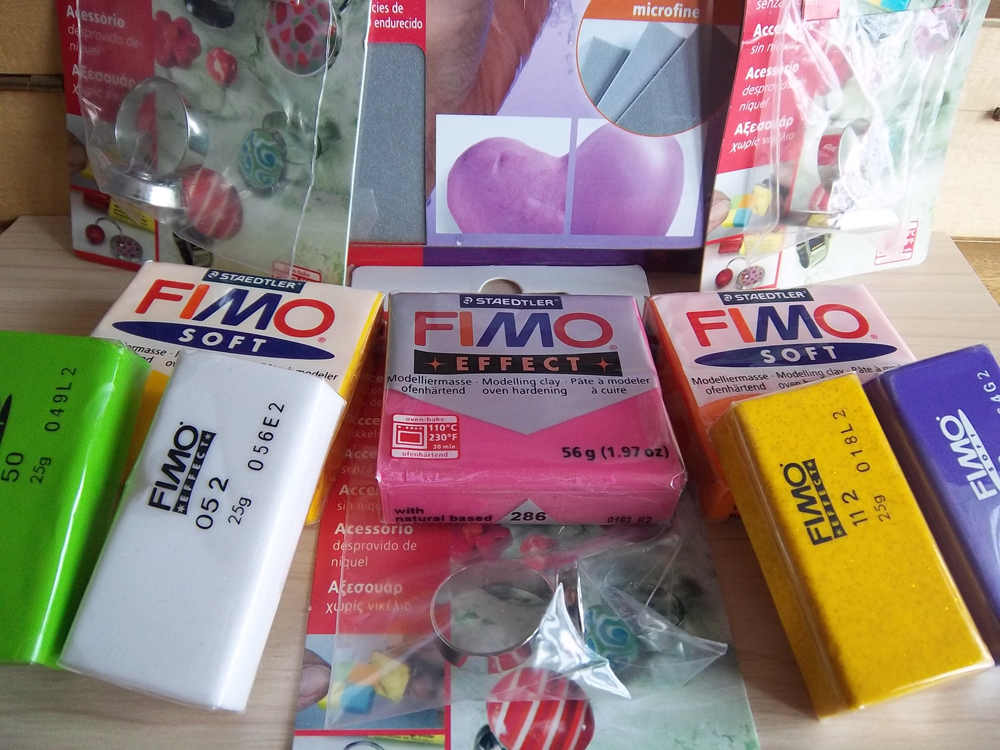
Firstly select your main colour for your flower. I chose an ‘Effect’ pink colour which had a subtle glitter running through it and it also went slightly transparent once baked.
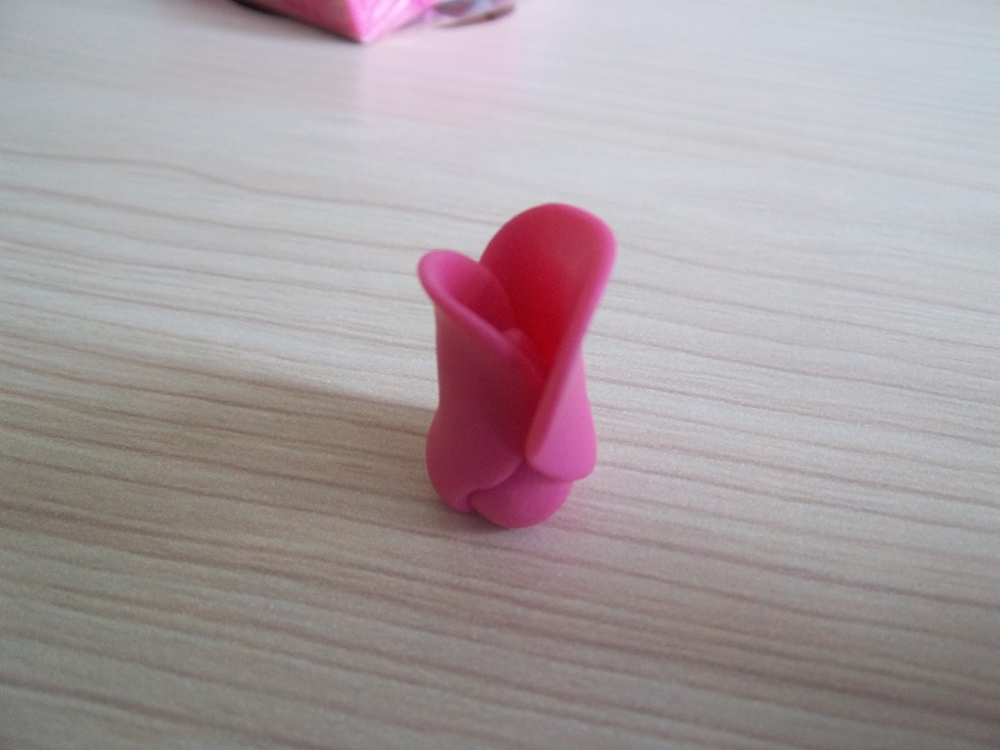
Take a smallish piece of Fimo and knead it in your fingers to make it malleable. Once warm, make a teardrop shape which has a rounded base and a pointed top. Try to smooth as you go along.
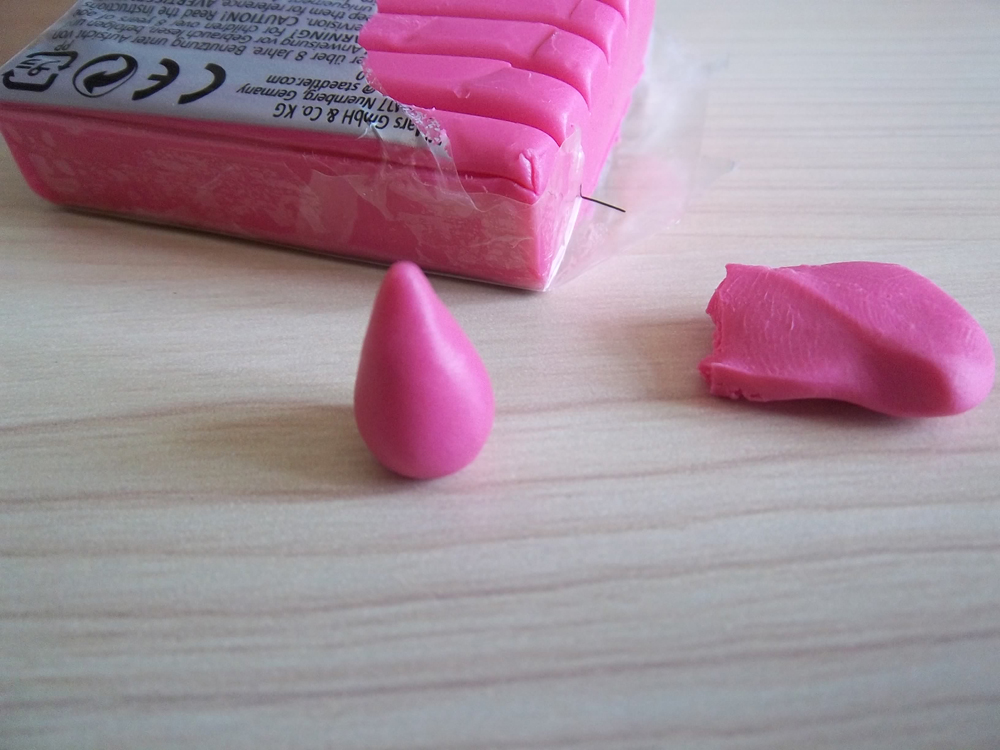
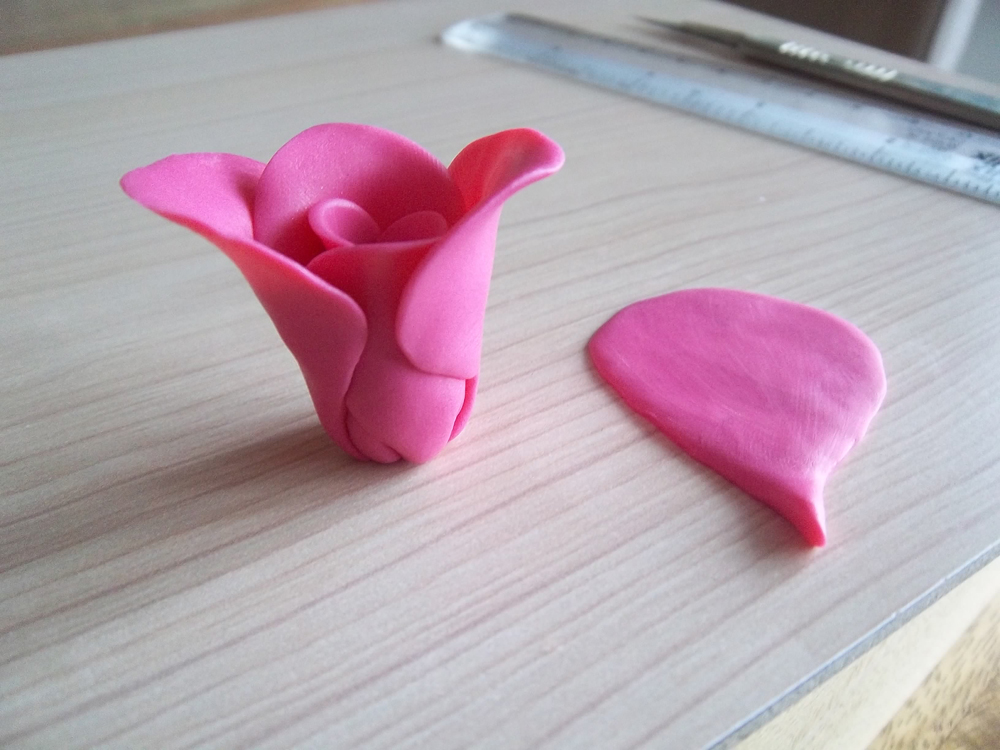
Next mould your first petal keeping one end pointed and the other flared out and thin. Try to make the petal edge thin enough to be realistic, but strong enough to keep its shape once in the oven. Remember to keep smoothing with your fingertips as you go as this will save time later.

Then attach this to the base of your teardrop and carefully wrap it around.
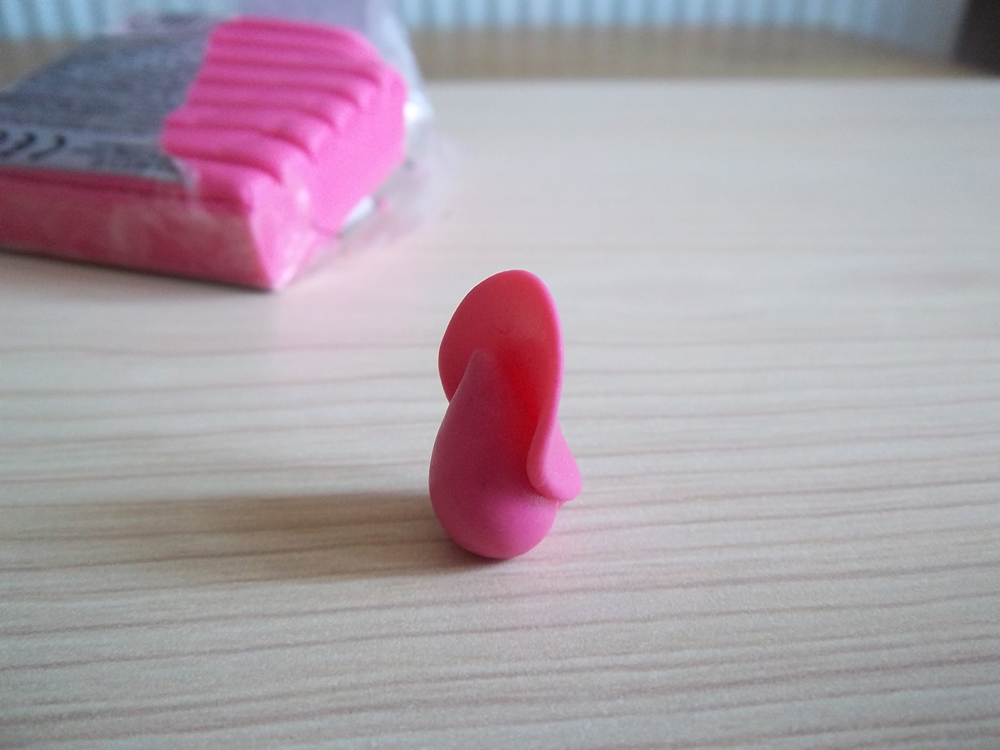
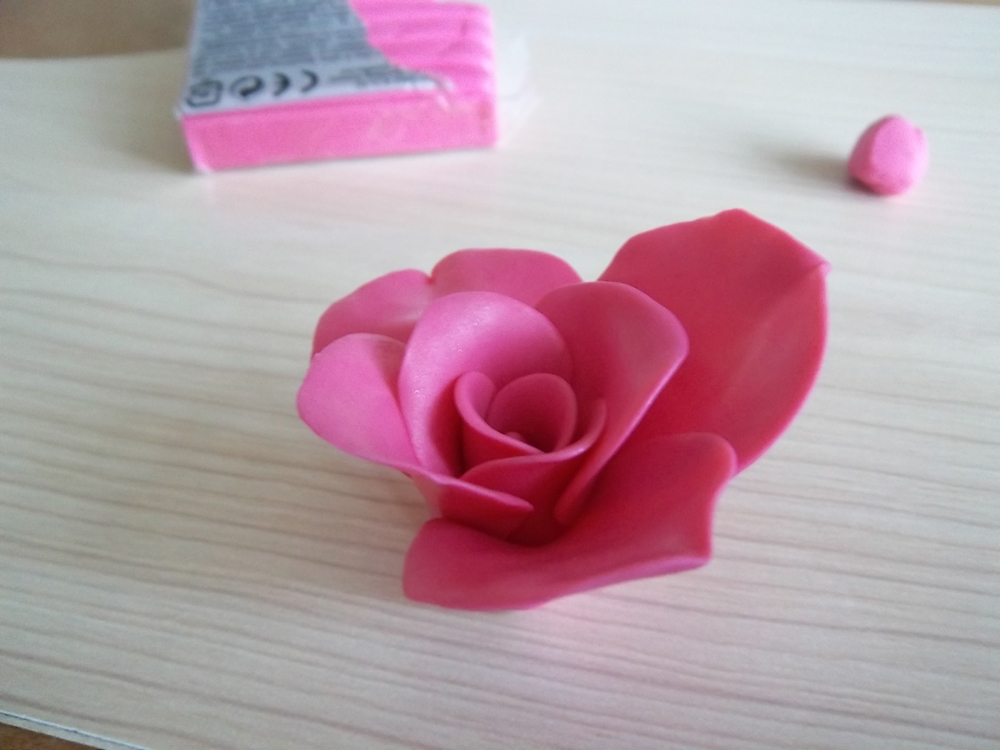
Repeat this process, building up the petals and gradually increasing the size of each one. I made 10 petals in total but the amount is really personal preference.
Finally add some leaves. These are made in a similar way to the petals but they are pointed at both ends instead of just one. Remember to add some vein details with something pointed. (I used a scalpel). Attach to the base of the flower as before.
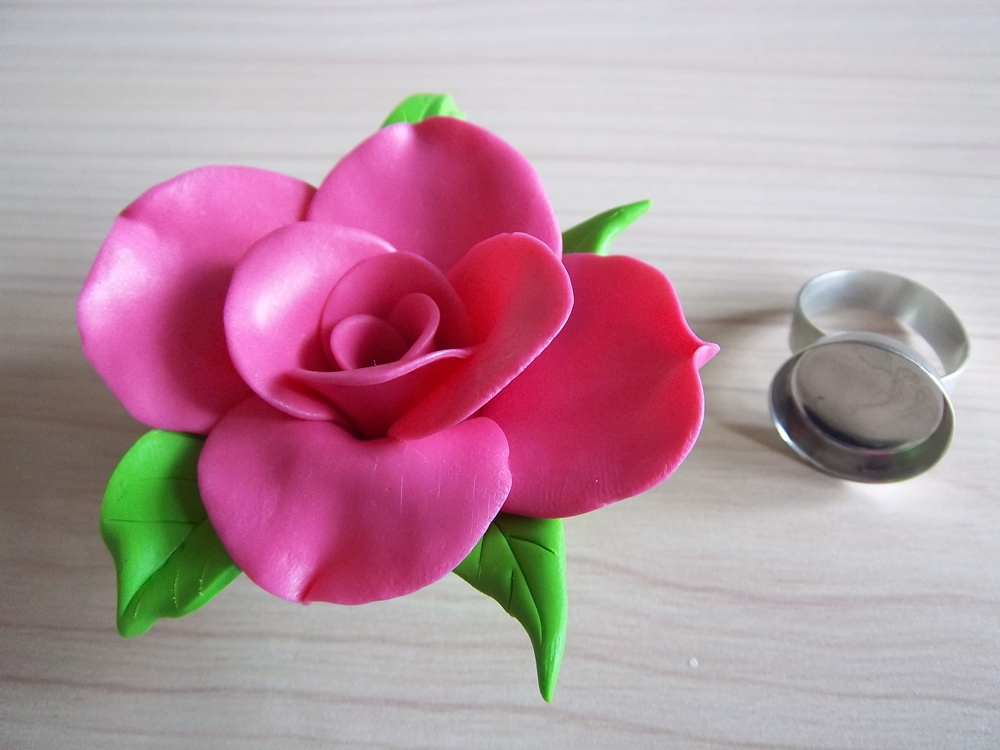
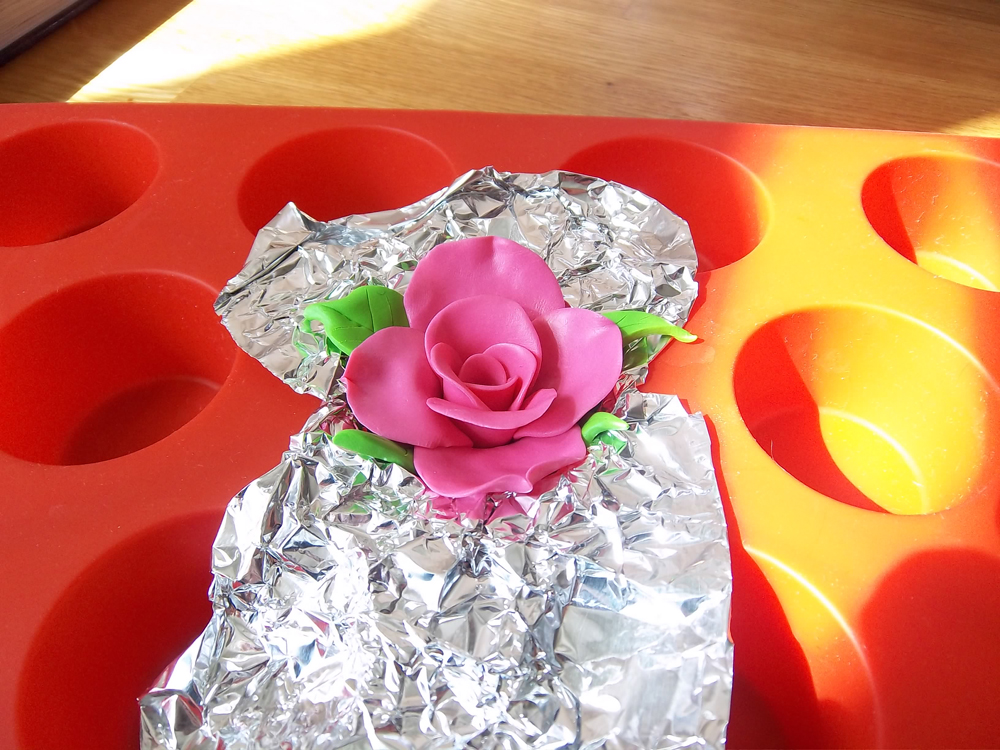
It is at this stage you are ready to fit your design to the ring blank. I chose a round one as the most suitable for this design. Sit your flower into the setting and push it down so it starts to mould to the shape. If necessary add some extra Fimo to fill any gaps and smooth to a neat finish. (If your flower is looking a little top heavy, now would be the time to cut it down. Simply take a slice off the base and mould back together. In hindsight I should have done this with my design as it does sit very tall, but I do rather like the boldness!)
You are now ready to bake your flower. Follow the instructions carefully setting your oven to its lowest temperature (110C or 230F). As this is quite a delicate design I decided to support the structure during baking to prevent any drooping. I placed aluminium foil into a silicon cupcake mould and placed the flower inside. Using this mould meant my design was fully supported throughout the heating process. Bake for a maximum of 30 minutes and allow to cool.
Once cooled smooth out any imperfections under running water using the Grind n, Polish set.
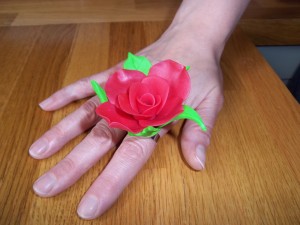
Finally glue your flower onto your ring blank and support whilst it dries.
Now step back and admire…
I love working with Fimo! It really is a great material that has so many positives. It is easily worked, yet durable and the extensive colour range means that the possibilities are endless in design terms. It also doesn’t dry out quickly if left out which is great as it means no wasted material (great for kids and great if you are a parent and have to keep putting things down mid project!!). Finally I must mention cost. It literally costs only a few pounds to get started. No specialist equipment is required and all you really need is a block of Fimo and your imagination which is fantastic.
I really hope this project will inspire some of you to try Fimo and perhaps think of it as more than simply something for the children. I think you will be pleasantly surprised by what can be achieved!

Cooksongold