Clay
-
Clay
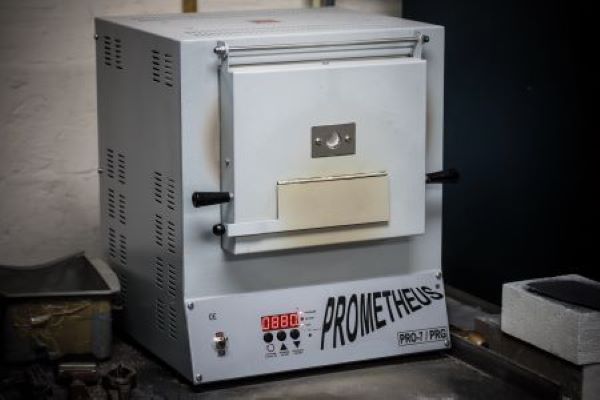
Torch Vs Kiln: What is the best for heating your silver clay?
Read PostWhen working with precious metal clay, choosing the right heating method can be a challenge, especially when weighing the benefits of torch firing versus kiln firing. Both approaches have their advantages and disadvantages and the best choice often depends on the specific needs and resources of the jeweller. Here’s a look at the pros and […]
-
Clay
Everything You Need to Know About Silver Clay
Read PostHere is a list of all our content on silver clay, there is a video and article available for each of these, providing you with everything you need to know about silver clay.
-
Clay
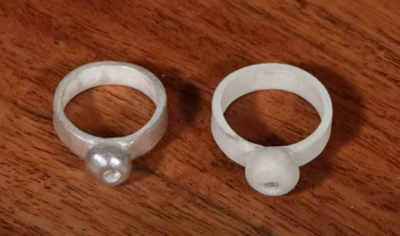
How Much Does Silver Clay Shrink When Fired?
Read PostWhen making something out of silver clay, it is important to know that your silver clay will shrink when it has been fired. Be sure to know what the shrinkage rate of the specific clay you have as all silver clay shrinkage rates may differ. You will find this information on the back of the […]
-
Clay
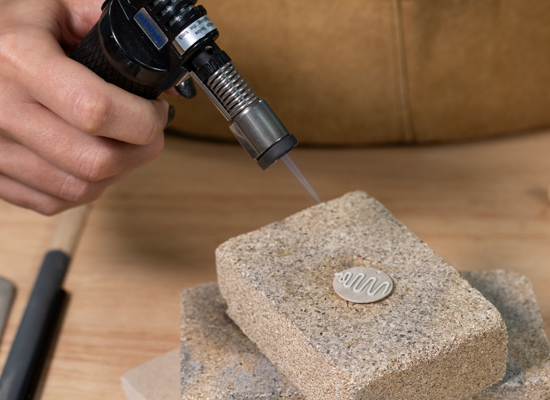
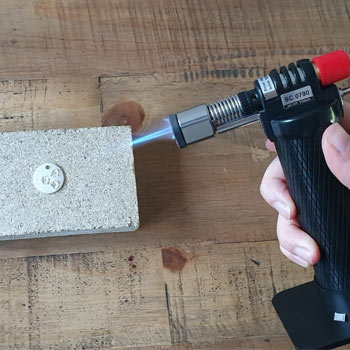
How To Torch Fire Silver Clay?
Read PostWhen firing silver clay, choose the technique that works best with your tools and surroundings. The beauty of working with silver clay is that it can be fired using a hand torch or a kiln. So whatever level you’re at, firing silver clay is simple to do at home. In this article, we are going […]
-
Clay
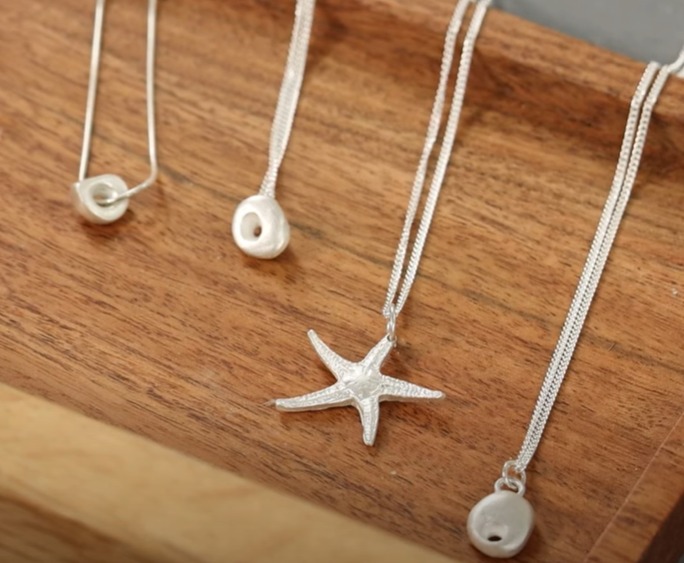
How to Make Findings with Silver Clay
Read PostAfter you have created your silver clay piece, it is important to think about how you are going to turn those pieces of silver clay into pieces of jewellery. This can be done using findings. In this article, we will discuss four options on how to make or attach findings to your silver clay piece, […]
-
Clay
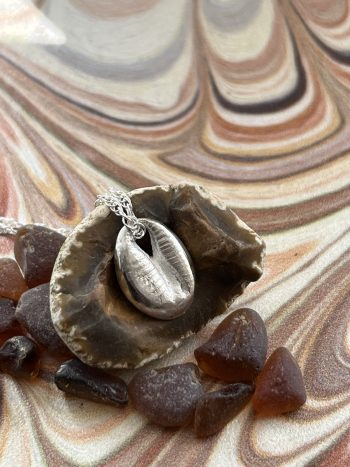
Introduction To Silver Clay
Read PostSilver clay is made up of fine silver particles, or powder, combined with an organic binder and, at face value, will have a similar look and feel as your standard porcelain clay. However, when you do open a packet of your chosen silver clay, you will immediately notice the weight difference. This is due to […]
-
Clay
What Is Silver Clay? – Silver Clay FaQs
Read PostGetting started with silver clay? Here’s a selection of FAQs to provide you with all the information you need. What is silver clay? Silver clay is a soft pliable clay that can be shaped with your fingers that is made up of silver particles, water and an organic binder. Silver clay is shaped using your […]
-
Clay
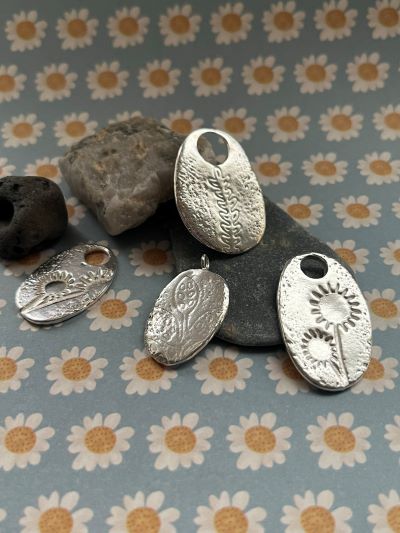
How to Make Moulds for Your Silver Clay
Read PostIt is important to create moulds of some of your favourite items or pieces so you can make them using silver clay. In this article, we will talk through how to create moulds and what you will need to do this. This is a very versatile technique and can be used to create some unique […]
-
Clay

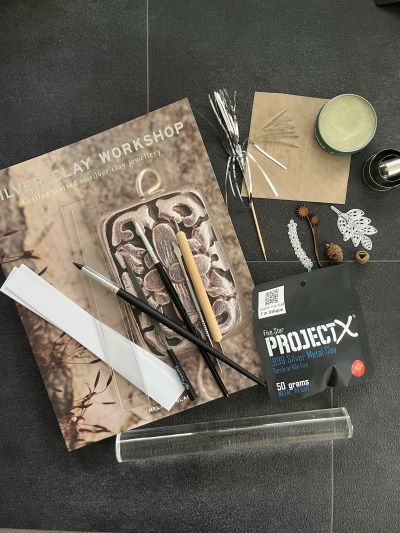
Project X FAQs
Read PostGetting started with Project X? Here is a selection of FAQs to provide you with all the information you need. Project X silver clay delivers a user-friendly experience showcasing excellent results to its customers. This silver clay focuses on its versatility, construction capabilities and higher sintering levels, making it a great choice for jewellers aiming […]
-
Clay
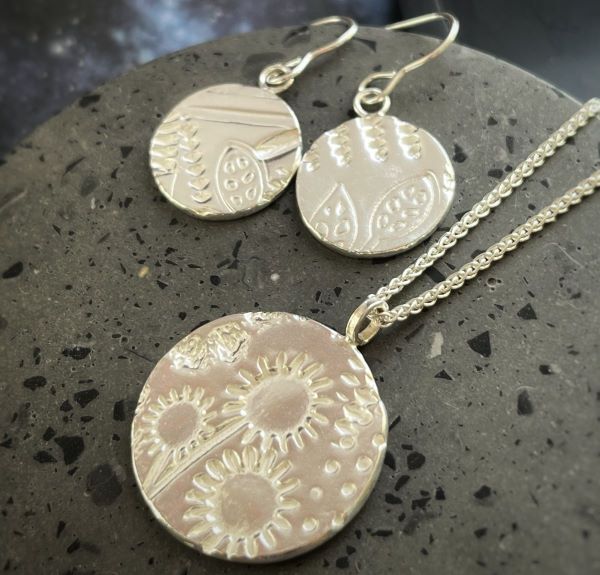
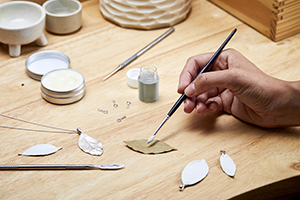
Textured Silver Clay Earrings and Pendant
Read PostStep 1 Unwrap the silver clay and place on a smooth wipeable surface. You could cover the surface in balm to ensure the silver clay can be removed or lifted easily. This project uses 50g of silver clay and will produce many pieces of jewellery. Step 2 Place the acrylic strips either side of the […]
-
Clay
Silver Clay Jewellery Making: Top Tips
Read PostWorking with silver clay for the first time can be overwhelming. From knowing how to correctly shape your piece, to firing and dealing with any beginner mistakes, as with all areas of jewellery making, having the right know how is essential. As part of our new How to Make Jewellery hub, we’re here to help […]
-
Clay
Silver Clay Glossary
Read PostGetting started with silver clay jewellery making? Read our useful glossary on all things silver clay to help you on your journey