Looking for a new stone setting technique to expand your offering? Learning how to gypsy set a stone is an excellent place to start, as you should be able to pick up the technique in good time and begin creating some sleek and unique designs. Discover all the tools and tips needed for using the gypsy stone setting below.
What is the gypsy stone setting?
Before you begin to learn how to gypsy set a ring, it’s essential you understand the fundamentals of the design. Traditionally, a gypsy setting ring (otherwise known as the flush setting) has a similar appearance to the bezel setting. In both techniques the stones appear to be flush with the metal, however in the gypsy setting, the stones are sunken into the metal rather than set in place with metal around the rim. Gypsy setting engagement rings are quickly becoming a popular option for brides to be, as it is widely known as one of the most secure types of setting for your stone or diamond.
Tools needed for the gypsy setting
Now you know what a gypsy stone setting is, it’s time to start gathering all the tools needed for the job. Before you start the process, make sure you have:
- A selection of burrs: For this setting you’ll need a bud burr and a setting burr to create a groove for the stone.
- A burnisher or a pusher: Use a burnisher or a pusher to ensure the stone is secure in the groove.
- A Dremel and Flexshaft: Ideal for using with a burr, a Dremel and Flexshaft will make the process smoother and faster.
- A bench vice: A bench vice will help to keep the ring (or whatever you’re working on) secure.
How to make a gypsy setting ring: step by step
Whether you’re just starting out with this technique or need to brush up on your knowledge, we’ll talk you through how to gypsy set a stone – step by step.
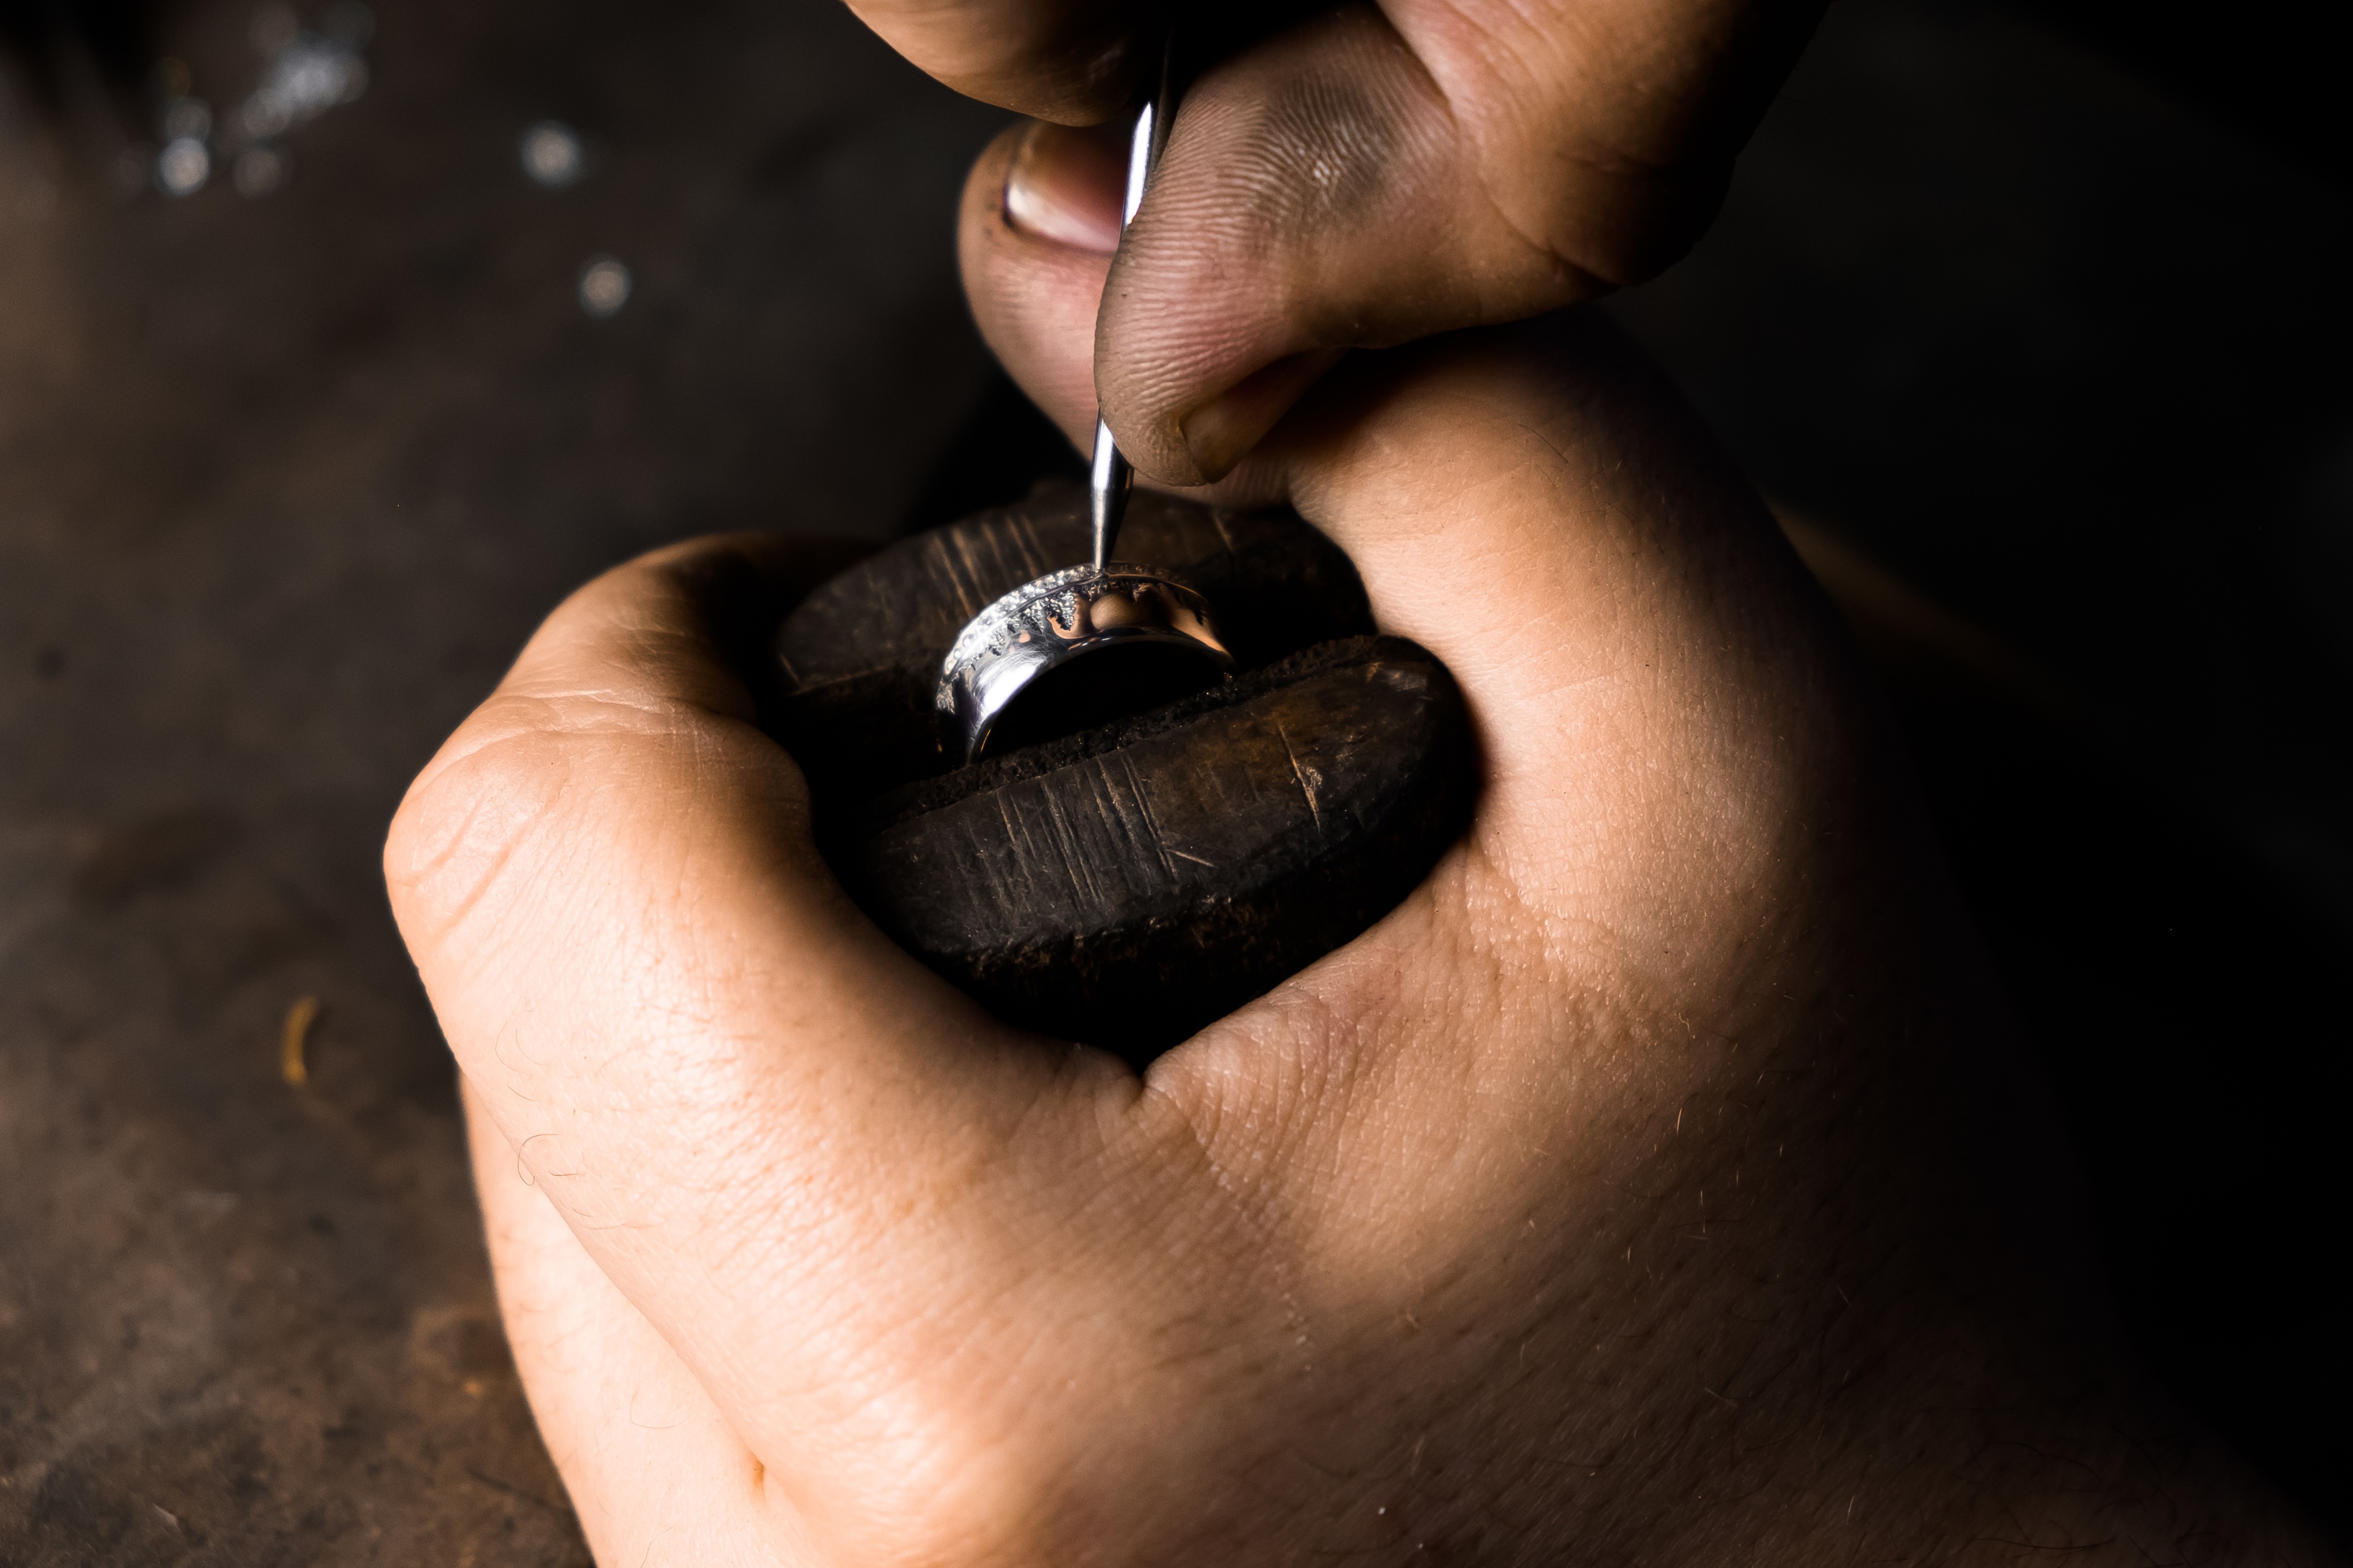
- The first step is to measure the diameter of the stone you’ll be setting from the pavilion facets. Next, use your bud burr to create a small cut in the ring where you’d like the stone to sit. Then, with the same bud burr (preferably no larger than 1.0 mm), drill all the way through the metal.
- Next, you’ll need to remove more metal with a wider stone setting burr. Drill down until the hole is approximately ¾ of the stone’s diameter without drilling all the way through – and then lubricate the burr so that the tool remains sharp. The final step in the drilling process is to use a stone setting drill the same size of the stone’s diameter, remembering to leave enough metal underneath so that the stone is fully supported.
- Once the seat has been created, test to see the fit of the stone. If the stone is too big for the seat, repeat with the stone setting burr slowly, and keep checking to see if it fits. Top tip: Try to avoid making the hole too large as this will make it much harder to make the stone secure.
- Using a rounded burnisher, push the stone into place. Gradually add more pressure, starting with your finger, then your fingernail, and then gently with the burnisher or pusher. By pressing down on the surrounding metal at the same time, the stone should eventually click into place. Before you finish, use the burnisher to smooth the metal and tighten the stone.
When you’ve completed all of the above steps, you’re good to go. So now you know how to flush set a stone, why not give it a try yourself? Just make sure you have all the jewellery tools you need from Cooksongold. Looking to try your hand at some other stone setting techniques? Discover 8 more types of stone settings over on our blog.

Cooksongold