 Pear shaped stone jewellery has existed for centuries. Although less common now, settings for pear shaped stones include bezels, prongs, tension and more. Perfect for creating an elegant yet unique look, we’ll show you how to set a pear shaped stone step by step, the tools needed and the best gemstones for the job.
Tools needed for pear shaped stone settings
Prior to starting your pear shaped stone settings, you’ll need a few key pieces of kit. Here’s what we recommend you stock up on before you get stuck in:
- Copper sheet.
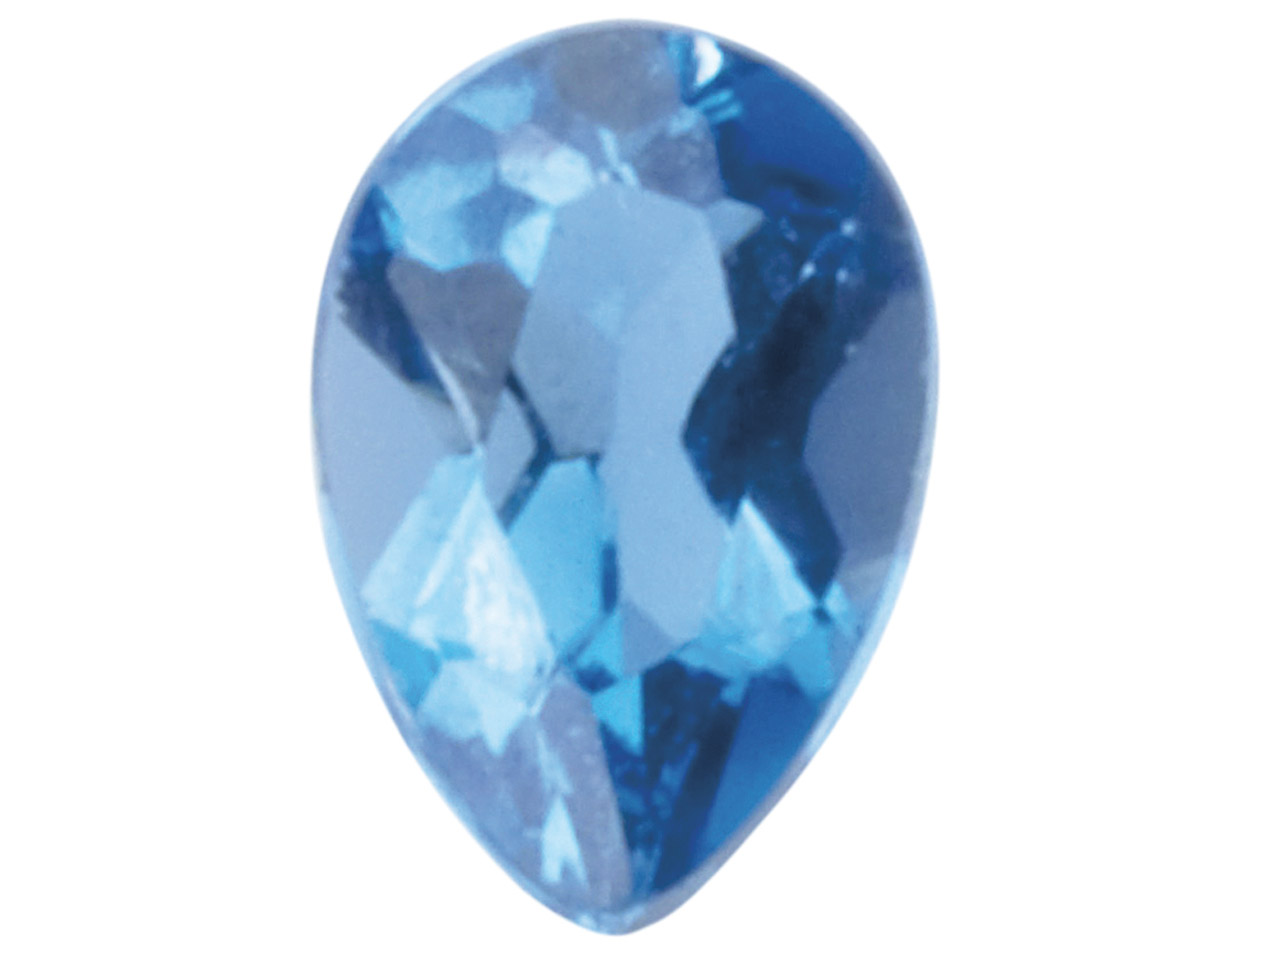
- A gemstone.
- Sanding pads.
- Dremel and flexible shaft.
- A cotton buff/mop and rouge.
- Burr Life.
- Cup burrs.
- Jeweller’s saw frame and blades.
- Half round needle file.
- Flat hand file.
- A rawhide mallet.
- A burnisher.
- Pitch.
- Binding wire.
- Copper wire.
- Hand torch.
- Pickling solution.
- Polymer Clay.
- A digital slide gauge.
- Dividers.
- Steel square.
- Mitre cutting vice jig.
- A pusher.
The best stones to use for this setting
Now you know the tools needed for the job, you might be wondering about the types of stone you can use. There are a number of different pre-cut pear shaped gemstones on the market, including sapphire, emerald, peridot, topaz and more. With these, you can jump right into learning how to set a pear shaped stone. Although, if you already have a specific gemstone in mind, that’s fine too. If you have an interest in faceting, you can learn how to cut a pear shaped stone online.
How to set a pear shaped stone in a bezel: step by step
So, out of all the settings for pear shaped stones, the bezel setting is one of the most common. Ready to get started? Here’s how to set a pear shaped stone in a bezel setting, step by step:
- Determine the length of the bezel strip. To do this, ease the stone into a slab of polymer clay (it doesn’t matter which way up), just make sure that the girdle is level with the top of the clay. Wrap the copper wire around the edge of the stone then use a marker pen to highlight where the wires cross.
- Next, straighten out the wire, measure and then add 0.5 mm to the two bevelled edges. Use the gauge to measure the depth of the stone and round up slightly to allow for a little extra room. Set the dividers to a ruler and make a note of the stone’s width on the copper sheet, and then do the same for the length.
- Cut and square the bezel strip. The next step in the process is to cut the copper sheet into a bezel strip with your saw. Use a steel square to ensure the strip is as squared off as possible. Or if you fancy saving some time, you can purchase pre-cut bezel strips in a range of different alloys and styles – so you can choose the most appropriate one for your design.
- Bevel the ends of the strip. The easiest way to do this is to use a cutting vice and jig. Use the 45° angle to mitre the edges and then file the angle a little steeper where the tips of the metal will sit together.
- Shape the bezel strip. To shape the strip, you’ll need to use one of the following: a bezel mandrel, a dapping punch, a ring mandrel or a wooden dowel – depending on the size of your stone. Wrap the strip around whichever utensil you used until you form the pear shape of your stone. Check to see if it fits, then anneal until you have made it fit snugly.
- Solder the strip. Once the stone fits perfectly in the strip, it’s time to solder. Use binding wire around the bezel to keep it in place, and use a hard solder on the first join. Then continue to solder as normal.
- Make an inner shoulder to support the stone. To make a seat for the stone to sit on in the bezel, take some bezel wire and wind it into the shape of the stone. Then, place it inside the bezel and check to see if it supports the stone. If it does, solder the seat onto the bezel. Top tip: when soldering, look for a continuous line of silver running along both of the interior edges.
- Smooth the edges. Prior to finishing the setting, you’ll need to make sure the sides are smooth and even. To do this, drag the bezel down your flat hand file and then use your sanding pads until it’s completely flat.
- Set the stone. Gently push down on the stone, in the shape of a cross. Then, push down in another cross in the areas that you missed. Using your pusher, slowly push the wall of the bezel towards the tip of the stone. Repeat until the seam is smooth all the way around. Next, take your burnisher and burnish the bezel wall down over the gem until the seam is practically invisible.
- Finish off the setting. Take your Dremel tool and add a sanding attachment to ensure there are no bumps on the rim of the bezel, descending in the grits as you go. Then use a burnisher to polish and smoothen the bezel wall. Finish off with a cotton polishing pad and some rouge to ensure your work is as shiny as possible.
And you’re done! Now you know how to set a pear shaped stone successfully, it’s time to give it a go yourself. Looking for more ring settings for pear shaped stones? Discover pre-made pear shaped settings today, or try your hand at some of our advanced gemstone setting techniques in our visual guide below.


Cooksongold