 If you’re a fresh face in the jewellery making industry, you’re probably still getting to grips with all the tools you’ll need for your projects.
Got a lot of questions?
Don’t worry. We’re here to talk you through one of the most versatile jewellery tools – the mandrel tool. Predominantly used with rings, discover what a mandrel is, our guide to using a mandrel and the different types available, below.
What is a mandrel?
First things first, what is a mandrel exactly? A mandrel, or triblet, is a long, thin jewellery tool with a tapered end. Its shape makes it ideal for use in a variety of different metal forming projects. However, mandrels come into their own when shaping or resizing rings. So, whether you need a hand with creating rings from scratch or you’re looking to offer ring resizing as a service, you’ll need to pick up a mandrel tool.
What is a mandrel used for?
So, what is a mandrel used for? There are several different ways you can go about it, including:
- Measuring ring size. This is a quick and easy way to gauge a customer’s ring size by using one of their pre-existing rings.
- Creating rings from scratch. A key part of the ring making process is shaping, so mandrels are perfect to help you bend the metal into shape.
- Resizing rings. If a ring is a little on the small side, a ring mandrel can be used to increase the size of the band by at least a couple of sizes.
How to use a mandrel to create a new ring
The process of using a mandrel tool to form rings is very simple. Once you’ve soldered and pickled the metal, all you need to do is:
- Place the strip of metal on the mandrel so it aligns with the correct size.
- Continuously tap the metal with a rawhide mallet until it starts to take shape.
- Every so often, take the metal off the mandrel to assess the shape, swap sides and continue tapping until it is even on both sides.
How to use a mandrel to stretch a ring
Now you know how to use a mandrel to shape rings, it’s time to learn how to stretch a ring with a mandrel. Just follow these straightforward steps and give it a go yourself:
- Make a note of the current size of the ring. Then, protecting any stone settings with your finger, place the ring onto the mandrel.
- Hit the back of the ring with a rawhide mallet (any other hammer will mark the metal) and continue to do so while directing the strikes downwards.
- Repeat the action on the other side of the ring, frequently swapping sides to guarantee an even stretch.
- Refer to the original size of the ring and keep checking until it becomes the desired size.
- To finish, use a Dremel tool with a polishing wheel attachment and some rouge to enhance the shine.
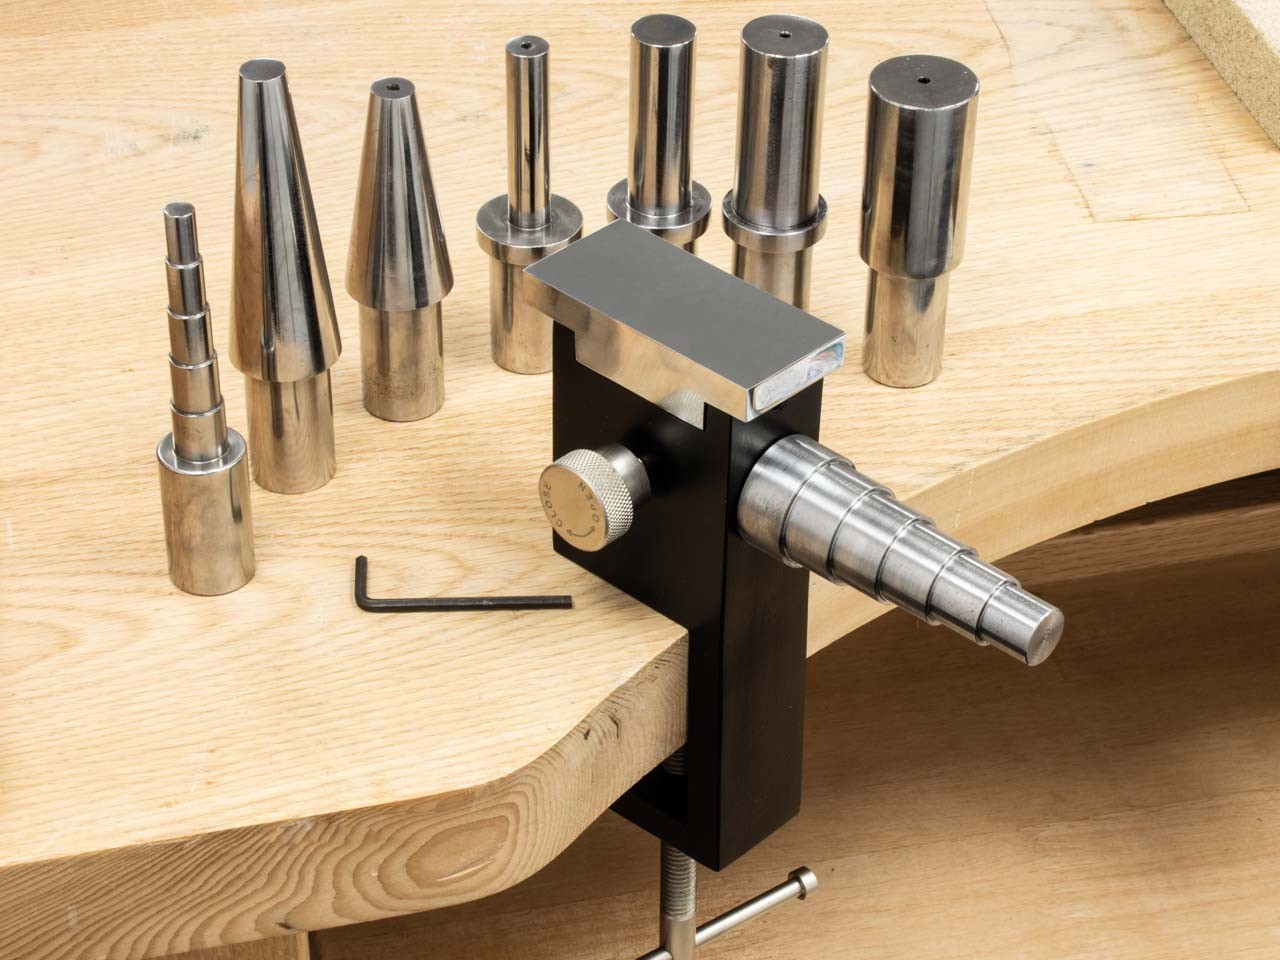
Different types of mandrel
 Mandrels can be found in several different styles and are used for a number of different techniques. If you’re looking for a classic mandrel to use with rings, opt for a steel mandrel with the sizes engraved on the side. If you’re looking to get creative with your jewellery designs, you can purchase a set of design mandrels that come in a selection of different shapes. For more intricate processes such as making settings or connectors, you can find mini round forming triblets that are perfect for the job.
Now that we’ve covered what a mandrel tool is, how to use a mandrel and the types of ring mandrel you can purchase, it’s time to pick up a selection of your own to support your jewellery making goals. Or, for more tips and advice, head to the Beginner’s Guides section of our blog and discover how to take your work to the next level.

Cooksongold