by John Ross
Give friends or loved ones something handmade to keep their precious jewellery items safe – find out how to make a trinket box for storing jewellery with our simple how-to guide.
You will need:
- Adjustable Saw Frame (999 738)
- Grade 2 Saw Blades (999 4353)
- Planishing Hammer (997 3111)
- Rawhide Mallet (997 3118)
- Round Plain Triblet (997 3616)
- Planishing Dome Stake (997 174D)
- Steel Soldering Probe (999 AAFA)
- Hand Torch (999 955)
- Short length of clean 20mm Steel Bar
- Sterling Silver Sheet 0.6mm thick (CSA 060)
- Enamelling Silver Solder Strip (CTE 500)
- Hard Silver Solder Strip (CTD 500)
- Tenacity No.5 Flux Powder (PZZ 050)
- Argotect (PZZ 090)
- Methylated Spirit
How to make a silver jewellery box:
Step 1 – Getting Started
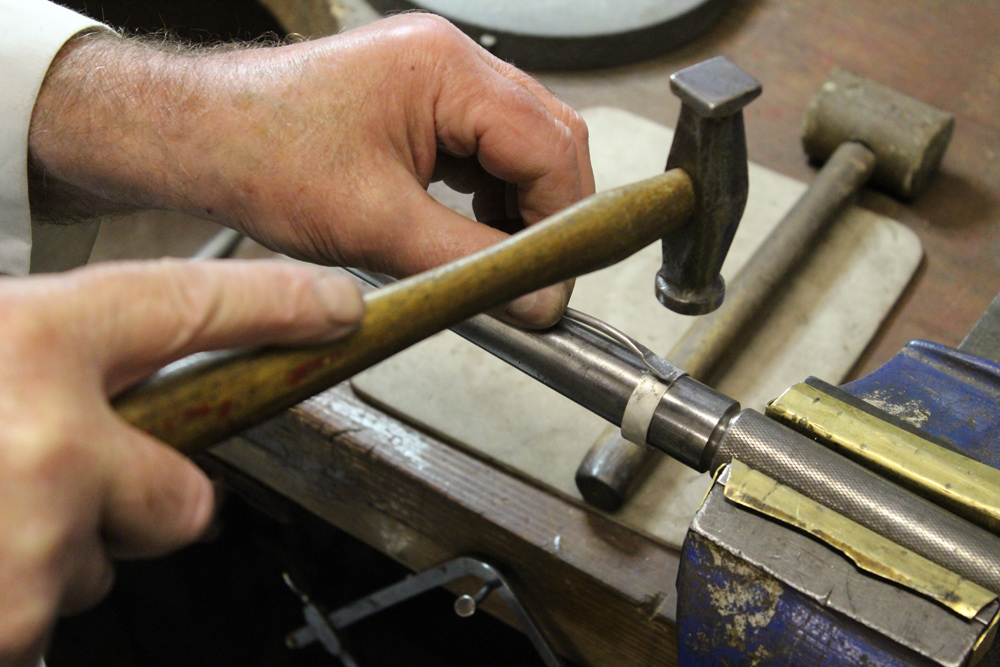
The first step to making your simple silver jewellery box is to take a piece of 0.6mm sterling silver sheet sized 85mm x 10mm. Using the steel bar, bend the sheet using the rawhide mallet. File a neat joint surface and solder together using enamelling solder.
Pickle the silver outer body of your silver trinket box, clean and dry. Then hold a small piece of lead and lightly hammer through the lead onto the soldered seam, using the triblet and planishing hammer… This will gently lay the seam flush on the inside without distorting the main body of your silver jewellery box.
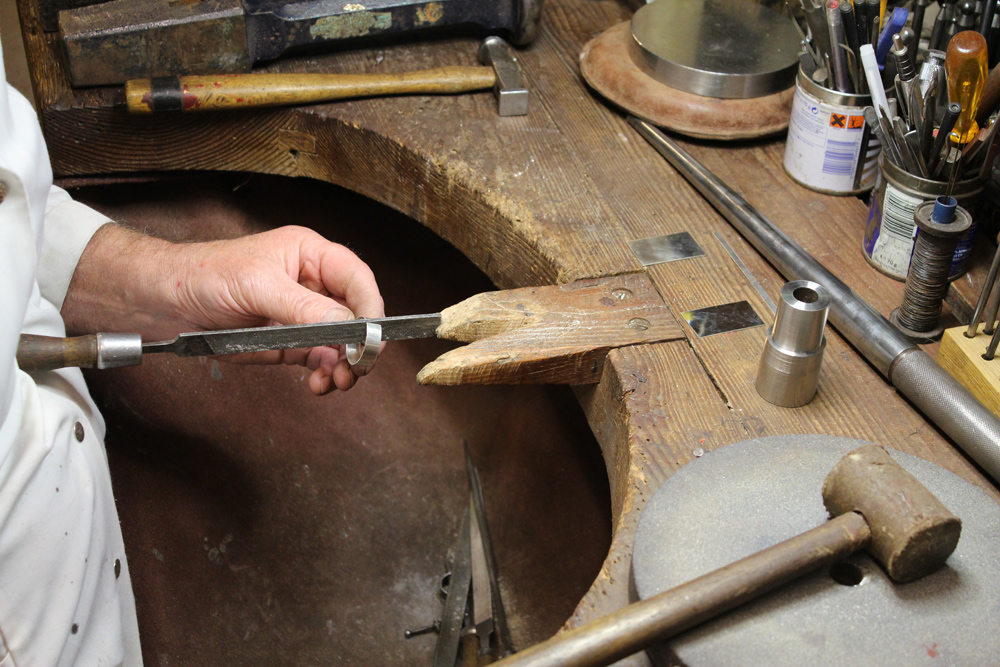
Finally, using a fine file clean any excess solder and material from the outside edge.
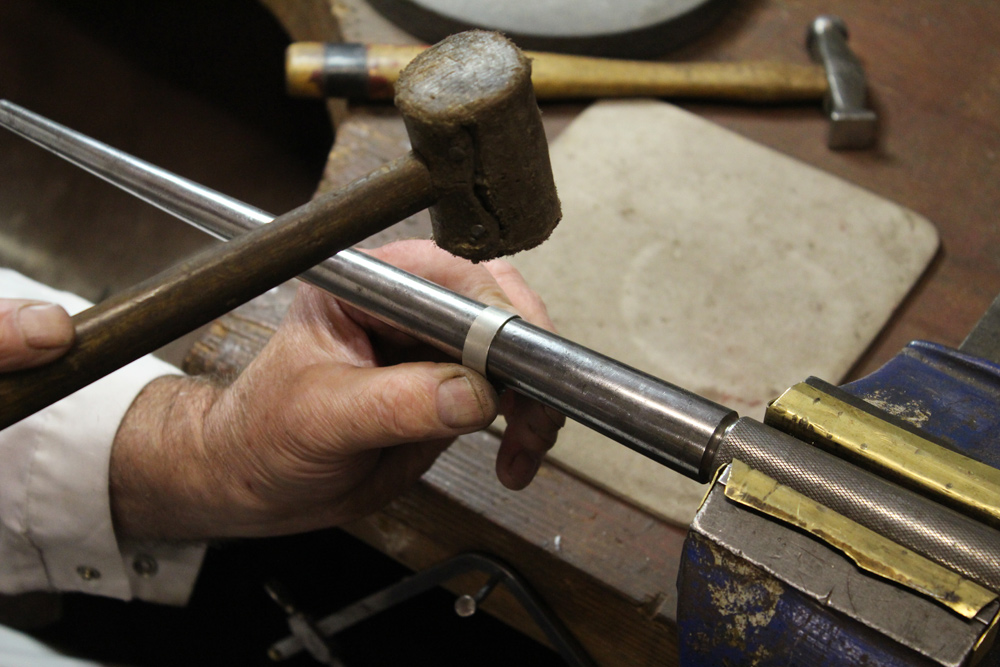
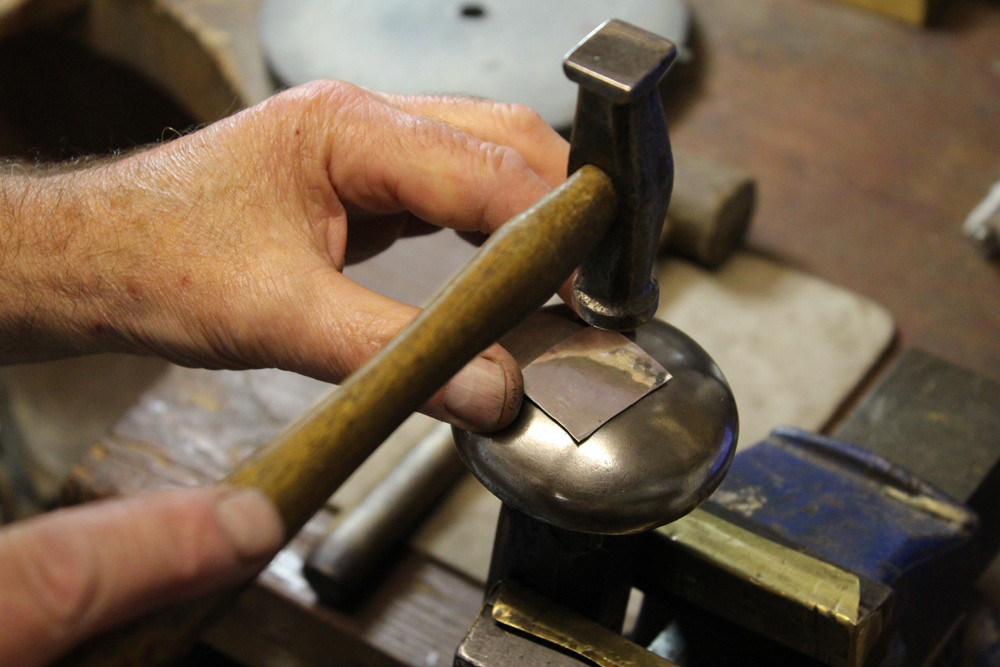
Step 2 – Hammer, Perfect the Edges and Polish
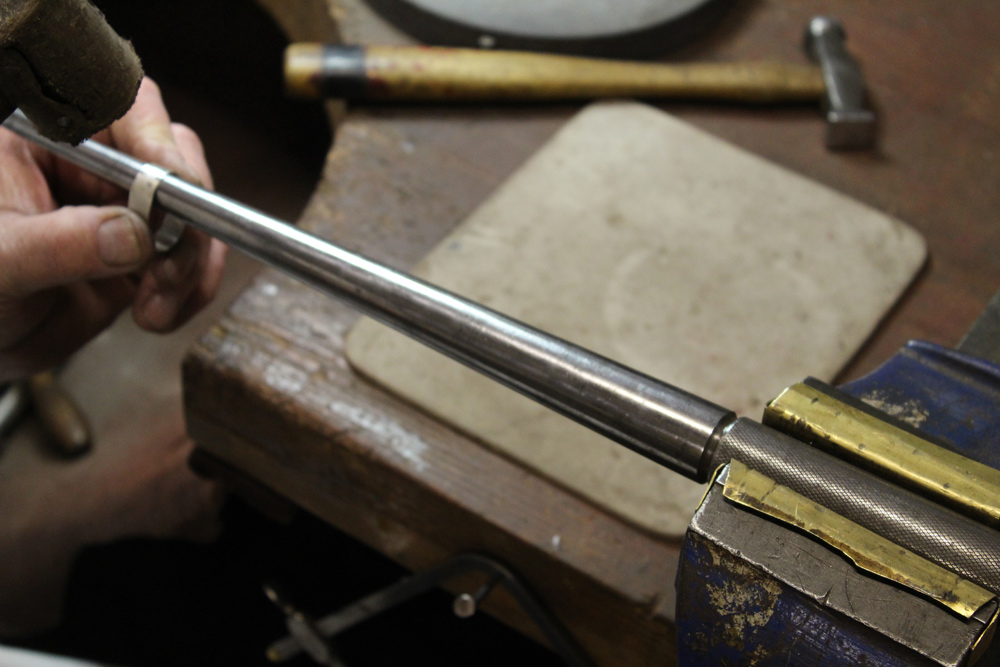
Using a rawhide mallet, hammer the body of your silver box lightly until egg shaped, hammering either end of the triblet alternately.
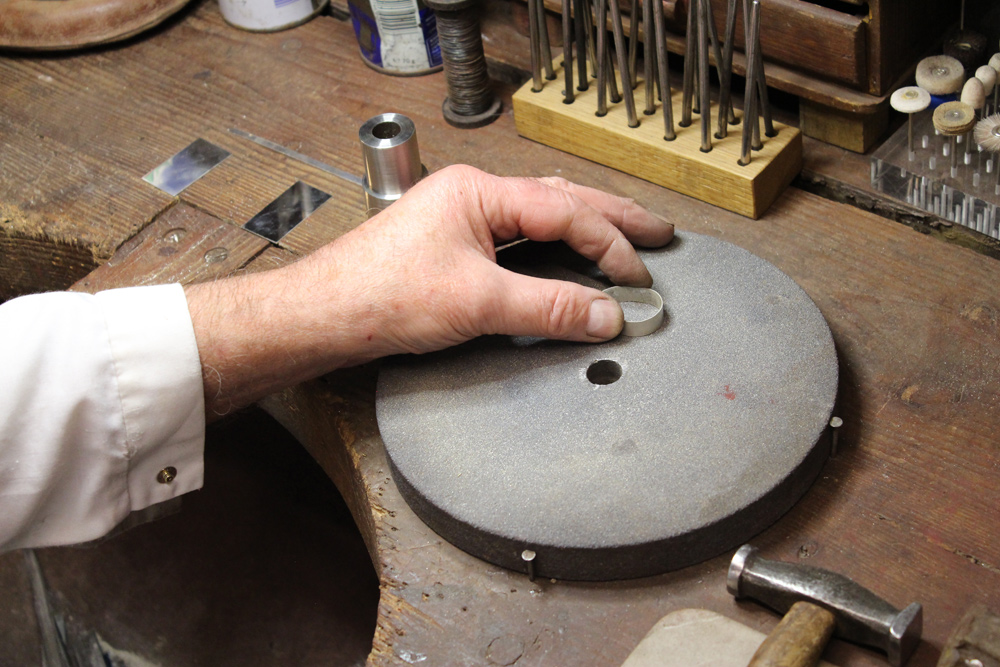
Using either a grind stone, or emery paper on a flat surface, grind the edges of the body of the jewellery box until flat, then use a circular motion to de-burr the edges. Polish the inside of the body.
Step 3 – Prepare and Solder
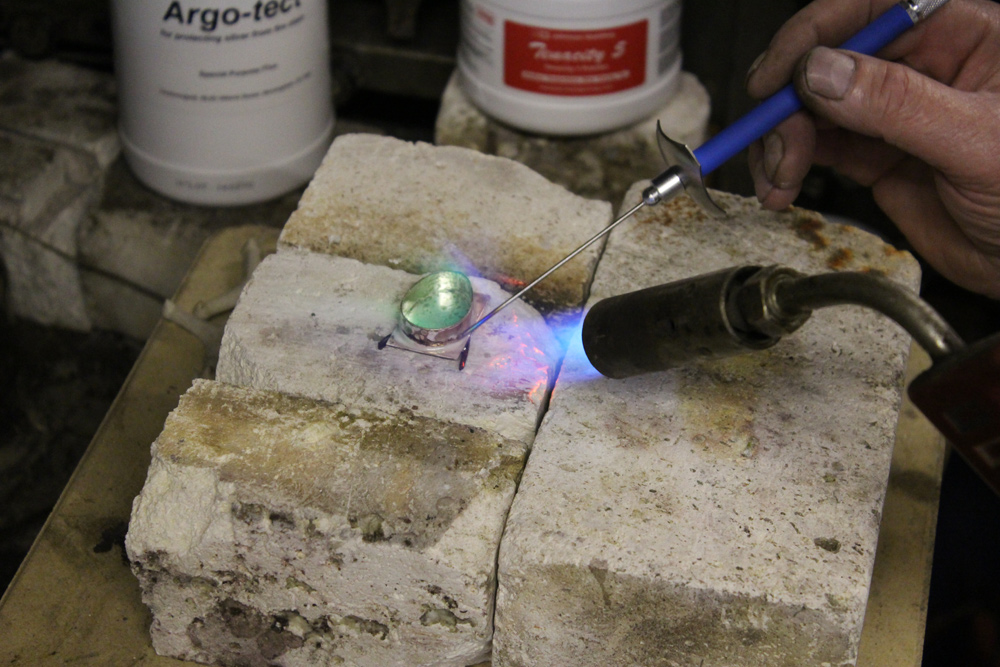
Take a piece of 0.6mm sterling silver sheet sized 25mm x 30mm and polish the surface – this will be the inside surface for the base of the silver jewellery box. Mix a thin paste using Argotect and methylated spirit and paint the polished inside surfaces of the jewellery box, as this will help to protect the polished surfaces from fire stain.
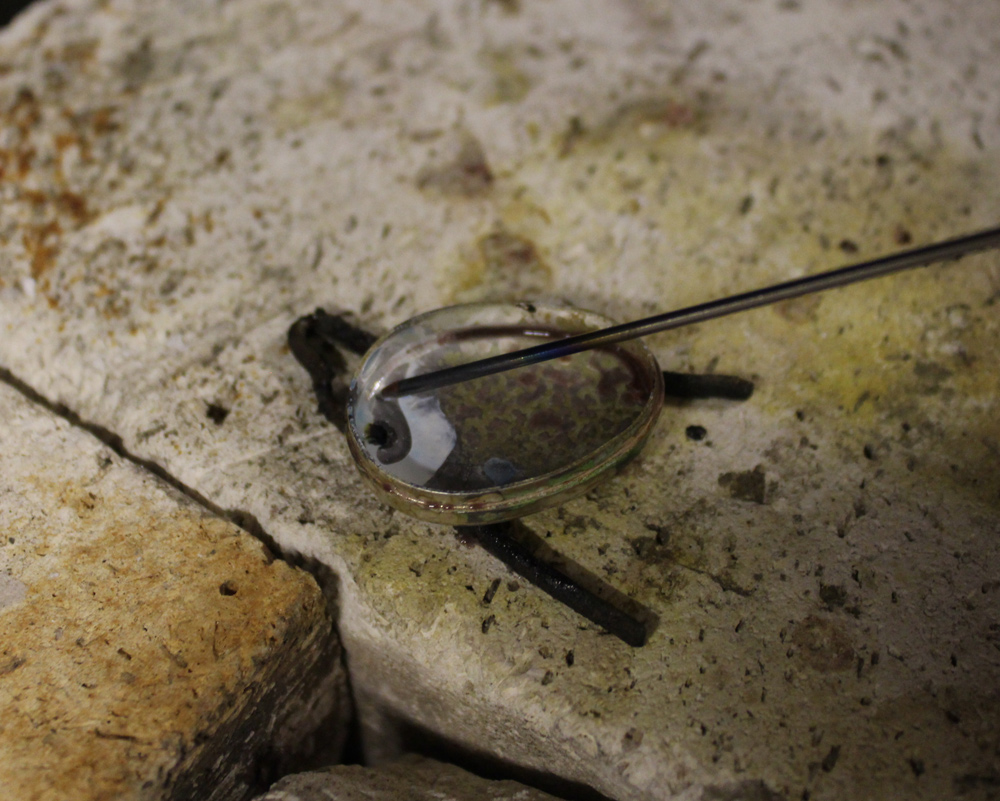
Allow the meths to dry or gently burn off, then apply a small piece of hard solder to the outside base of the main body and coax it around using the soldering probe whilst applying heat with the hand torch. This will enable the use of less solder.
Allow your simple silver jewellery box base to cool and place in a pickle to clean. Once clean and dry, cut the excess material away using a piercing saw.
Step 4 – Make the Lid
Take another piece of 0.6mm sterling silver sheet sized 25mm x 30mm and planish it onto the doming stake, hammering in circular rings from the middle working outwards until the sheet is lightly domed.
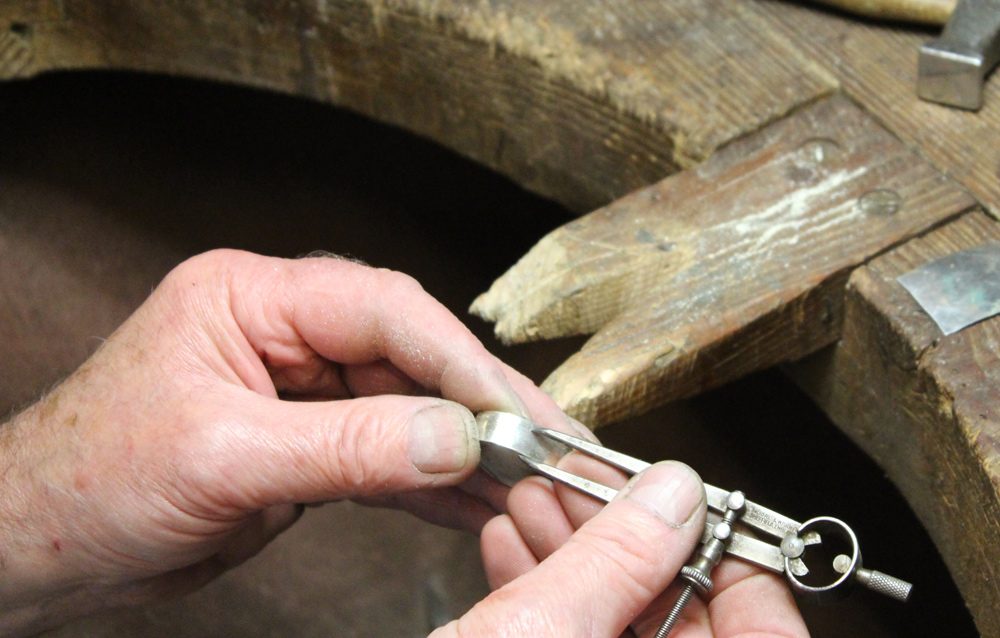
Lightly file the top edge of the main body of the jewellery box lid, until it fits comfortably onto the inside of the domed lid. Mark a line about 2mm from the top edge which is parallel with the flat base, then using a piercing saw carefully start to cut around the line. Only start and stop as soon as a small hole in the sheet appears – this is to act as an air vent during soldering.
Paint the inside surfaces of your silver box again with Argotect and solder the domed top to the main body, using the same technique as before then allow to cool and pickle until clean. Check to make sure that the cut hole is still open and if not carefully reopen it, then gently heat pointing the cut hole away from you into a suitable receptacle until the pickle is expelled from inside.
Step 5 – Polish the Lid
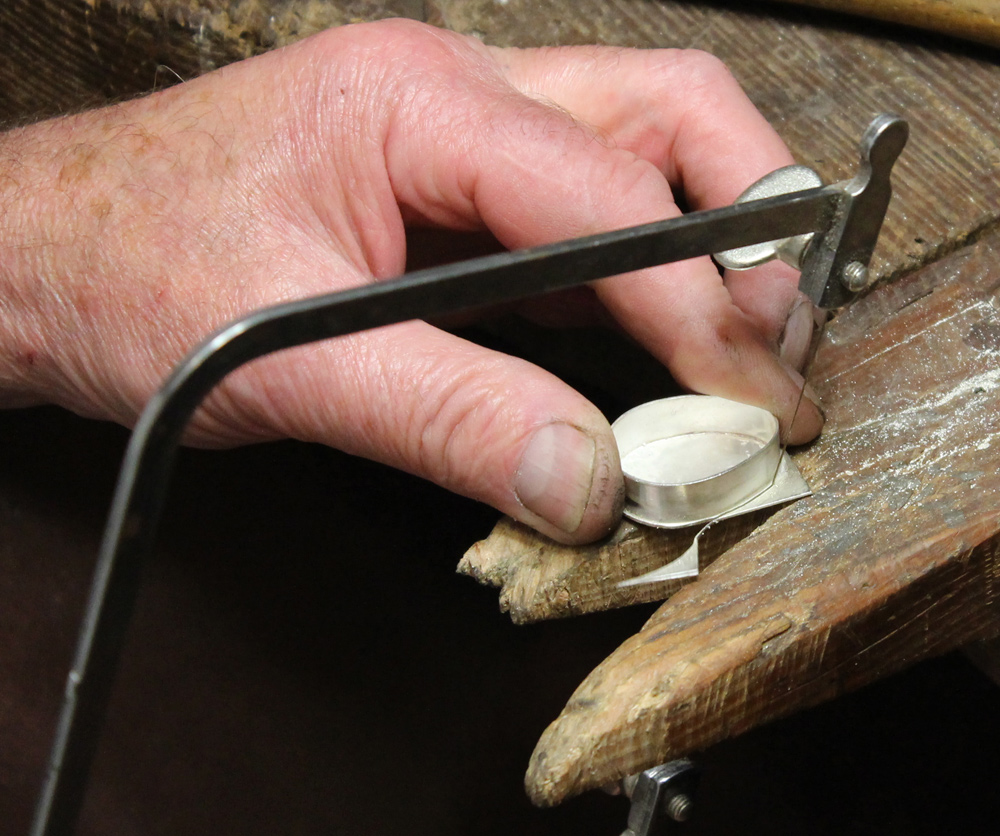
Using the piercing saw once again, cut off the excess material from around the top of the silver jewellery box lid, and file around the side of the box.
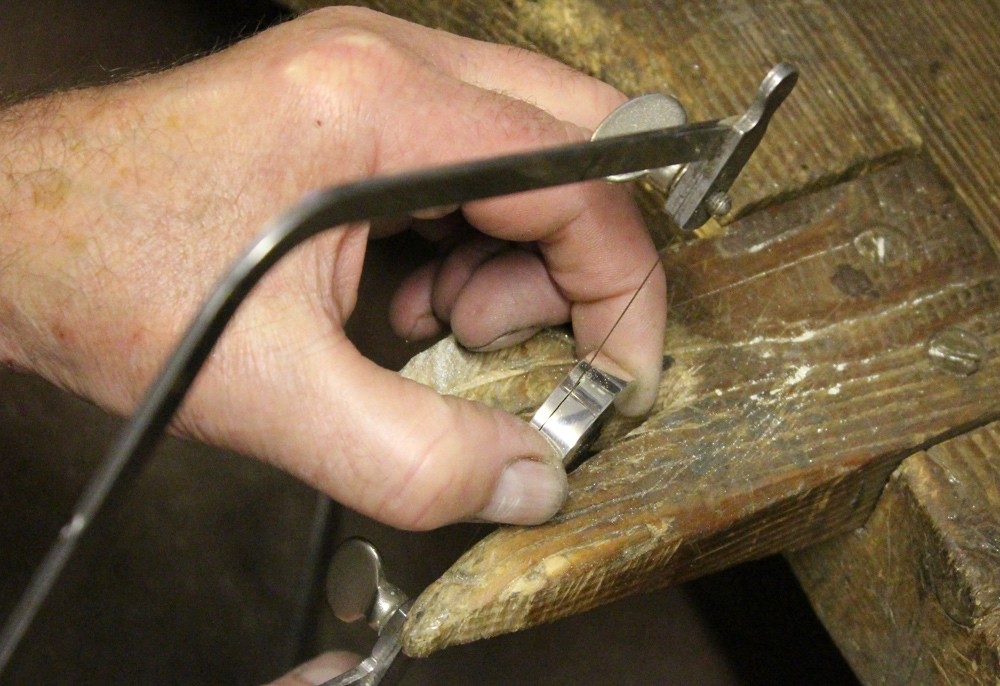
Remove any hammer marks on the top of the sterling silver jewellery box using a fine flat file and polish the whole box carefully, without rounding any sharp corners. Re-mark the line marking the cut line for the lid and complete by carefully cutting off the lid. Roll the saw forward whilst cutting to avoid cutting on the underside. Grind or sand the two cut surfaces until flat and de-burr.
Step 6 – Make the Bezel
Using a piece of sterling silver sheet sized 4mm x 85mm, shape into the silver jewellery box shape as before and carefully fit it into the inside of the cut lid.
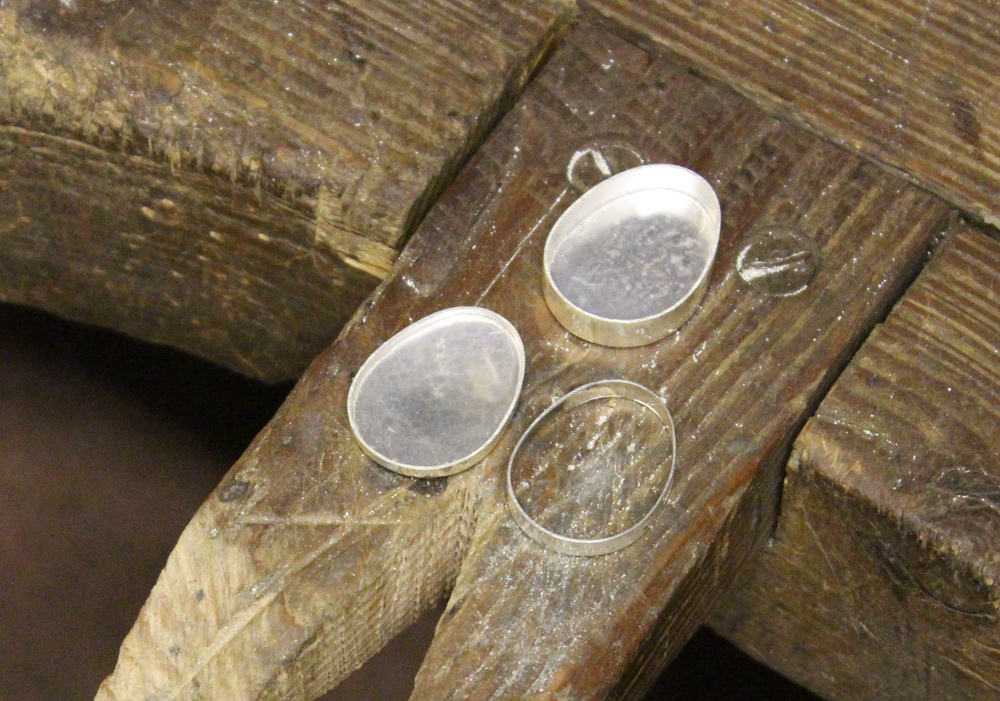
Solder the seam using enamelling solder, pickle the bezel and polish the inside edge as before in preparation for soldering into the lid.
Step 7 – The Finishing Touches
Paint the whole of the sterling silver trinket box lid inside and out, with Argotect, then solder the bezel in place into the lid using hard solder. Apply a small amount of solder into the inside edge only and coax it around using the soldering probe whilst applying heat.
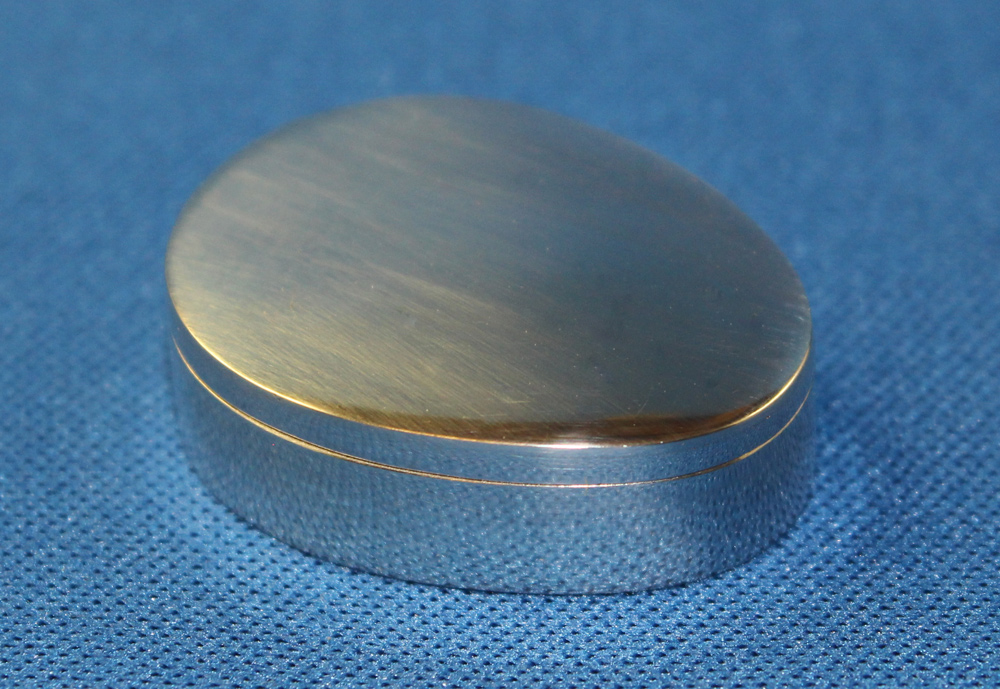
Pickle the whole silver jewellery box and, when clean, dry assemble the box and give it a final outside polish whilst assembled and polish inside. Degrease, and then you have your finalised sterling silver jewellery box.
Need to stock up on a few things to give this project a go in your own workshop? Find all the equipment you need to get started from our silver jewellery box equipment section…For more, find a printable version of this how to make a silver box guide today.

Cooksongold