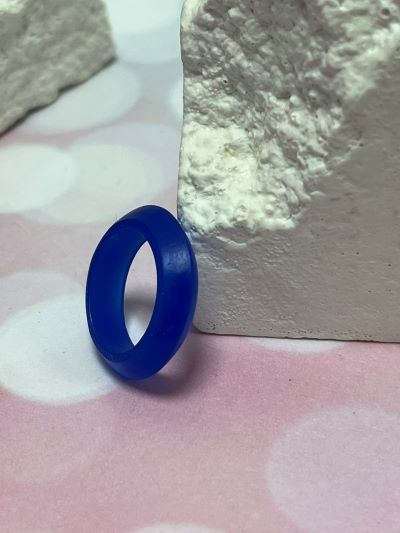
Follow these 10 easy steps to create this wax carved ring. Perfect for people who want to get started with wax carving.
To watch our step-by-step video, click here
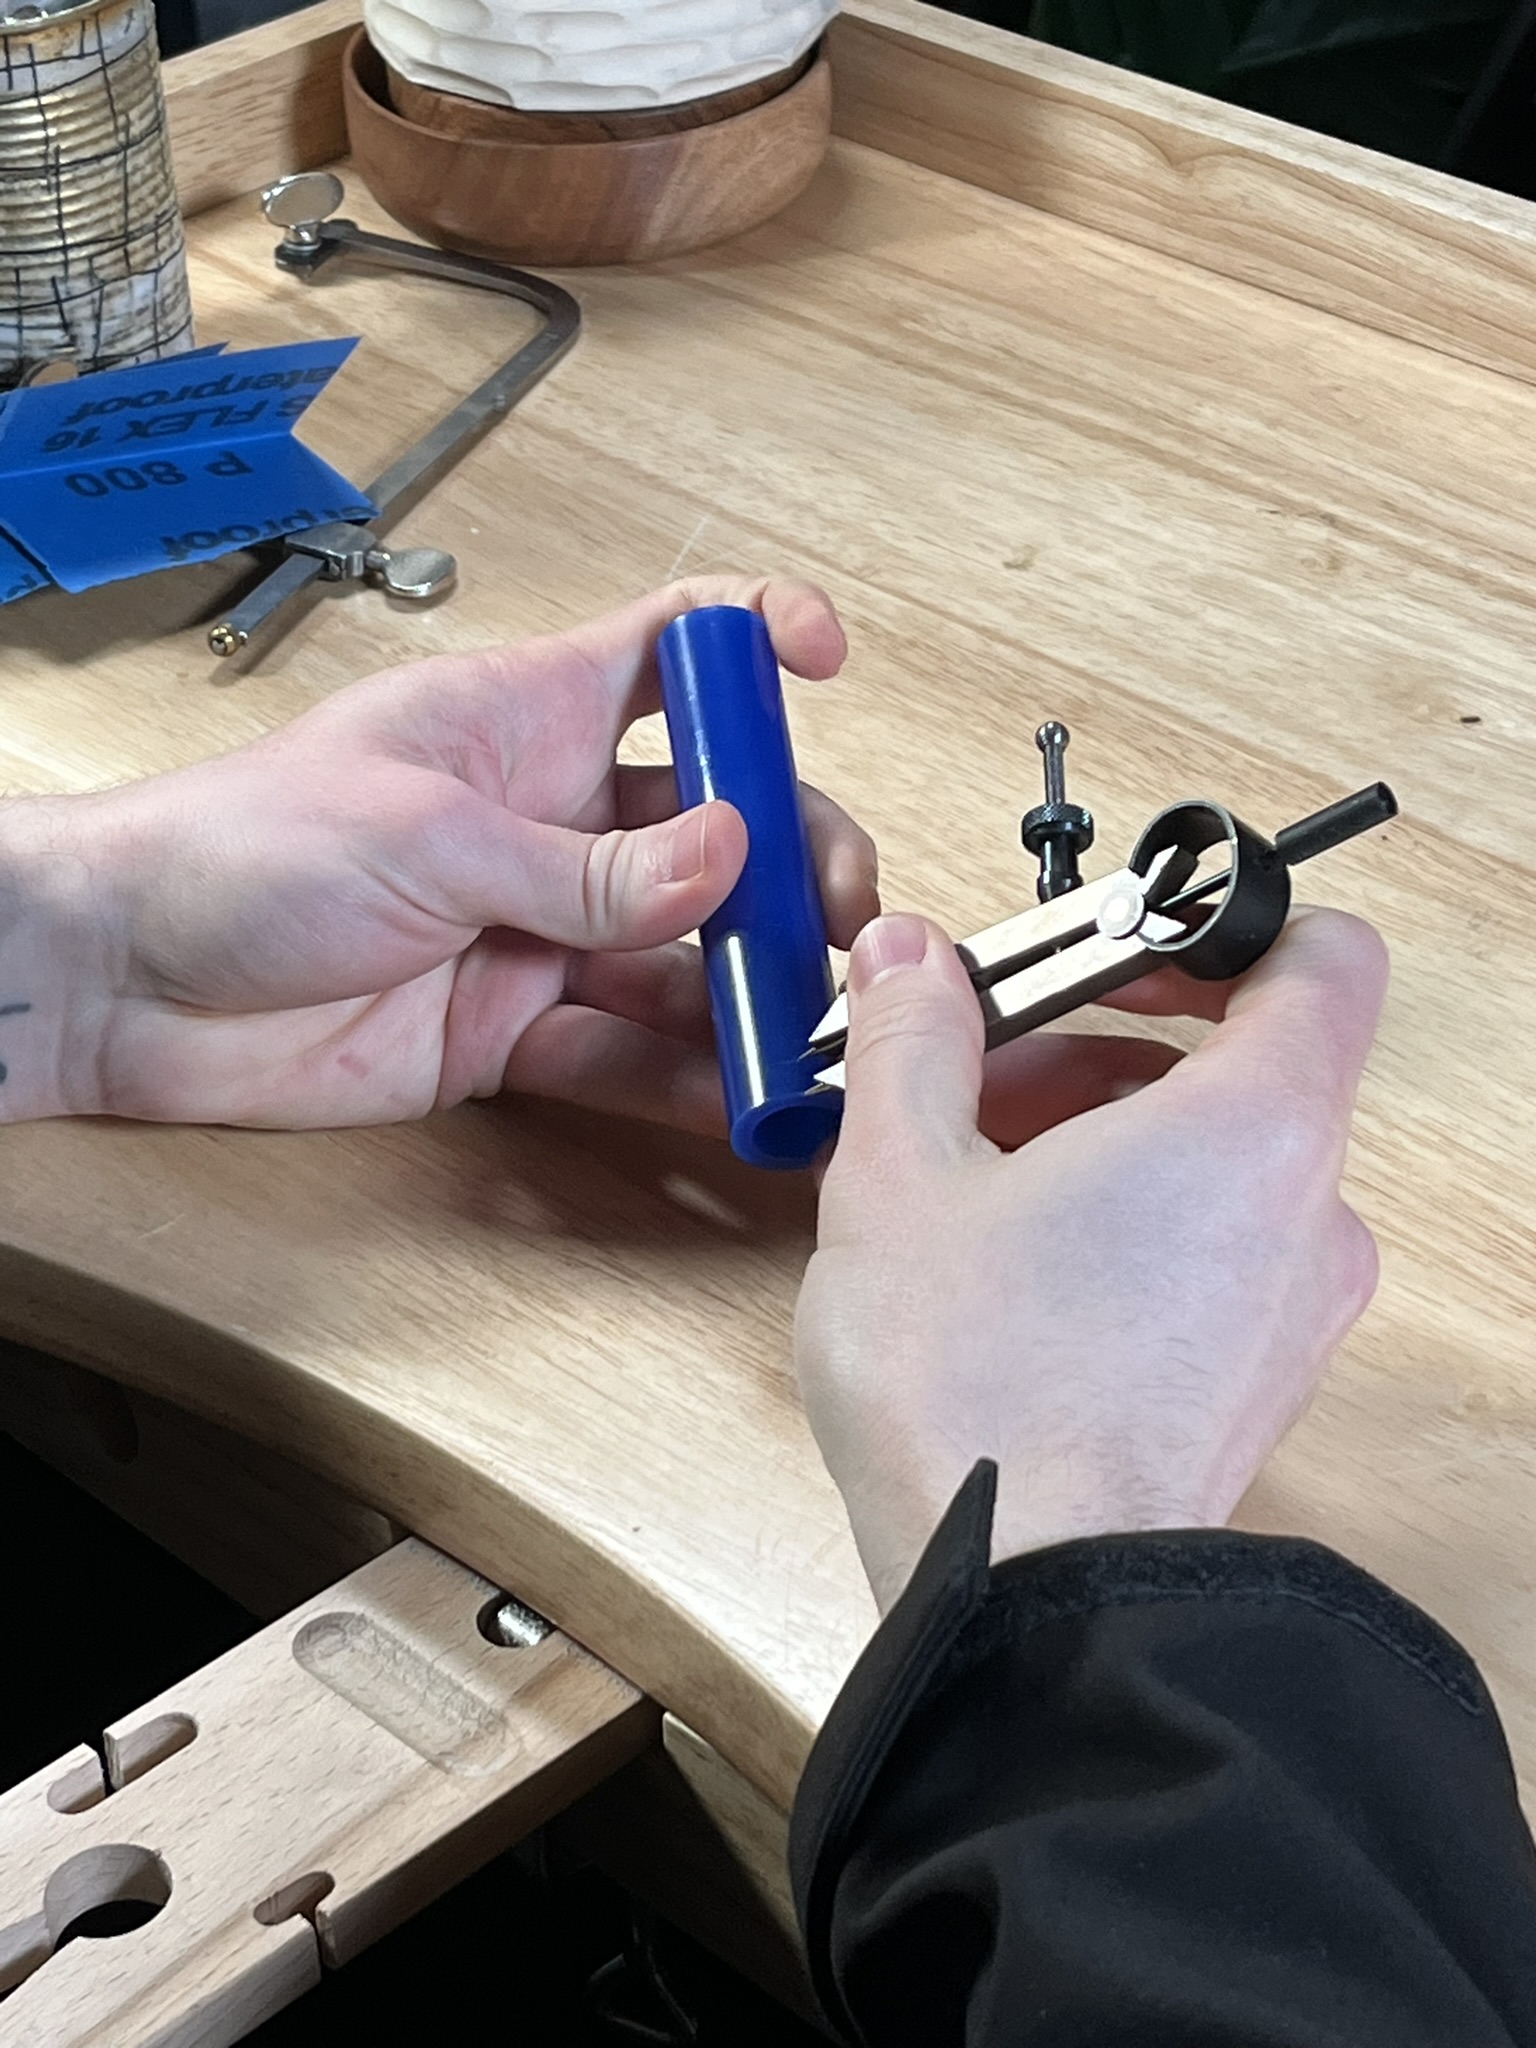
Step 1
Using a pair of dividers, measure out the width you’d like the ring to be and position the dividers with one arm over the end of the round wax tube and the other arm on the wax.
Move the dividers around the wax tube so that the point of the dividers make a straight, smooth and even line in the wax all the way around. This line will be your cutting guideline. For this ring, the width is 6mm.
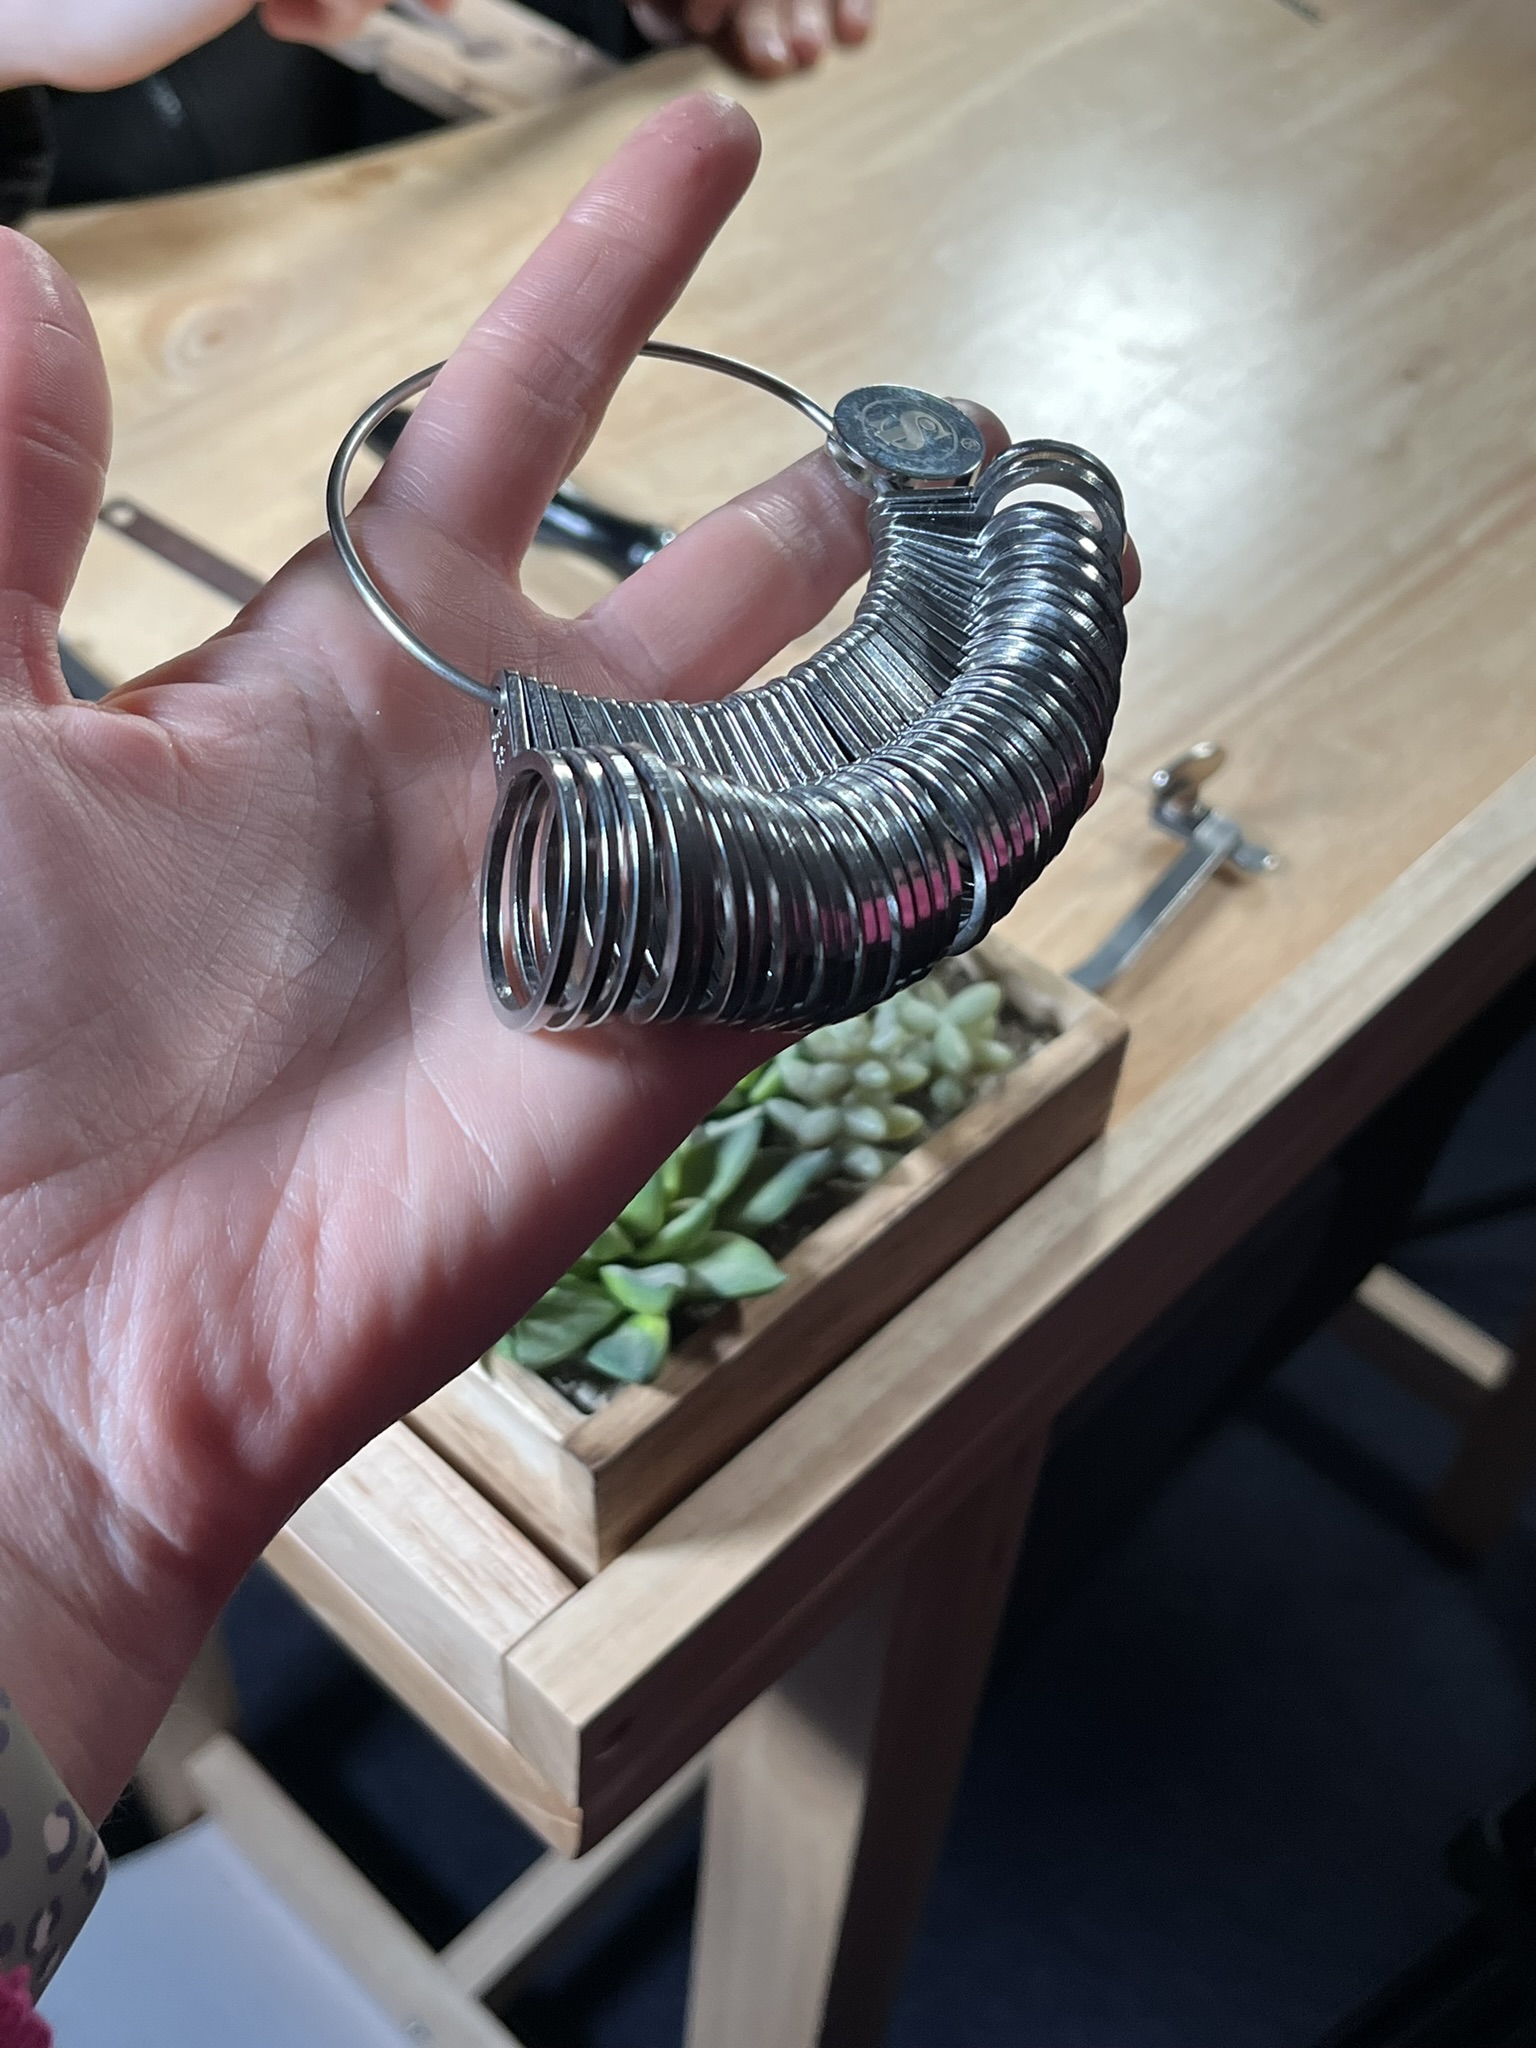
Step 2
Use a ring gauge to measure the finger size of the ring and make note of this size.
Step 3
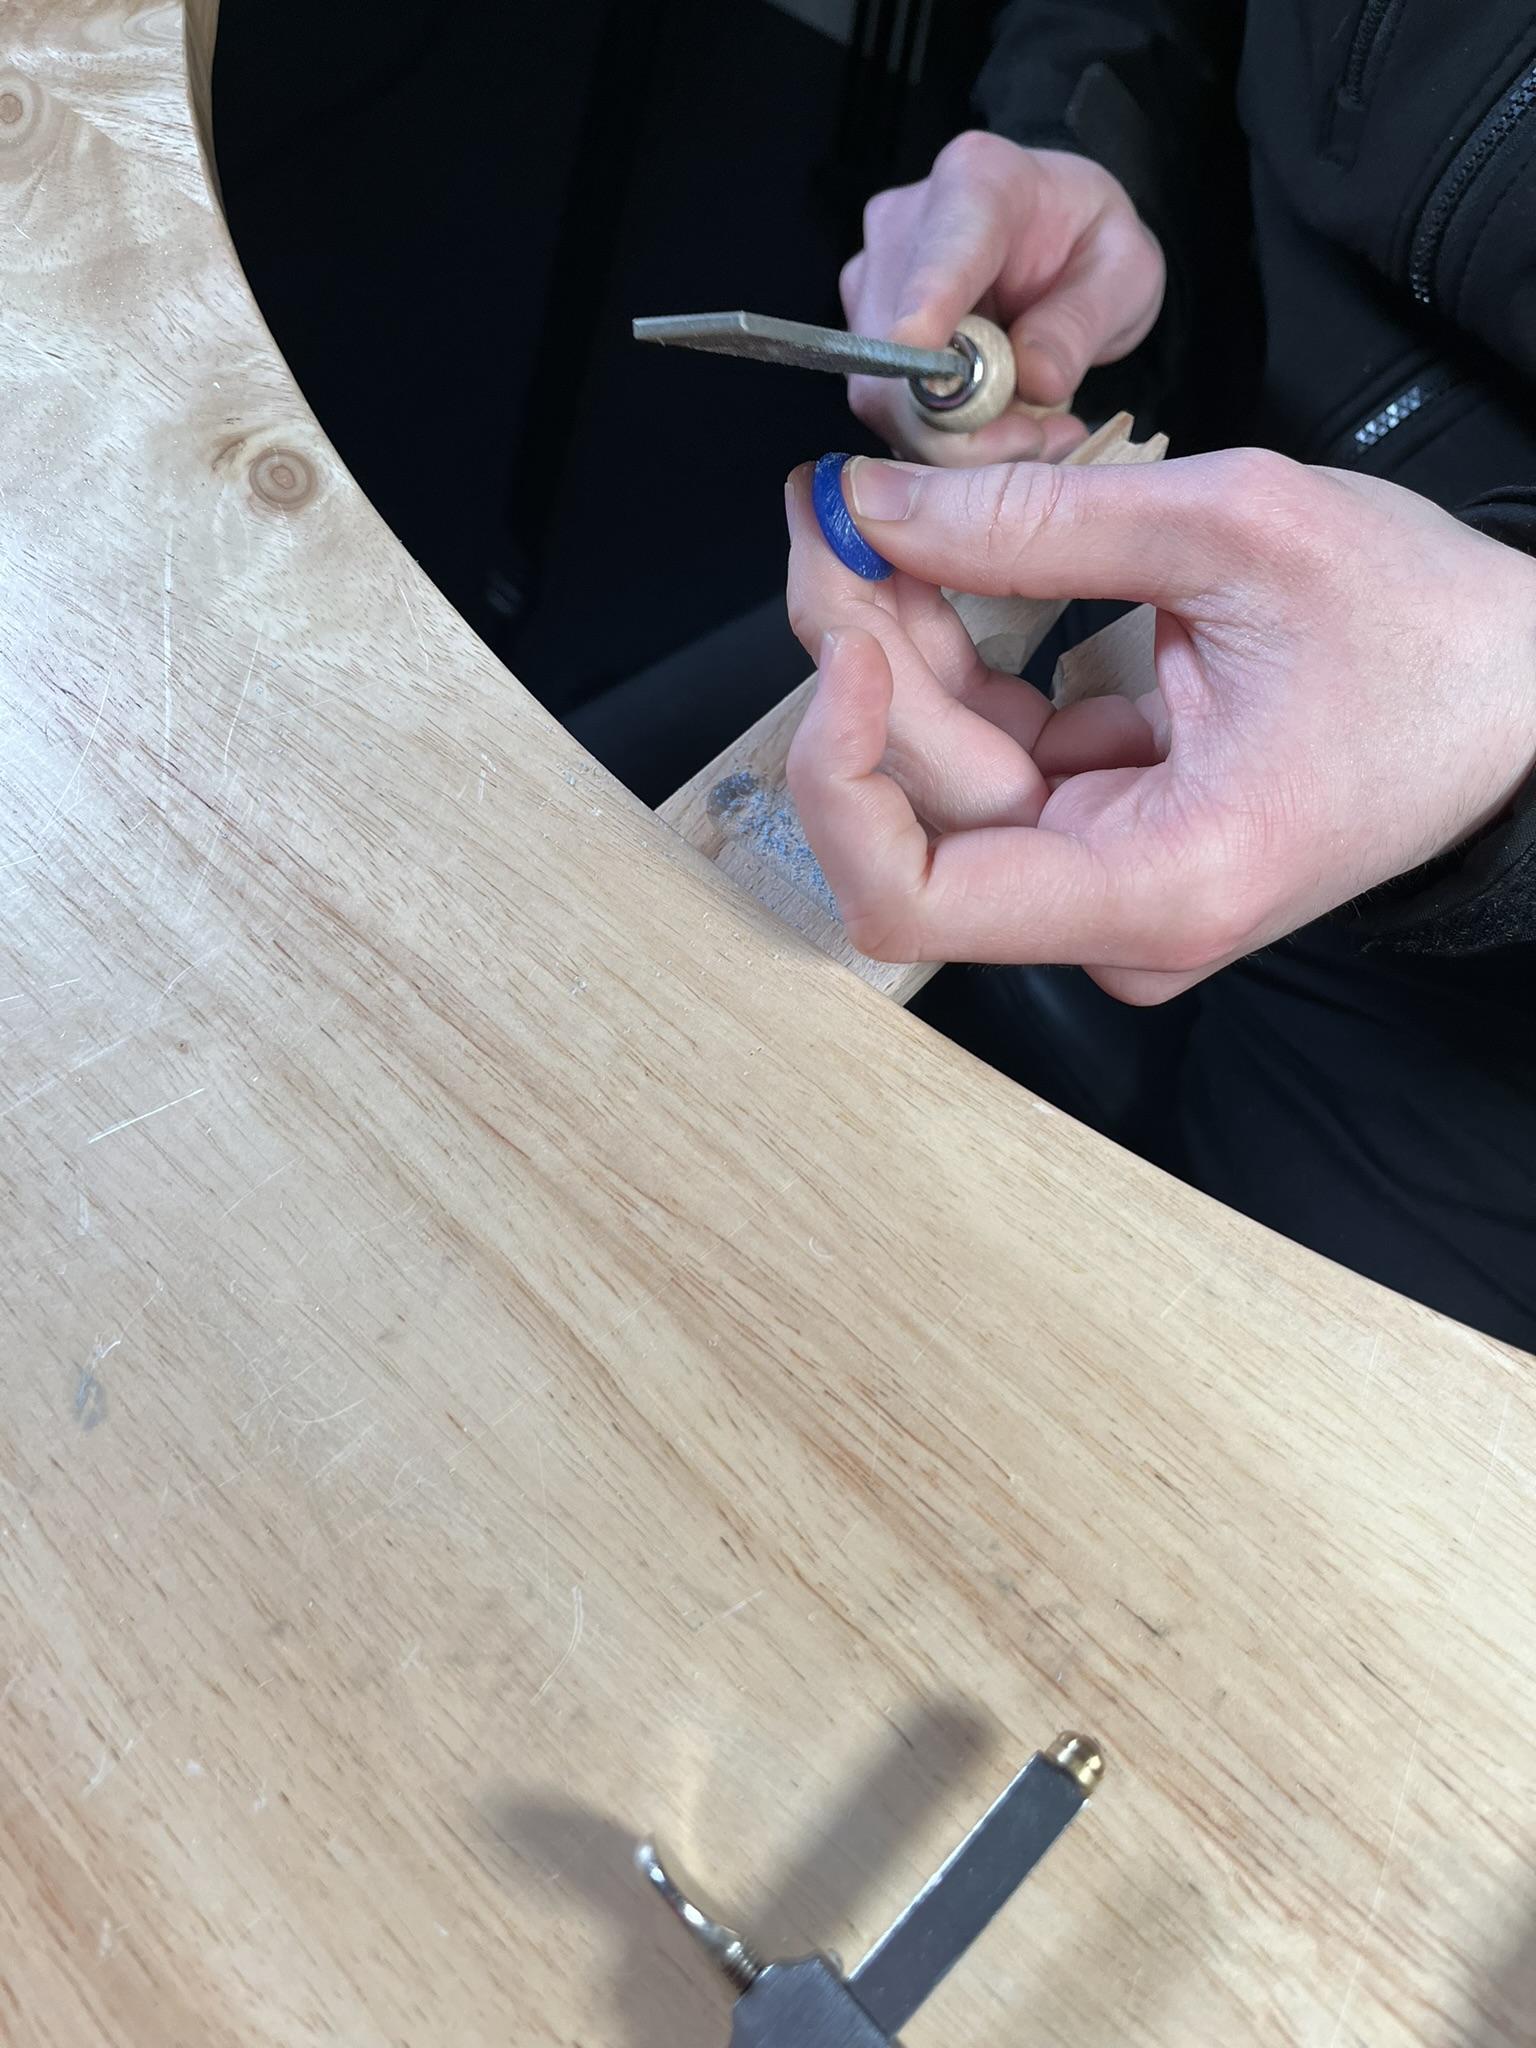
Using the ring stick with cutting blade insert this into the tube and twist around. The blade on the ring stick will shave off the excess wax inside the tube and make the hole bigger. Continue this process until the ring is the correct size according to the ring stick.
Step 4
Insert a wax blade into a piercing saw ensuring it is securely fitted. Adjust the clamps to ensure the blade has good tension. When cutting, filing or smoothing wax, it is always ideal to use a bench peg or study table for support. Cut along the line drawn on the wax tube, turning the wax around as and when needed until the piece of wax is completely cut through around all of the tube.
Note: A wax blade is best to cut wax. The friction used when cutting with these blades does not melt the wax.

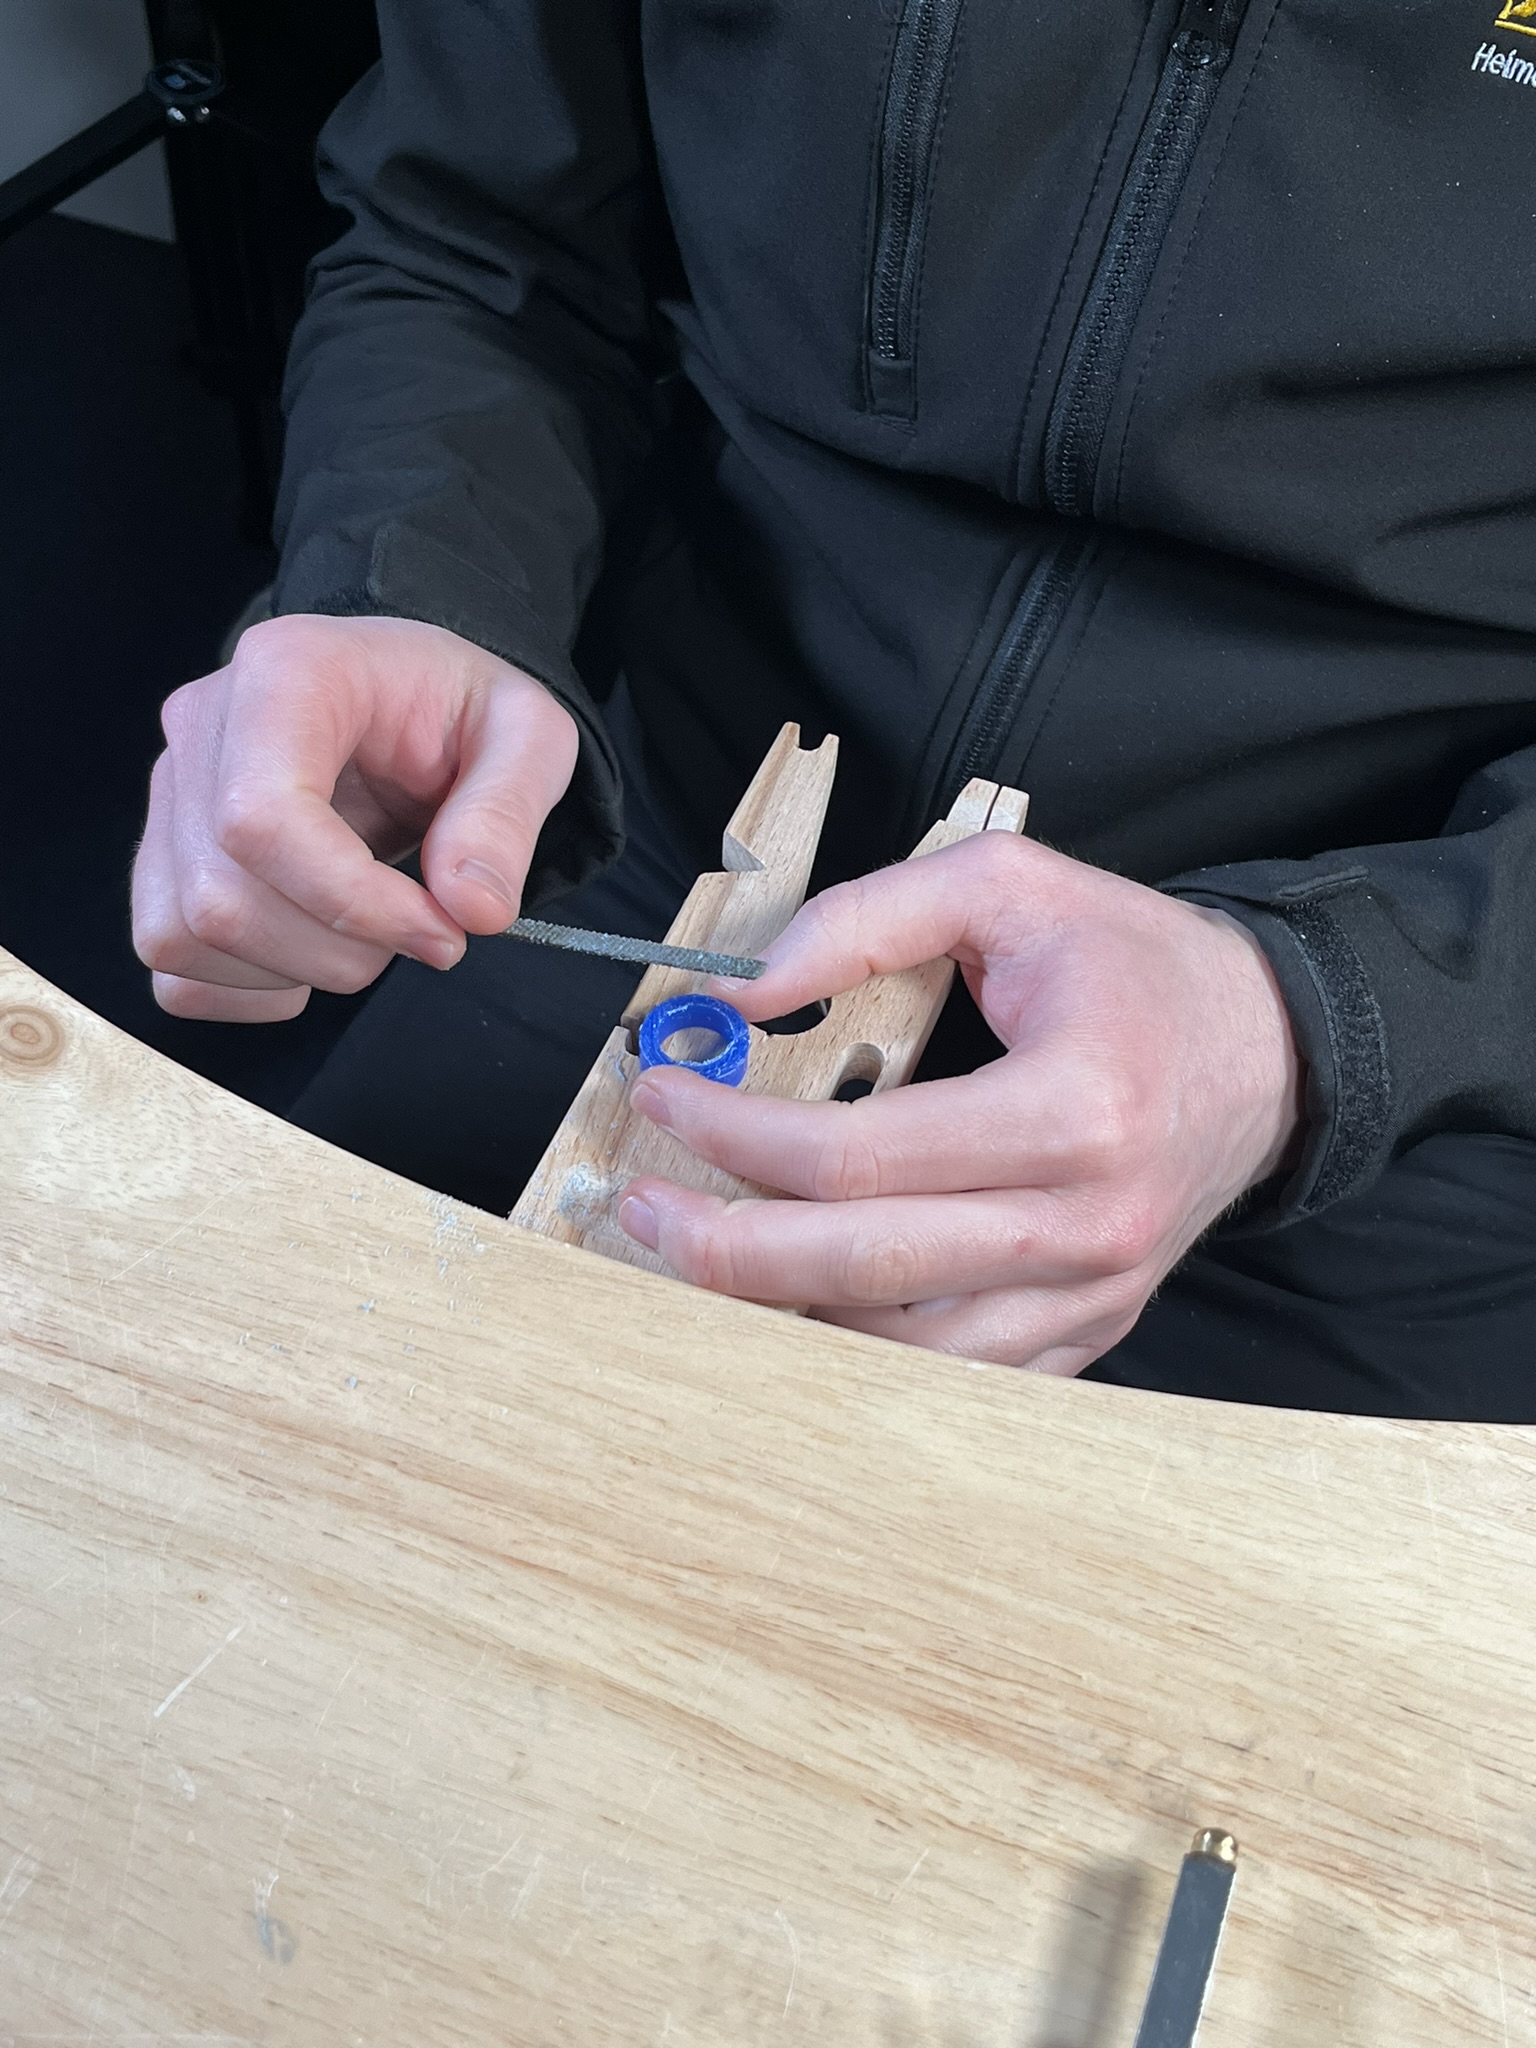
Step 5
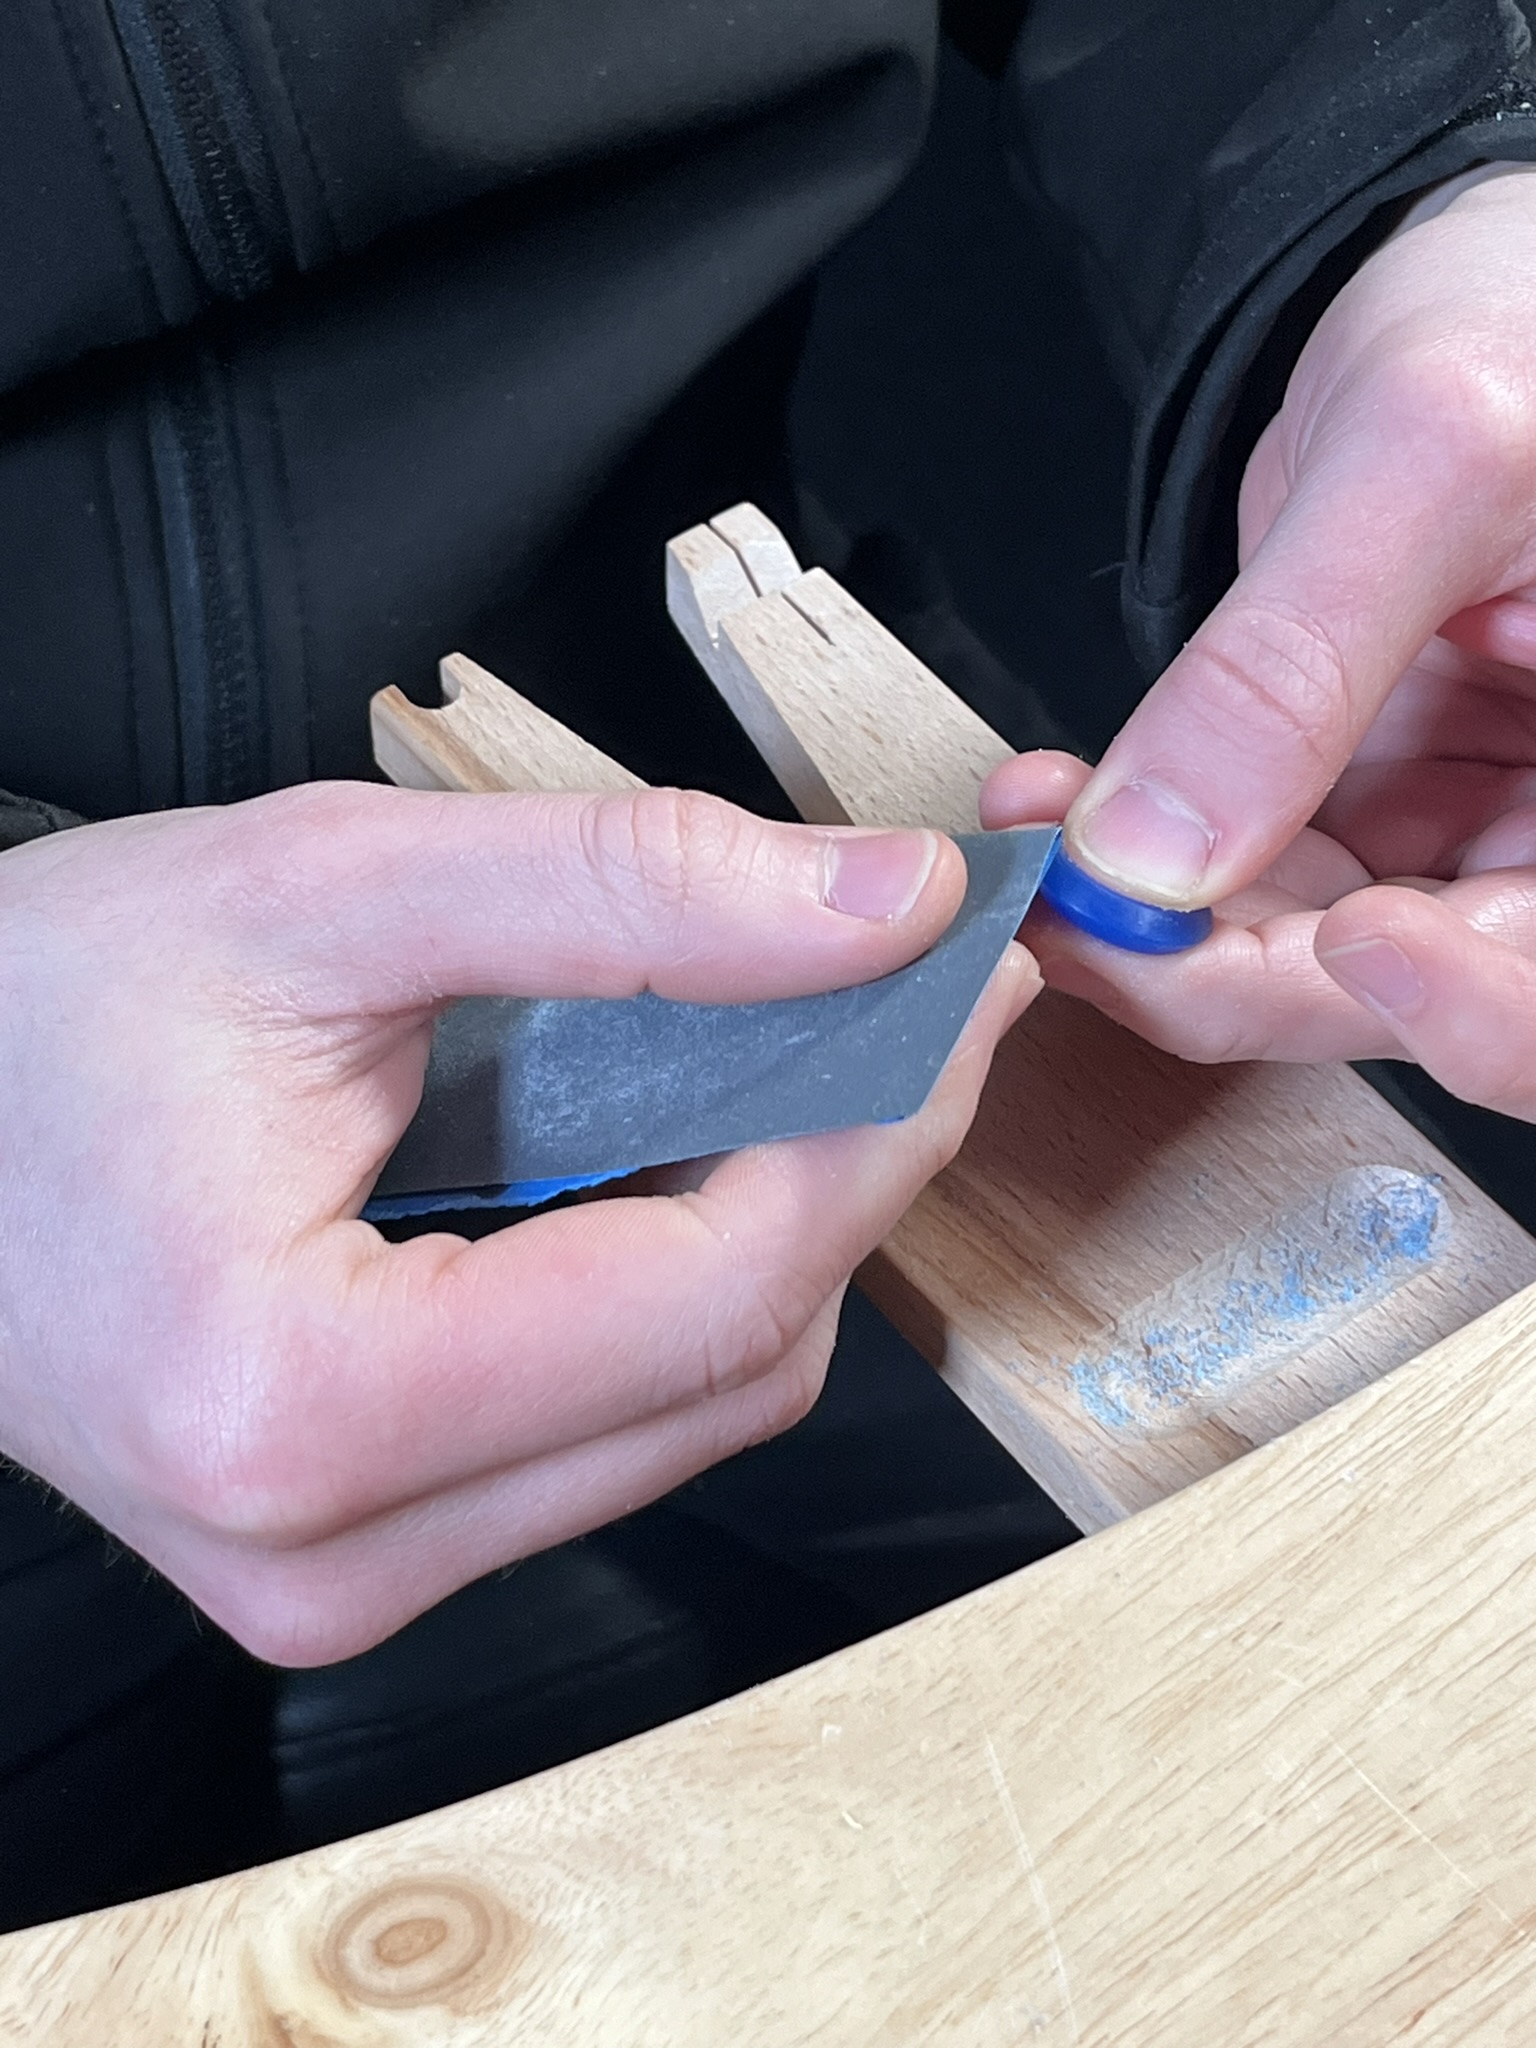
Roughly file the cut edge of the wax level using a wax needle file.
Note: Wax needle files are used as they remove the excess wax without clogging up.
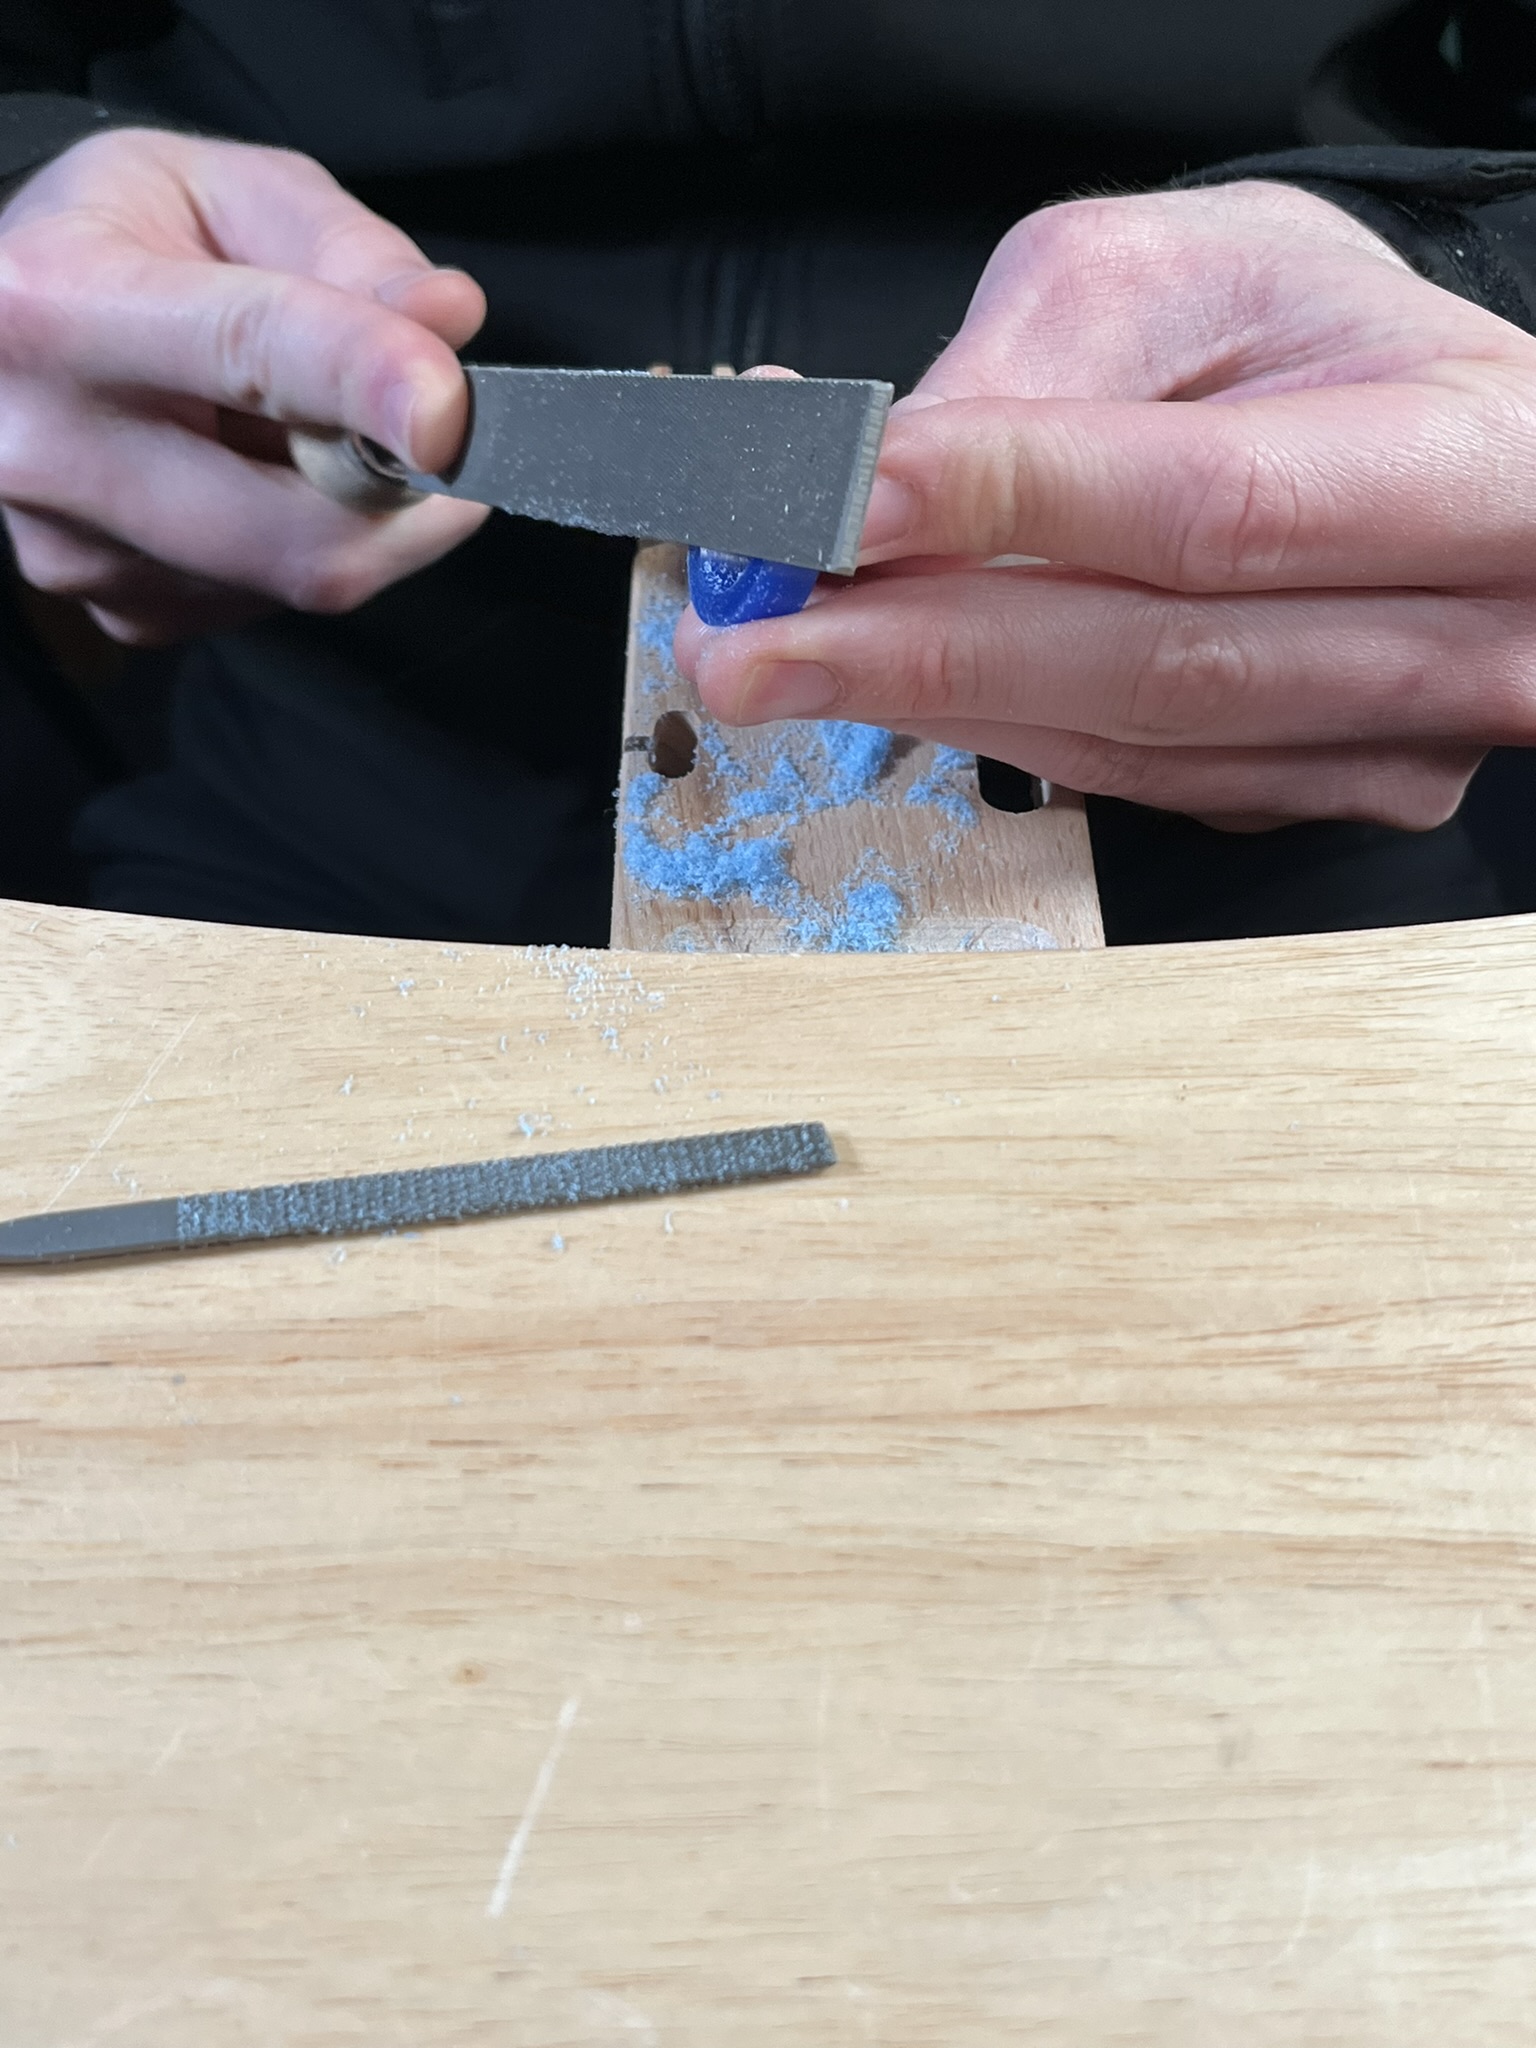
Step 6
Smooth the cut edge of the wax using a regular file.
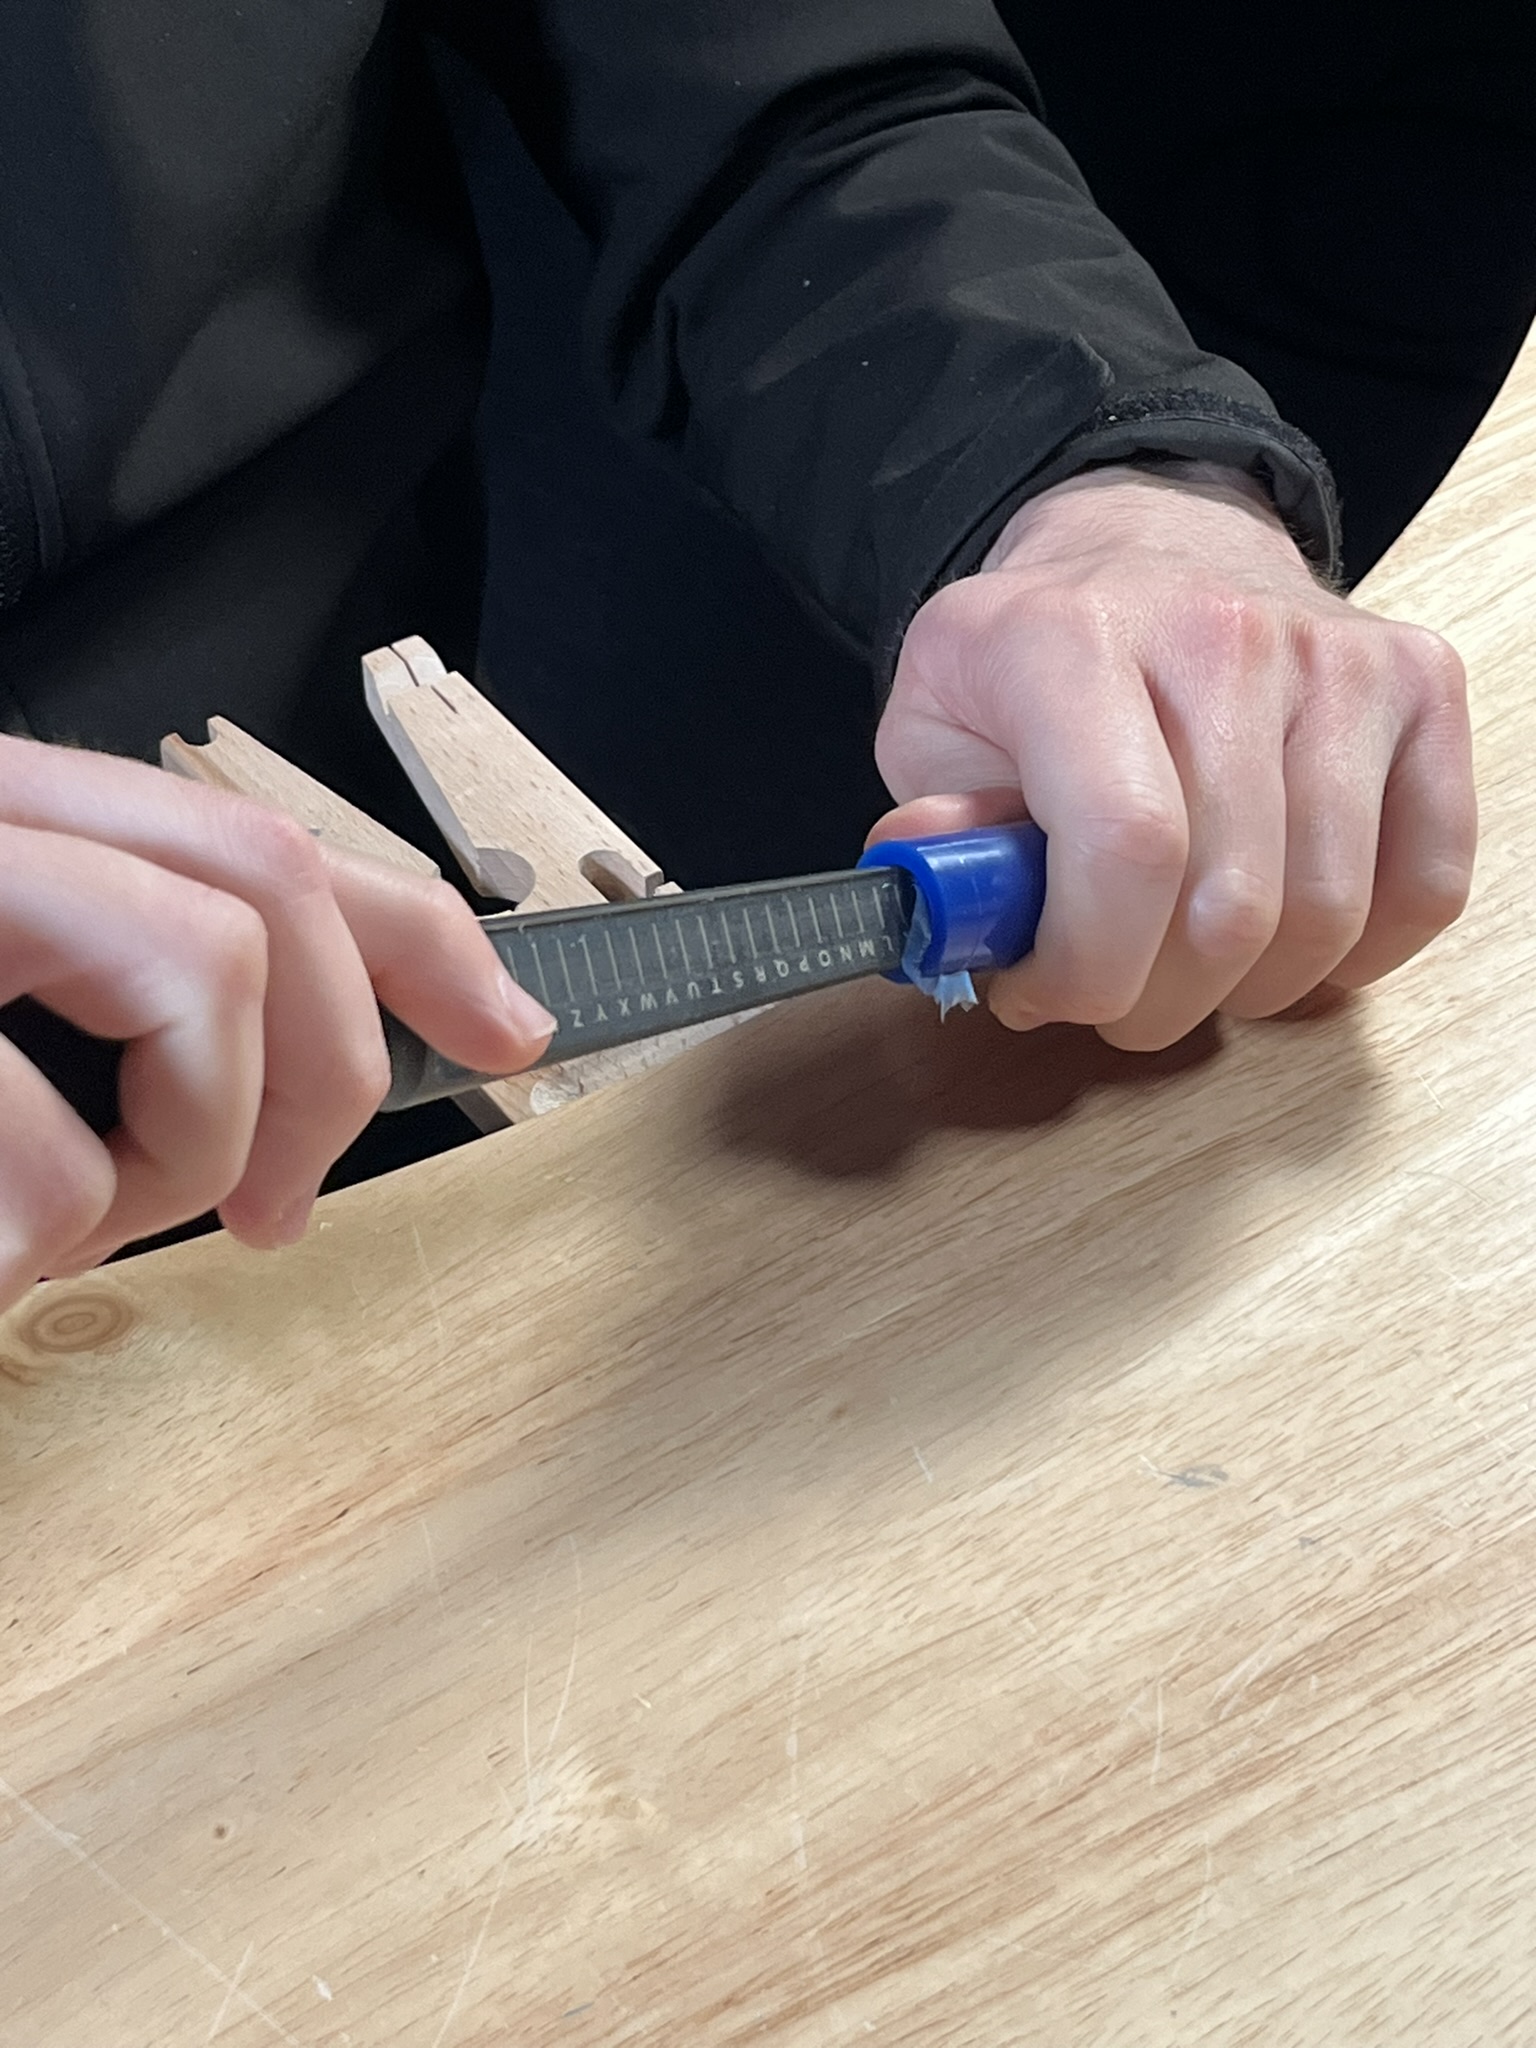
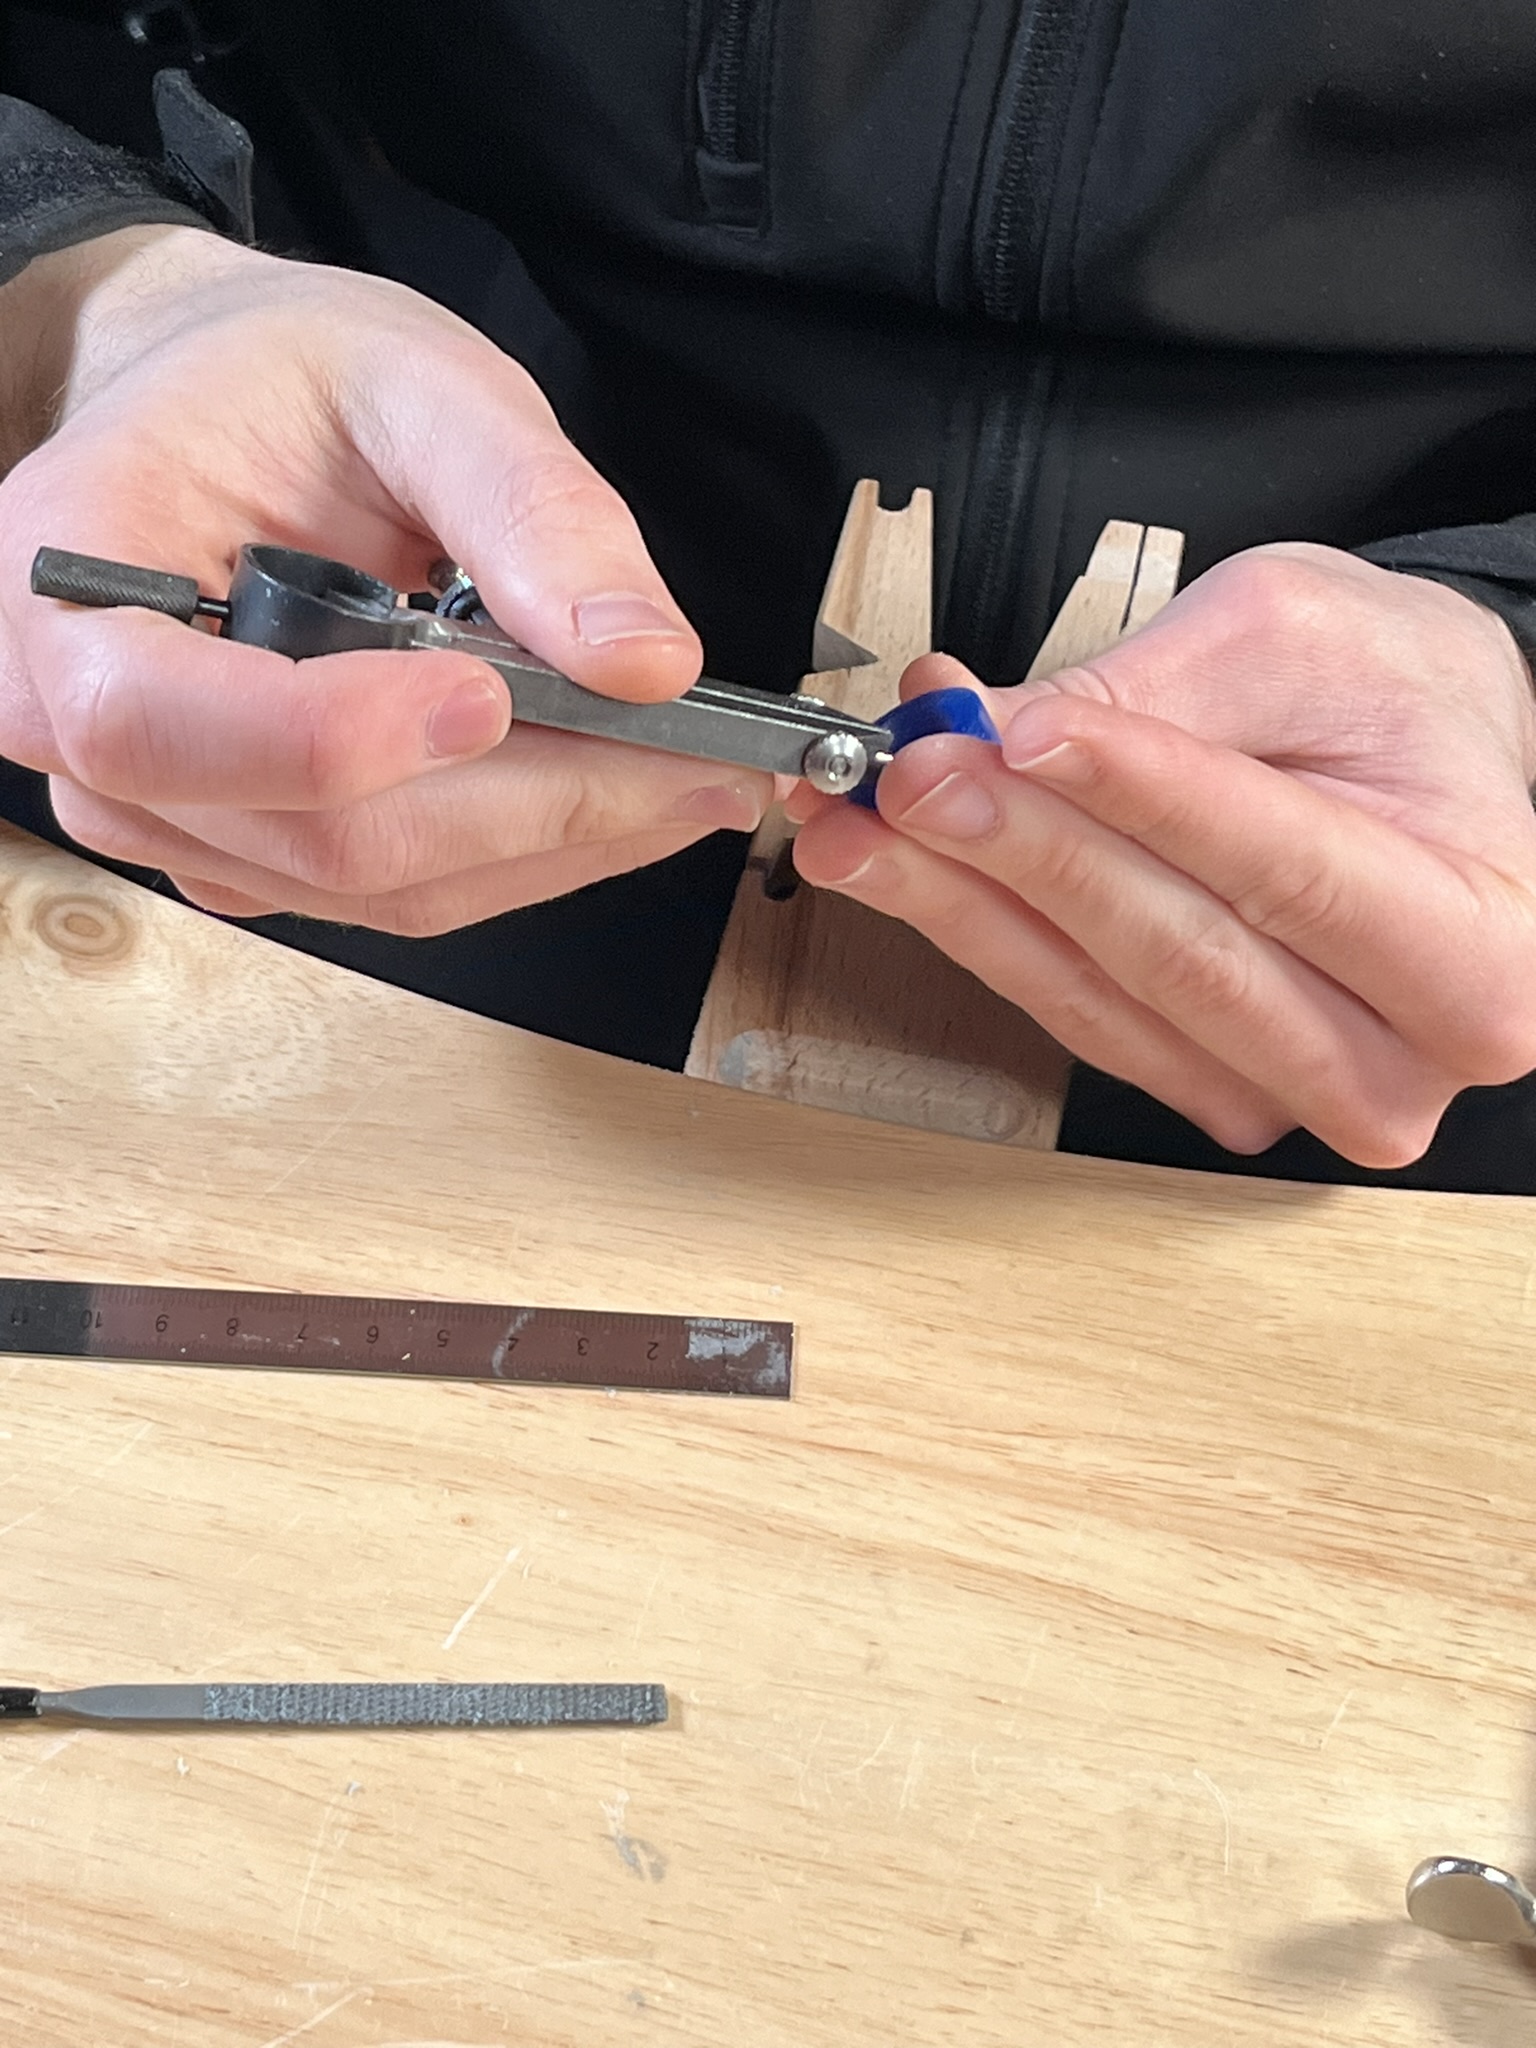
Step 7
Measure out half the width of the ring on the dividers. The full width of the wax ring here is 6mm so measure out 3mm on the dividers. Position the dividers with one arm over the end of the wax and the other of the arm on the wax. Move the dividers around the wax ring so that the point of the dividers makes a straight, smooth and even line in the wax all the way around. This line will be your filing guideline when creating the outside ring profile.
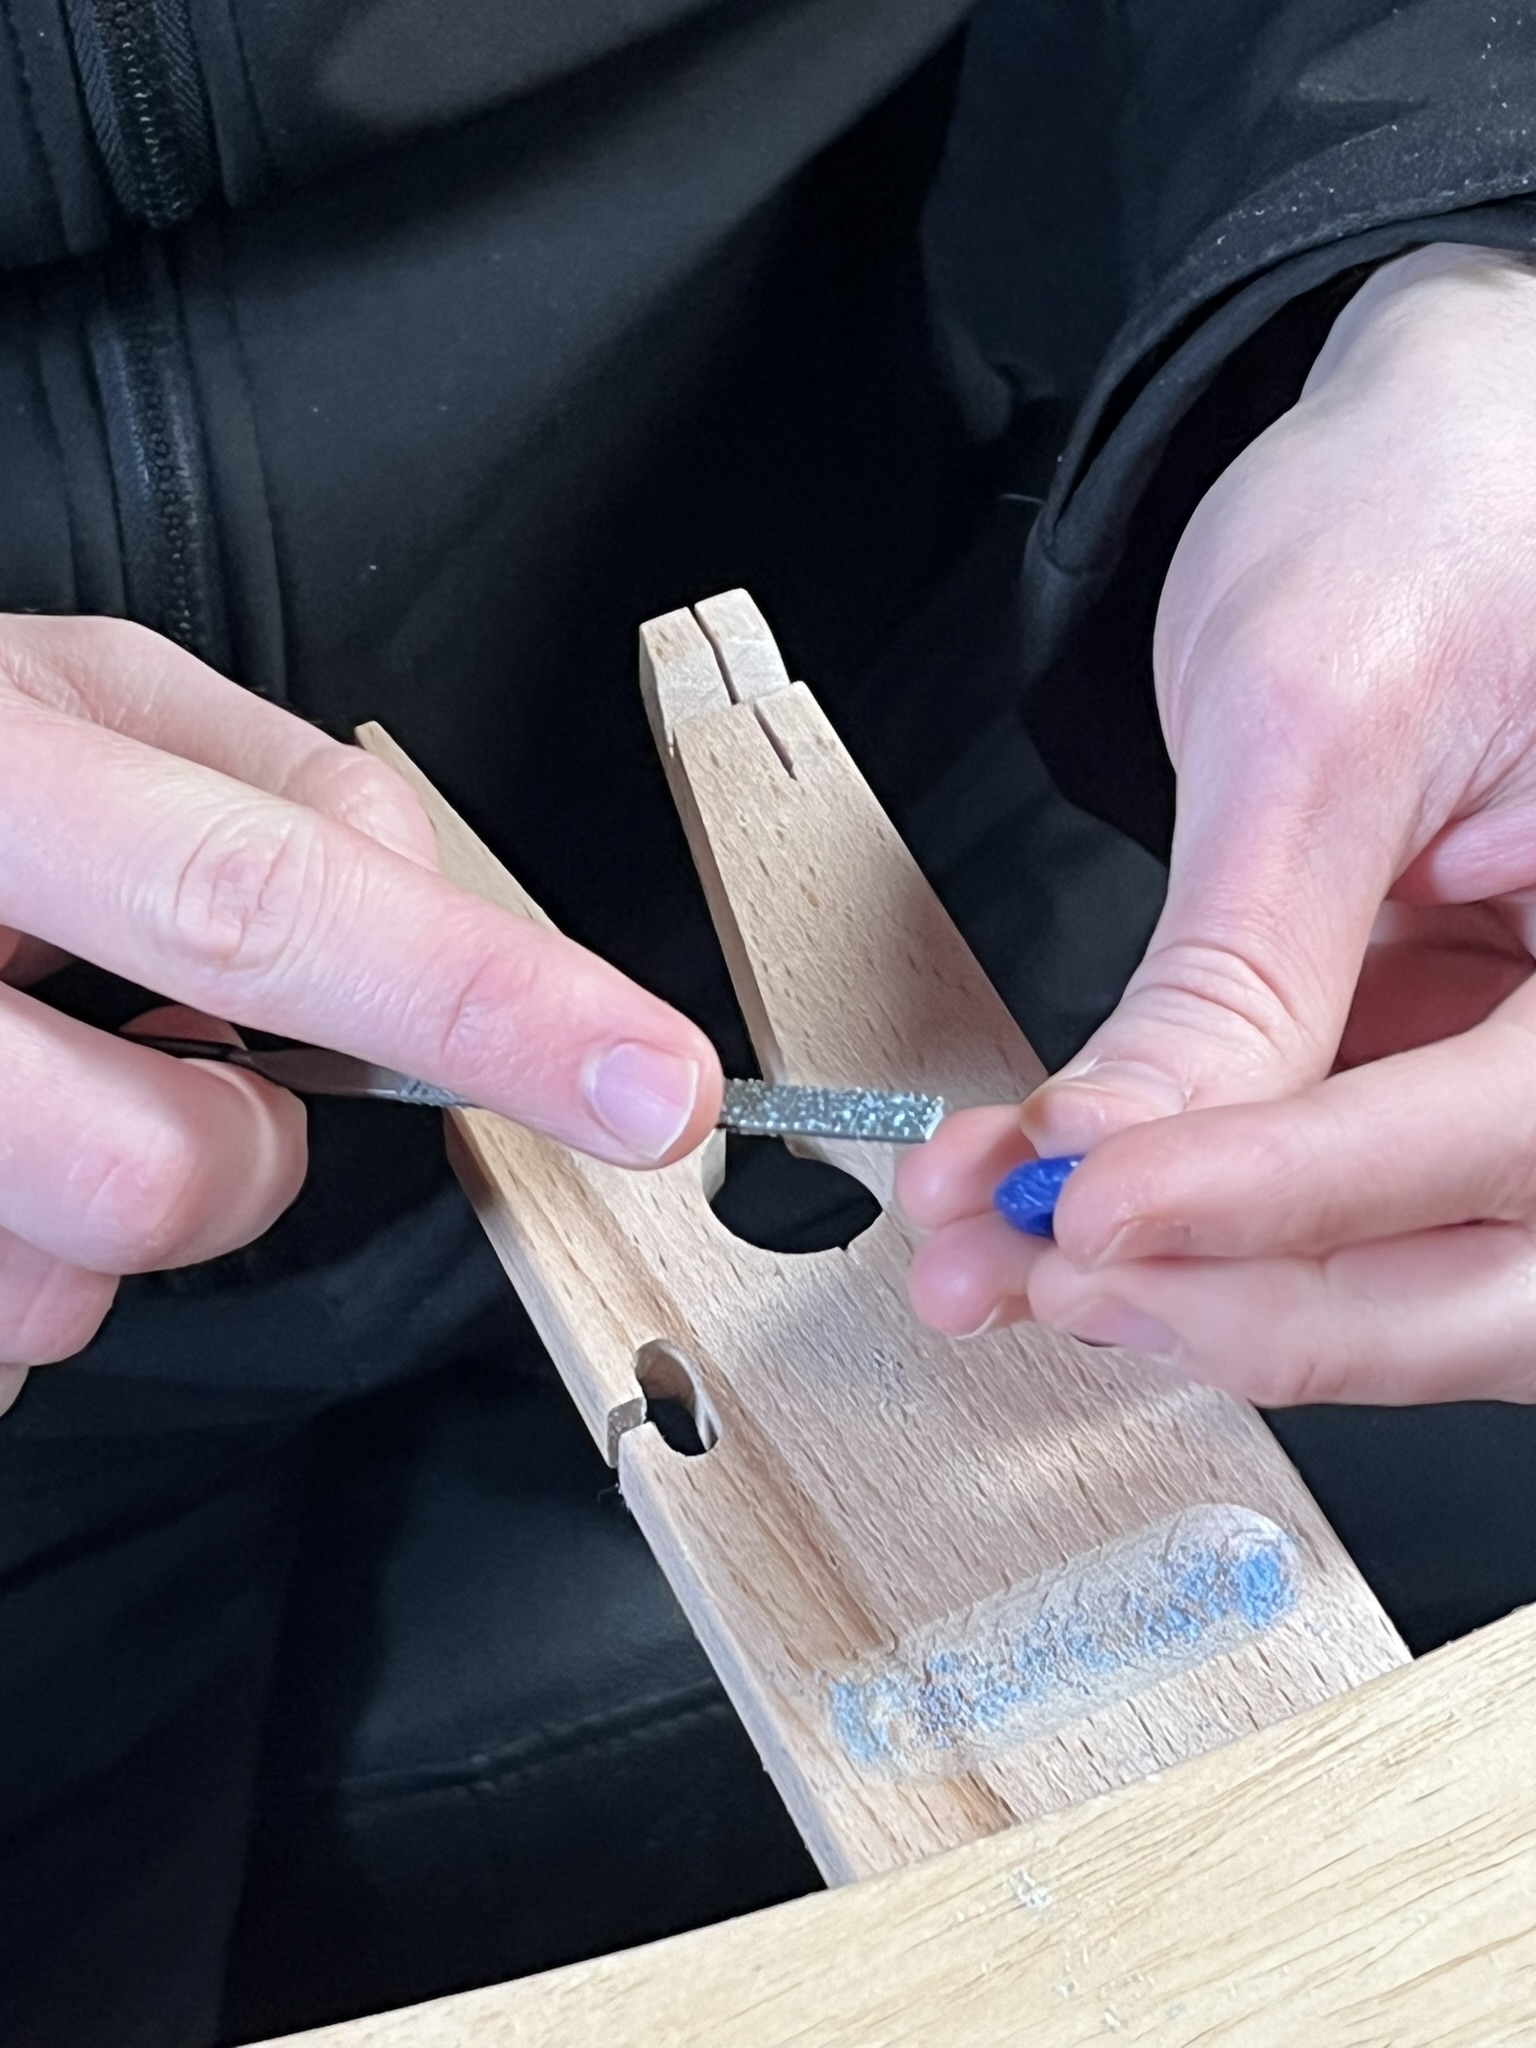
Step 8
Using a wax needle file, remove the wax from the edges of the wax ring on either side making sure you do not go past the guideline.
Step 9
Smooth the outside of the wax ring using a regular file making sure you do not go past the guideline.
Step 10
Use emery paper on your ring. Start with a coarse emery paper and continue with a smoother paper. For example, 80 grit working up to 800 grit, to smooth the entire ring.
What’s Next?
When you are happy with your carved wax it can be cast into metal such as sterling silver.
You can either get your wax carving made into a mould, allowing you to keep replicating your design or get one piece cast in a number of metals such as silver, gold or platinum. This means that you can create a beautiful piece of precious jewellery from your own kitchen table with very few expensive tools and materials.
Head over to www.westonbeamor.com to get your wax pieces cast.

Sian Brown
Sian has been hand making her award winning jewellery in the West Midlands for over 12 years. Sian spent 10 years in Birmingham’s historic Jewellery Quarter before relocating to a quiet Worcestershire village.