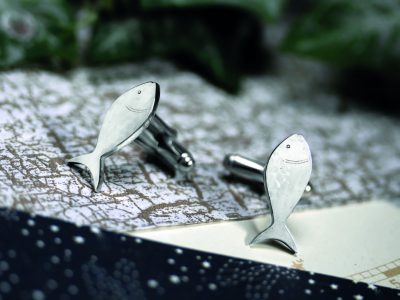
The perfect project for an animal lover to create a pair of beautiful sterling silver fish cufflinks. Put your shaping skills to the test and see your fish cufflinks come to life.
Step 1
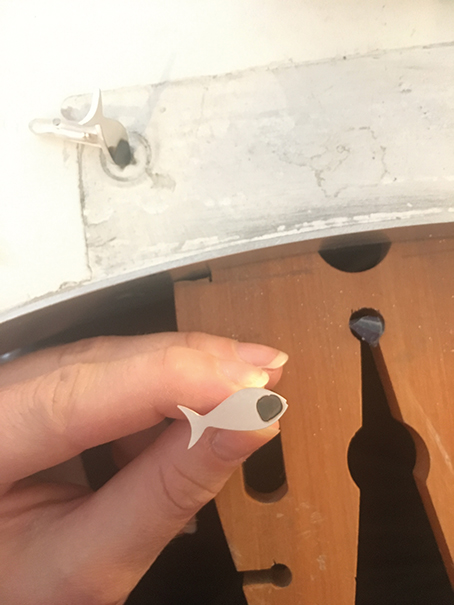
SELECT YOUR METAL AND TEMPLATE, AND CUT IT OUT
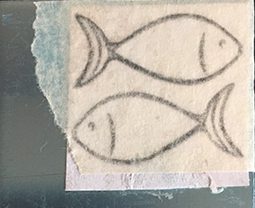
When choosing the thickness of your sheet metal, consider the processes that will be applied to it and its final function. As the cufflink design is a flat saw pierced shape, I selected a 1.5mm wide sheet metal which will hold its shape and allow for a strong cufflink. Start by selecting and printing a template for your cufflink shape. I used a simple line art fish.
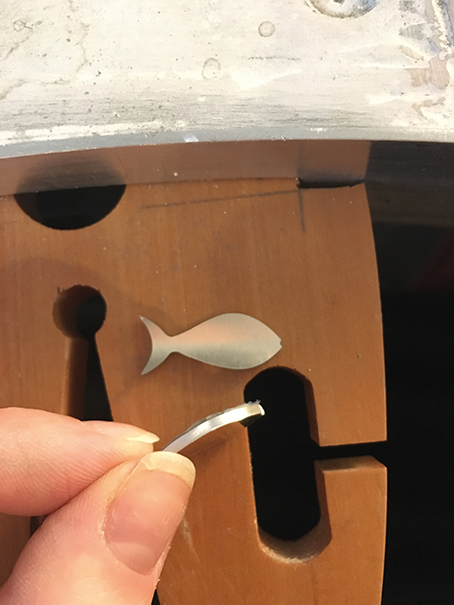
Take care that the thinnest parts aren’t too delicate. I have taken care that the fish tail will not be connected weakly. Cut out the templates and use PVA glue and tape to attach it to the metal surface. Leave the blue plastic in place for as long as possible to protect the Silver surface. Once you are happy with the scale and positioning of the cufflink templates, it’s time to saw pierce the shapes out.
Step 2
SAW YOUR TEMPLATE
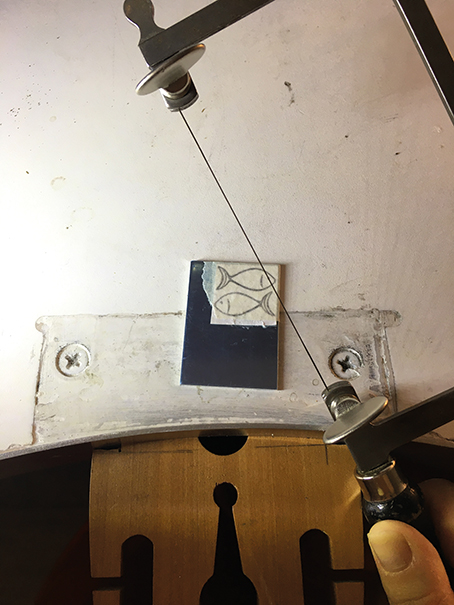
When saw piercing, carefully choose a saw frame and saw blade. I used a 3/0 blade and an adjustable saw frame similar to 999 3059. To start cutting the sheet metal, make a small notch in the metal by gently sawing at a 45˚ angle then, once the notch can hold the blade, straighten the blade to a 90˚ angle and continue cutting. Remember to apply beeswax/lubricant to the blade when needed. If nervous about tackling a detailed shape, then practise a few straight and curved lines on a piece of scrap metal first.
Step 3
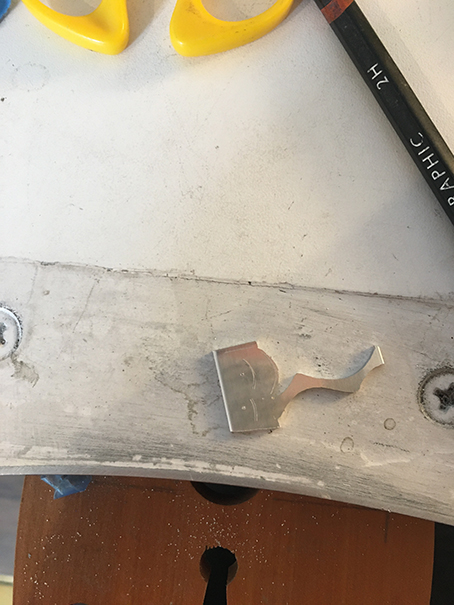
FILE YOUR ROUGH EDGES
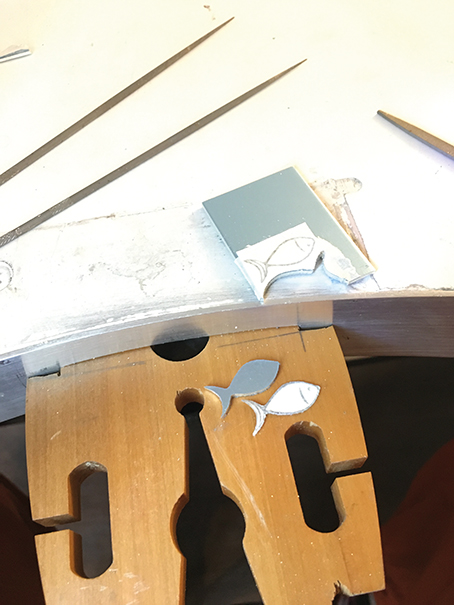
When the piece is pierced out, it is likely the paper template will fall off, keep it to the side to compare the cufflink face to. Once both pieces are pierced out, use a rough file and then a thinner file to remove the roughness left by the saw blade. At this point, I found needle files were particularly useful. I used a flat needle file and a half round needle file.
Step 4

BUFF YOUR SILVER
Make up or buy a pre-made buffing stick, then work through the grades until the Silver component is scratch free. It is best to change direction when going up the wet and dry grade, as the change in direction makes it easier to see scratches that need removing. The protective blue plastic sheet is still stuck onto the Silver to protect the face of the cufflink as much as possible.
Step 5
REMOVE YOUR PLASTIC
Once the edges are finished to a high standard and you are completely happy with the shape of the cufflink face, remove the plastic. Take care at this point to not scratch the face of the metal or damage the piece in any other way. I kept an old polishing cloth on the bench to lay the pieces on to prevent the face from being scratched.
Step 6
EXPERIMENT WITH YOUR PATTERNS
Take time to experiment with different pattern making techniques on Silver scraps. I used a millgrain wheel and a small circular punch to make these patterns, with a mind to creating eyes and gill-like patterns on the final piece. Experiment until you are happy and that the pattern can be re-created on the cufflink face.
Step 7
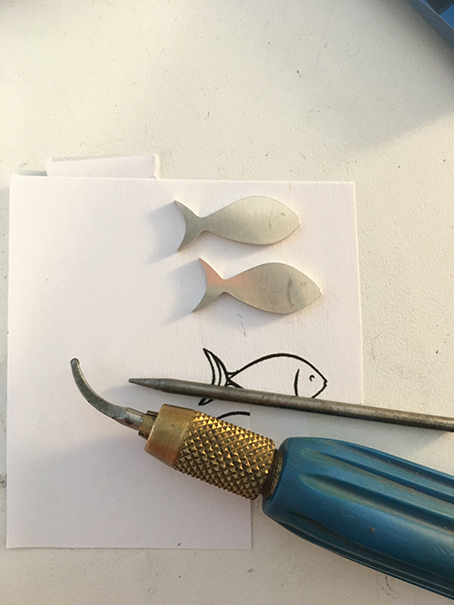
DRAW OUT YOUR PATTERN
Using a sharpened pencil, draw out the lines you intend to follow with your preferred mark making tool. At this point you may benefit from working from a picture or measuring the spots to make sure all marks are evenly spaced and the pair match one another.
Step 8
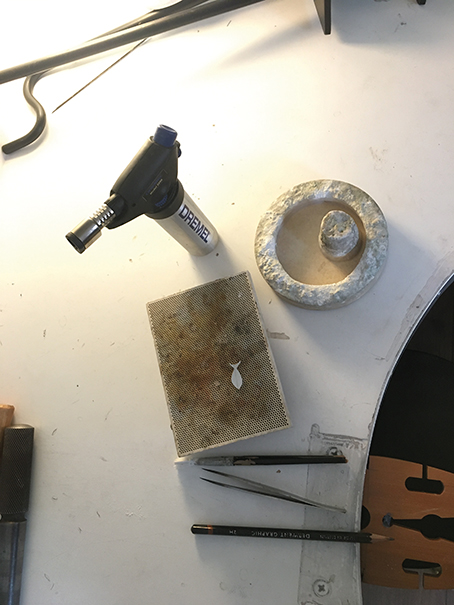
PREPARE TO SOLDER
Once happy with the pattern, it is time to prepare to solder. You will need a soldering torch, soldering block, tweezers, Borax/flux and a pickle bath. Apply a generous amount of Borax to the cufflink face and the cufflink back, and position your choice of solder on the back of the cufflink face.
Step 9
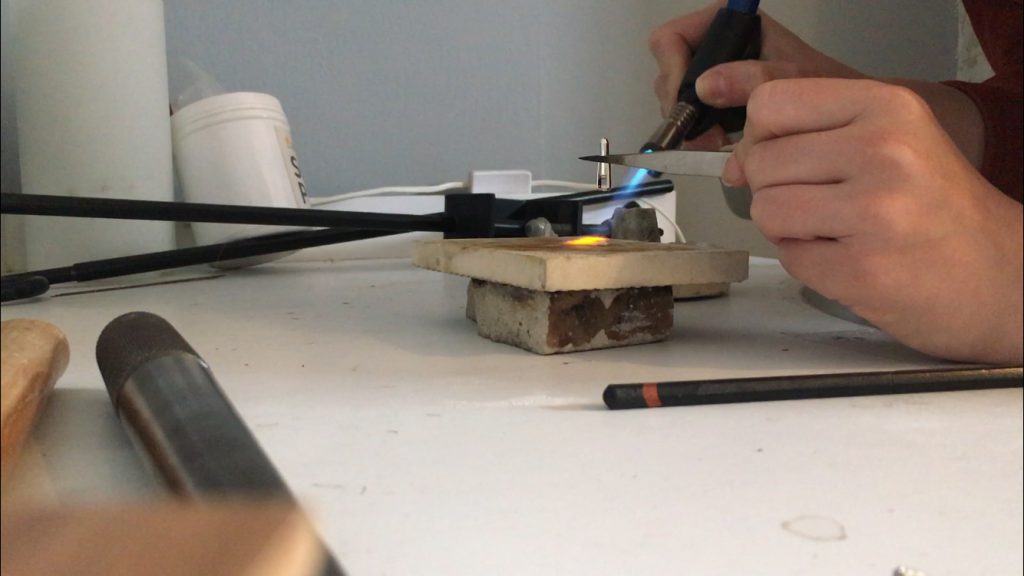
SOLDER, QUENCH AND PICKLE
When soldering your cufflinks, heat the entire cufflink face. Hold the cufflink back, ready to press into place once the solder is running. When holding the cufflink back in this way, also heat it as this will help the solder join the two pieces.
You may need to press the cufflink back firmly into the cufflink face when soldering it. Maintain heat until you feel confident the solder has joined the pieces effectively, then remove the heat, quench and pickle.
Step 10
PICKLE AND CLEAN YOUR CUFFLINK
Once the cufflinks are securely assembled, pickle and clean with pumice powder to remove any leftover pickle or oxidisation. This step will leave the metal with a matt, almost white surface, free of grease or dirt.
Step 11
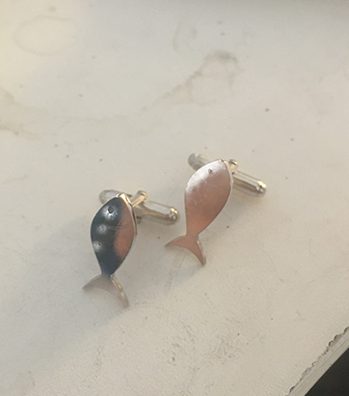
APPLY OXIDISING SOLUTION
Using a small paint brush, carefully apply the oxidising solution of your choice into the grooves on the faces of the cufflinks. Allow this stain to fully dry before moving onto the next step.
Step 12
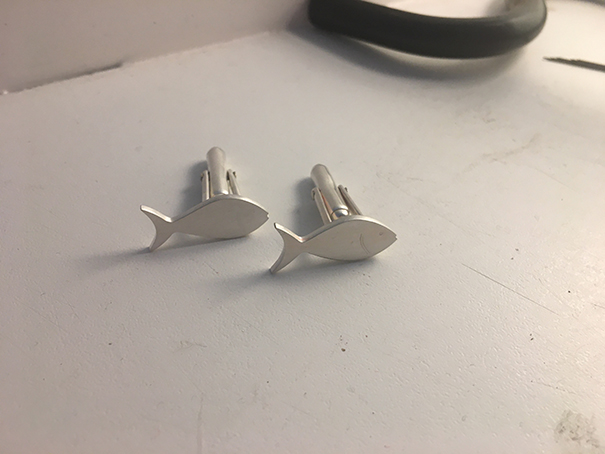
POLISH AND CLEAN YOUR FINISHED PIECE
To achieve a high finish polish on the cufflinks, take care to polish the fronts and backs of them. This can be done on a pendant motor or a larger polishing machine. Start with pre-polish such as Tripoli, and a courser polishing mop and then move onto a final polish such as rouge, and use a soft polishing mop. Gently rub the pieces over with a polishing cloth to clean off any leftover polish.
Your finished piece


Abby Blest
Abigail Yvette Blest is a jewellery designer and maker who trained in the historical Jewellery Quarter, she has a particular interest in traditional bench skills. In the past Abigail has explored mixed media in her jewellery practice, such as wood, ceramics and enamel.