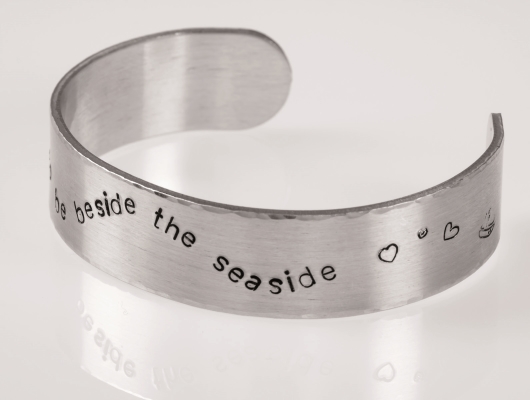
Make an impression with this seaside themed bangle by jewellery designer Janet Royle.
Step 1:
Prepare.
Plan out your design by drawing around the blank and use this as a template for ideas, thinking about your theme and lettering. Peel off one side of the protective plastic strip. This will be side you are stamping on.
Step 2:
Stay put.
Place your blank on the block then use tape to secure the bangle as it needs to sit very flat on the block for successful stamping. Before stamping write your lettering in ‘freehand’ as a guide.

Tip 1: Make sure the stamps have the Impress Art logo facing towards you for correct orientation. If your stamps don’t have this write the letter on each one, so that when it is facing you it is in the correct position to stamp.
Tip 2: Keep a piece of blue-tac next to your work and just impress lightly into it before stamping to check the stamp’s size and position.
Step 3:
Printing
Hold the stamp level against the blank and hit it firmly with the hammer once. Practise on some scrap metal before stamping your final piece so you can see how hard to hit the stamp, as smaller stamps impress more deeply than larger ones.
If you double hit the hammer, you will end up with a blurred image. Also, don’t place stamps too close to the edge of the metal as it will squash the edge.

Step 4:
Fill the groove.
Once you are happy with the stamping, use ImpressArt ink to fill the newly stamped grooves. Carefully apply the ink over each stamping. Leave for 10 – 15 seconds (no longer than this as it dries quickly), rub the ink with a cotton bud to ensure that it has gone into the grooves of the stamping, and then wipe off with a soft cloth or tissue.

Step 5:
Adding texture.
Gently texture the edge of the bangle with a smooth flat headed hammer. (Be careful not to hammer too hard or you’ll damage the edges).

Step 6:
Bend.
To finish the bangle, place one end in the lip on the bangle bender. Hold on to this whilst gently bending the metal around the curve. Then, place the other end of the bangle into the lip and curve this around too.

Step 7:
Finishing touches.
Finish by working the bangle bending pliers around the curve starting at the centre. Remove the protective strip from the inside of the bangle and you’re done!


We want to see what you have been making! Share your creations with us on social media, tagging in Cooksongold on Facebook, Twitter and Instagram.
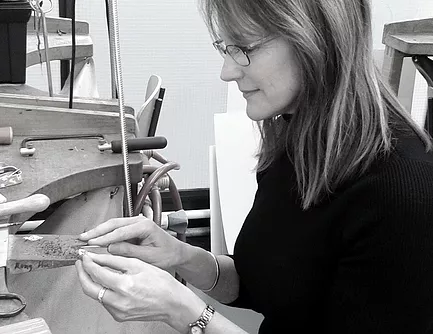
Janet Royle
Working in silver, gold and beautiful gemstones (sometimes combined with original antique pieces), Janet blends traditional skills and modern technologies to create her unique collections.