Step One
Wrap the silver bezel strip around the sea glass, remove the sea glass and cut off the excess using tin snips or shears.
Try to cut the bezel strip straight so that both ends meet perfectly.
Use your fingers to manipulate the edges so they align and stay together.
Note: Do not worry if you distort the shape of the bezel at this stage as it can be adjusted to fit the sea glass again after soldering.
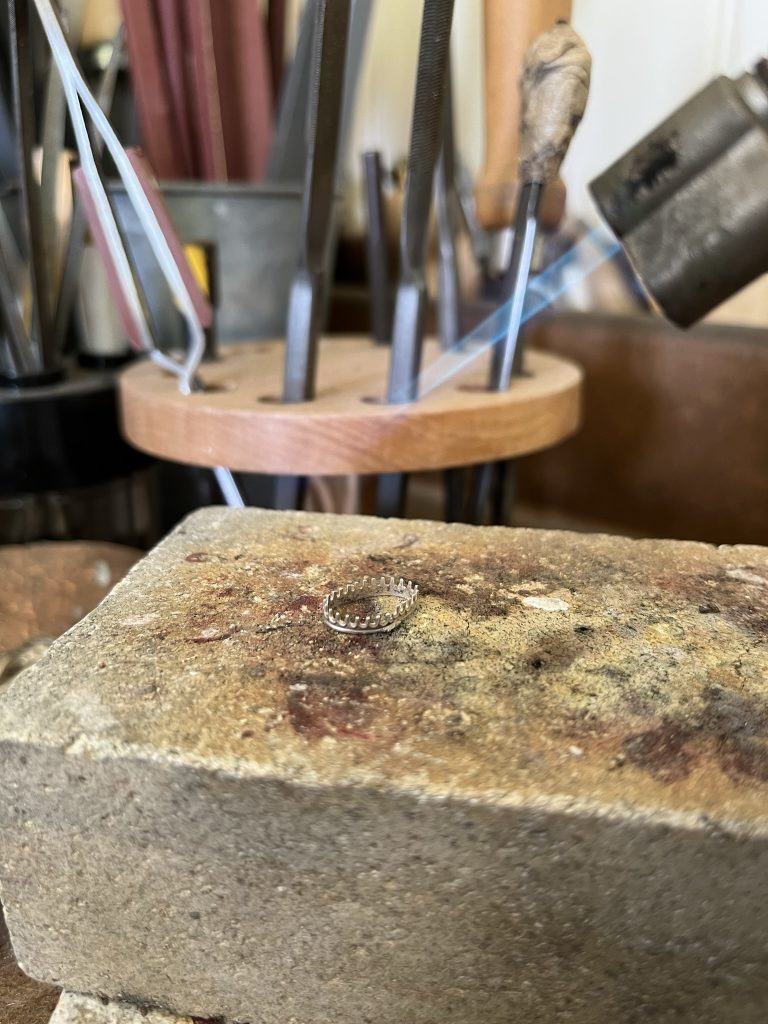
Step Two
Put the bezel strip shape on a solder block.
Place a small amount of hard solder paste on the join of the bezel strip and gently heat using a hand blow torch until the solder melts and flows.
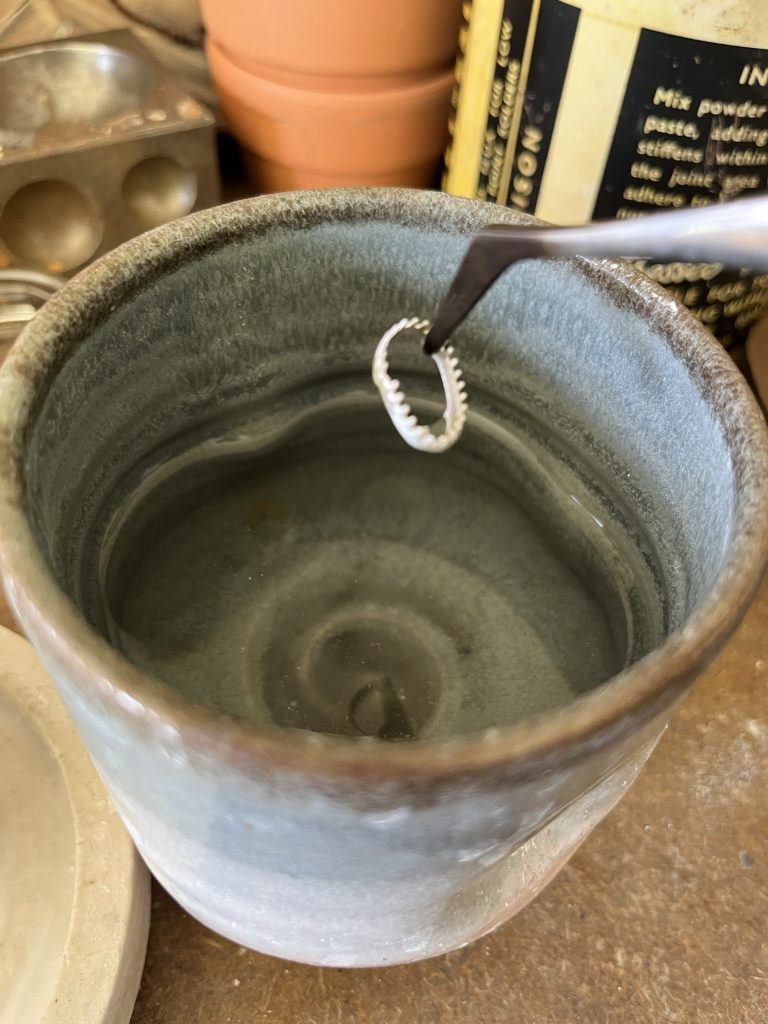
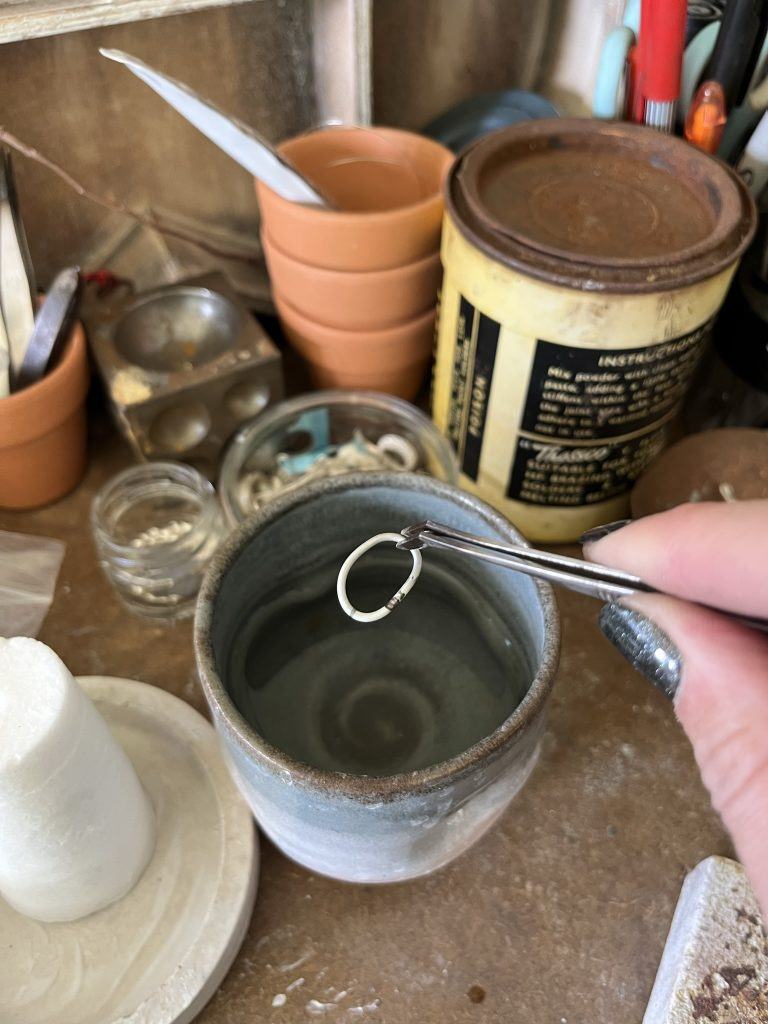
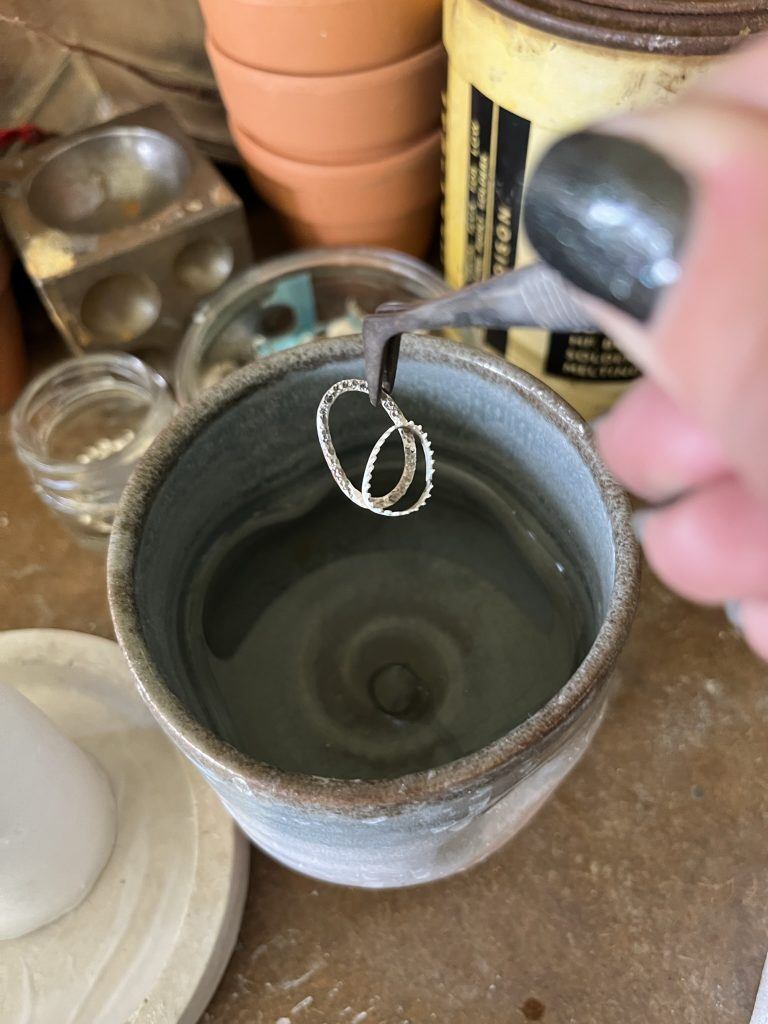
Step Three
Leave the silver bezel to cool for a minute and then quench (cool) in water using metal tweezers and drop it into a warm safety pickle solution.
Always use plastic or brass tweezers to remove anything from the safety pickle.
Step Four
When clean and dry gently push the sea glass back into the bezel to reshape the bezel and ensure it fits flush around the sea glass. Remove the sea glass again.
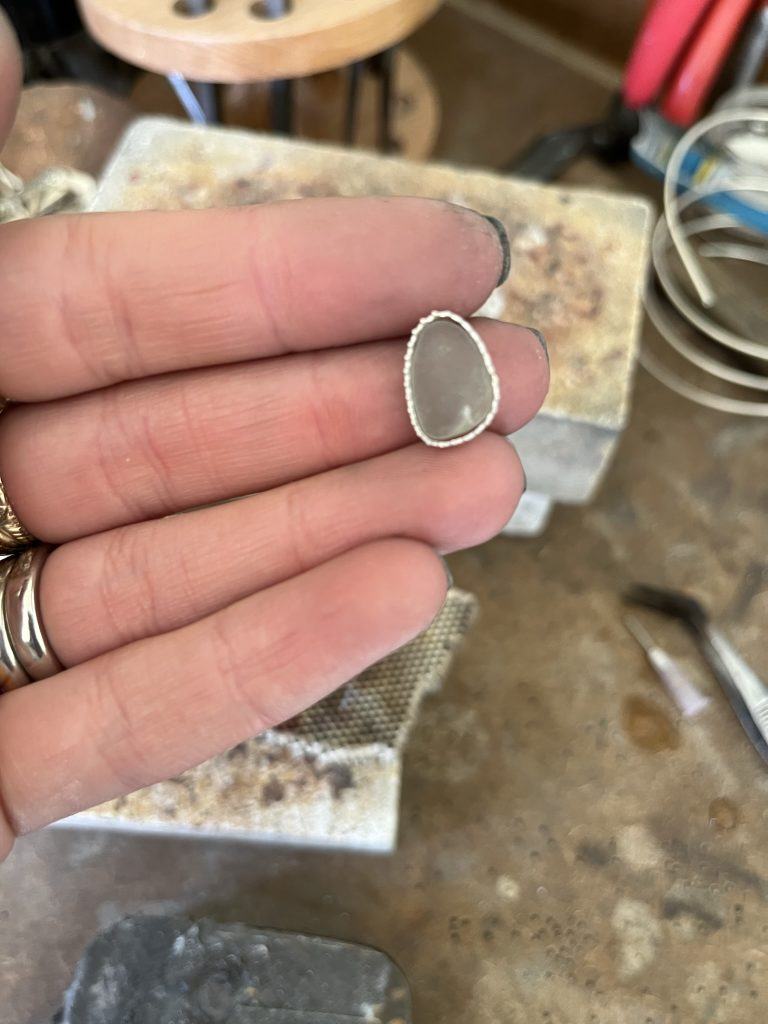
Step Five
If your silver round wire is not the correct length rest the wire on a bench peg and use a piercing saw to cut the wire.
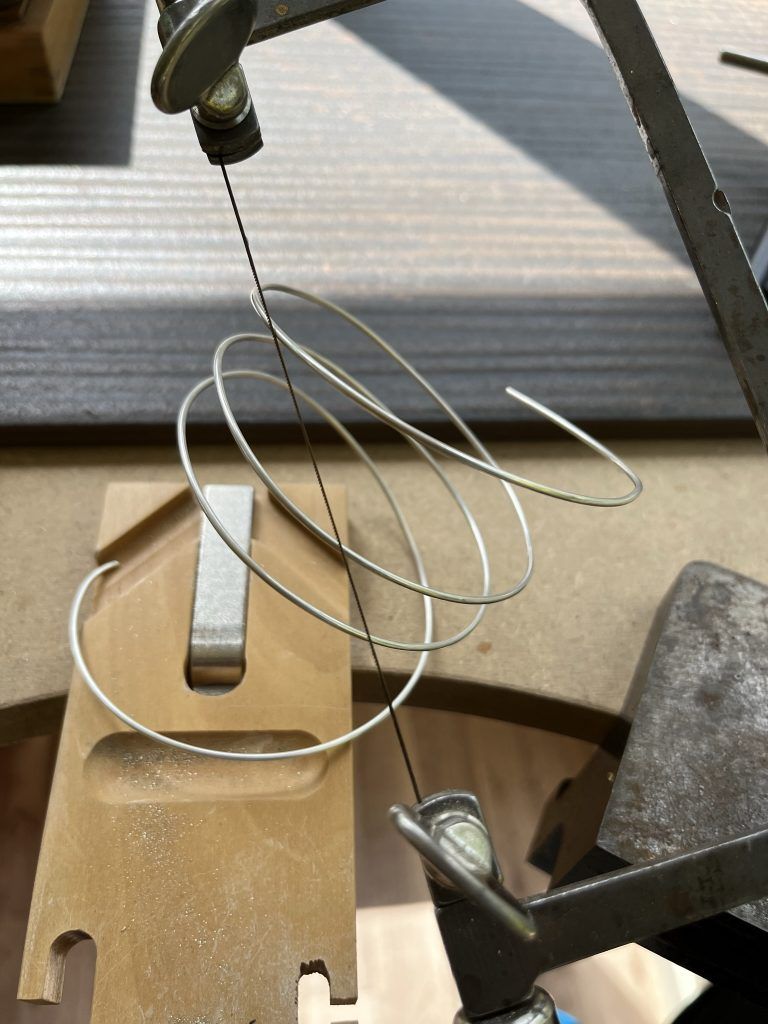
Step Six
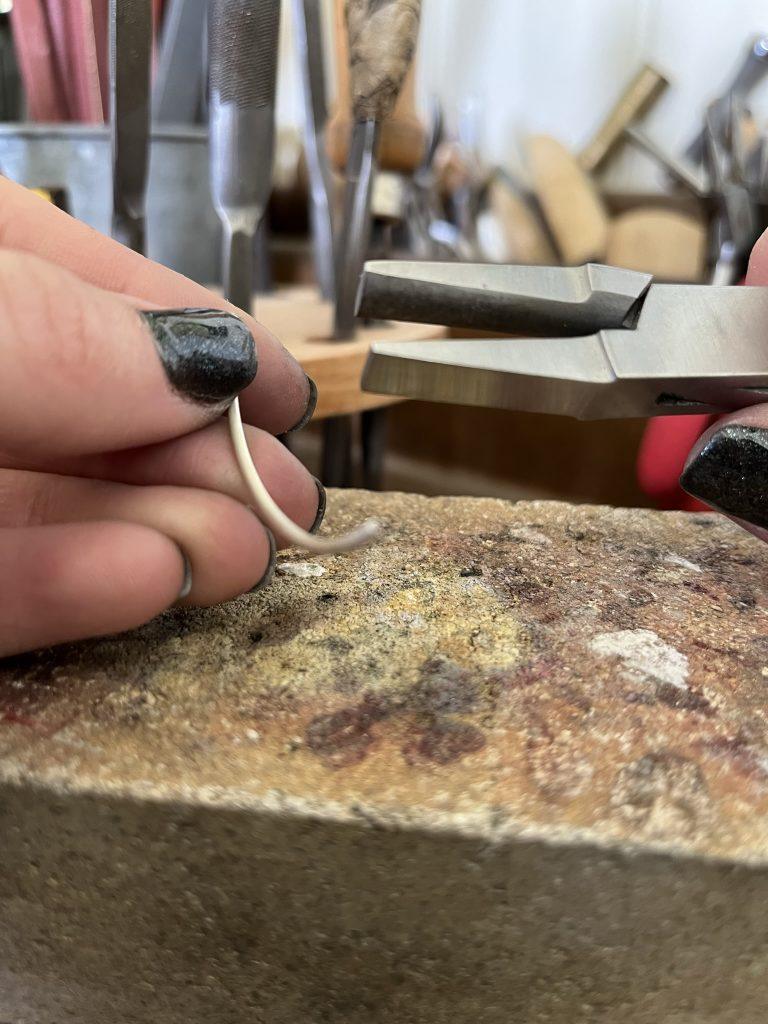
Use half round pliers to bend the silver wire round on itself. You could make an oval or abstract round shape to reflect the shape of the seaglass.
Ensure that the 2 silver wire ends meet and align flush. This may take some time to manipulate the wire until they are perfectly aligned.
You could use flat nose and snipe nose pliers to grip either side of the wire and gently move them until the 2 ends are flush.
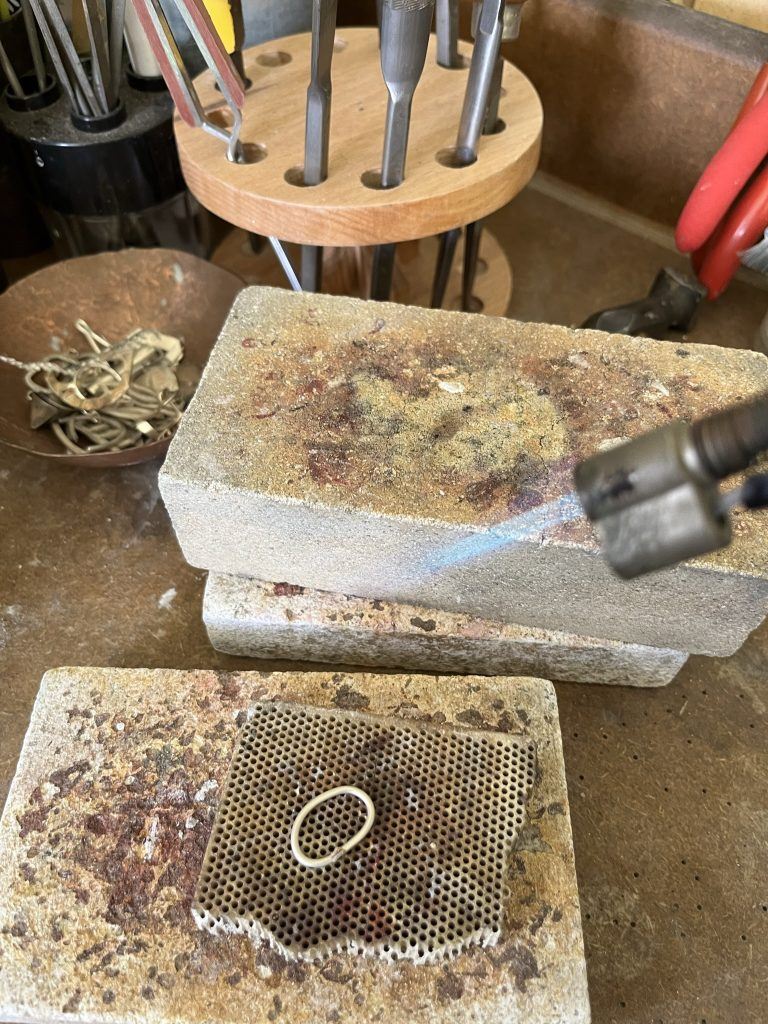
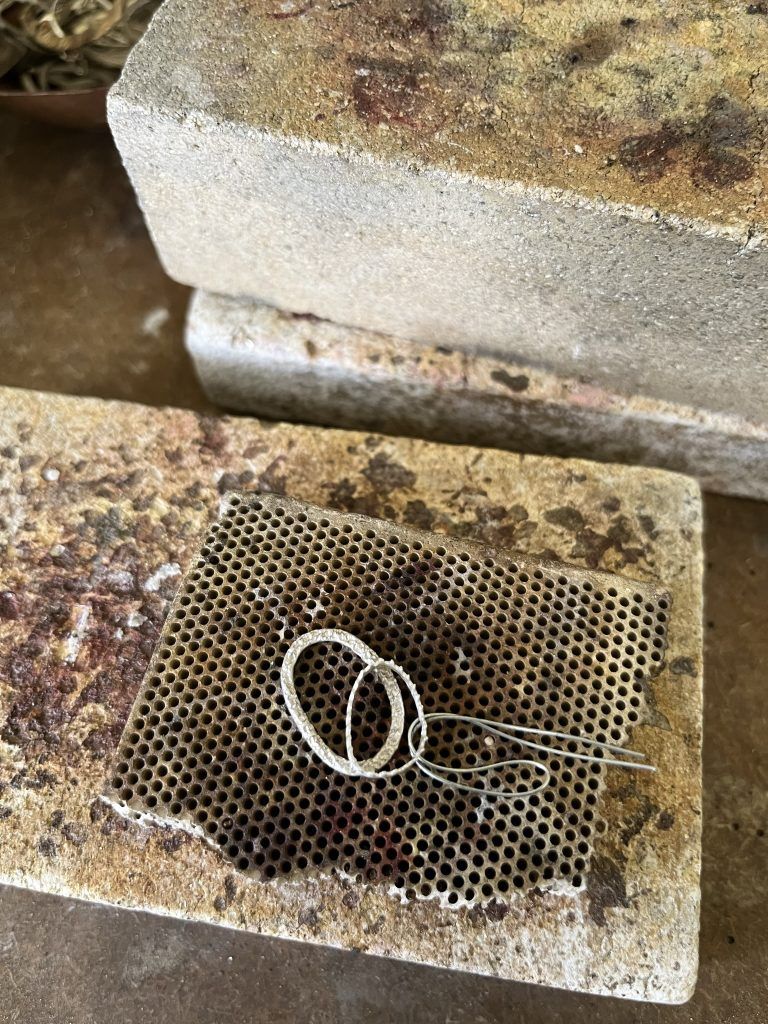
Step Seven
Place the wire shape on a solder block and add a small amount of hard solder paste on the join. Heat the silver wire shape using a hand blow torch until the solder melts and flows.
Step Eight
Leave the silver wire to cool for a minute and then quench (cool) in water using metal tweezers and drop into a warm safety pickle solution.
Step Nine
When clean and dry use needle files and emery board or micromesh to remove any excess solder. Use your bench peg to support the silver and use long smooth strokes with the needle files and emery boards.
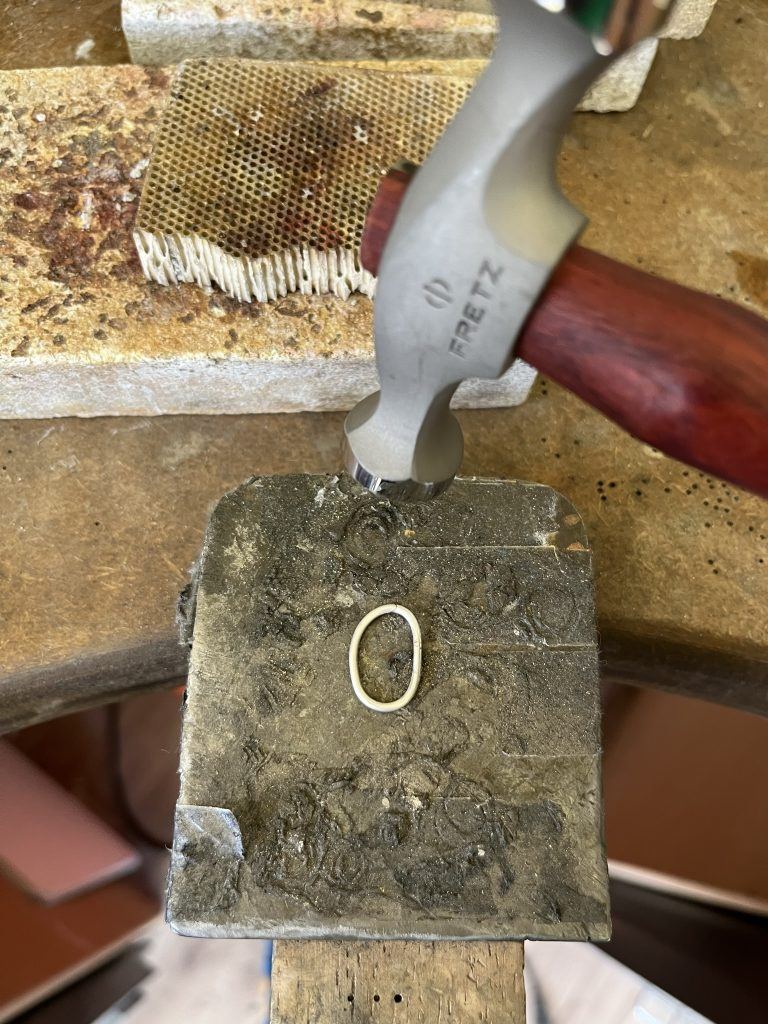
Place the silver wire shape on a steel block and hit the shape with a texturing hammer to add texture.
You could also add texture using impressart stamps or a craft hammer.
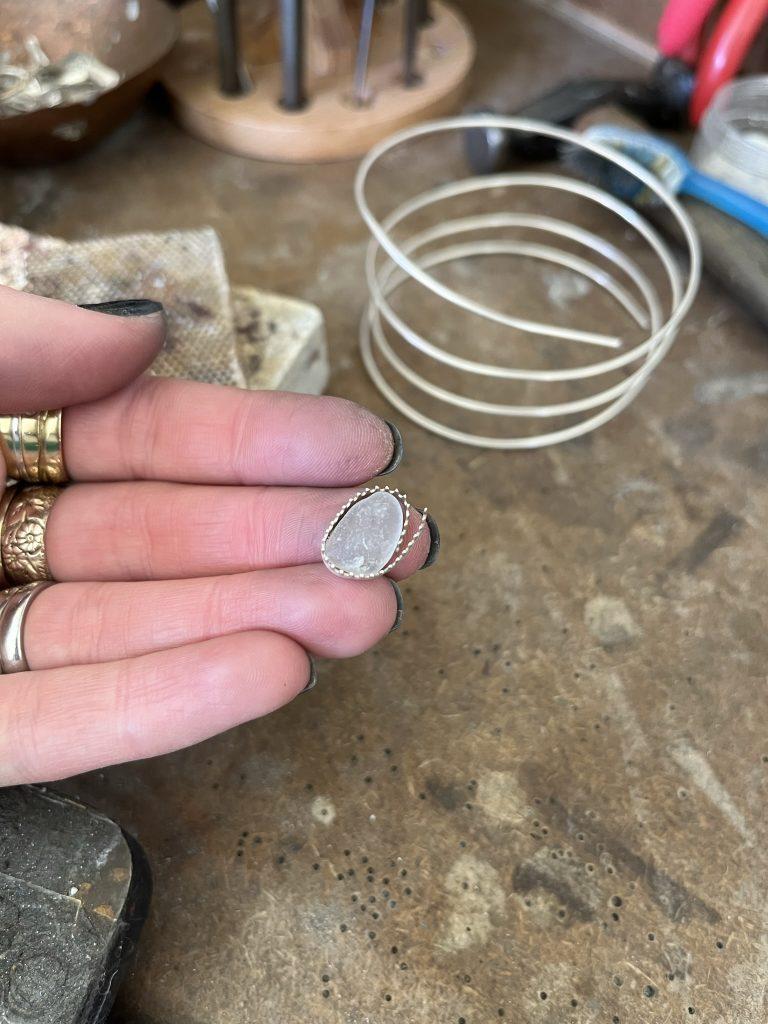
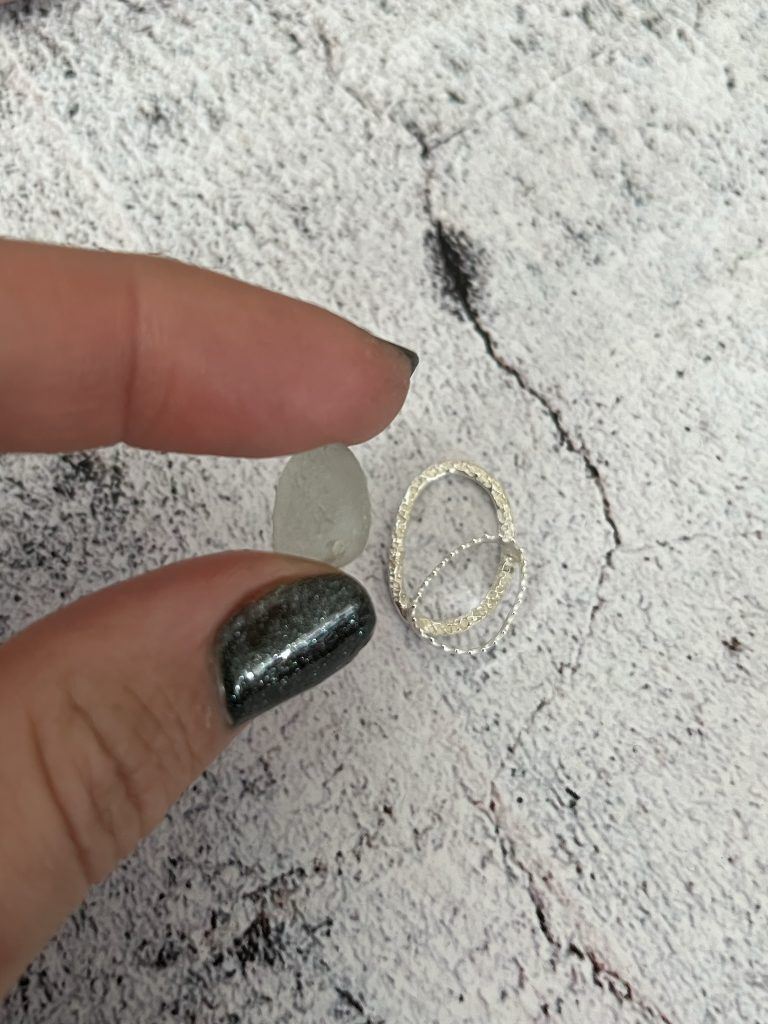
Step Ten
Decide on the composition of where you would like your pebble to be on the silver shape. The silver shape needs to cover a proportion of the back of the bezel so the sea glass does not fall out the back.
Step Eleven
Place the silver shape and silver bezel on a solder block. Add a small amount of easy solder paste to each side of where the bezel touches the silver shape. Make sure the 2 pieces are touching.
If needed use a small piece of binding wire or scrap wire to counter balance the bezel so it does not tip over.
Gently heat both pieces of silver using a hand blow torch until the solder melts and flows.
Step Twelve
Leave the silver to cool for a minute and then quench (cool) in water using metal tweezers and drop into a warm safety pickle solution.
Step Thirteen
When clean and dry you can use a silver polishing cloth to add shine or place in a barrel polisher with stainless steel shot, water and barrelbrite for 20 minutes.
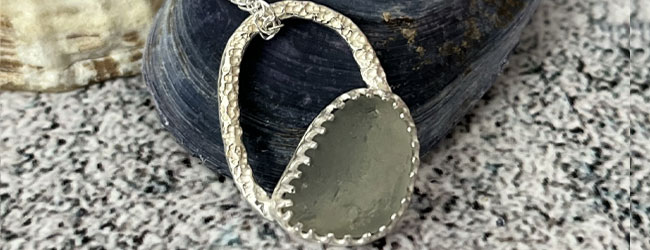
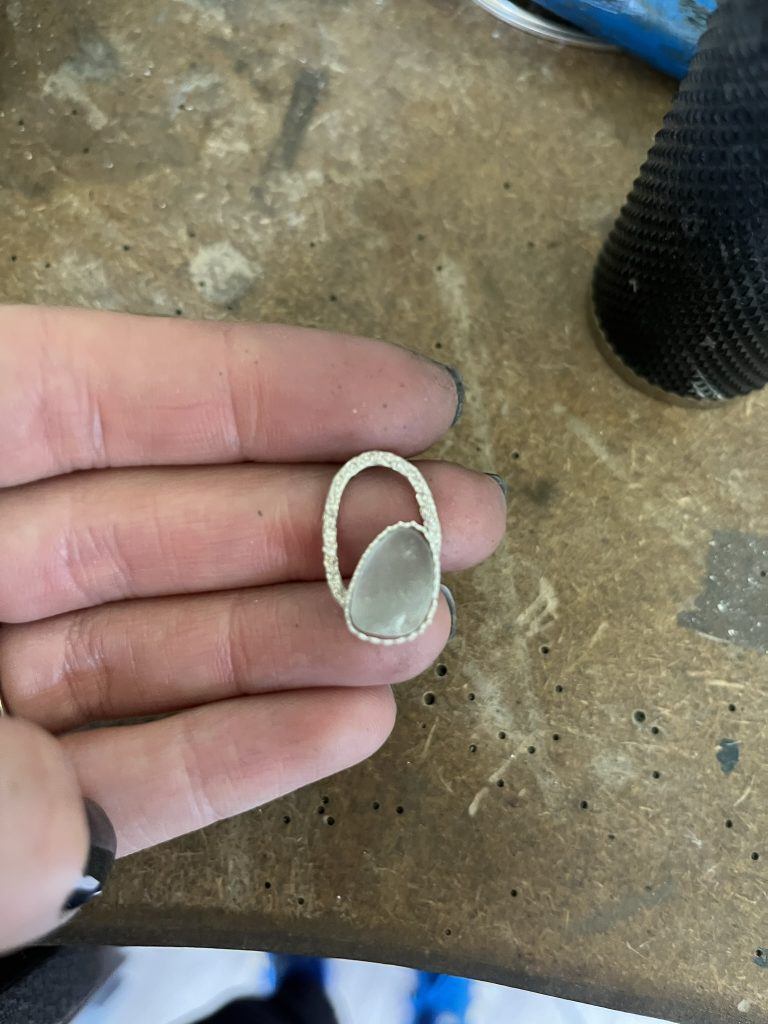
Add your piece of sea glass into the bezel.
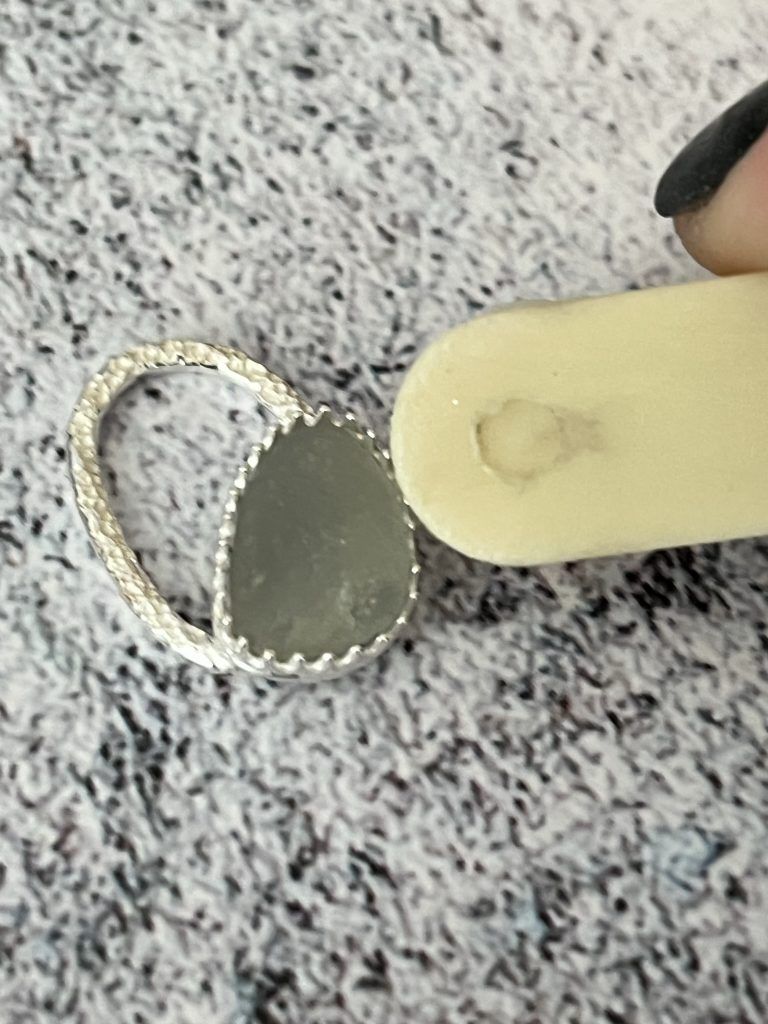
Step Fourteen
Use a bezel pusher or a blunt instrument such as the end of a toothbrush to push over the prongs of the setting and secure the sea glass in place.
Final Step
Thread a silver chain through the silver shape.
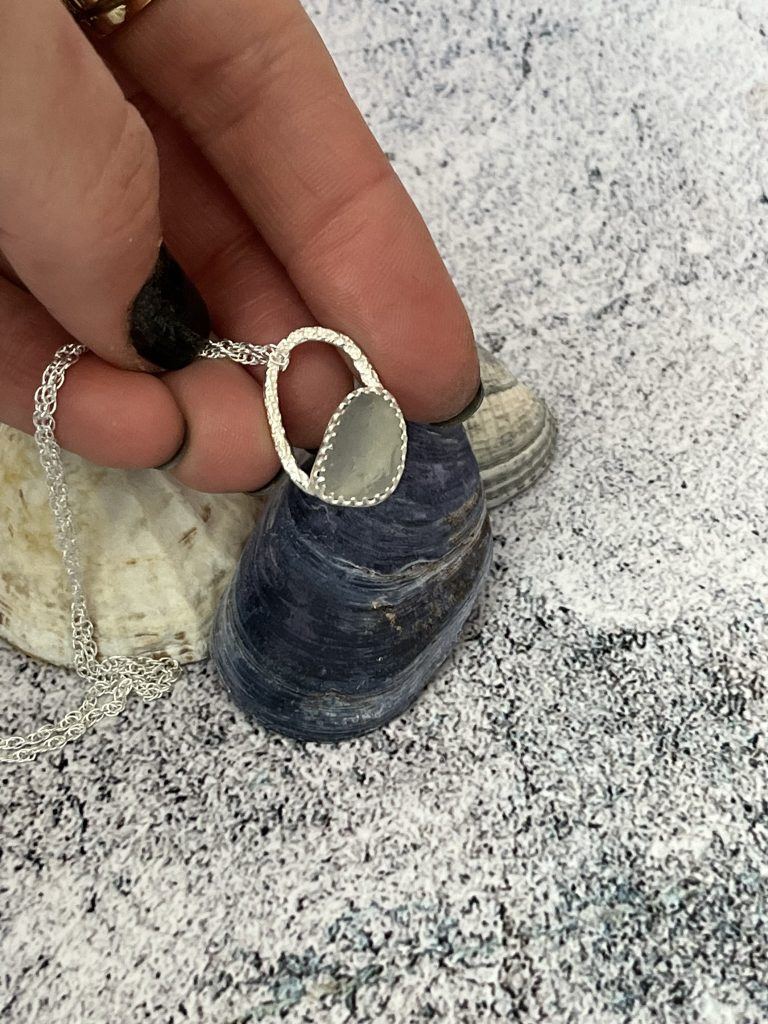
We hope you enjoyed making your Sea Glass Pebble Pendant. If you have any questions or want to know more, get in touch with us on Facebook, Twitter and Instagram. We’d also love to see what you’ve been making so please share pictures of your creations with us too, tagging Cooksongold.

Sian Brown
Sian has been hand making her award winning jewellery in the West Midlands for over 12 years. Sian spent 10 years in Birmingham’s historic Jewellery Quarter before relocating to a quiet Worcestershire village.