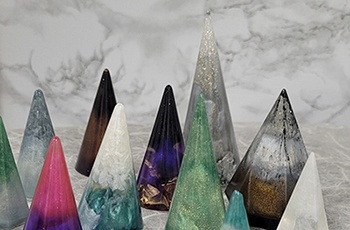
Whether you’re a professional with years of resin experience or have used our 3 part beginners guide to learn how to use resin and want to put your new skills to the test, we have the perfect resin tutorial for you. Personalise what you display your jewellery on with these resin ring holder project, make it any colour or size
Step One
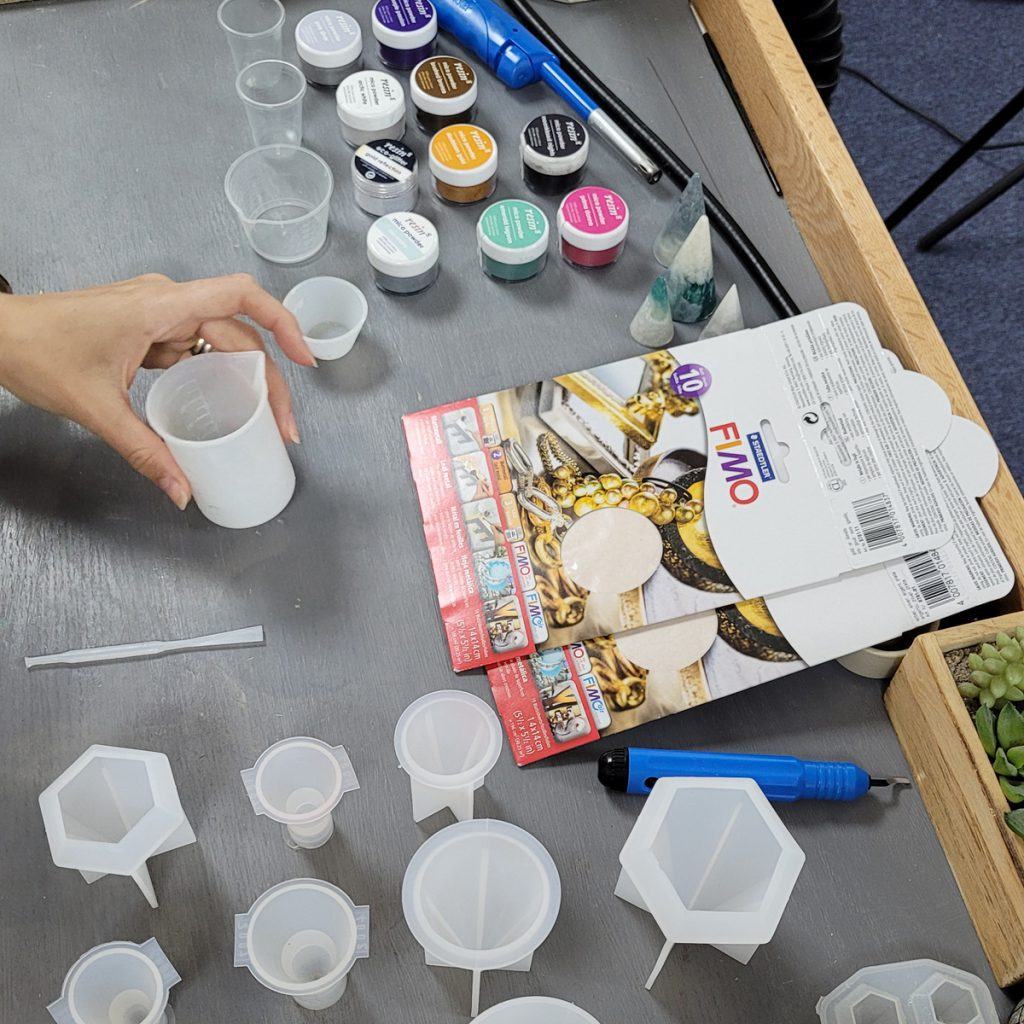
Mix the resin according to the instructions on the bottles. The resin we used was measured by weight, using 2 parts resin to 1 part hardener.
Step Two
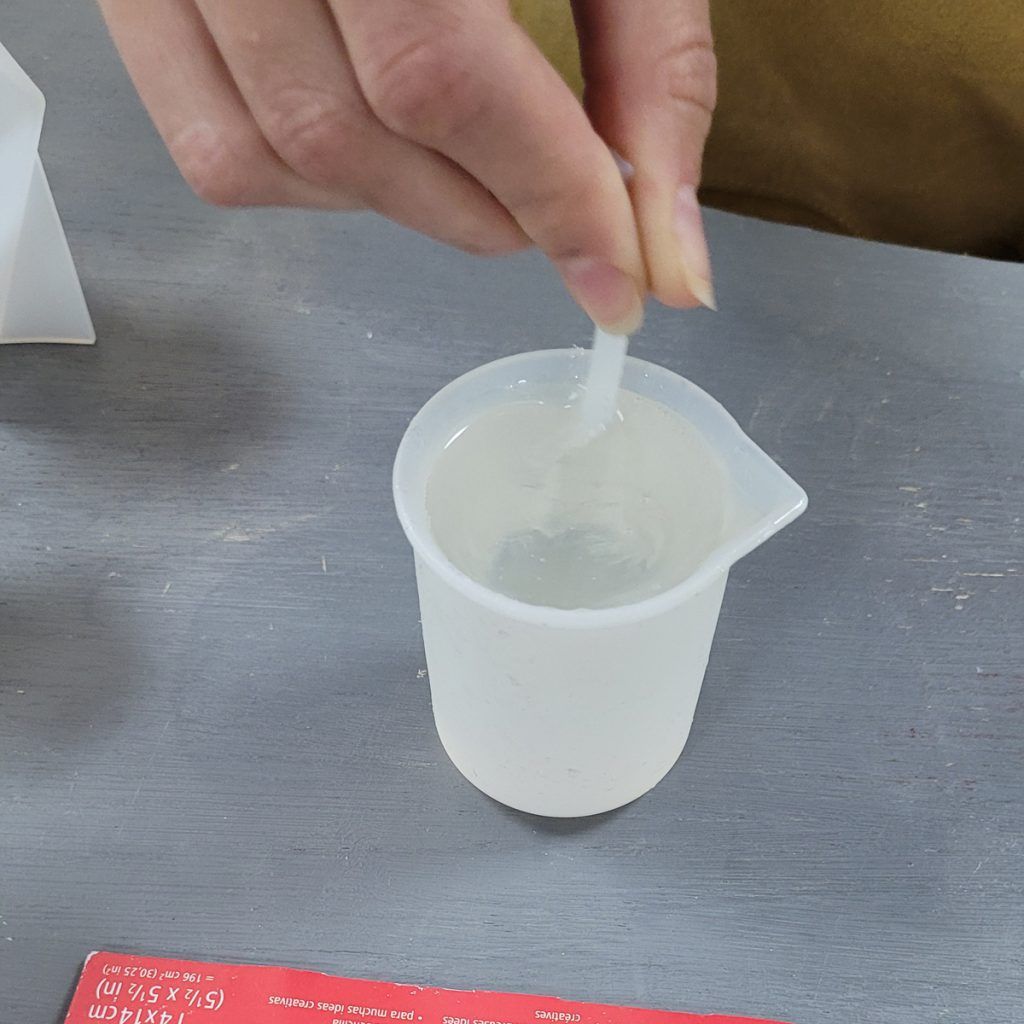
Mix the resin thoroughly according to the instructions. We mixed the resin gently for 3 minutes.
Step Three
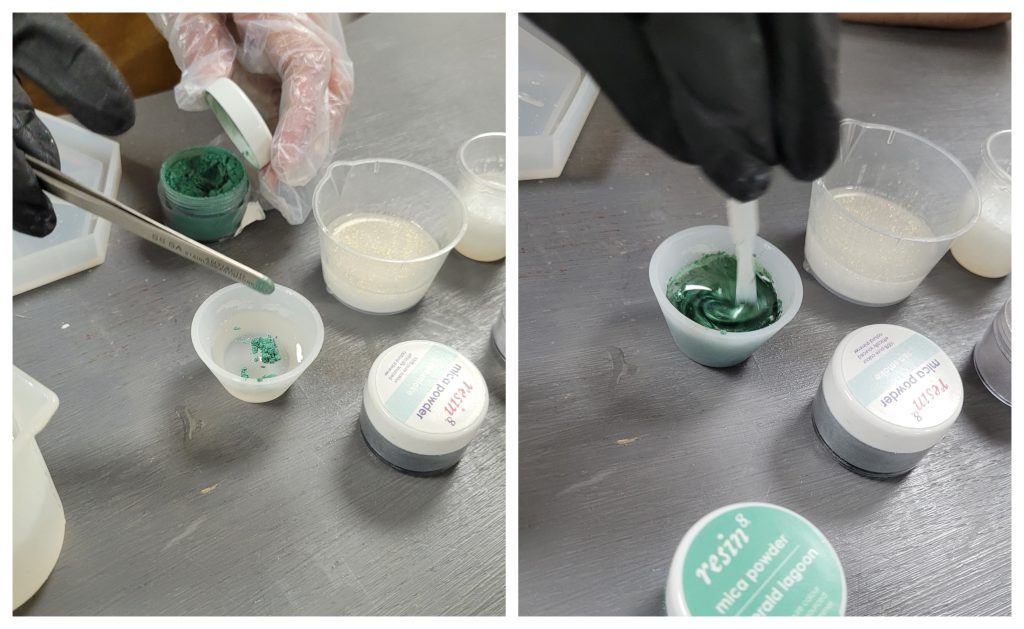
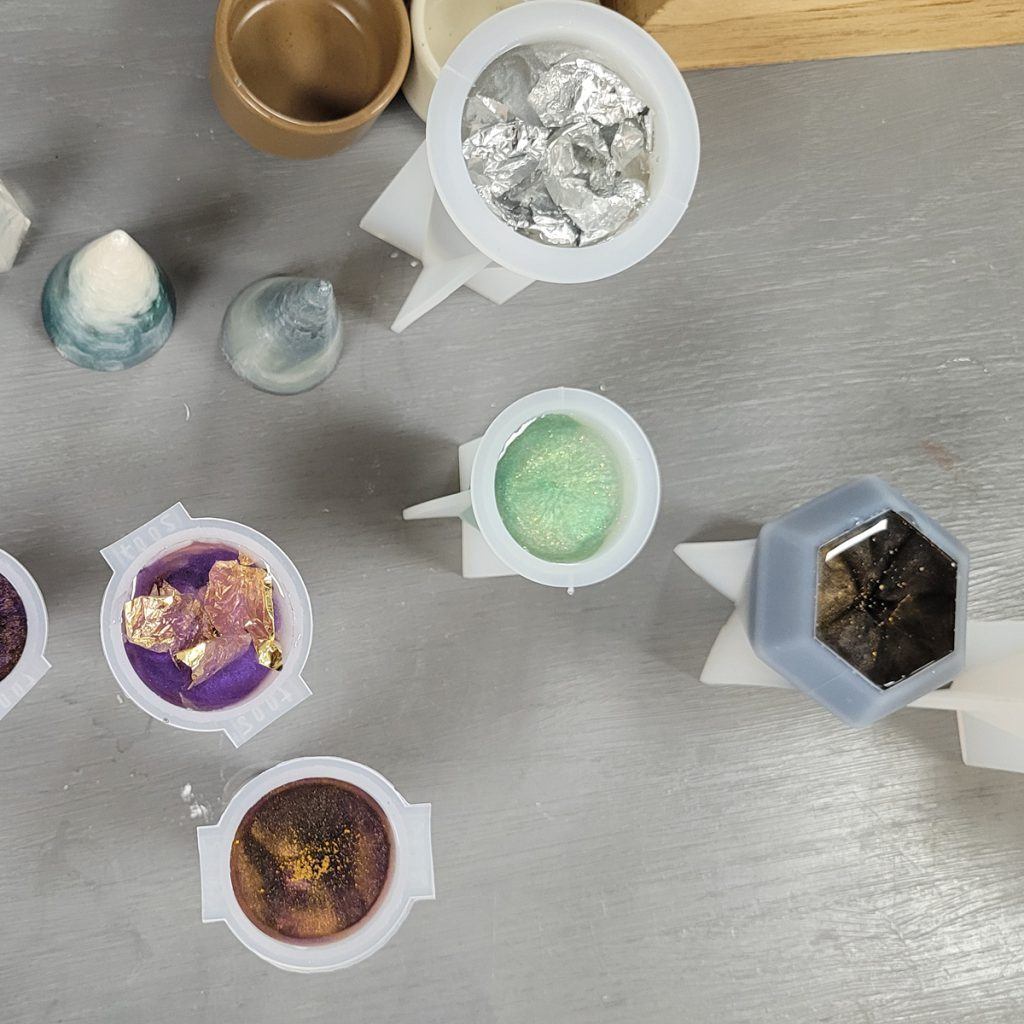
Add mica powder and mix well, the more mica powder you add the more intense the colour so start off adding a little as you can always add more.
Step Four
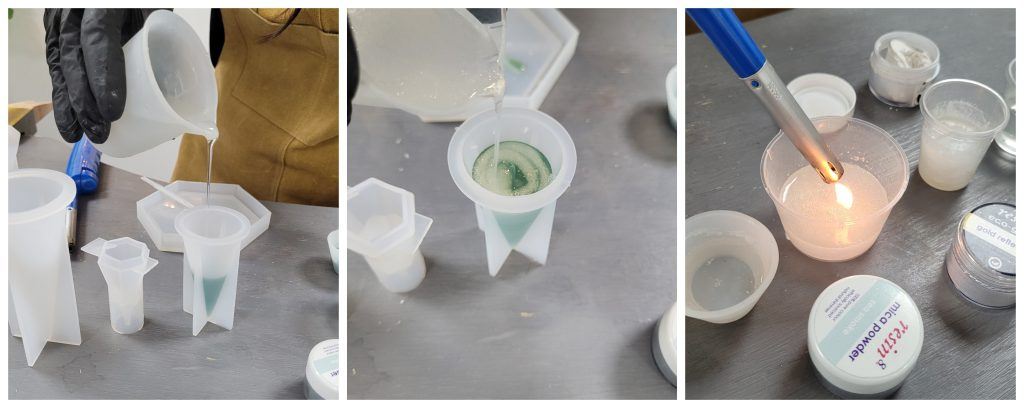
Pour the resin slowly into your silicone moulds. Use a safety lighter over the surface of the resin to pop any air bubbles.
Step Five
Leave to cure for 24 hours.
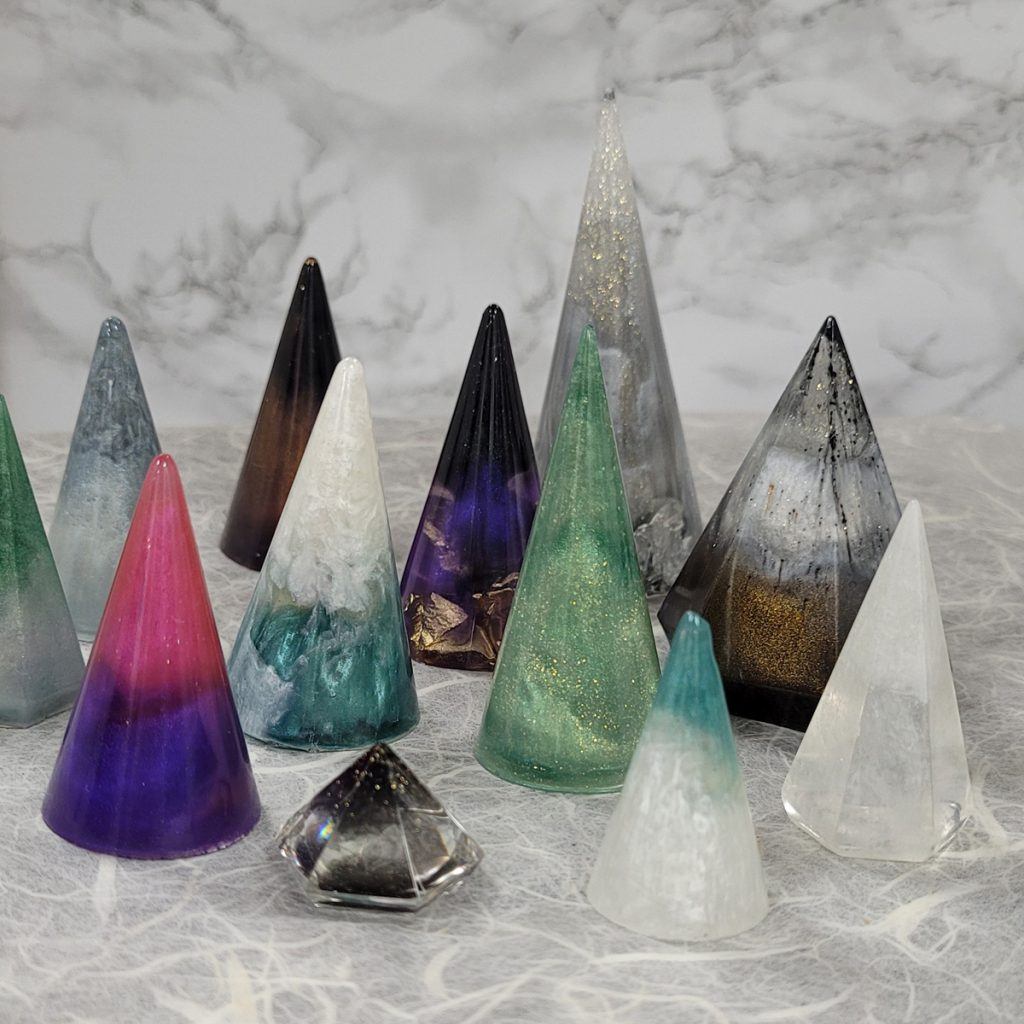
The best thing about this project is that you can easily personalise it to whatever colour and size you want. Working with resin is always exciting, whether you use resin in your jewellery making or for fun, bright items like this ring holder, is such a versatile and easy to use product, there is no surprise as to why it is used time and time again to add great colour and patterns to your designs.

Cooksongold