Learn how to set a gemstone in a semi-set ring mount by following these simple step.
Step 1: Get set.
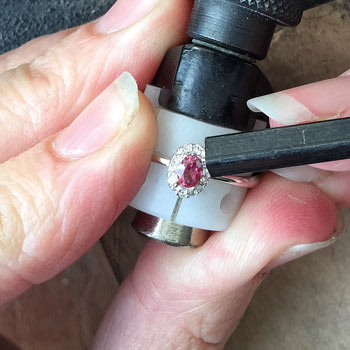
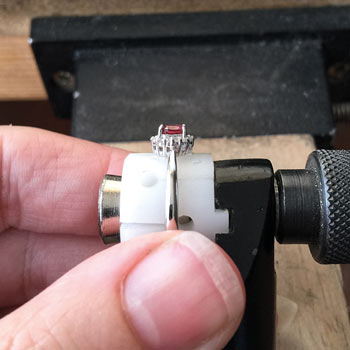
Before you start work, protect yourself by putting on an optivisor. Next, secure the ring in a ring clamp and insert the gemstone into the bezel ready to be set.
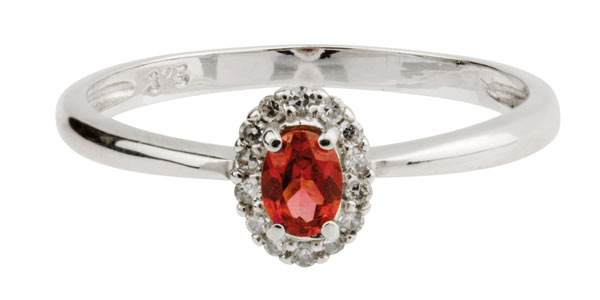
We have used an oval rhodolite garnet in this ring, but you can set any gemstone of your choice. Just check the size of the setting centre of the ring first will accommodate your stone.
Step 2: Gently does it.
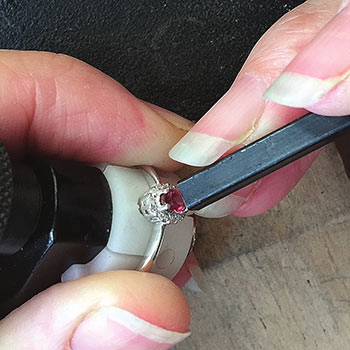
Hold the ring clamp steady and press one of the prongs against the gemstone.
Top Tip:
Keeping your thumb or thumb or finger pressed on the opposite side to the prong, helps keep the gemstone in position.
Step 3: Press on.
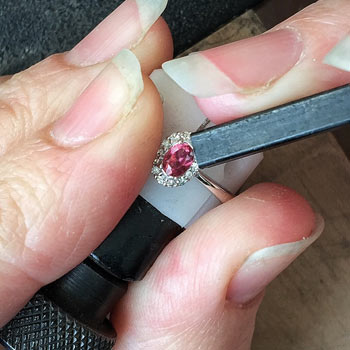
Next, press on the prong that is opposite the one you have just pressed, this ensures the gemstone is straight and in the desired position.
Now press the two other prongs, using the same approach.
Step 4: Check the positioning.
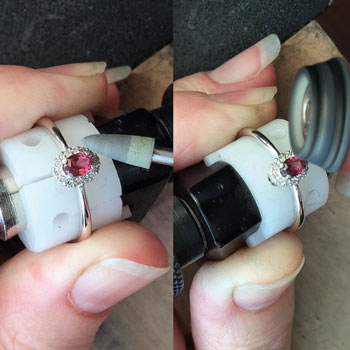
With all the prongs now pressed up against the gemstone, check its position and, if you’re happy, repeat the steps above pressing harder this time.
If the position of the gemstone doesn’t seem quite right, use pliers to gently pull back the prongs, reposition the gemstone and start again.
Step 5: Securing your gemstone.
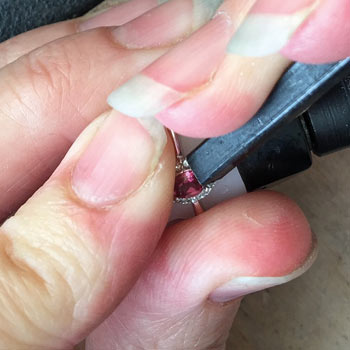
Once all the prongs have been pressed against the gemstone fixing it firmly in place, press down from the top to secure your setting.
Step 6: The finishing touches.
Now your gemstone is securely set, your next step is to remove any marks left by the bezel pusher. Use an extra fine Eveflex burr to remove any marks and then polish the prongs with a leather pendant wheel or similar with polishing compound.
You could also put the ring into an ultrasonic cleaner dependent on the gemstone used.
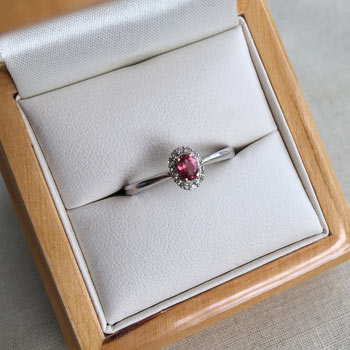
Your beautiful stone set ring is now finished. For that final finishing touch keep your ring in one of our wooden boxes.
See the downloadable version of this project to print and keep.
We want to see what you have been making! Share your creations with us on social media, tagging in Cooksongold on Facebook, Twitter and Instagram.

Sharon Philogene