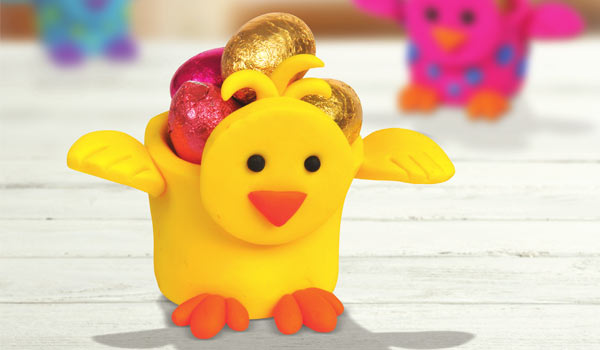
Celebrate Easter by making these colourful egg cup characters from FIMO soft clay.
How to make a basic egg cup shape
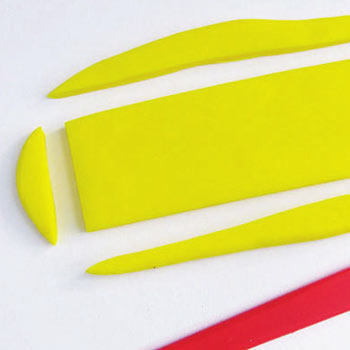
Step 1
Roll out a block of FIMO to approximately 6cm x 12cm and 5mm deep.
Trim the edges with a modelling tool or an old table knife to make a rectangle. Keep the FIMO leftovers to re-use.
Top Tip:
A plain, glazed tile makes a good work surface for FIMO. Models can be made on a tile then put straight into the oven to bake.
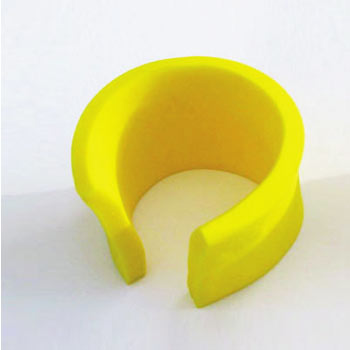
Step 2
Curl the strip round joining the ends together. Blend over the join with your finger, or just press the ends together.
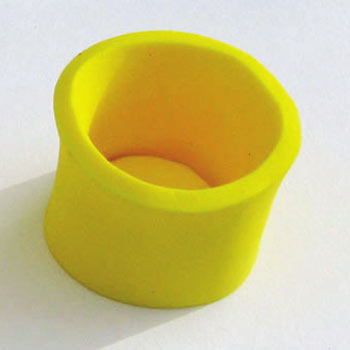
Step 3
Push a piece of FIMO into the bottom of the egg cup to fill the hole.
How to make the Easter chick
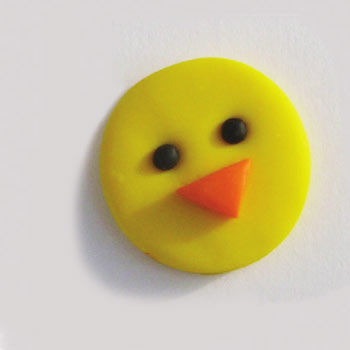
Step 1
Make a head from the FIMO leftovers. Draw eyes with a black marker pen and add beak.
Top Tip:
Use wet wipes to keep your fingers clean so darker colours don’t transfer onto lighter ones.
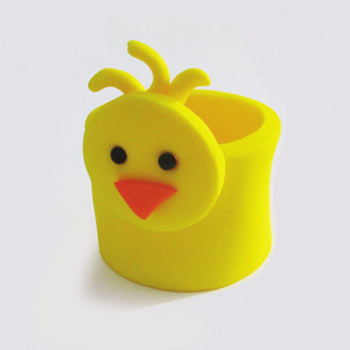
Step 2
Carefully press the head on the egg cup with some thin strips on top.
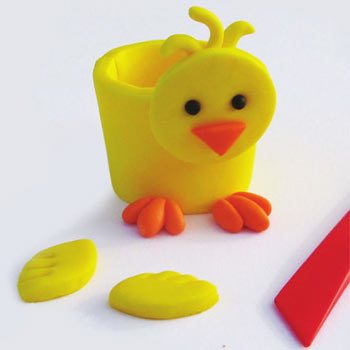
Step 3
Cut some wings and model the feet. Press them onto the egg cup.
Bake at 110°/230°F for 30 minutes on the tile or baking tray.
Allow the FIMO to cool before handling.
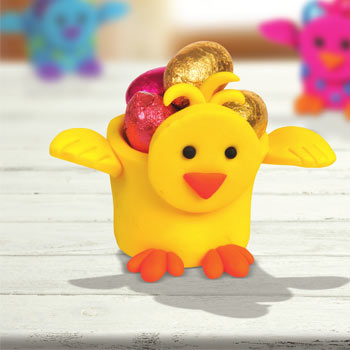
Your Easter egg cup is now complete!
See the downloadable version of this project to print and keep.
We want to see what you have been making! Share your creations with us on social media, tagging in Cooksongold on Facebook, Twitter and Instagram.

Cooksongold