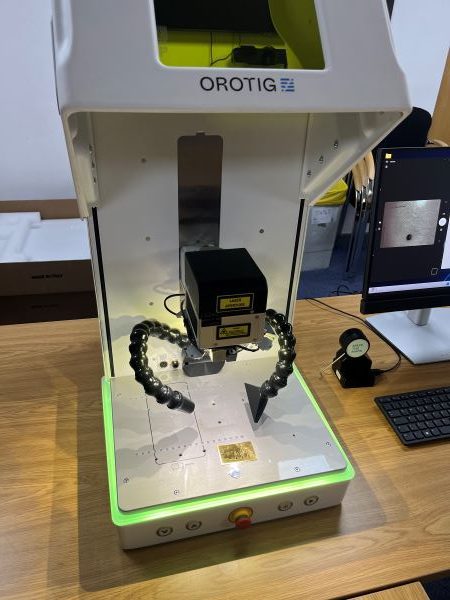
In modern jewellery making, precision sets your work apart, the Orotig Canova 50 gives jewellers the power to engrave and personalise items with outstanding clarity, efficiency, and ease. Whether you’re engraving text, logos, pictures or even cutting small shapes, this machine provides an intuitive workflow designed for professionals and beginners alike.
Below is a complete, expanded walkthrough as well as our step by step video guide.
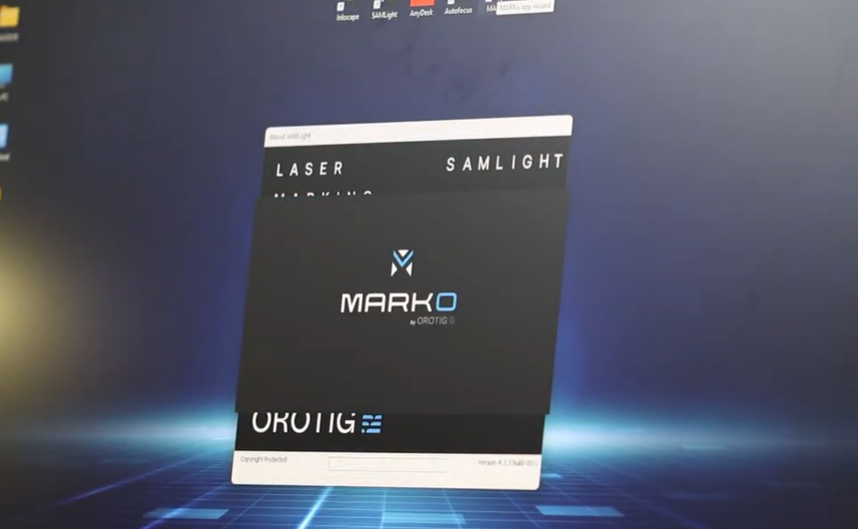
Step 1: Start the MARKo Software
When you turn on the Canova 50, your included desktop PC will load MARKo, Orotig’s engraving software. The machine comes preconfigured so there is no complex setup — simply switch on the computer and launch MARKo.
Its interface is deliberately clean and guided, meaning you don’t need prior engraving experience to get started. Everything has been designed to walk you through the process in a logical, uncomplicated way.
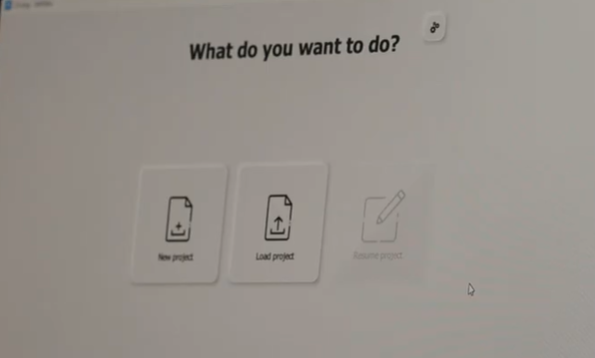
Step 2: Start a New Project
Once MARKo is ready, you simply select “Start New Project.”
Immediately, the dual-camera system activates — one wide-angle camera and one zoomed-in view.
This gives you:
- A real-time look inside the working chamber
- Precision when aligning items
- The ability to visually position text or artwork exactly where you want it
The software will then give you an option on whether you want to “Import Vector”, “Import Image” or “Create Text”. For this we have opted to create text, however the Canova 50 gives you the flexibility.
Step 3: Enter Your Text and Choose the Font
Next, type your text directly into the software. Here you can fine-tune:
- Font style
- Size
- Spacing
- Alignment
- Rotation
- Placement
The live dual-camera view acts as your visual guide, showing exactly where the engraving will appear. What you see on screen is exactly what will be engraved — helping you avoid mistakes and guarantee perfect positioning.

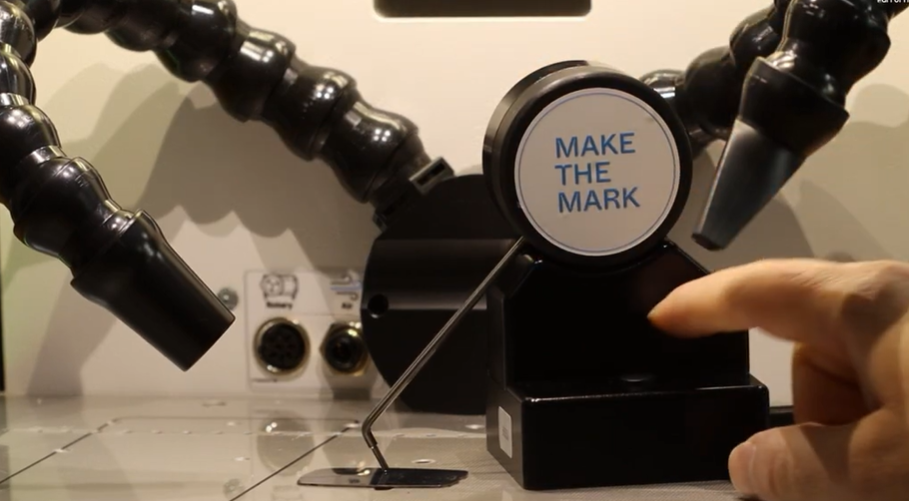
Step 4: Focus the Laser Using ‘Make Mark’
Before engraving begins, MARKo prompts you to set the correct focus using its Touch Pro tool. To focus your laser, plug in the tool, press the button on the Touch Pro to make the mark for accurate laser engraving. There are two focus options to choose from depending on your preference:
Digital autofocus (standard)
Automatically measures the distance between the laser head and the work surface.
Manual focusing
Using intersecting red guide lasers, you can manually adjust the focus point for full control.
Once you choose your method, select ‘Make Mark’ to finalise the focus. This is essential for achieving crisp, detailed engraving.
Step 5: Choose ‘Mark’ (Engrave) or ‘Cut’
The Canova 50 can:
- Engrave (mark)
- Cut
If you choose cutting, the machine can cut simple shapes in gold and silver up to approximately 1.2 mm thick (thickness dependent on metal type and settings).
This allows jewellers to create:
- Tags
- Charms
- Small shapes
- Decorative components
It’s a powerful addition for workshops wanting to expand their personalised product offering.
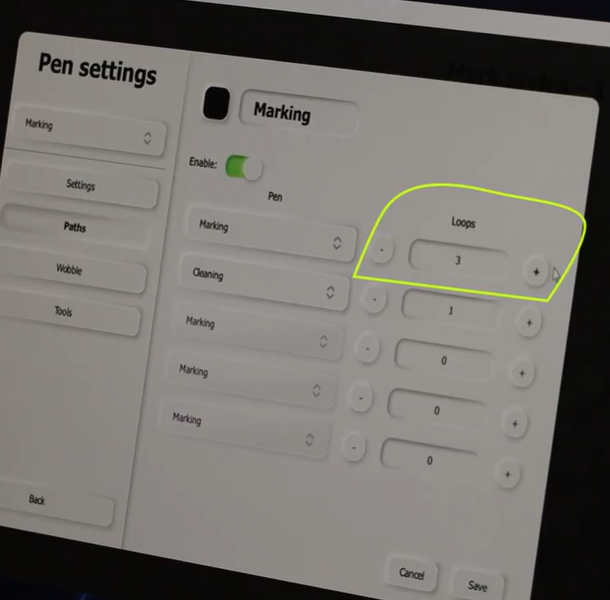
Engraving with the Canova 50 is very customisable so you are able to adapt and change the settings to fit your needs.
It is important to remember that increasing the loop number will create a deeper cut in the metal. You can also control the finish of your engraving. Selecting 0 on this will give you a darker blackened look, whereas the other option delivers a clean white look.
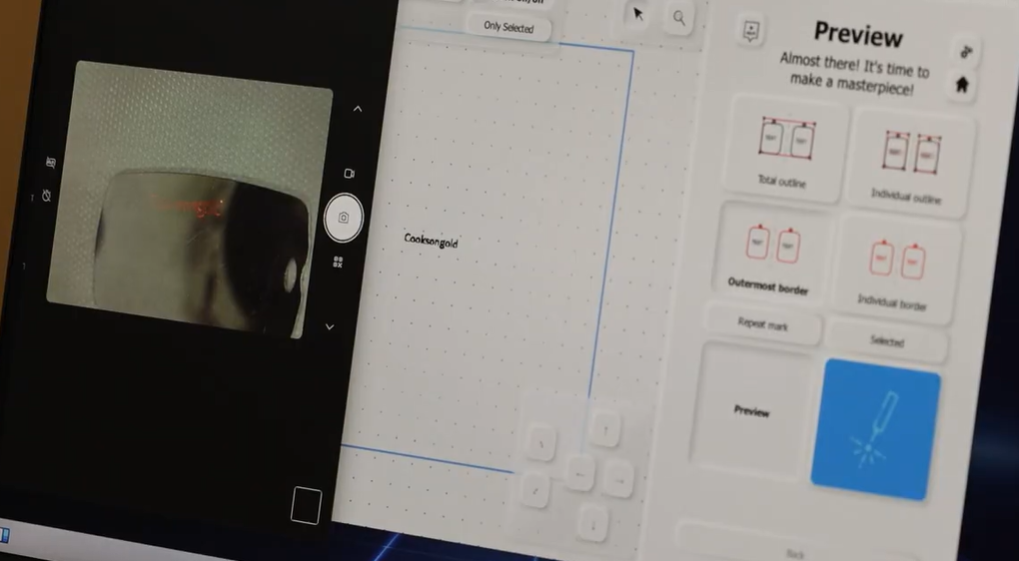
Step 6: Preview Your Design
The final step before engraving is to preview your design. The dual camera system ensures, what you see on screen is exactly what will be engraved. With speeds of up to 8 m/s and a marking area of 145x145mm, the Canova 50 can comfortably handle engraving, inside and outside surfaces.
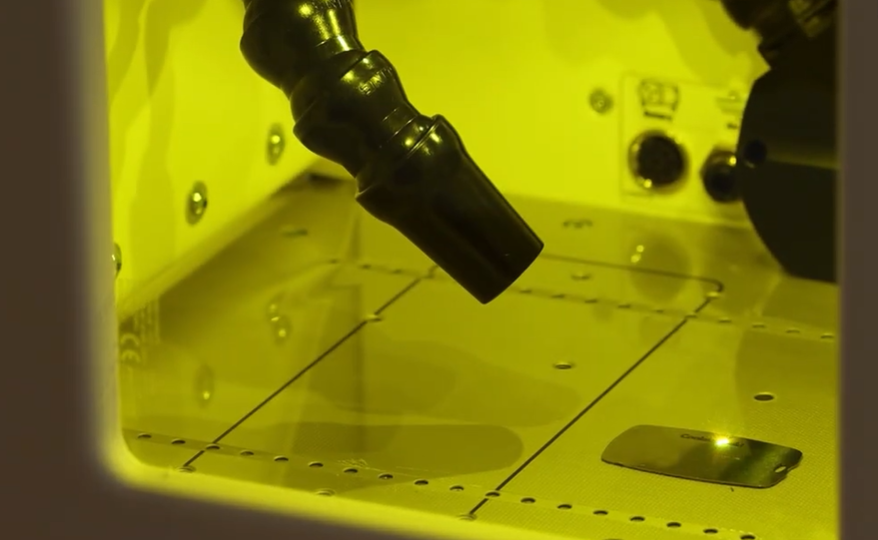
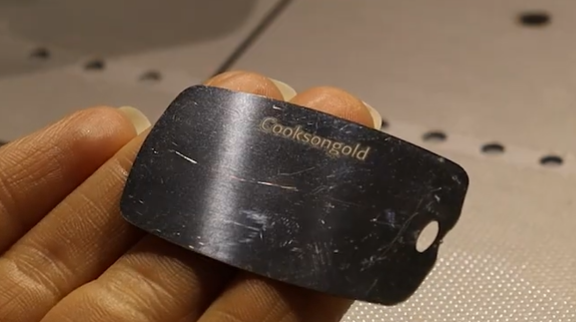
Step 7: Engraving your Design
Once happy click the engraving button and let the engraving begin. The Canova 50 allows for safe operation with the lid closed, no protective eyewear needed. Once the engraving has finished, open up the lid to check your design was as expected. The Canova can also engrave onto shaped and pre made designs, simply just follow the same process.
For more information on the Orotig Canova 50, click here

Sian Brown
Sian has been hand making her award winning jewellery in the West Midlands for over 12 years. Sian spent 10 years in Birmingham’s historic Jewellery Quarter before relocating to a quiet Worcestershire village.