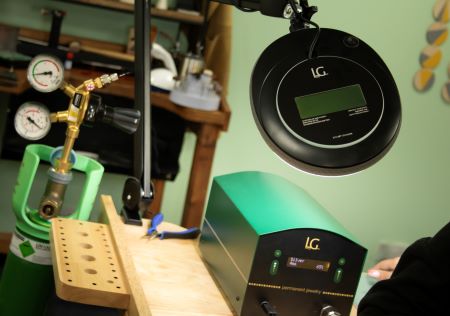
In this article we will talk through how to set up the LG Findings Permanent Jewellery TIG Welder, LG Findings Eye Protection System and Argon Gas Regulator Kit. From unpacking the components to connecting the gas and electrode, we’ll take you through each step so you can start welding safely and efficiently.
What’s Included:
Before you get started, make sure you’ve unboxed all your components:
- The LG Findings Permanent Jewellery TIG Welder
- A handpiece
- Electrode
- Power cable
- Magnifying lamp and clamp
- Argon regulator and gas tubing
- Welding pliers
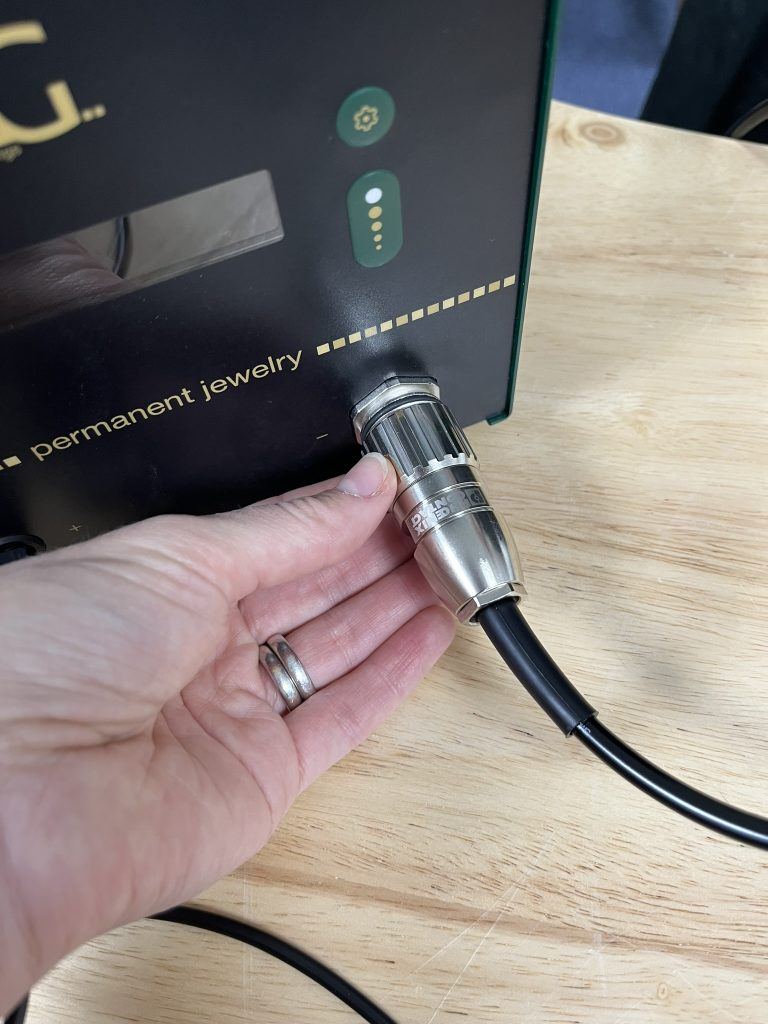
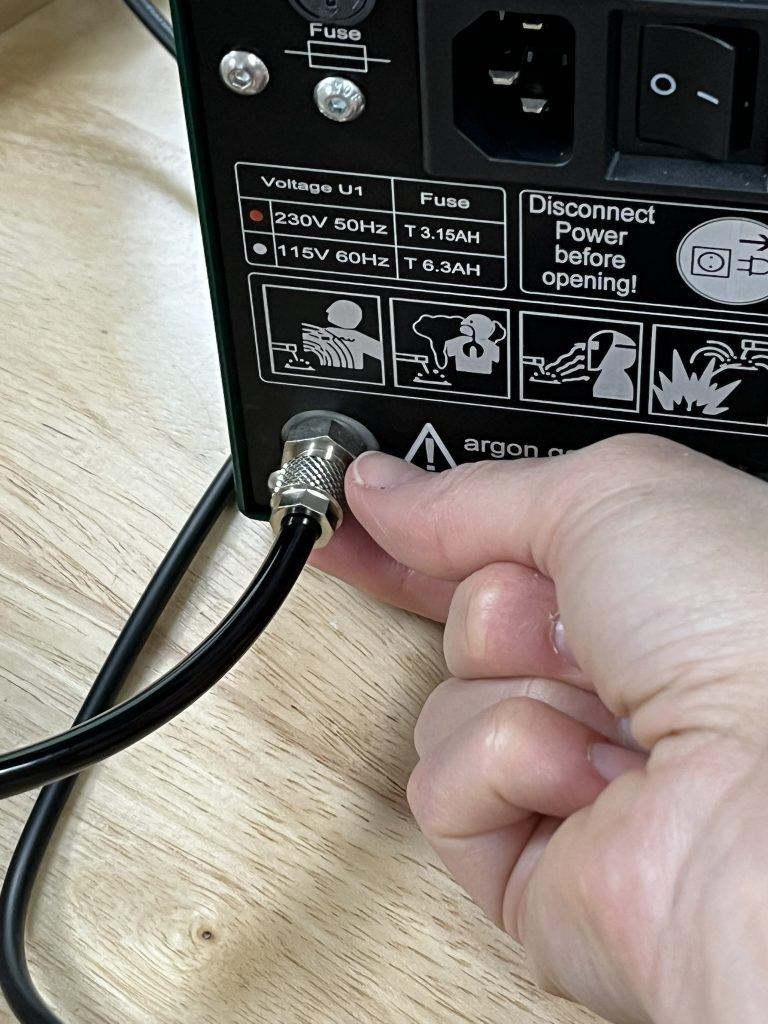
Step 1: Connect the Handpiece
Begin by connecting the handpiece to the front of the machine. It only fits one way—if it doesn’t sit comfortably, rotate it until it clicks into place. Once it’s positioned correctly, screw it in tightly to ensure no gas escapes during operation. This is one of the most commonly missed steps, so double-check that it’s secure.
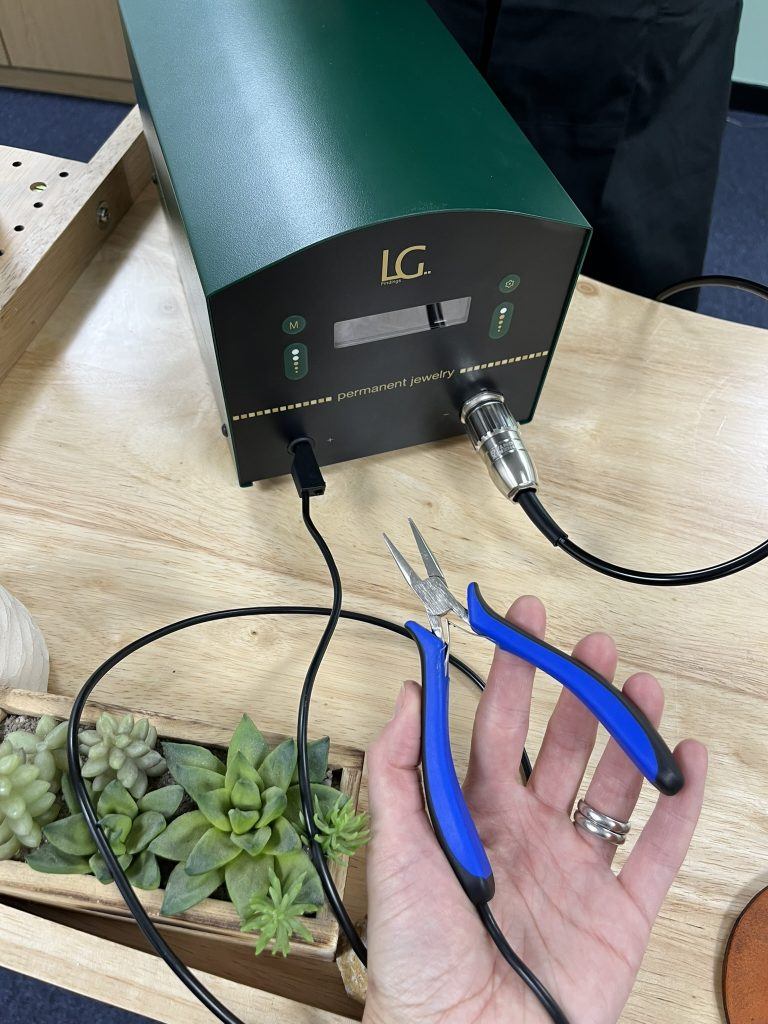
Step 2: Attach the Pliers
Next, plug the welding pliers into the front of the unit. Push them in gently until they’re firmly connected.
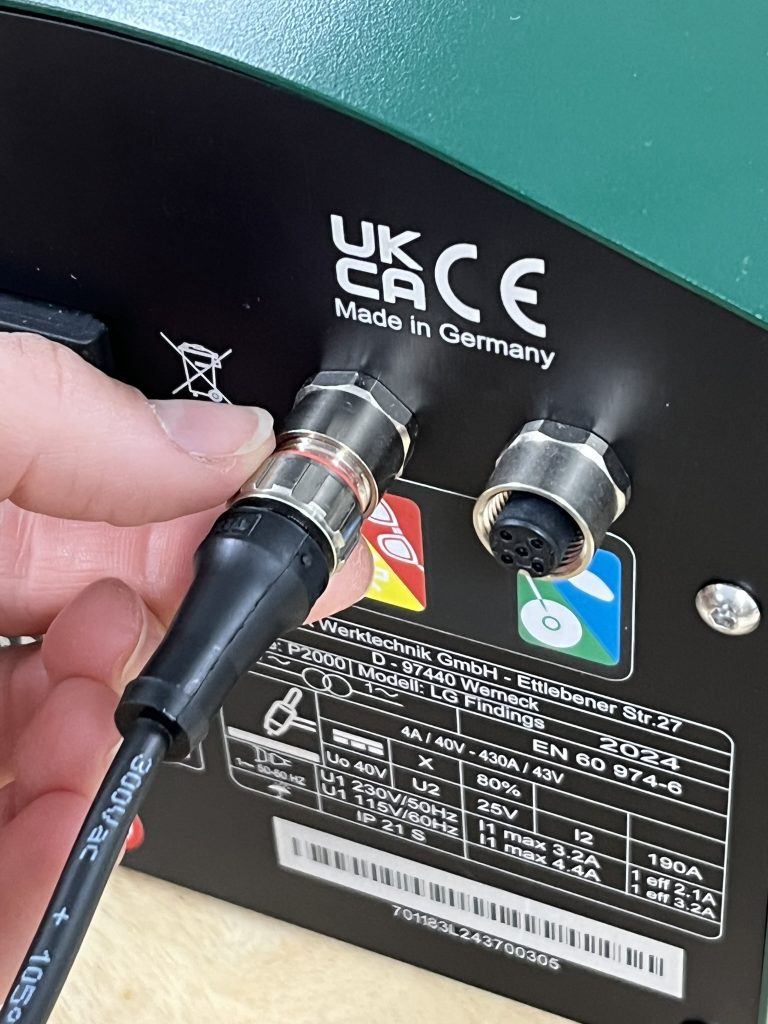
Step 3: Setting up & Connecting the Magnifying Lamp
Secure the clamp for the magnifying lamp to your workbench. Once it’s tightly in place, insert the lamp into the clamp’s holder.
Now plug the magnifying lamp into the rear of the welder. Again, it only fits one way—line it up with the lamp symbol on the machine. Tighten the screw and plug the power lead into the lamp.
Step 4: Install the Argon Gas Tube
Unscrew the gas connector at the back of the unit and attach it to the argon hose. Push the hose onto the machine’s gas outlet firmly, then screw the connector tight. Do the same on the other end, attaching the hose to the argon regulator and securing it with the clamp. Make sure all connections are airtight.
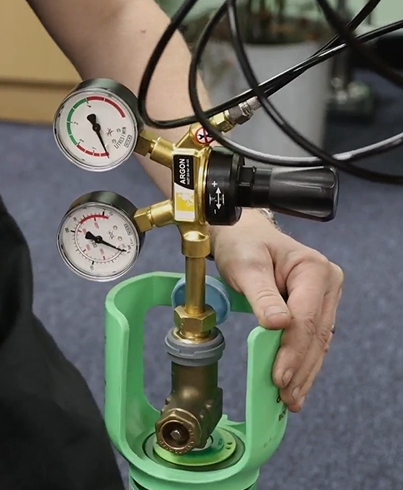
Step 5: Fit the Argon Regulator
Position the argon regulator on top of the argon bottle and tighten it with a wrench. Once secure, plug the power cable into the machine. Follow the on-screen instructions, starting by pressing the Material button, then the Settings button to access the gas regulator setup.
Turn on the argon gas and adjust the flow to 2 litres per minute. Use the top button on the machine to test the gas flow and the bottom button to turn it off once testing is complete.
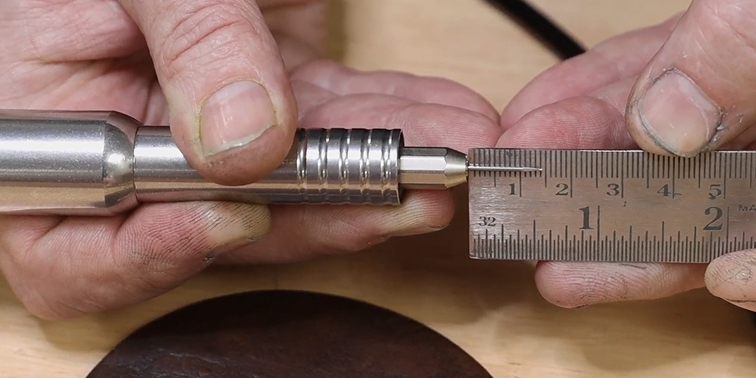
Step 6: Prepare the Electrode
Remove the end cap of the hand piece and insert the electrode. Set the length of the electrode so that 14mm is visible. Tighten it, then replace the end cap.
If you’re planning to take this setup on the road for pop-ups or in-store events, it’s worth practising this setup a few times to get familiar. A well-connected system means a safer, more efficient welding experience for you and your customers.

Sian Brown
Sian has been hand making her award winning jewellery in the West Midlands for over 12 years. Sian spent 10 years in Birmingham’s historic Jewellery Quarter before relocating to a quiet Worcestershire village.