Personalising a ring, is one of the most meaningful touches a jeweller can add. With the Orotig Canova 50 Laser Engraving Machine, engraving the inside or outside of a ring becomes fast, accurate and seamless. Thanks to its dedicated ring attachment and intuitive Marko software, you can produce clean, crisp engravings with total confidence.
In this guide, we’ll walk through the full engraving process, showing just how easy it is to get professional results. You can also watch our step by step YouTube video below.
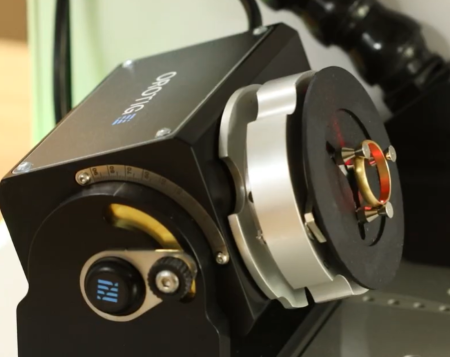
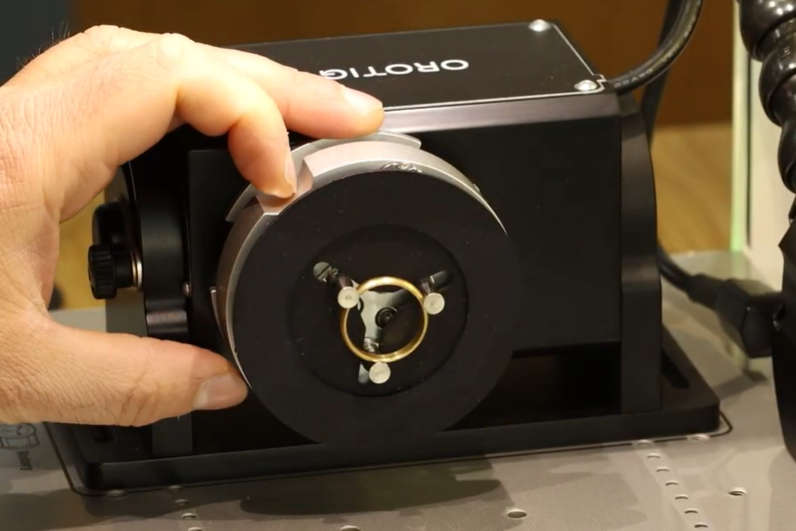
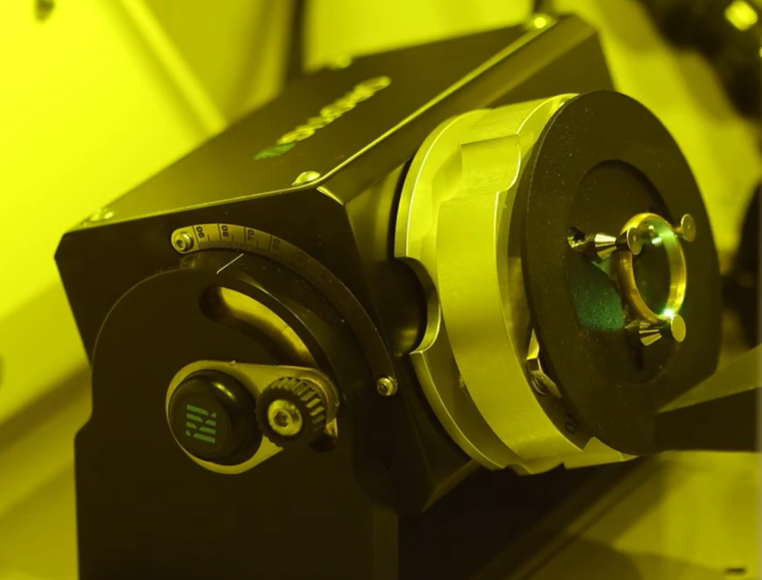
Setting Up the Ring Holder
Before engraving, you’ll need to prepare the ring attachment that comes supplied with the Canova machine.
- Plug in the ring holder attachment to your Canova.
- Twist on the second part of the holder until it locks securely into place.
- Select whether you’re engraving the inside or outside of the ring using the rotary device, then position your ring in place.
This quick setup ensures stability and perfect alignment throughout your engraving.
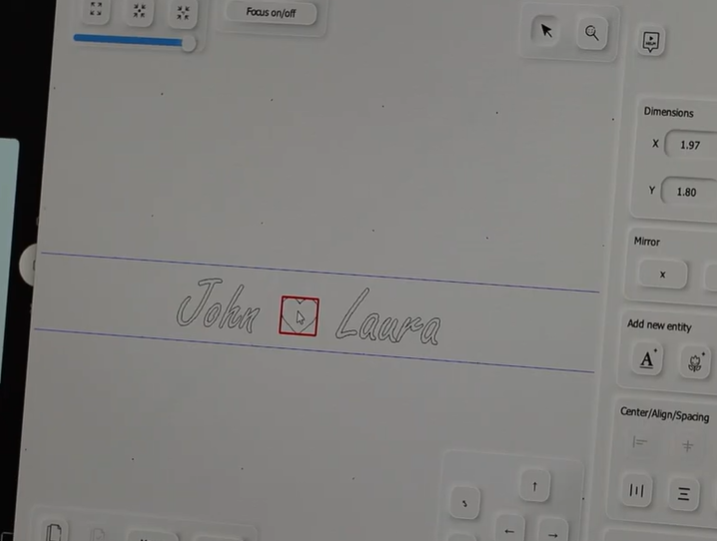
Designing Your Engraving in Marko Software
Once your ring is secure, it’s time to set up your design using Marko, the software included with every Canova engraver.
- Create a new text element and choose your preferred font ideal for names, dates or meaningful phrases.
- Resize and position your text to fit the ring outline displayed on-screen.
- Refine placement using the interface to ensure precision on the inner surface.
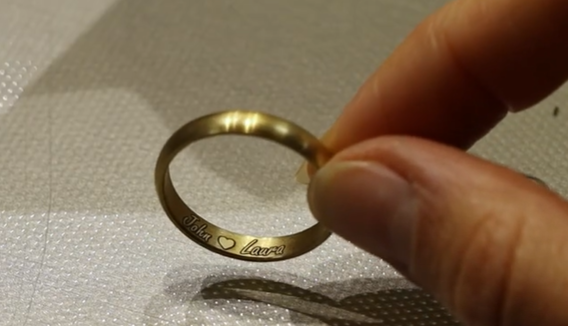
- If desired, import an image or symbol, in our example, we added a heart icon between two names.
- Use the ring outline preview to ensure everything is centred perfectly.
This flexible workspace makes it easy to adjust text, fonts, icons and layout for any occasion.
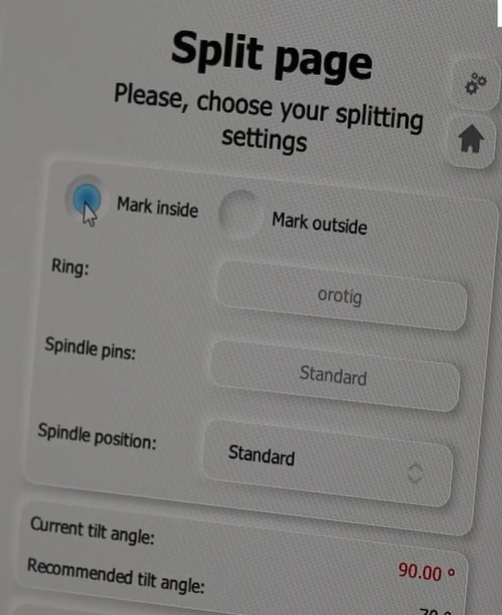
Selecting Your Engraving Settings
Before engraving, double-check your settings:
- Review the power, frequency, and marking loops, adjusting to suit the metal you’re working with.
- Confirm whether the engraving is for the inside or outside of the ring. The Canova will automatically adjust its tilt angle based on ring thickness.
- If needed, use the manual side dial to fine-tune the angle yourself.
Getting these settings right ensures a consistent, high-quality result.
Previewing and Engraving
- Run the preview function to show exactly where your design will be placed.
- Once you’re happy, close the lid.
- Press the blue engrave button to begin the process.
Top tip: The Marko software includes a countdown timer, so you’ll always know exactly how long is left.
- When engraving is complete, remove your ring to reveal the finished result—clean, crisp and perfectly aligned.
Interested in the Orotig Canova? Click here to book a demonstration online or visit us in our Birmingham store to discover how it can elevate your jewellery workshop.
Harvey Wedgbury